How to Draw the Itsy Bitsy Spider (Easy Step by Step)
This post contains affiliate links. As an Amazon Associate I earn from qualifying purchases.
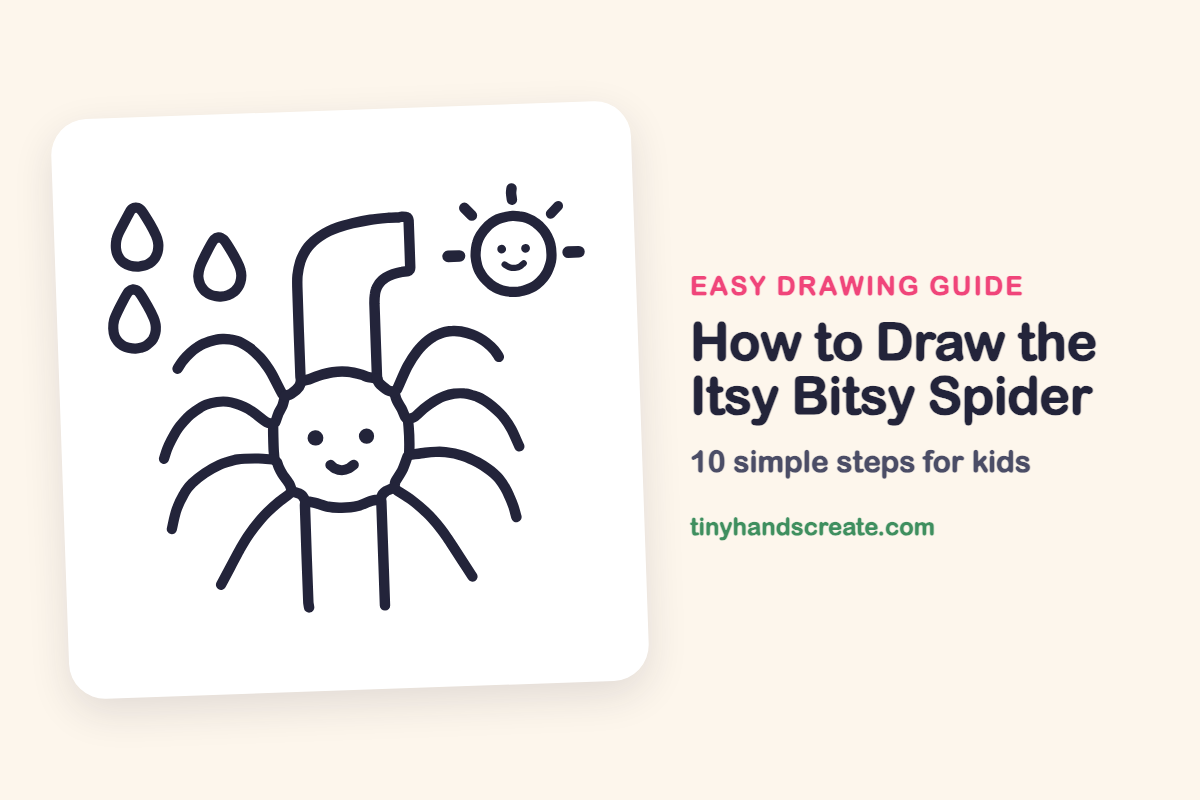
The itsy bitsy spider climbs up the water spout in a favorite nursery rhyme, and this drawing lets kids retell the story on paper. It is built from circles, curved lines, straight lines and teardrop shapes, so even beginners can finish it. The smiling spider, the raindrops and the sunny corner make it a cheerful picture to sing along with.
- Medium
- 15 minutes
- 10 steps
You need: paper, a pencil, an eraser, and crayons or markers for coloring.
Start drawing
In this article (7 sections)
How to draw the itsy bitsy spider step by step
How to Draw the Itsy Bitsy Spider · tinyhandscreate.com
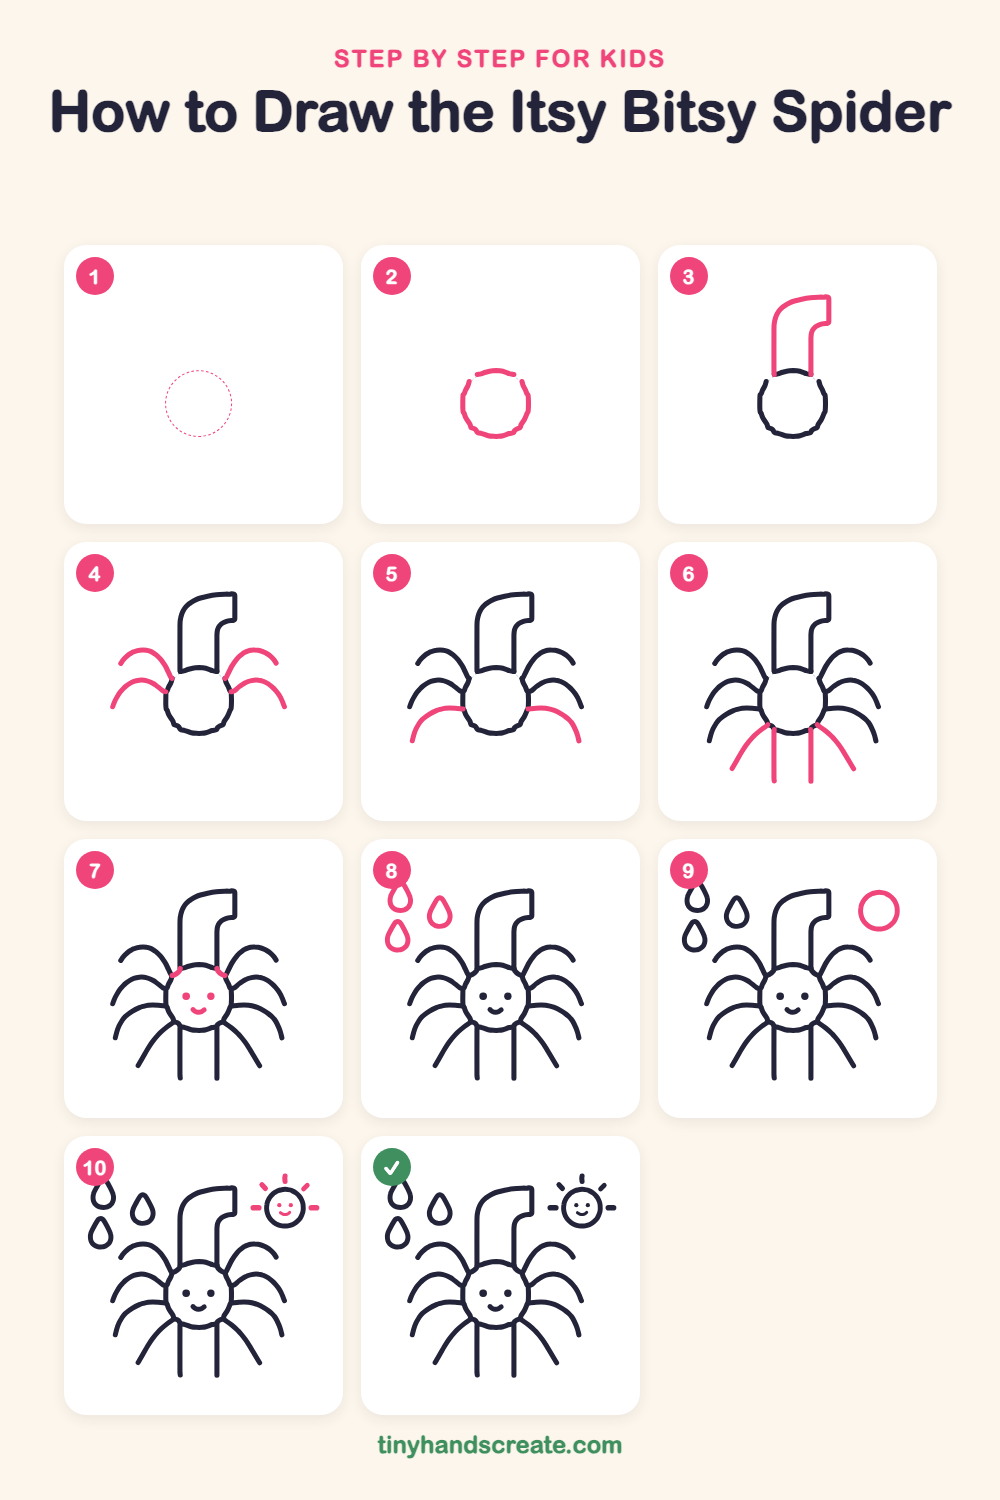
Step 1: Guide shapes
Lightly sketch this oval. It only shows where the big parts go, so press softly. You will erase it at the end.
Step 2: The round body
Draw a big circle in the middle of your page for the spider's body. Try to make it round like a ball.
Step 3: The water spout
Start at the top of the circle and draw two tall lines going straight up, side by side. Bend them to the right at the top, like a pipe, and close the end with a short line.
Step 4: The top legs
Draw two curved legs on each side of the body, one above the other, near the top. Each one starts at the circle and arches up and out, then bends down like a little hill.
Step 5: The side legs
Add one long curved leg on each side, just below the middle of the body. Start at the circle and sweep outward and down, like a slide.
Step 6: The bottom legs
Draw two straight lines going down from the bottom of the body, side by side. Then add a slanted leg on each outside edge, leaning away from the middle.
Step 7: The happy face
Put two small dots for eyes in the middle of the body. Draw a little curved smile underneath, like a tiny bowl. Then add a tiny curved mark on each side of the spout where it meets the body.
Step 8: The raindrops
In the top left corner, draw three raindrops. Each one starts with a pointy top and curves down into a round bottom, like an upside-down teardrop.
Step 9: The sun
In the top right corner, draw a medium circle for the sun. Leave some space all around it for the rays.
Step 10: Sun rays and smile
Draw short straight lines all around the sun, like a ring of little sticks. Finish with two dot eyes and a small smile inside the sun.
All done!
Erase the guide shapes, go over your lines, then color it in.
Finished your itsy bitsy spider? Keep the pencils out and learn how to draw the cat and the fiddle or how to draw Little Boy Blue next.
Tips for drawing the itsy bitsy spider
- Draw the round body first, then build the spout up from the top of the circle. Keep the spout's two lines about the same distance apart so it looks like a real pipe.
- The legs are the trickiest part. Make each one a smooth arch, and try to make the left side match the right side.
- Draw the two straight lines under the body with a ruler or the edge of a book if your lines wobble. Straight lines are hard for little hands.
Free itsy bitsy spider coloring page
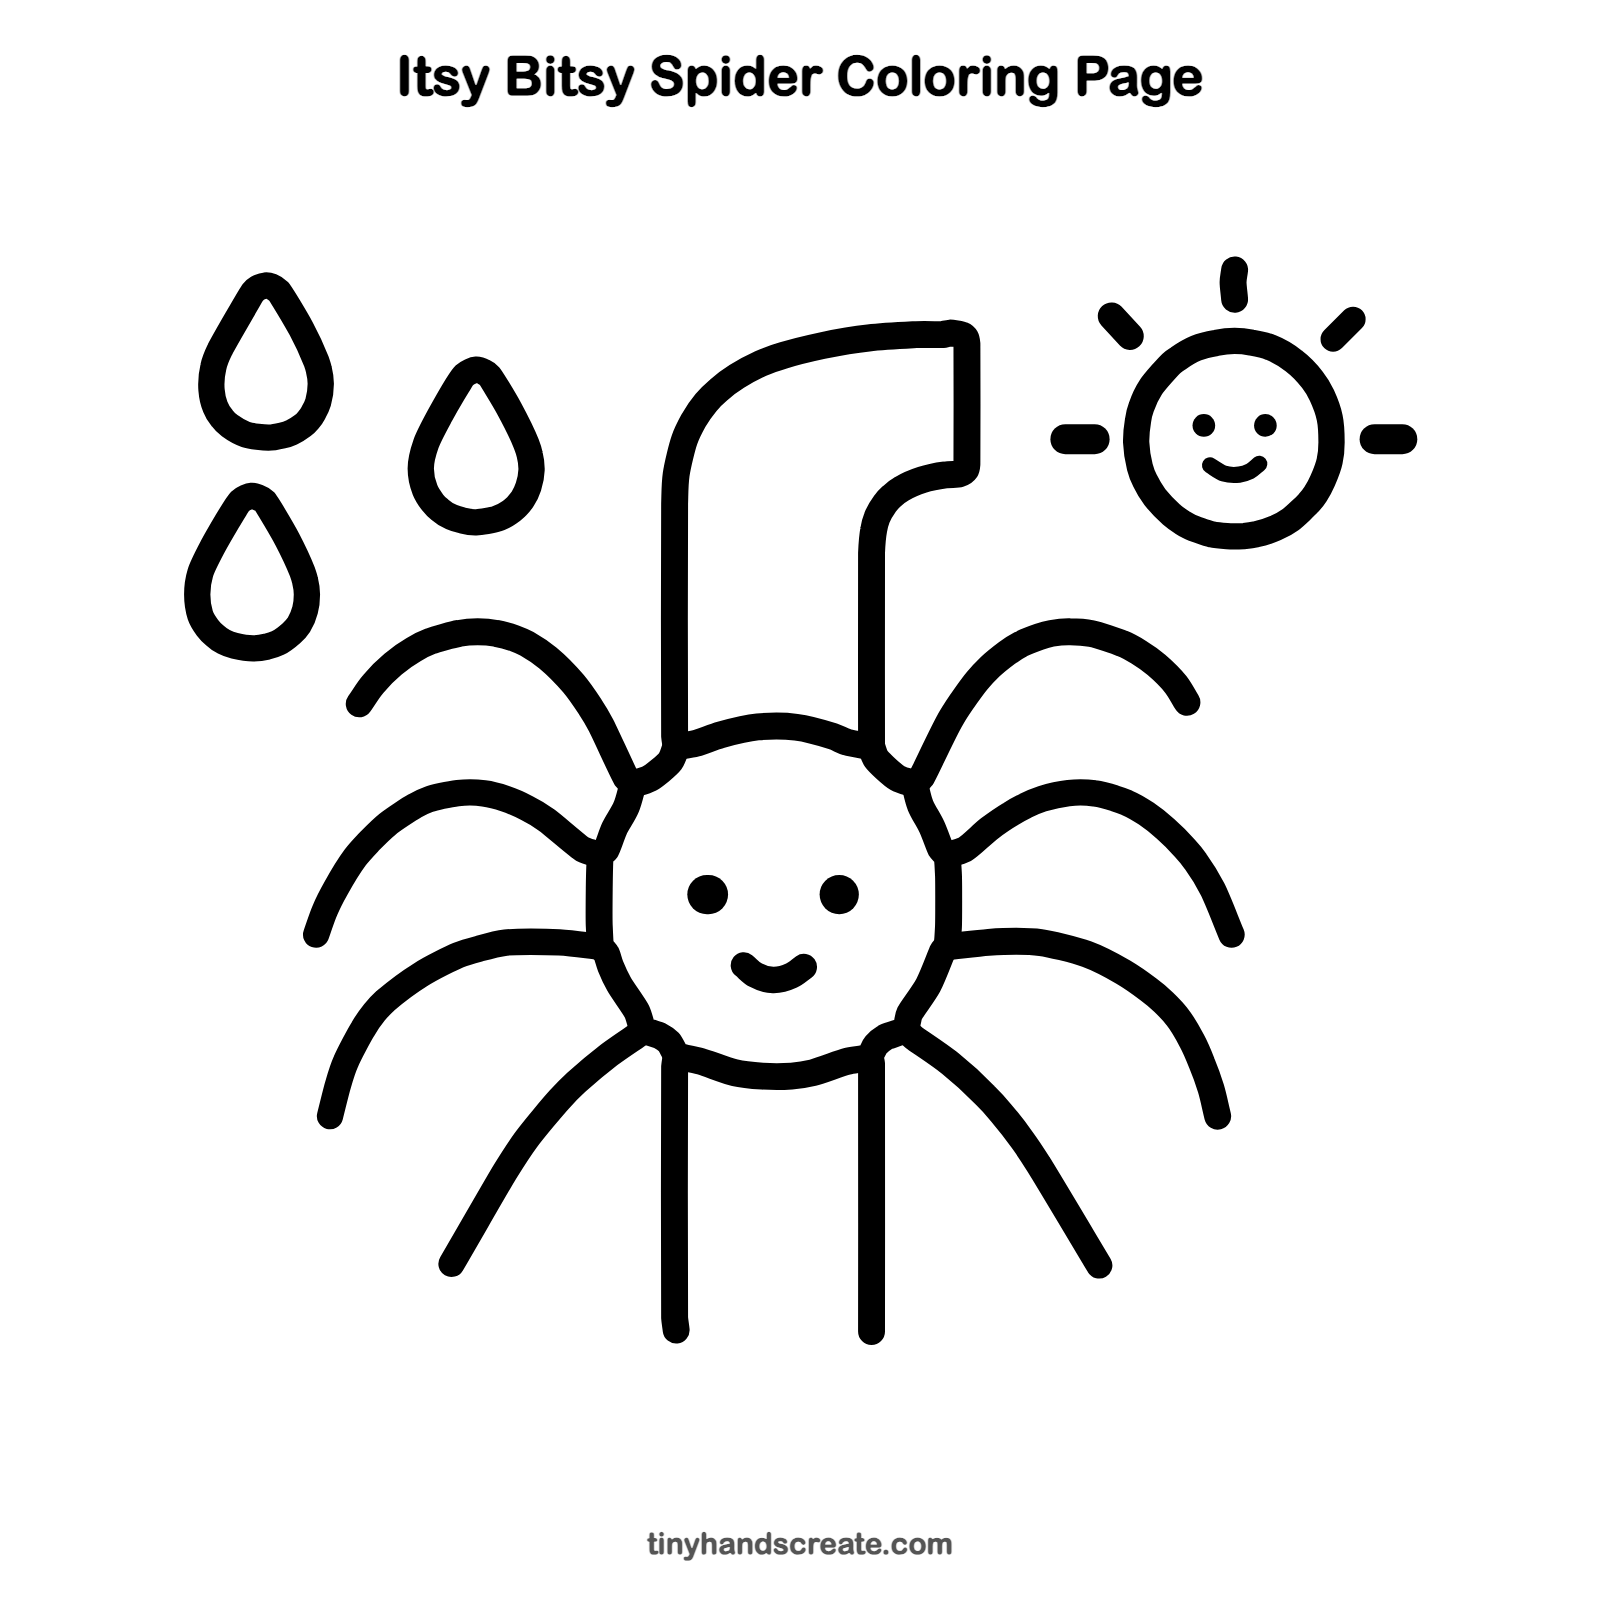
Want to go straight to coloring? Open this itsy bitsy spider coloring page at full size and print it. It is the same drawing you just learned, with clean lines ready for crayons or markers.
How to color your itsy bitsy spider drawing
Try a purple or red spider with a gray spout, blue raindrops and a bright yellow sun. For a creative twist, color the rain in rainbow stripes, since the sun and rain are out together.
Itsy bitsy spider fun fact for kids
Spiders have eight legs, and insects have only six. That is one easy way to tell them apart. Many spiders can also spin silk from their bodies to make webs and safety lines.
Questions about drawing the itsy bitsy spider
What shapes do I need to draw the itsy bitsy spider?
You need a circle for the body, curved lines for the legs and two tall lines that bend over for the spout. Teardrop shapes make the raindrops and another circle makes the sun.
How do I make my spider look cuter?
Give it two dot eyes and a curvy smile. Making the body round and the legs a little long and curved also helps.
How many legs does the spider have in this drawing?
The spider has eight legs, four on each side: two arched legs on top, one long side leg and one slanted leg. Two straight lines also hang down from the bottom of the body.