How to Draw a Pumpkin House (Easy Step by Step)
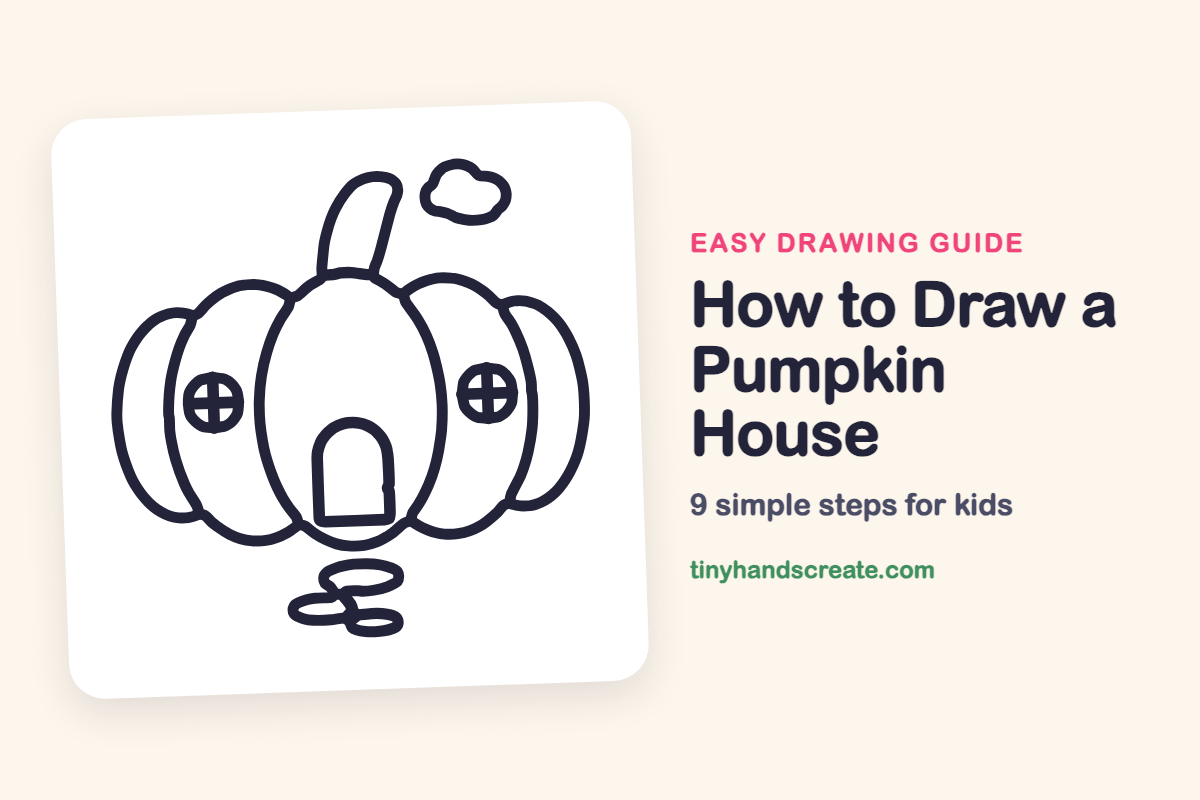
A pumpkin house is a cozy autumn drawing that turns a simple pumpkin into a little home with a door and round windows. It is built from ovals, curved sections, circles and one small arch, so every part is easy to sketch. Kids can make it their own by changing the windows, the stones and the sky.
- Easy
- 15 minutes
- 9 steps
You need: paper, a pencil, an eraser, and crayons or markers for coloring.
Start drawingIn this article (7 sections)
How to draw a pumpkin house step by step
How to Draw a Pumpkin House · tinyhandscreate.com
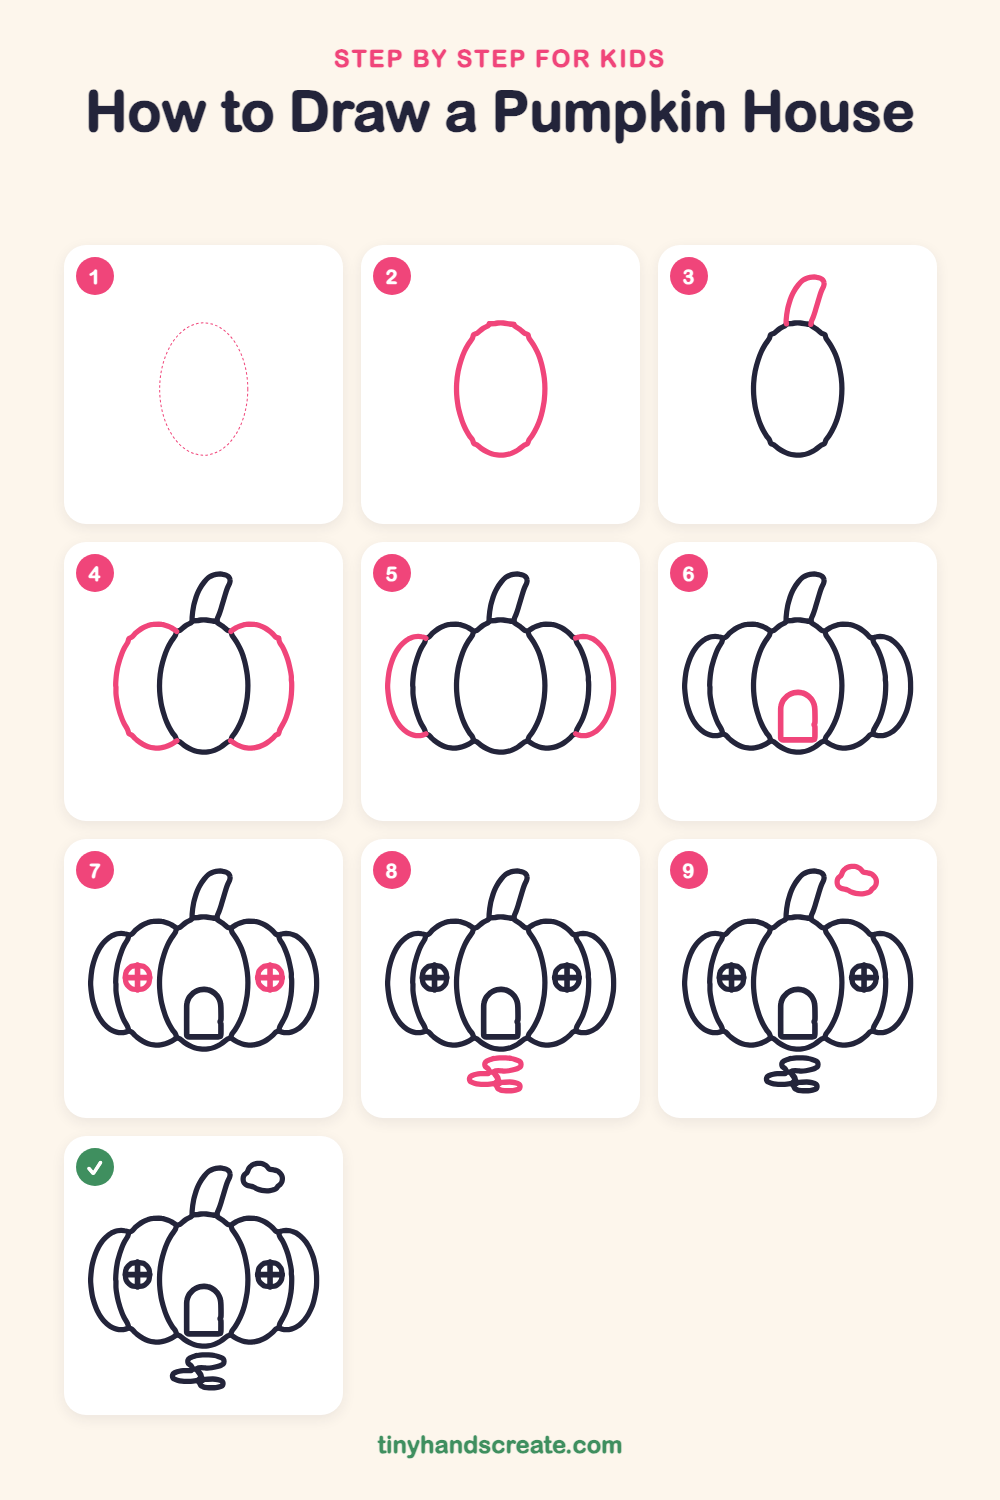
Step 1: Guide shapes
Lightly sketch this oval. It only shows where the big parts go, so press softly. You will erase it at the end.
Step 2: The middle egg
Draw a tall egg shape in the center of your page, a little narrower at the top than at the bottom. This is the big middle section of your pumpkin house.
Step 3: The stem
On top of the egg, draw a short, curved stem that leans a little to the right. Start the two side lines on the top of the egg and close them with a small rounded end at the top.
Step 4: Side pumpkin sections
Draw a wide curved section on each side of the egg. Start each one at the egg's top edge, bulge it outward, and bring it back to the egg's bottom edge.
Step 5: Outer pumpkin sections
Add a smaller curved section peeking out beside each side section. Start and end each curve on the side section's outline so it looks tucked in behind.
Step 6: The front door
Near the bottom of the egg, draw a small door shaped like an arch: two straight sides, a rounded top and a flat bottom.
Step 7: Round windows
Draw a small circle on each side section, close to the egg. Then draw a plus sign inside each circle to make four little window panes.
Step 8: Stepping stones
Below the house, draw three small flat ovals, like stones in a path. Let them touch or overlap a little and make each one a different size.
Step 9: A fluffy cloud
Above the house on the right, next to the stem, draw a small puffy cloud with a bumpy outline made of a few rounded curves. Connect the bumps so the line closes up.
All done!
Erase the guide shapes, go over your lines, then color it in.
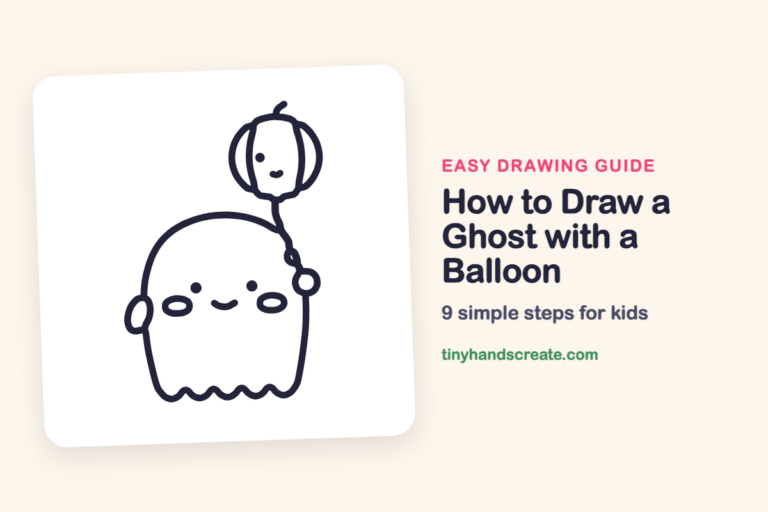
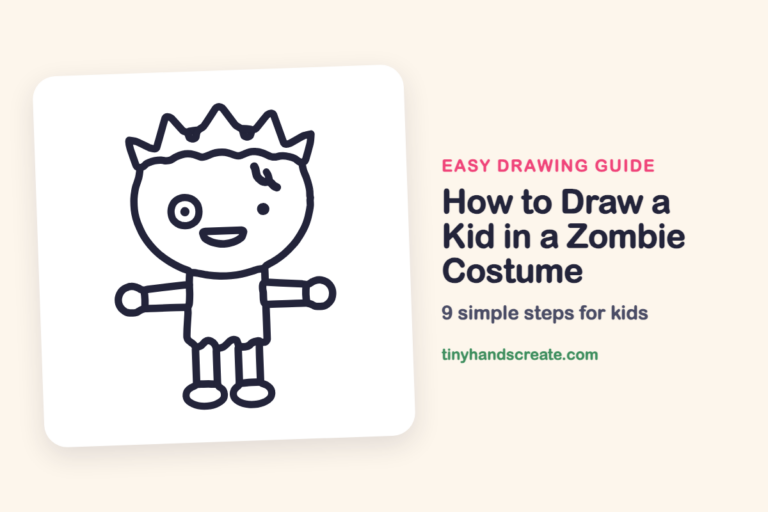
Finished your pumpkin house? Keep the pencils out and learn how to draw a ghost with a balloon or how to draw a kid in a zombie costume next.
Tips for drawing a pumpkin house
- Start with the tall middle egg and draw it lightly. Every other section tucks in beside it, so a good egg makes the rest easier.
- The side sections are the trickiest part. Start and stop each curve where it touches the egg instead of drawing through it, so the pumpkin looks layered.
- Draw the door arch with two straight sides first, then curve the top. Keep it small so it fits inside the egg.
Free pumpkin house coloring page
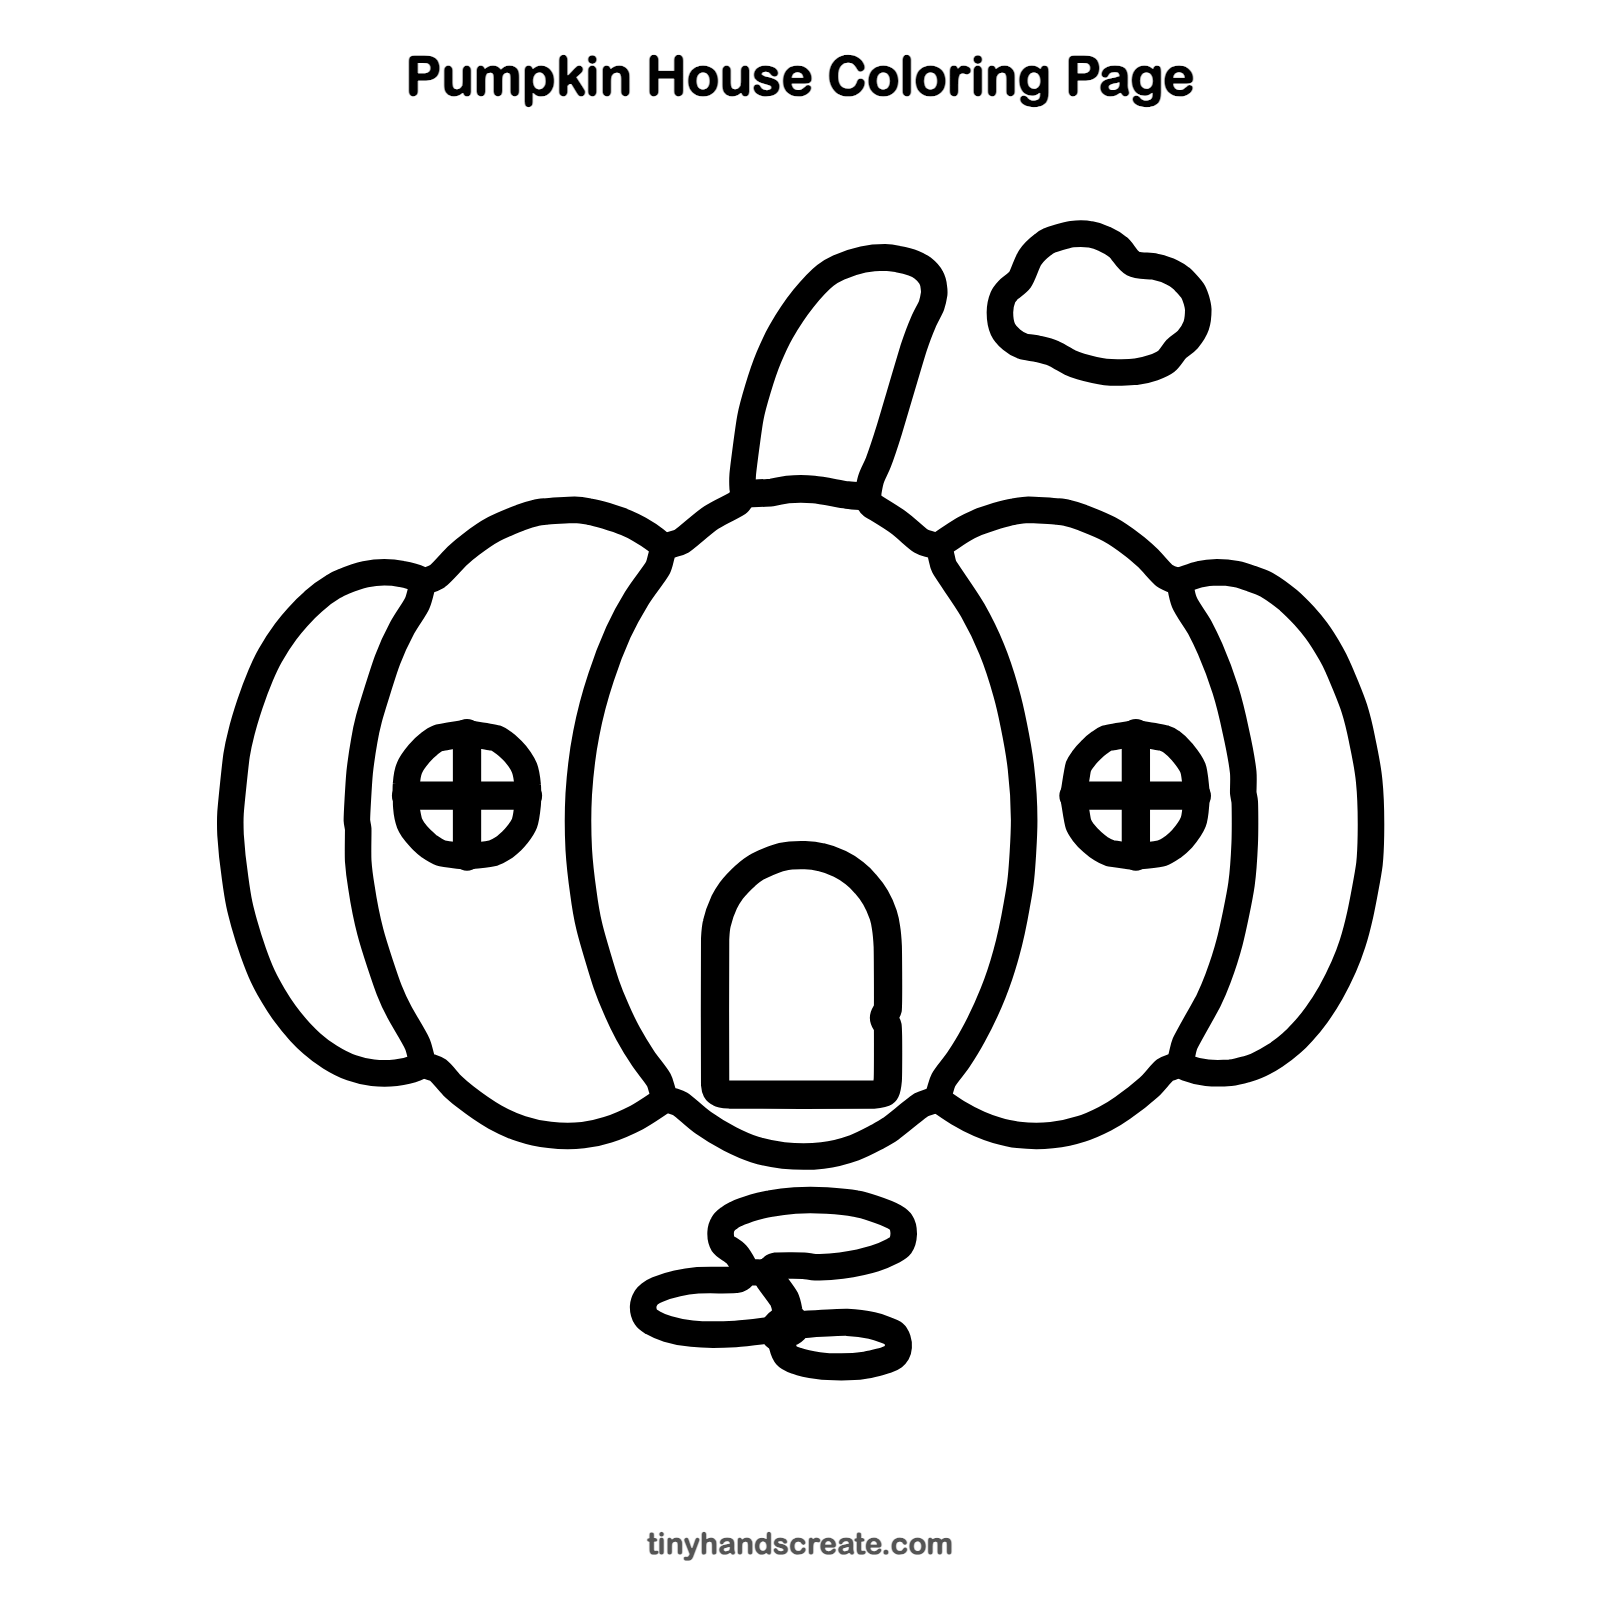
Want to go straight to coloring? Open this pumpkin house coloring page at full size and print it. It is the same drawing you just learned, with clean lines ready for crayons or markers.
How to color your pumpkin house drawing
Use bright orange for the pumpkin sections, green for the stem and a warm brown for the door. For a creative twist, color the windows yellow so the house looks like it is glowing from inside. Gray stones and a light blue cloud finish the scene.
Pumpkin house fun fact for kids
Pumpkins grow on a vine and are a fruit, because they hold seeds inside.
Questions about drawing a pumpkin house
What shapes do I need to draw a pumpkin house?
You need an egg shape for the middle, curved sections for the sides, small circles for the windows, and an arch for the door. The stones are small ovals and the stem is a short curved shape.
How do I make my pumpkin look like it has sections?
Draw the side sections so they start and end on the middle egg's outline, then add a smaller curve beside each one. The overlap makes the pumpkin look like it has ridges.
How do I make my pumpkin house look cuter?
Add a few extra stepping stones, make the windows different sizes, or draw more clouds in the sky. Little details make the house feel lived in.