How to Draw a Star of David (Easy Step by Step)
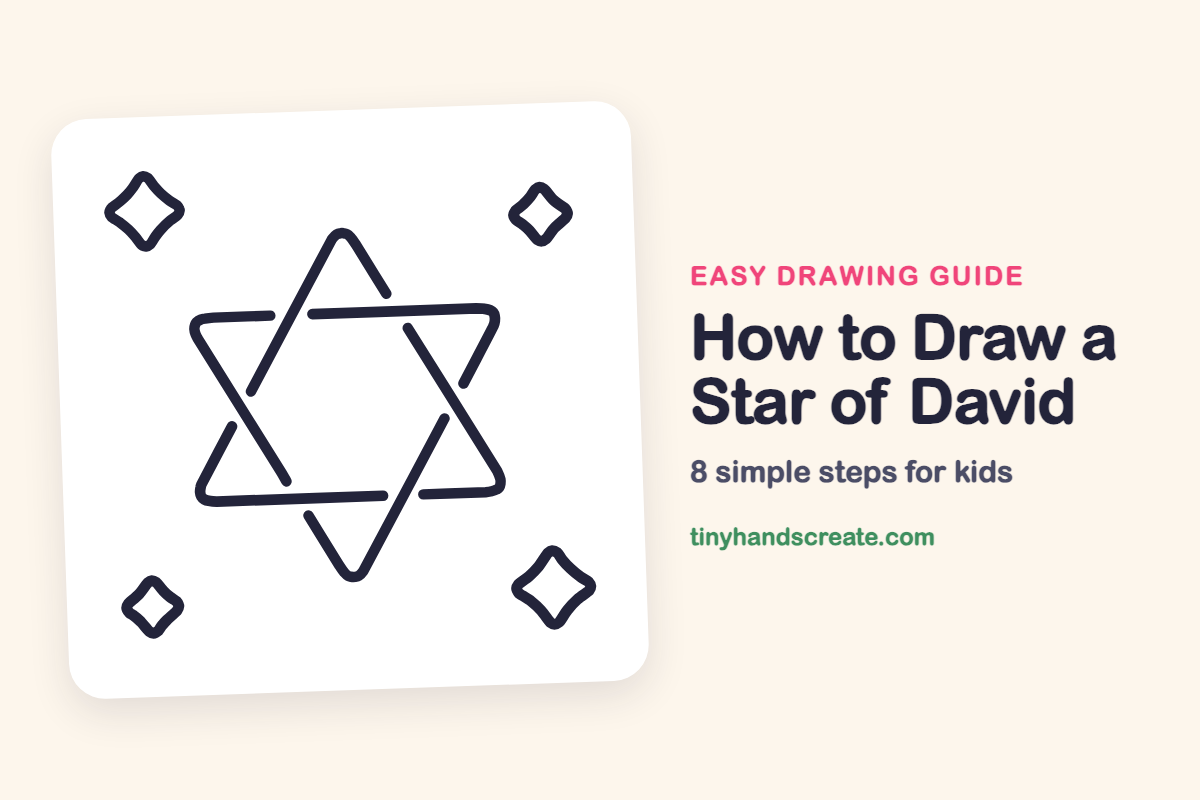
The Star of David looks fancy, but it is built from just two triangles, one pointing up and one pointing down, laid on top of each other. In this drawing the lines weave over and under each other, and four twinkling sparkles fill the corners. If you can draw straight lines and a few curves, you can draw this.
- Medium
- 15 minutes
- 8 steps
You need: paper, a pencil, an eraser, and crayons or markers for coloring.
Start drawingIn this article (7 sections)
How to draw a Star of David step by step
How to Draw a Star of David · tinyhandscreate.com
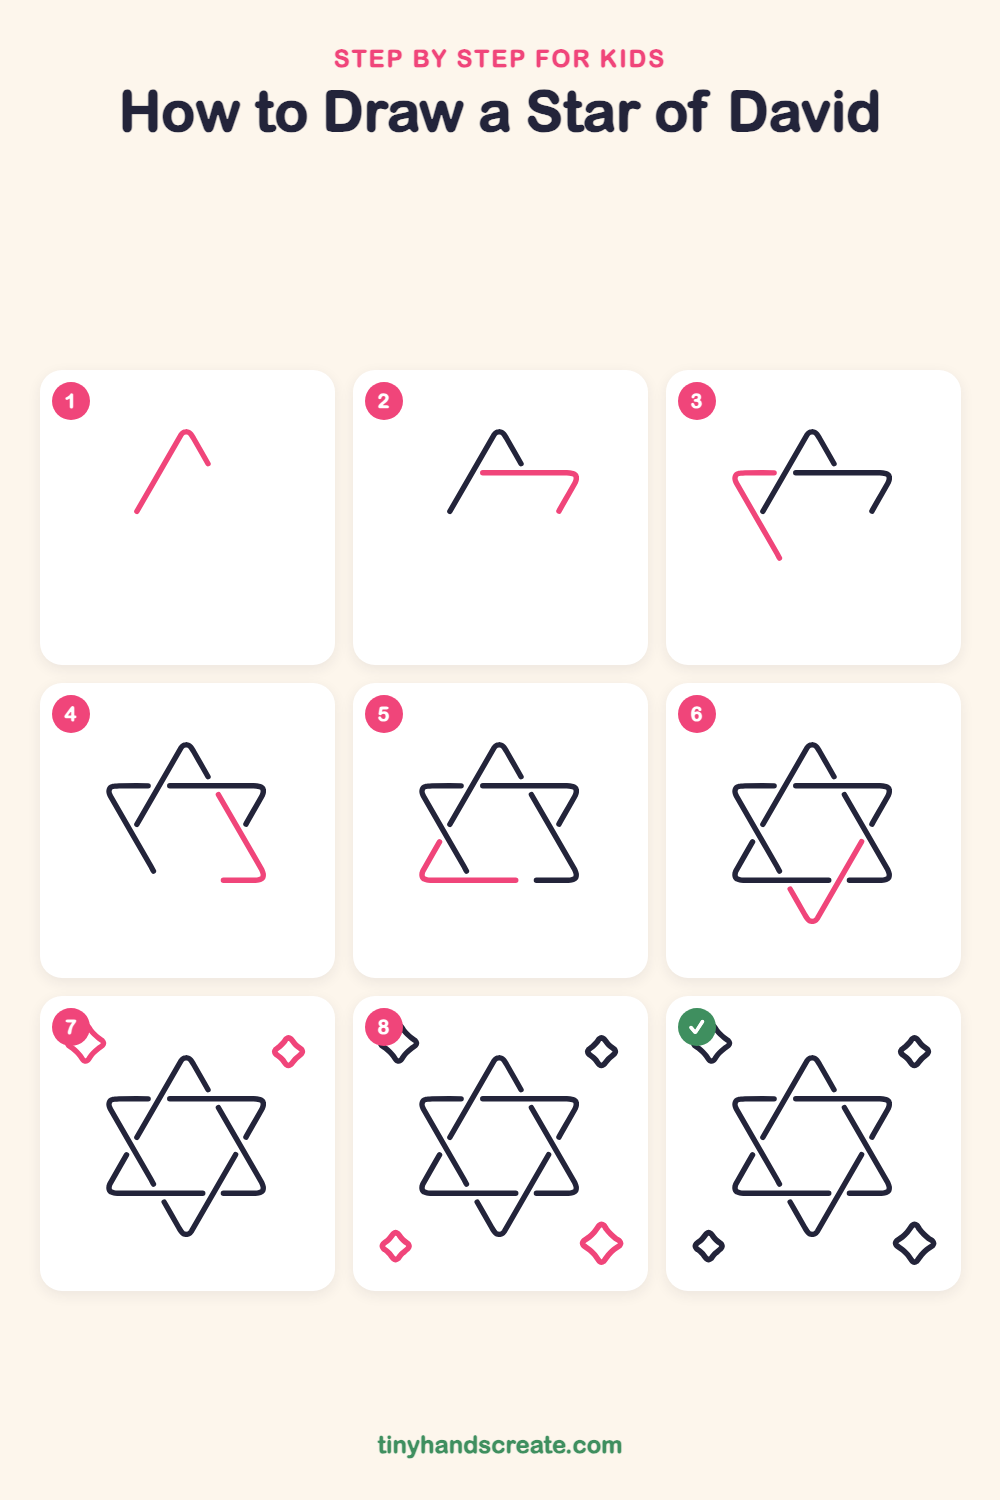
Step 1: The top point
Start near the top middle and draw a tall, narrow upside-down V with a slightly rounded tip. Let the left side slant down long, and stop the right side a little shorter.
Step 2: Top bar and right corner
Draw a straight sideways line starting just right of the top point, going to the right. Round the corner, then slant a short line down and to the left.
Step 3: The left side
Draw a short sideways line on the left that stops just before the left side of the top point. Round the corner and draw a long slanting line down and to the right, ending a bit below the top bar.
Step 4: The right side
Start below the top bar on the right and draw a long slanting line down and to the right. Round the bottom corner, then draw a short sideways line heading back left.
Step 5: The bottom bar
Draw a short slanting line on the lower left, curve around the corner, and run a long straight line across the bottom to the right. Leave a small gap before the line that is already there.
Step 6: The bottom point
Draw a long slanting line from the right side down to a rounded tip at the very bottom. Then bring a short line back up to the left to finish the V.
Step 7: Top sparkles
Draw two small diamonds with curved sides, one in the top left corner and one in the top right corner. Make the left one a little bigger.
Step 8: Bottom sparkles
Add two more curvy diamond sparkles in the bottom corners, a small one on the left and a bigger one on the right. Give each one four pointy tips and curved sides.
All done!
Go over your lines with a marker, then color it in.
Finished your Star of David? Keep the pencils out and learn how to draw a menorah or how to draw a dreidel next.
Tips for drawing a Star of David
- Use a ruler or the edge of a card for the first try. The long slanting lines should all lean at about the same angle.
- The weaving is the trickiest part. Leave a tiny gap where one line goes under another, and stop your pencil just before the crossing line.
- Draw the sparkles last and make each side curve inward, like a diamond that has been gently squeezed.
Free Star of David coloring page
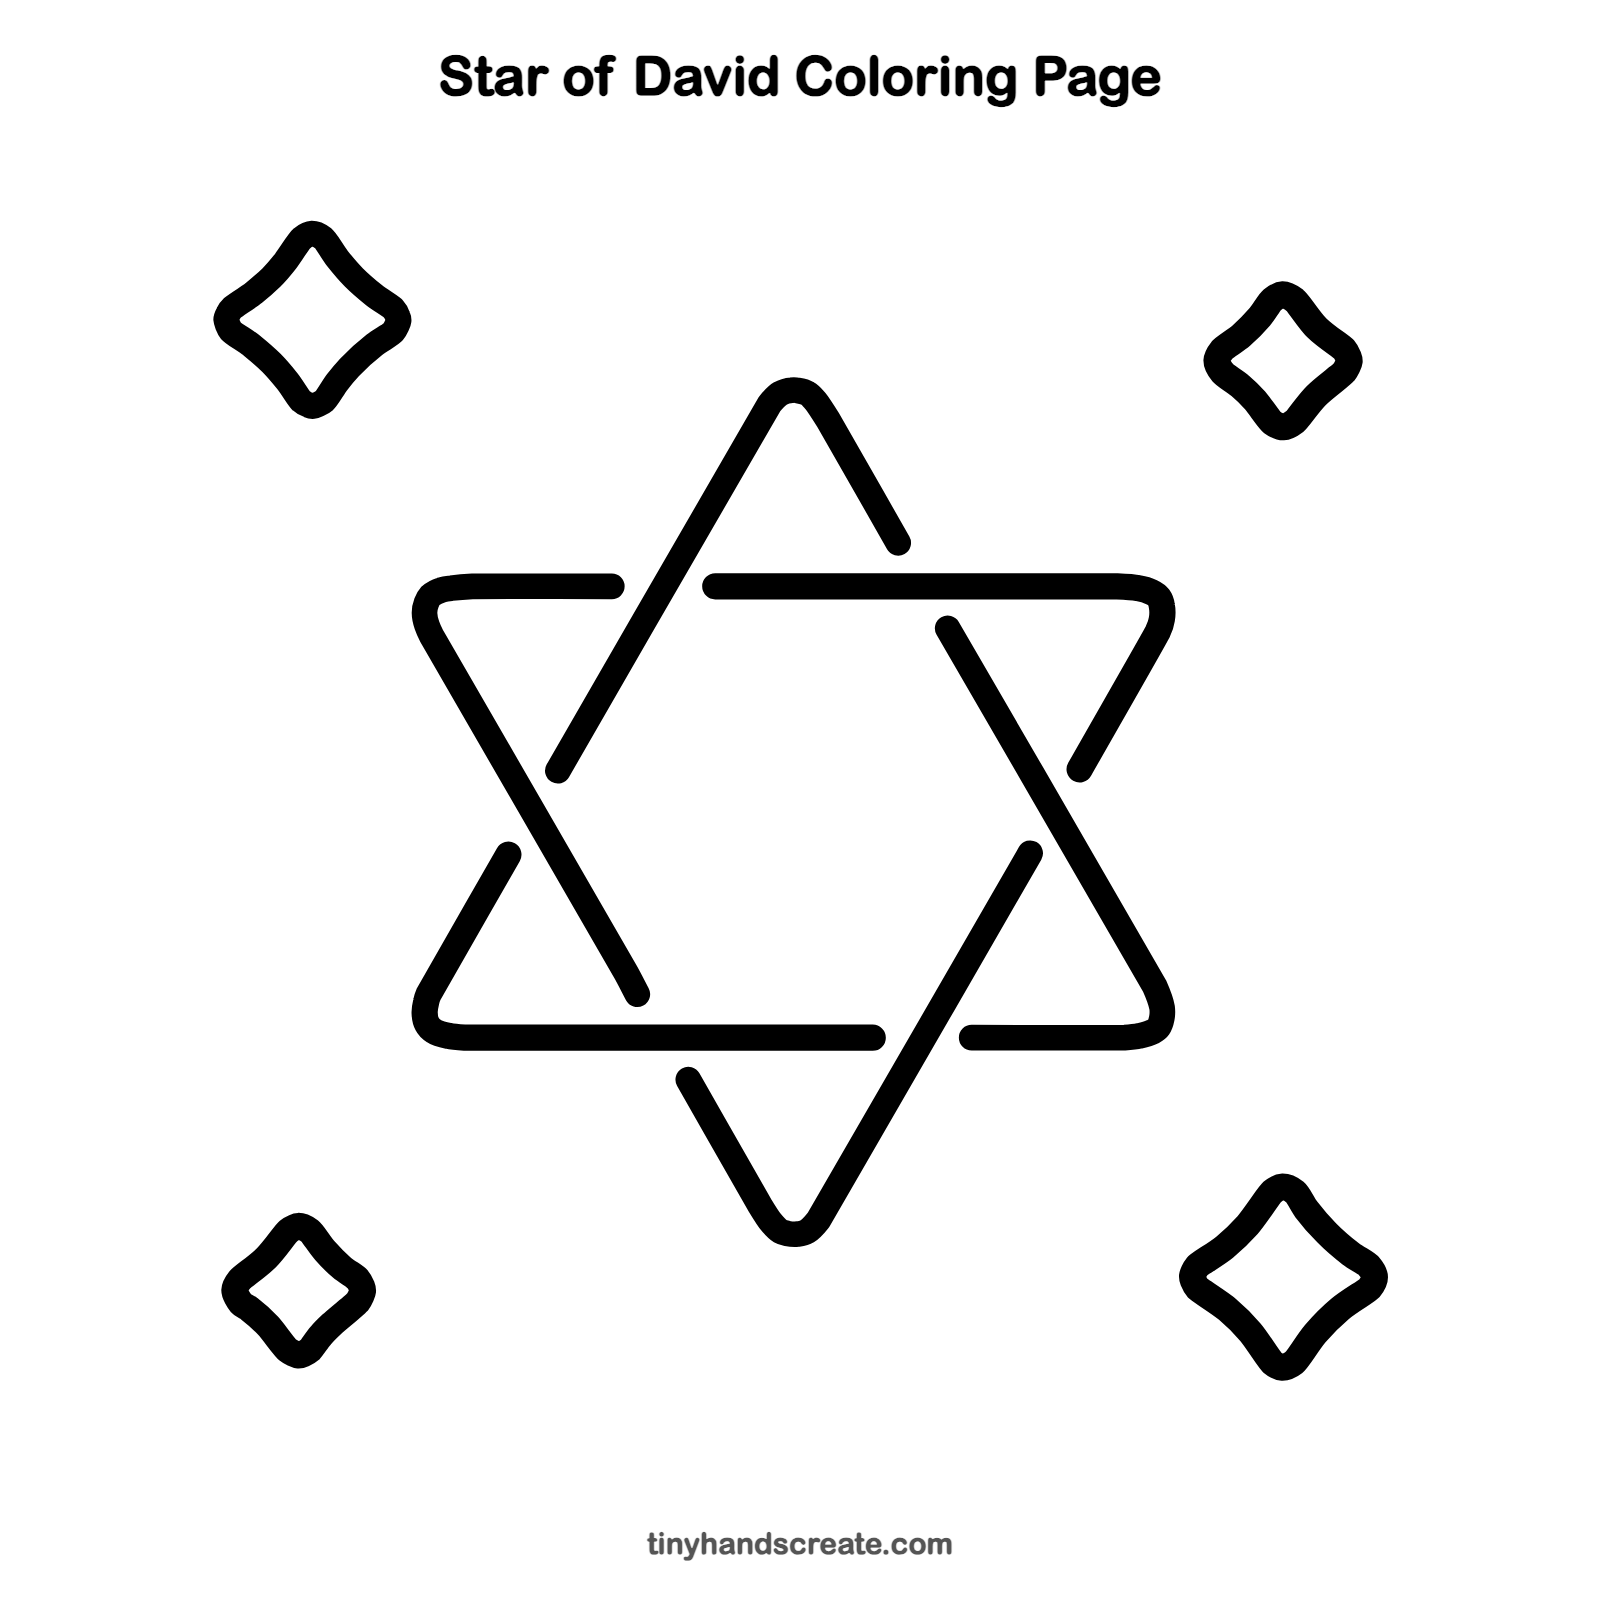
Want to go straight to coloring? Open this Star of David coloring page at full size and print it. It is the same drawing you just learned, with clean lines ready for crayons or markers.
How to color your Star of David drawing
Try deep blue and silver for the star with gold or yellow sparkles, so it looks like it is glowing in the night sky. For a twist, color each of the two triangles a different shade of blue, so you can see the weave.
Star of David fun fact for kids
The Star of David has six points. In Hebrew it is called the Magen David, which means shield of David, and it appears in the middle of the flag of Israel.
Questions about drawing a Star of David
What shapes do I need to draw a Star of David?
You need two triangles of the same size, one pointing up and one pointing down, overlapping in the middle. You can sketch them lightly first and then trace the final lines.
How do I make the star lines look woven?
Leave a small gap in a line where it goes under another line. Do this at every crossing, going over once and under once, so the lines look like ribbon.
How do I draw the sparkles around the star?
Start with a small diamond, then curve each side inward toward the middle. The four points will look sharp and star-like. Make them different sizes so they look like they are twinkling.