How to Draw a Bookshelf (Easy Step by Step)
This post contains affiliate links. As an Amazon Associate I earn from qualifying purchases.
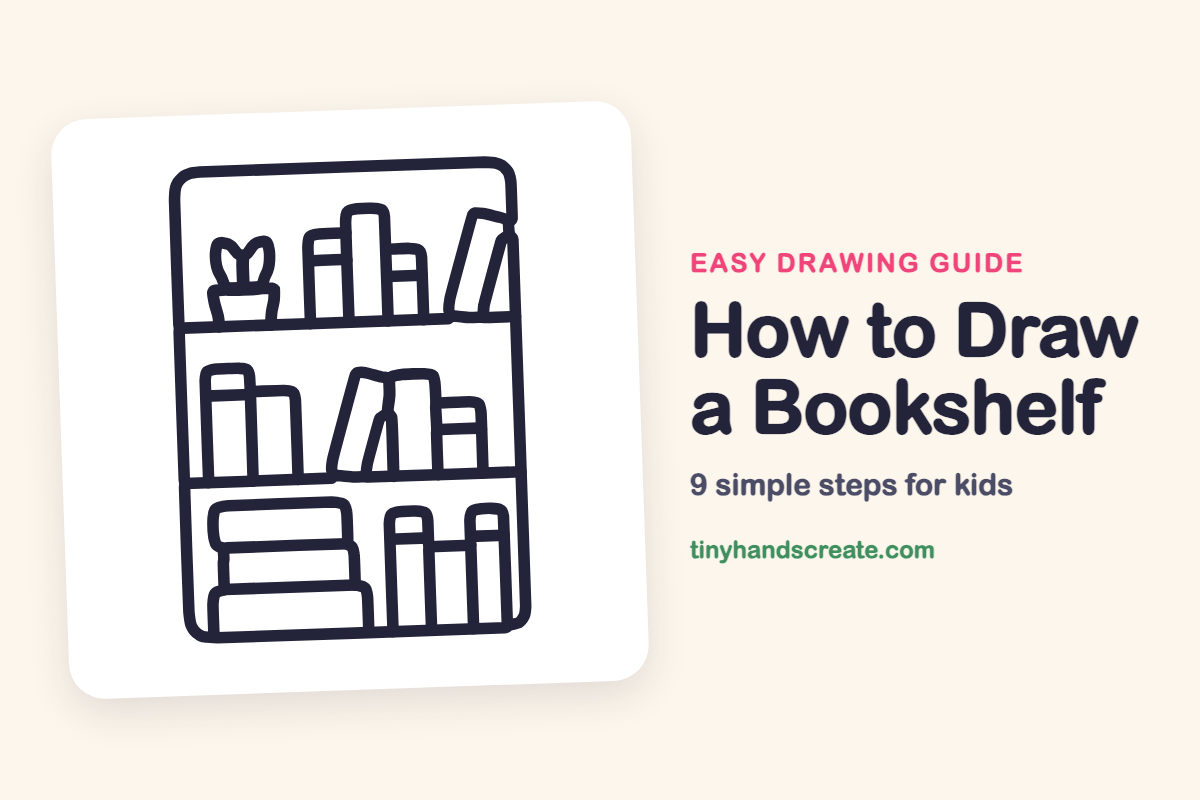
A bookshelf is a great first drawing because it is made almost completely of rectangles. You will draw straight lines, a few tilted books, and one little plant to make it feel like a cozy reading corner.
- Easy
- 12 minutes
- 9 steps
You need: paper, a pencil, an eraser, and crayons or markers for coloring.
Start drawing
In this article (7 sections)
How to draw a bookshelf step by step
How to Draw a Bookshelf · tinyhandscreate.com
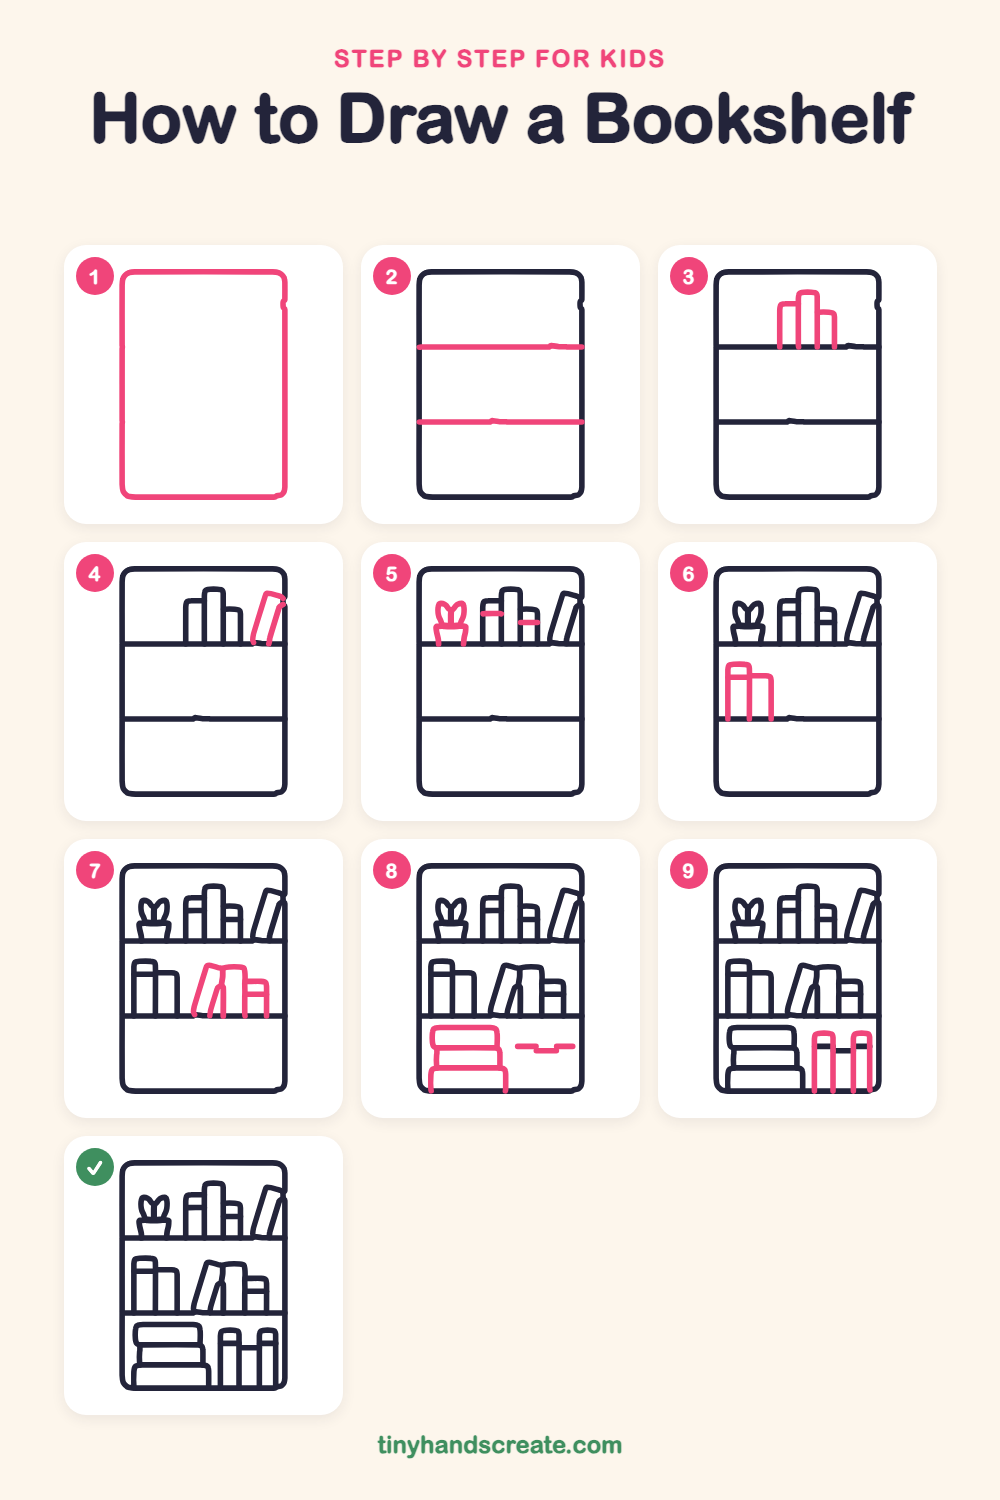
Step 1: The frame
Draw a tall rectangle with softly rounded corners. This is the outside of the bookshelf, so make it fill most of your page.
Step 2: The two shelves
Draw two straight lines across the inside of the frame, from the left side to the right side. They split the bookshelf into three rooms.
Step 3: Top shelf books
On the top shelf, draw three tall rectangles standing side by side on the shelf line: a medium one, the tallest one in the middle, and a short one on the right.
Step 4: The leaning book
Draw a tilted rectangle at the right end of the top shelf, as if it is leaning on the wall. Its bottom corner rests on the shelf.
Step 5: Plant and book stripes
On the left of the top shelf, draw a small flowerpot shaped like a cup that is wider at the top. Add two pointy leaves growing out of it, then draw a short stripe across the medium book and the short book.
Step 6: Middle left books
On the middle shelf, draw a tall rectangle with a stripe near the top. Next to it, draw a shorter rectangle that touches its side.
Step 7: Middle right books
Draw a tilted book leaning on a tall straight book. Then draw a short book on the right with a stripe across the top.
Step 8: The stack of books
On the bottom shelf, draw three wide rectangles lying flat, one on top of the other. Make the middle one a little narrower than the others. Then add a small short line to the right of the stack for the top of a short book.
Step 9: Standing books
Next to the stack, draw two tall books standing up side by side. The short book from the last step sits in the gap between them.
All done!
Go over your lines with a marker, then color it in.
Finished your bookshelf? Keep the pencils out and learn how to draw a radio or how to draw a record player next.
Tips for drawing a bookshelf
- Draw the frame and the two shelf lines first, so you know exactly how much room each row of books has.
- The leaning books are the trickiest part. Draw one straight book first, then tilt the same rectangle a little to one side.
- Let some books be taller and some shorter. Different heights make the shelf look real, and they hide small wobbly lines.
Free bookshelf coloring page
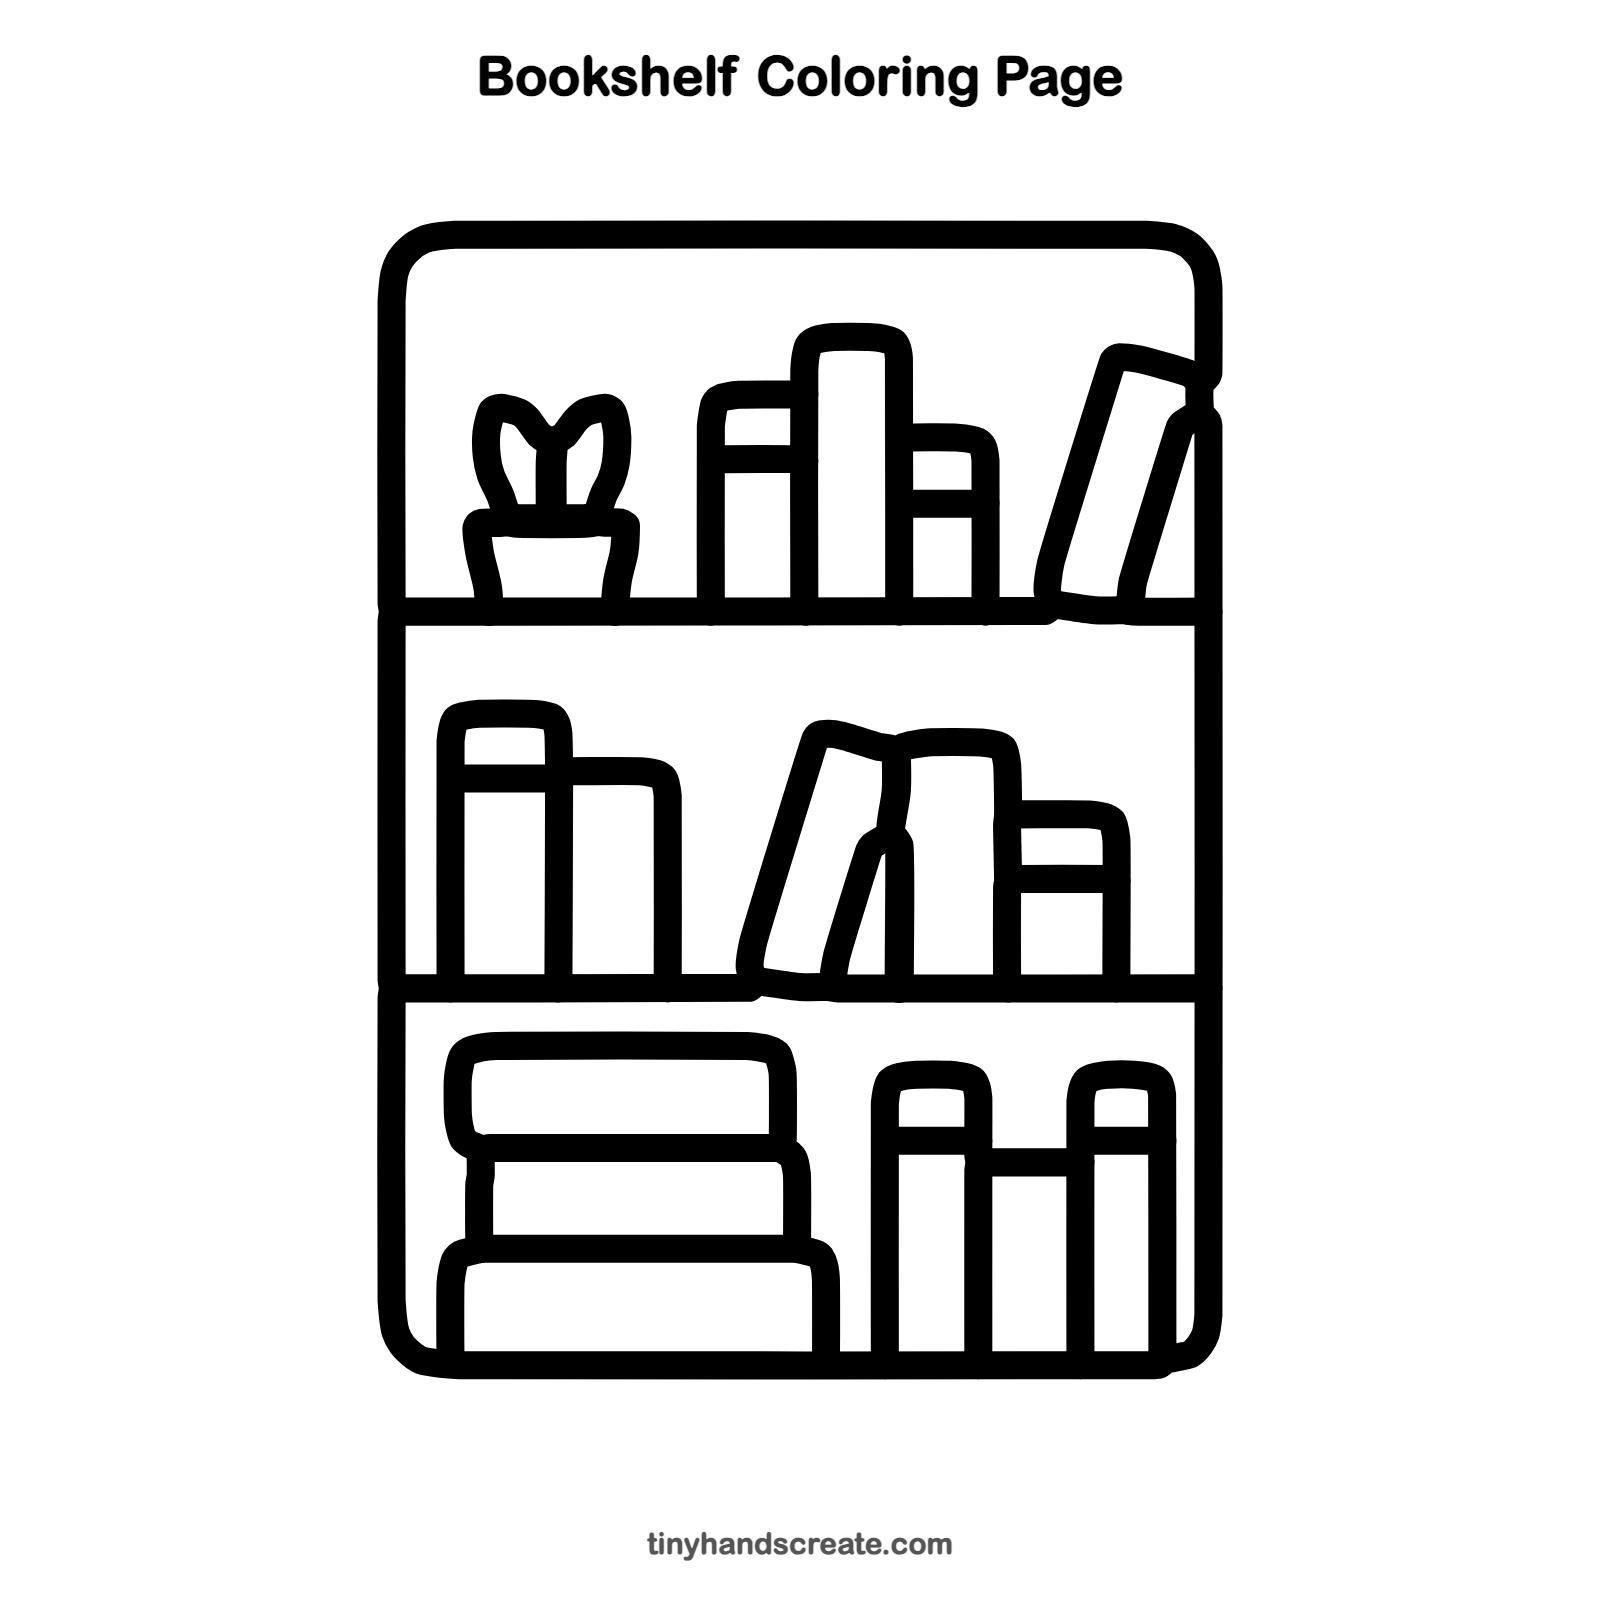
Want to go straight to coloring? Open this bookshelf coloring page at full size and print it. It is the same drawing you just learned, with clean lines ready for crayons or markers.
How to color your bookshelf drawing
Give every book its own bright color and color the plant green with a brown or orange pot. For a creative twist, draw tiny titles or pictures on the book spines.
Bookshelf fun fact for kids
The word library comes from the Latin word liber, which means book.
Questions about drawing a bookshelf
What shapes do I need to draw a bookshelf?
Mostly rectangles. The frame, shelves and books are all rectangles, and the plant uses two pointy leaves and a cup-shaped pot.
How do I draw books that lean?
Start by drawing a normal rectangle, then tilt it to the side so one corner rests on the shelf. Keep the two long sides parallel so it still looks like a book.
How do I make my bookshelf look more real?
Use books of different heights and widths, and lay some flat in a stack. Adding stripes on the spines and a plant also makes it feel lived in.