How to Draw a Sloth (Easy Step by Step)
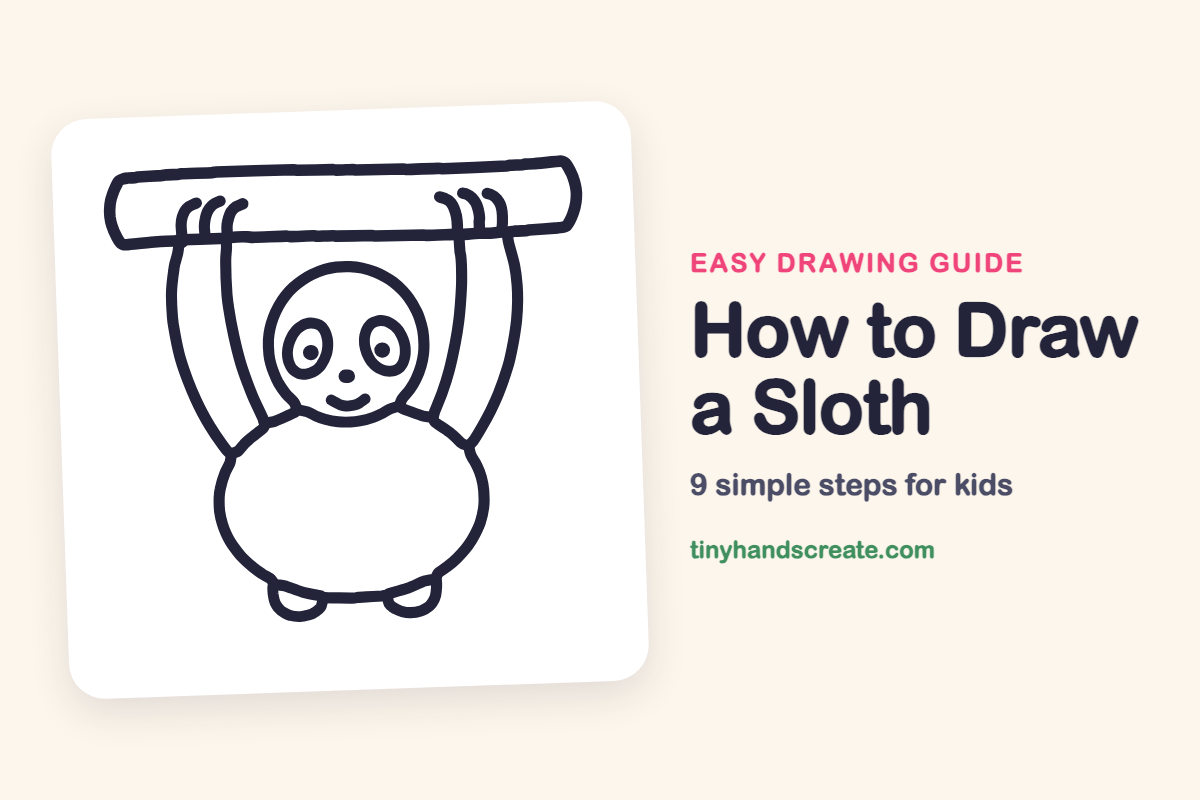
A sloth hanging from a branch is a great first animal to draw because it is mostly circles and ovals. You will use one big oval for the body, a circle for the head, and long curved lines for the arms. The sleepy face finishes the drawing.
- Easy
- 15 minutes
- 9 steps
You need: paper, a pencil, an eraser, and crayons or markers for coloring.
Start drawingIn this article (7 sections)
How to draw a sloth step by step
How to Draw a Sloth · tinyhandscreate.com
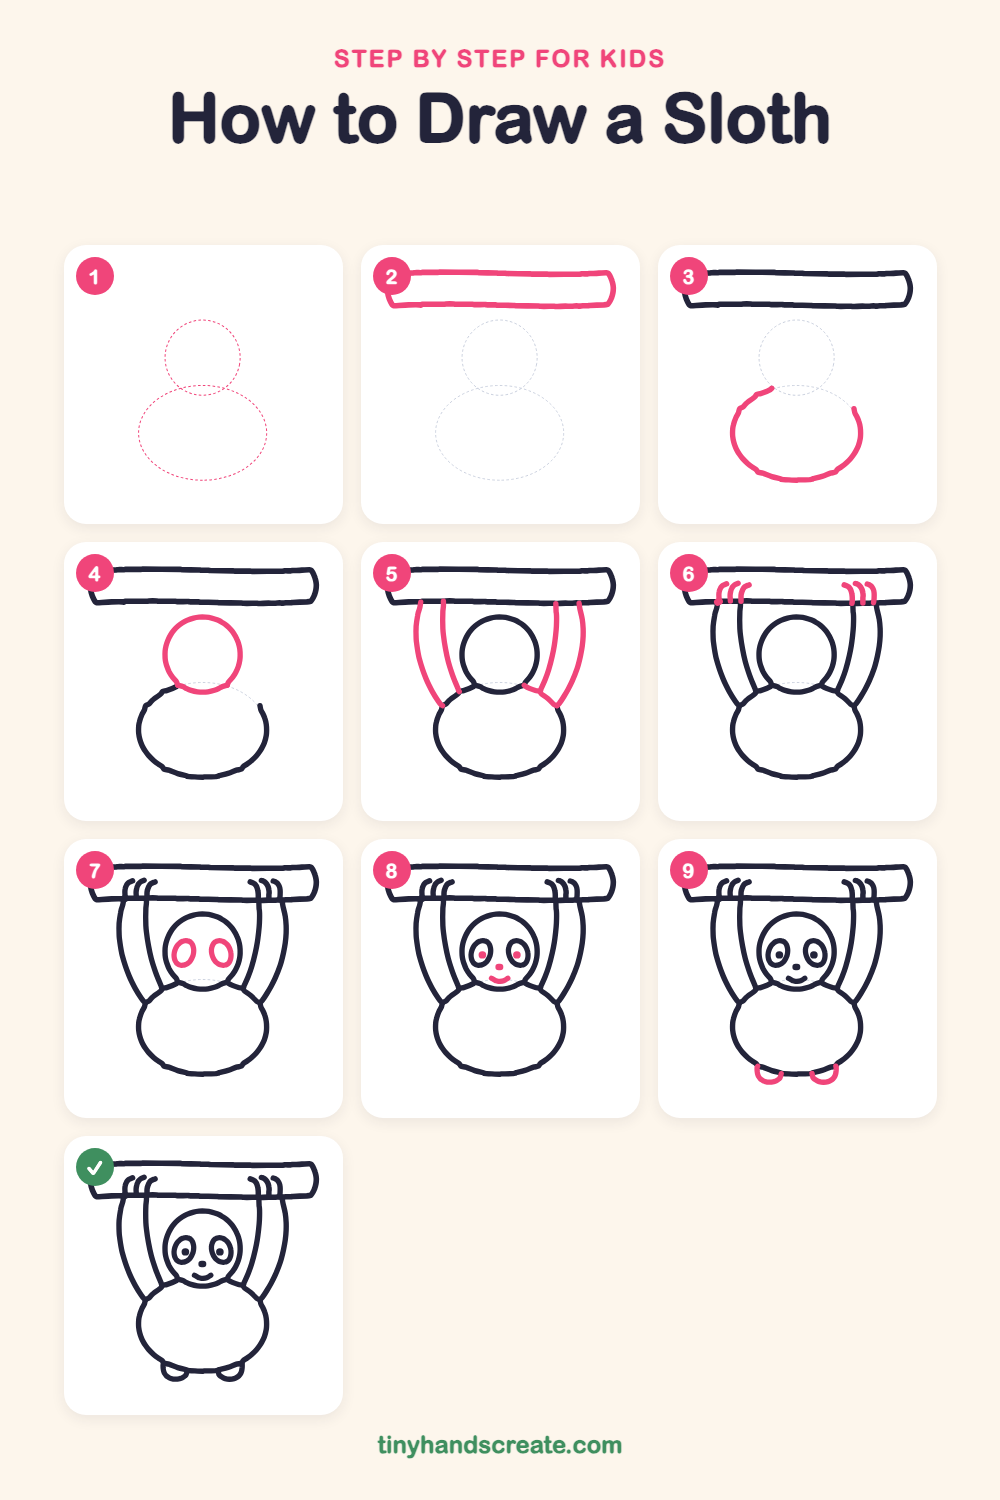
Step 1: Guide shapes
Lightly sketch these 2 ovals. They only show where the big parts go, so press softly. You will erase them at the end.
Step 2: The branch
Draw a long rounded rectangle across the top of the page, like a thick log. Round the corners at both ends.
Step 3: The round body
Below the branch, draw a big wide oval for the sloth's tummy. Leave a small gap at the top, because the head will cover that part next.
Step 4: The head
Draw a medium circle above the body so its bottom overlaps the gap in the top of the tummy oval. The head sits right in the middle of the page under the branch.
Step 5: The long arms
On each side of the head, draw two long curved lines that start under the branch and bend down to the top of the body. Each pair makes a long, bendy strip, and the two arms curve out wide like a big hug.
Step 6: Hands and claws
At the top of each arm, right under the branch, draw three short hooked curves side by side. They look like little fingers holding on tight.
Step 7: Eye patches
Inside the head, draw two tall ovals side by side, like big sleepy eye patches. Make them about the same size and tilt them just a little.
Step 8: Eyes, nose and smile
Draw a small circle inside each eye patch, then a tiny dot in the middle of each one. Add a small dot for the nose between the patches, and a short curved smile underneath.
Step 9: Little feet
At the bottom of the body, draw two small U shapes that peek out, one on the left and one on the right. They look like tiny feet tucked under the tummy.
All done!
Erase the guide shapes, go over your lines, then color it in.
Finished your sloth? Keep the pencils out and learn how to draw a penguin or how to draw a panda next.
Tips for drawing a sloth
- Draw the branch first and make it long. The arms reach up to it, so it helps to know exactly where it sits.
- Draw each arm as two lines that run side by side, starting under the branch and bending down to the body. Keep the two lines the same distance apart so the arm looks like a long strip.
- Make the three hooked fingers small and close together, and draw the same number on both hands so the claws look neat.
Free sloth coloring page
Want to go straight to coloring? Open this sloth coloring page at full size and print it. It is the same drawing you just learned, with clean lines ready for crayons or markers.
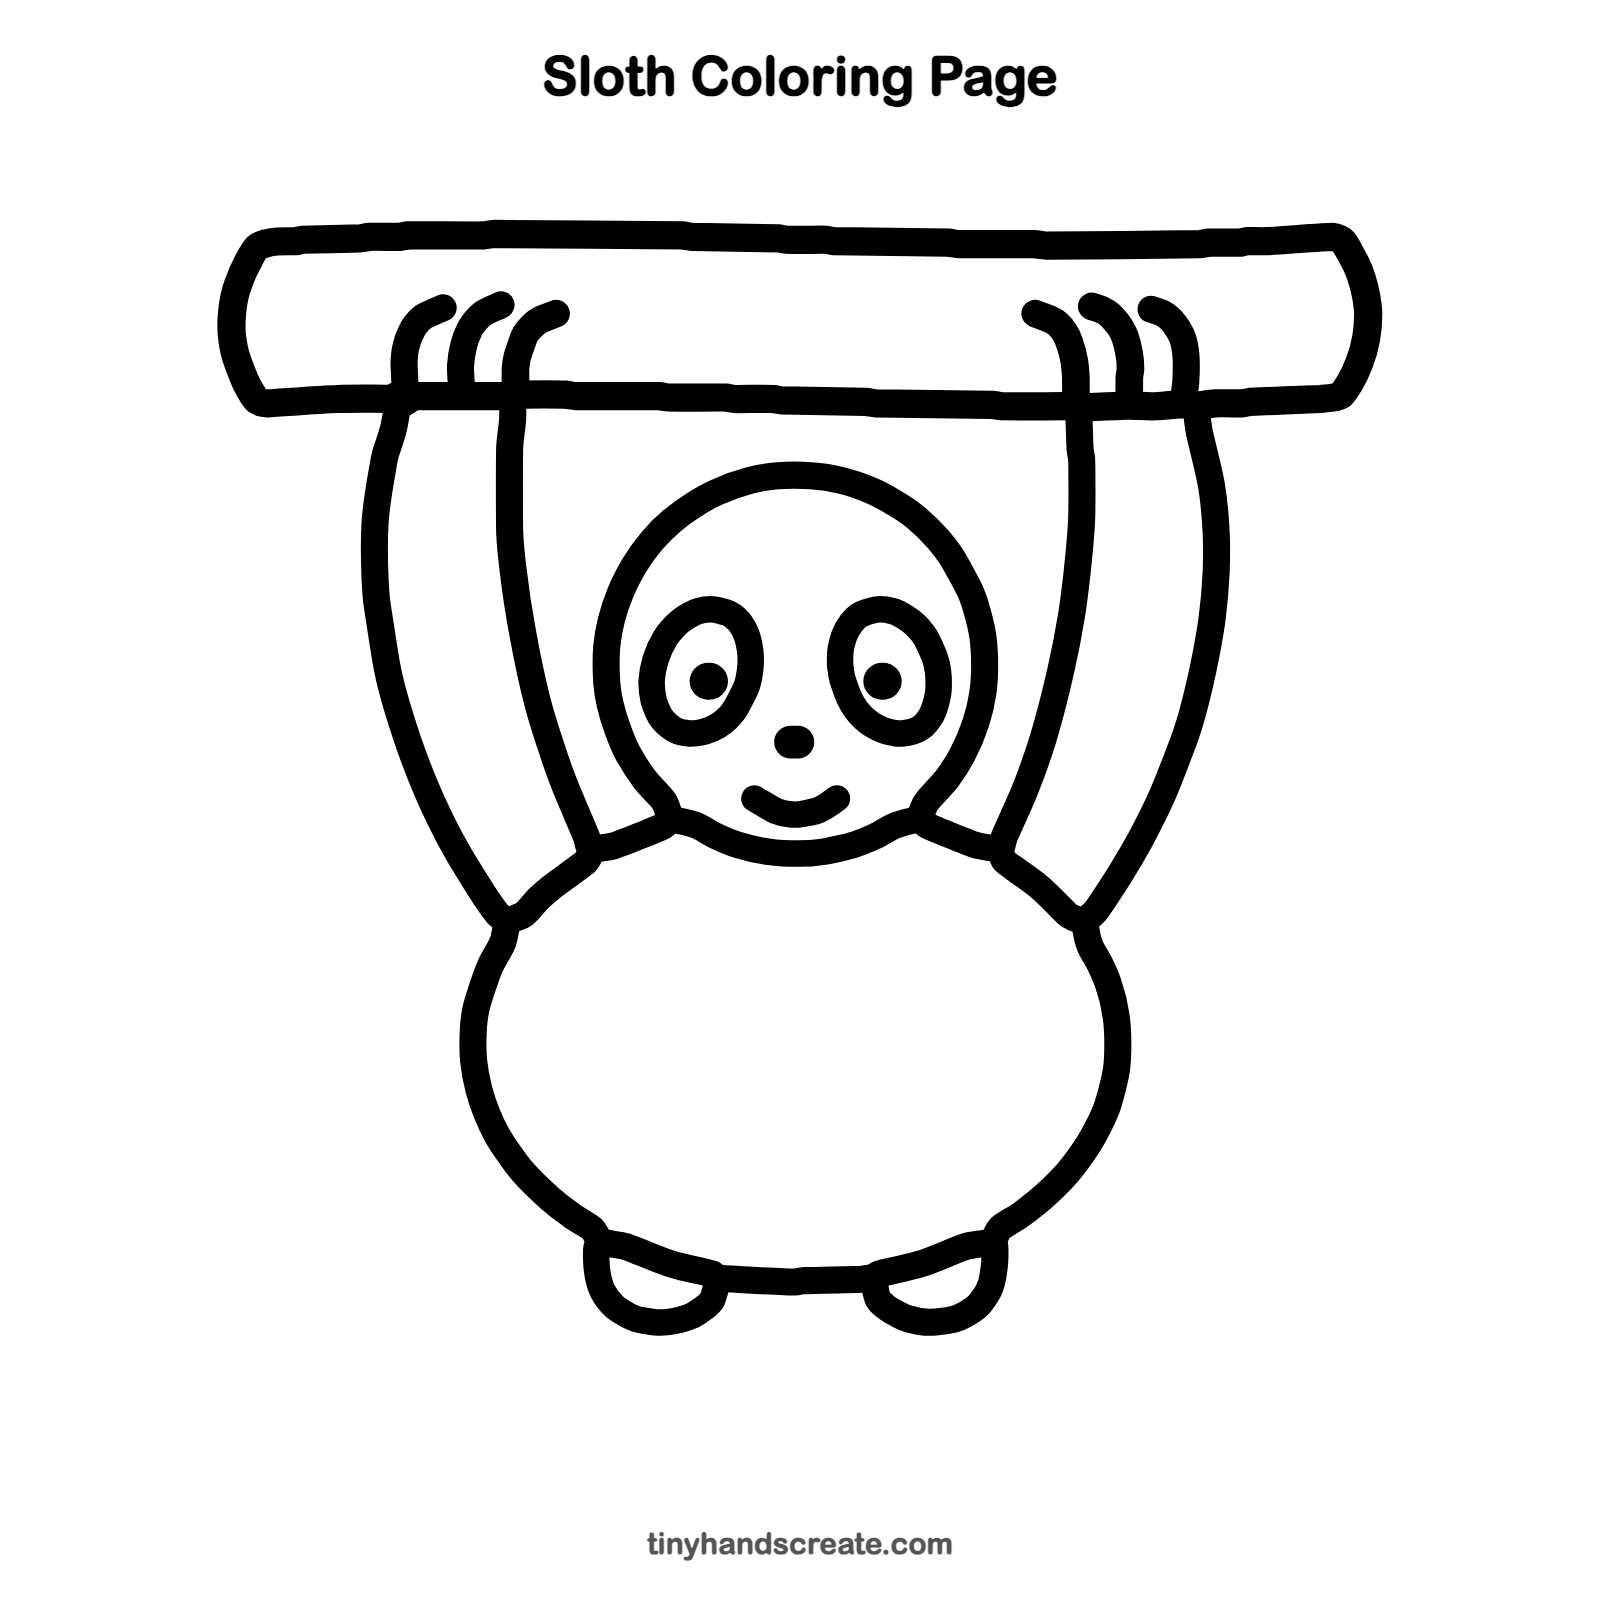
How to color your sloth drawing
Try warm browns and tans for the sloth, with a darker brown for the eye patches and a green branch. For a creative twist, add leaves and little flowers growing along the branch.
Sloth fun fact for kids
Sloths move so slowly that tiny green algae can grow in their fur. They spend most of their lives hanging upside down in trees.
Questions about drawing a sloth
What shapes do I need to draw a sloth?
You need one big oval for the body, a circle for the head, two smaller ovals for the eye patches, and long curved lines for the arms. A long rounded rectangle makes the branch.
How do I make my sloth look cuter?
Draw the eye patches big and the eyes small and round, and finish with a little curved smile. Tilting the eye patches just a bit makes the sloth look extra sleepy and sweet.
How do I draw a sloth hanging from a branch?
Draw the branch first, then start the arms under the branch and curve them down to the body. Add three little hooked fingers at the top of each arm so it looks like the sloth is holding on.