How to Draw a Brownie (Easy Step by Step)
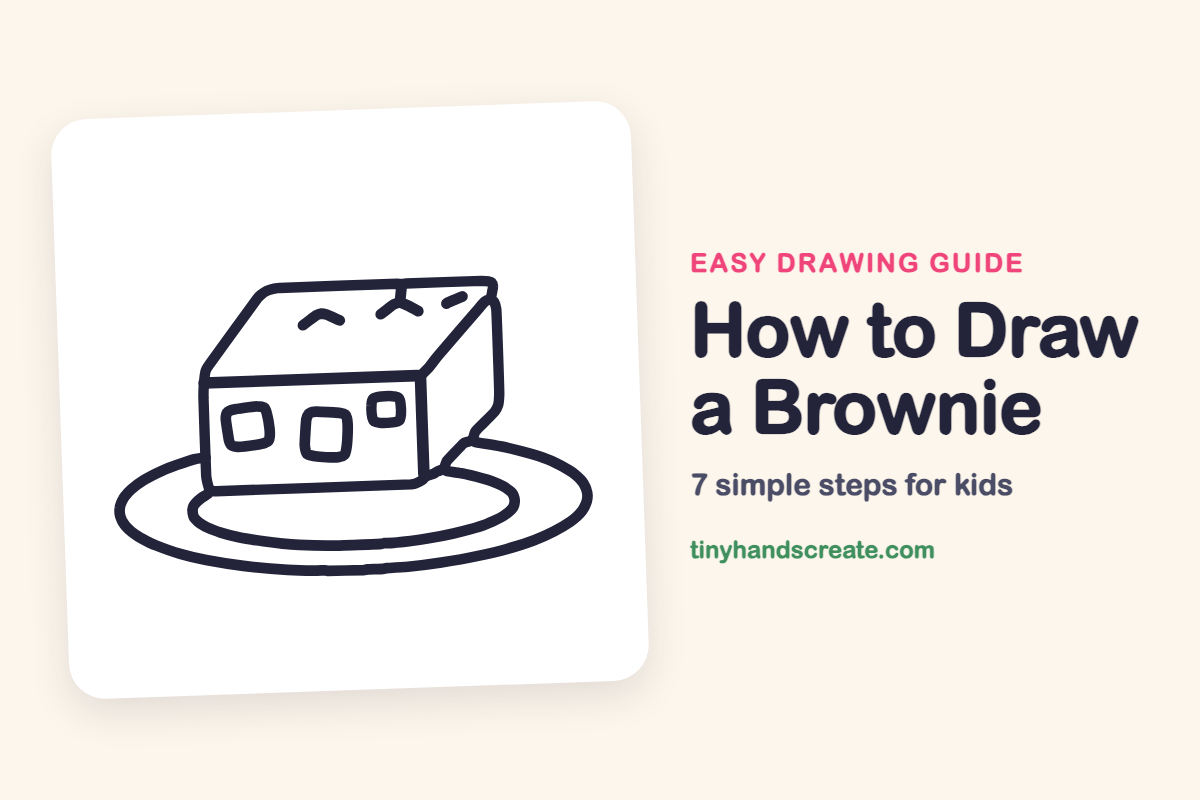
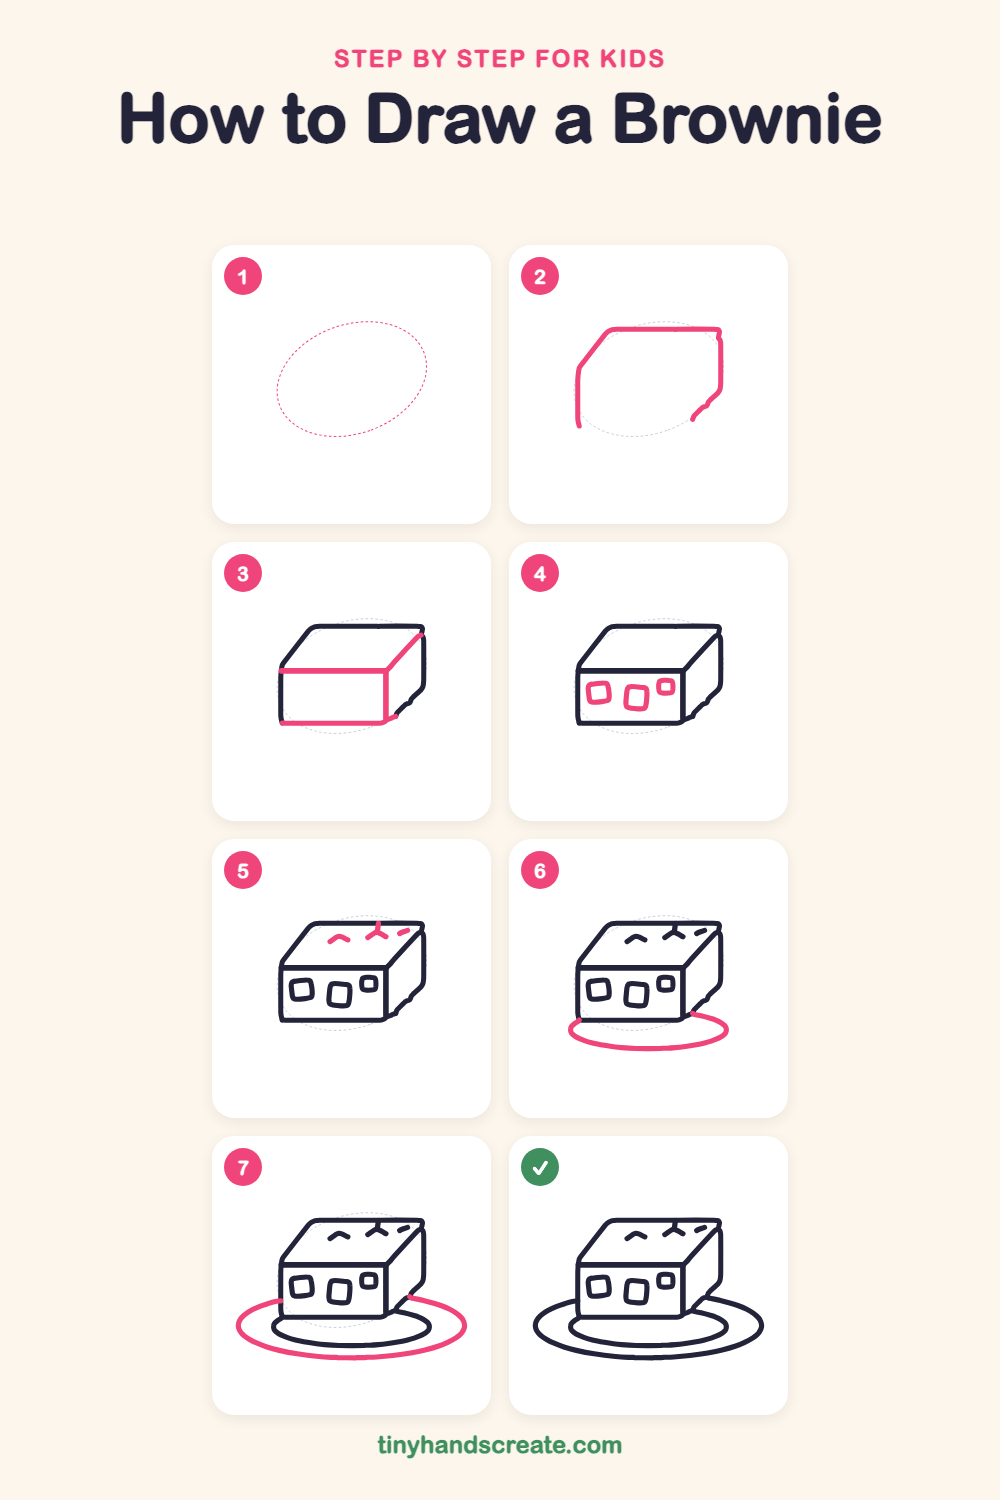
A brownie is a fun thing to draw because it is really just a box sitting on a plate. You will use a slanted box shape, three small rounded squares, a few tiny crumb marks, and two ovals.
- Easy
- 10 minutes
- 7 steps
You need: paper, a pencil, an eraser, and crayons or markers for coloring.
Start drawingIn this article (7 sections)
How to draw a brownie step by step
How to Draw a Brownie · tinyhandscreate.com
Step 1: Guide shapes
Lightly sketch this oval. It only shows where the big parts go, so press softly. You will erase it at the end.
Step 2: Outline of the box
Start low on the left and draw a slanted line up to the top left corner. Draw a straight line across the top, then go down the right side. Add a straight line going down on the left side.
Step 3: Edges of the box
Draw a straight line across the front from the left side to the right. From its right end, draw a slanted line up to the top right corner, and a line straight down to the bottom. Finish with a line along the bottom of the front.
Step 4: Chocolate chunks
On the front side, draw three little rounded squares in a row, each a different size. Leave a gap between them so they look like yummy chunks.
Step 5: Crumbs on top
On the top, draw a small curved arch on the left. Draw a little Y shape in the middle, then add one short dash near the right corner.
Step 6: The inner plate
Under the brownie, draw a wide flat oval. Start at the bottom left corner of the brownie and curve around to the bottom right.
Step 7: The big plate
Draw a bigger oval all around the first one, so the plate has a wide edge. Start beside the left side of the brownie and loop around to the right side.
All done!
Erase the guide shapes, go over your lines, then color it in.
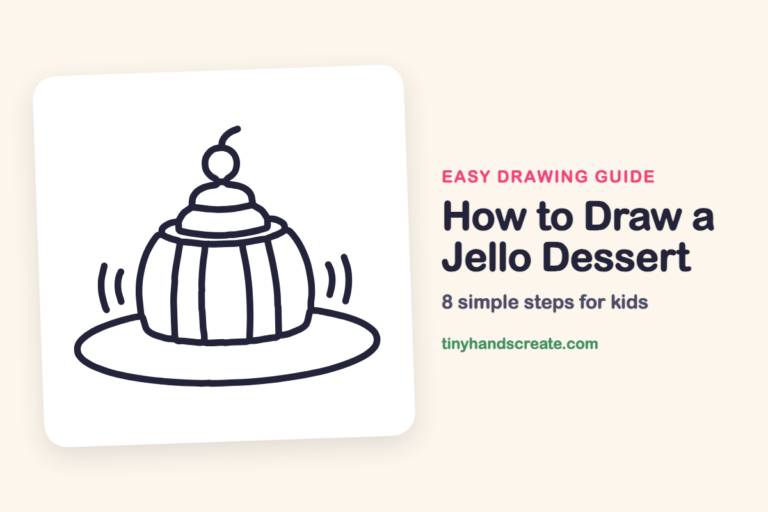
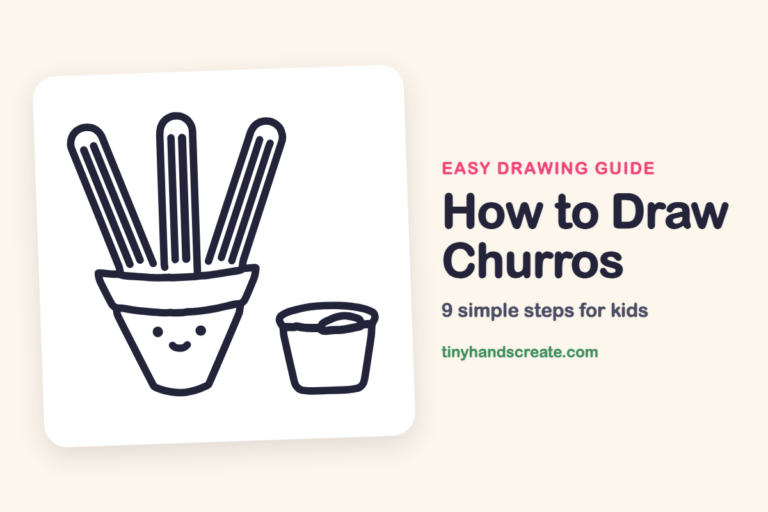
Finished your brownie? Keep the pencils out and learn how to draw a jello dessert or how to draw churros next.
Tips for drawing a brownie
- Draw the outline of the box first, then the line across the front. If the front line is straight, the box will look flat and solid.
- Make the chocolate chunks different sizes and slightly tilted. Wobbly squares look more like real chunks than perfect ones.
- Draw the inner plate oval first, then the outer one around it. Keep a steady gap between them so the rim looks even.
Free brownie coloring page
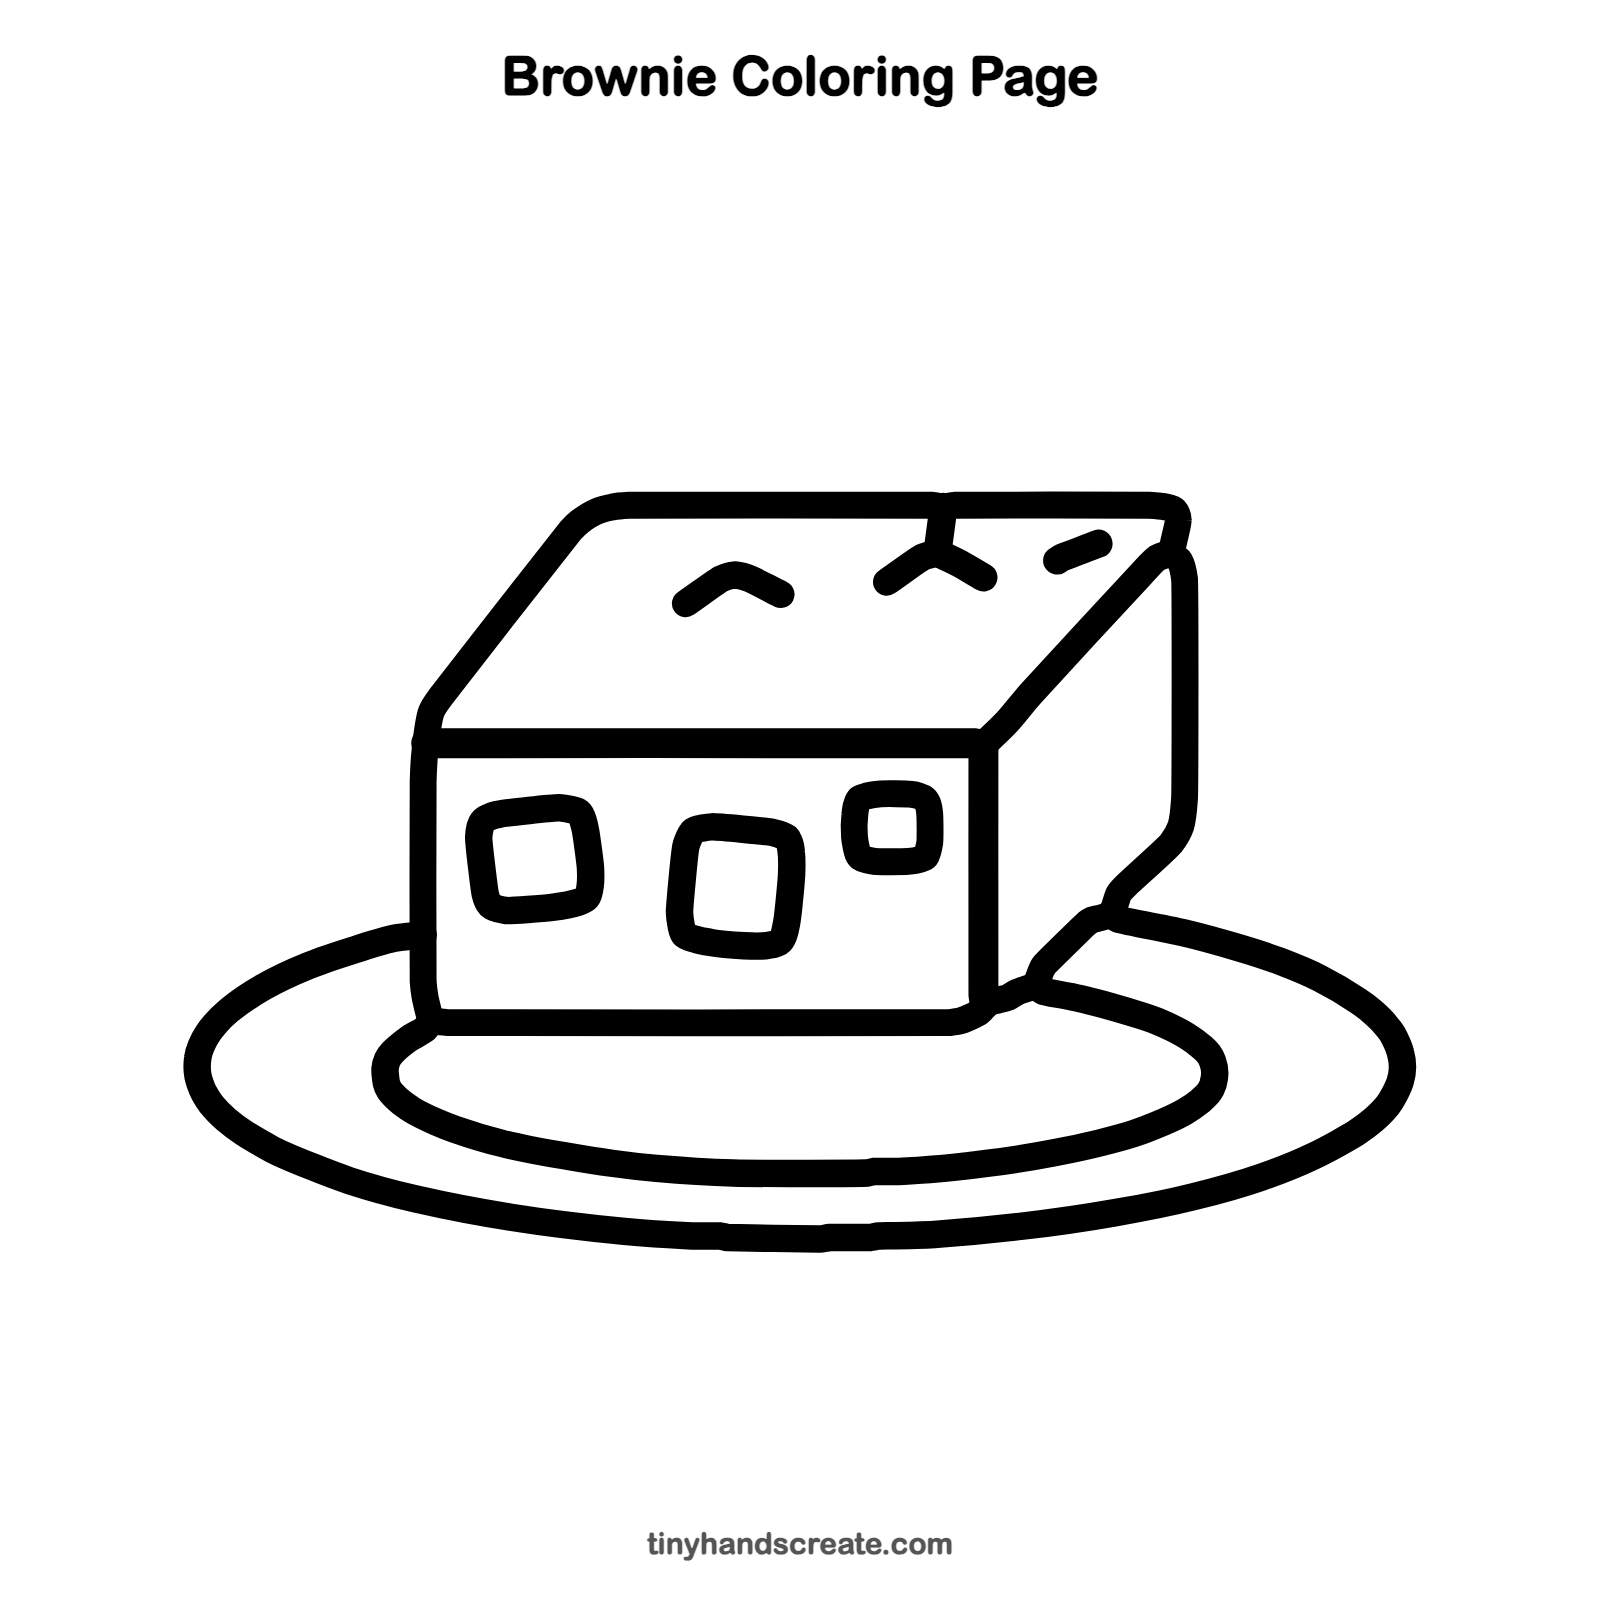
Want to go straight to coloring? Open this brownie coloring page at full size and print it. It is the same drawing you just learned, with clean lines ready for crayons or markers.
How to color your brownie drawing
Color the brownie in deep browns, with darker chunks and a lighter top. For a twist, try a bright blue plate.
Brownie fun fact for kids
One of the first known brownie recipes in a cookbook was printed in the United States in 1896, in Fannie Farmer's Boston Cooking-School Cook Book.
Questions about drawing a brownie
What shapes do I need to draw a brownie?
You need a box made from a slanted top and two sides, three small rounded squares for chocolate chunks, a few tiny crumb marks, and two ovals for the plate.
How do I make my brownie look more real?
Add chunks of different sizes on the front and a few crumb marks on top. Coloring the sides darker than the top also makes it look like a thick, fudgy square.
How do I draw the plate under the brownie?
Draw a wide, flat oval under the box, then a second bigger oval around it. Let the brownie sit in front of the inner oval so it looks like it is resting on the plate.