How to Draw a Whole Pizza (Easy Step by Step)
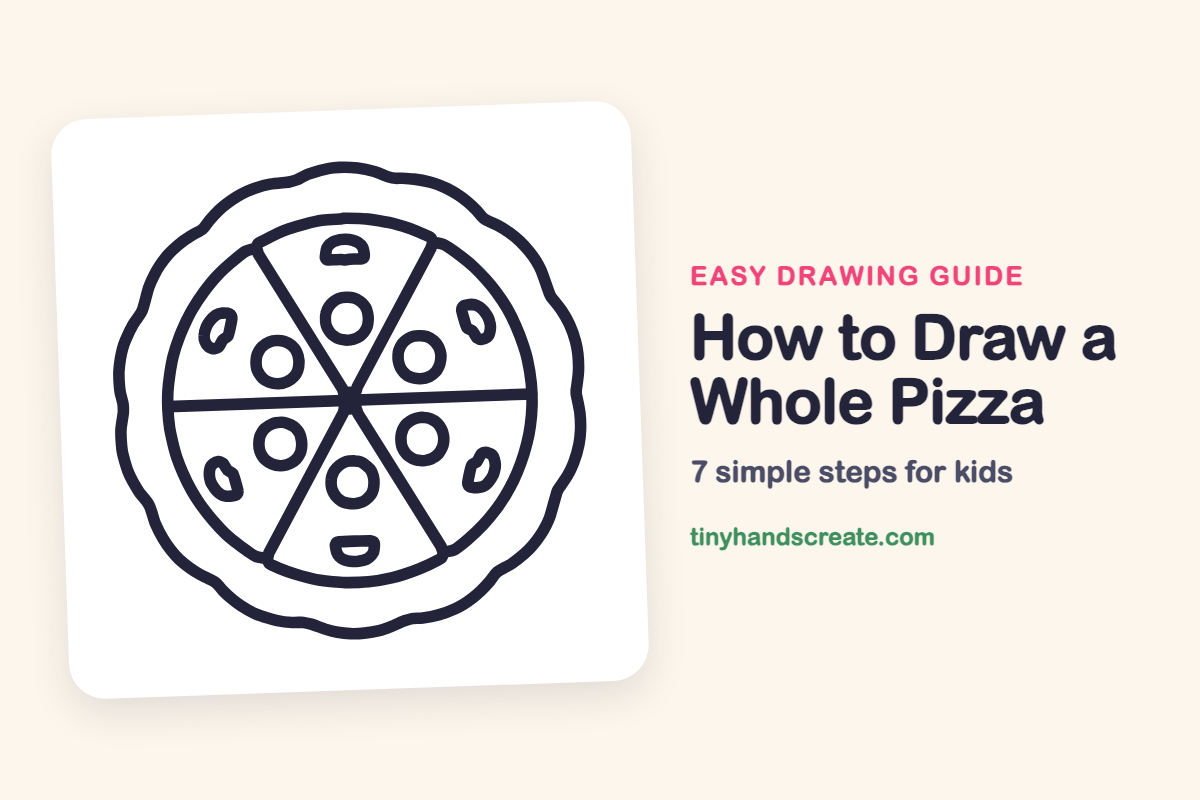
A whole pizza is a great first drawing because it is mostly circles and straight lines. You will draw a wavy crust, six slices, round pepperoni, and small toppings near the edge. Every slice matches the others, so once you draw one it is easy to repeat.
- Easy
- 10 minutes
- 7 steps
You need: paper, a pencil, an eraser, and crayons or markers for coloring.
Start drawingIn this article (7 sections)
How to draw a whole pizza step by step
How to Draw a Whole Pizza · tinyhandscreate.com
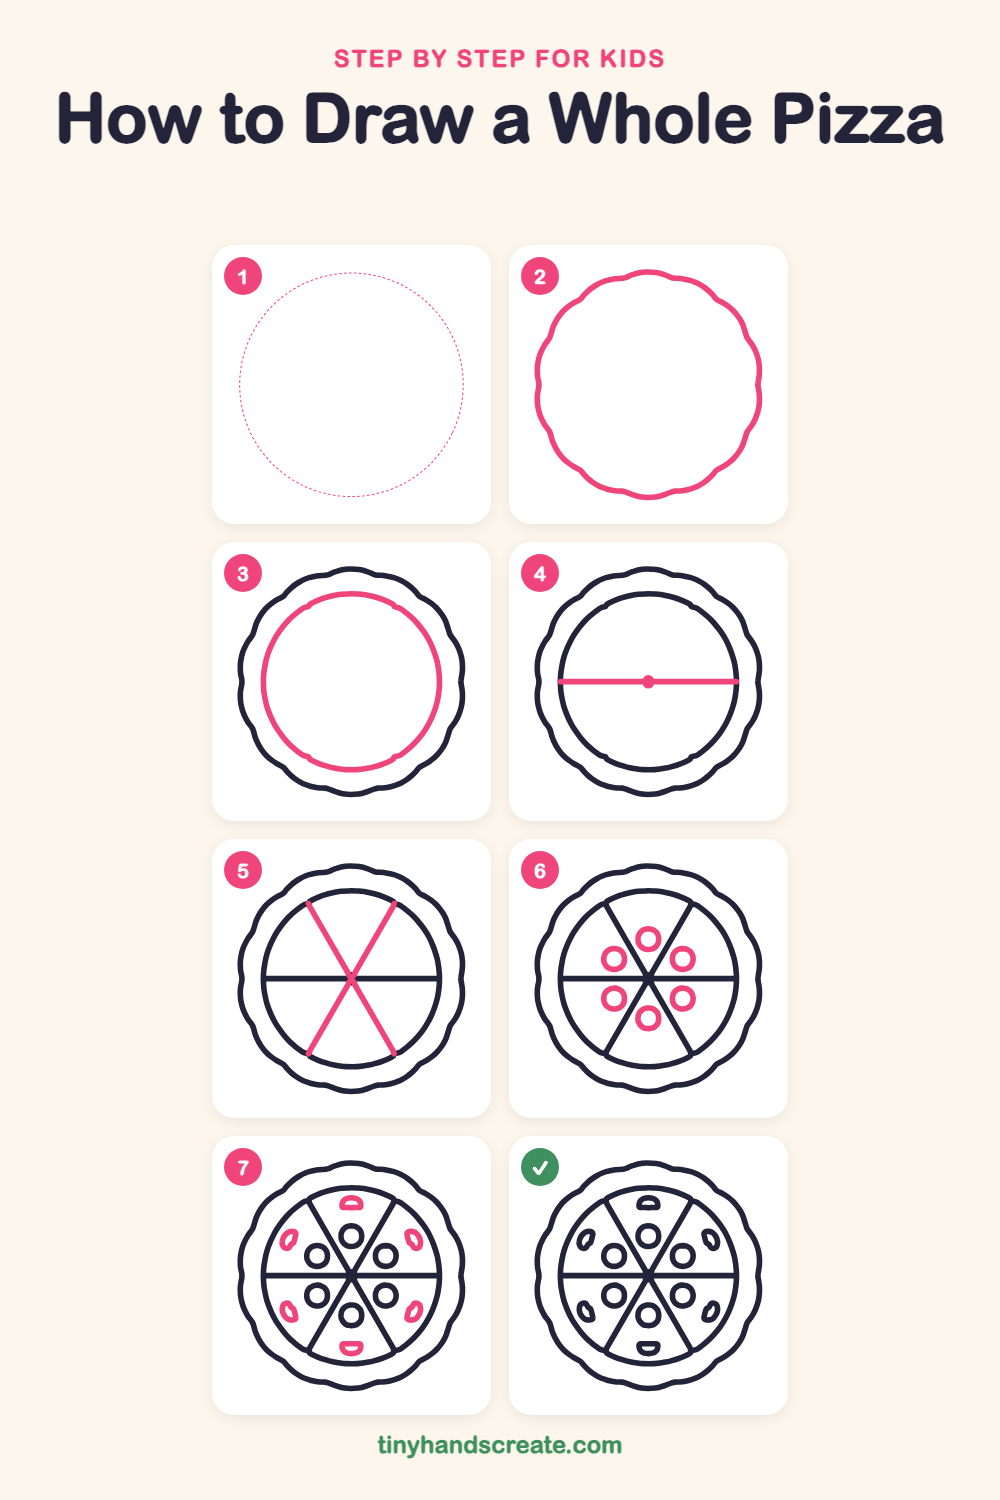
Step 1: Guide shapes
Lightly sketch this oval. It only shows where the big parts go, so press softly. You will erase it at the end.
Step 2: Wavy crust outline
Draw a big round shape with a bumpy, wavy line all the way around, like a soft cloud. It helps to follow a light circle as a guide.
Step 3: Inner cheese circle
Inside the wavy outline, draw a smaller circle that sits a little way in from the edge. The space between the two lines is the puffy crust.
Step 4: Middle line and dot
Draw one straight line across the middle of the inner circle, from one side to the other. Add a small dot in the center of the line.
Step 5: Crossing slice lines
Draw two more straight lines that cross at the center dot and go out to the edge of the inner circle. Now your pizza has six slices shaped like triangles.
Step 6: Pepperoni circles
Draw one small circle in each slice, close to the center. Try to make them all the same size and the same distance from the middle.
Step 7: Small edge toppings
Near the crust in each slice, draw one small half circle or bean shape. The top and bottom ones are little domes, and the side ones tilt a bit.
All done!
Erase the guide shapes, go over your lines, then color it in.
Finished your whole pizza? Keep the pencils out and learn how to draw a brownie or how to draw a jello dessert next.
Tips for drawing a whole pizza
- Start the wavy crust by following a light pencil circle, then make small bumps all the way around. Wavy lines are easier when you follow a round guide.
- Draw the inner circle a little way inside the crust so the crust looks thick and puffy.
- Draw the line across the middle first, then two lines that cross at the center dot. This makes six slices that are easy to space evenly.
- Place one pepperoni circle in each slice at the same distance from the center, so the pizza looks neat.
Free whole pizza coloring page
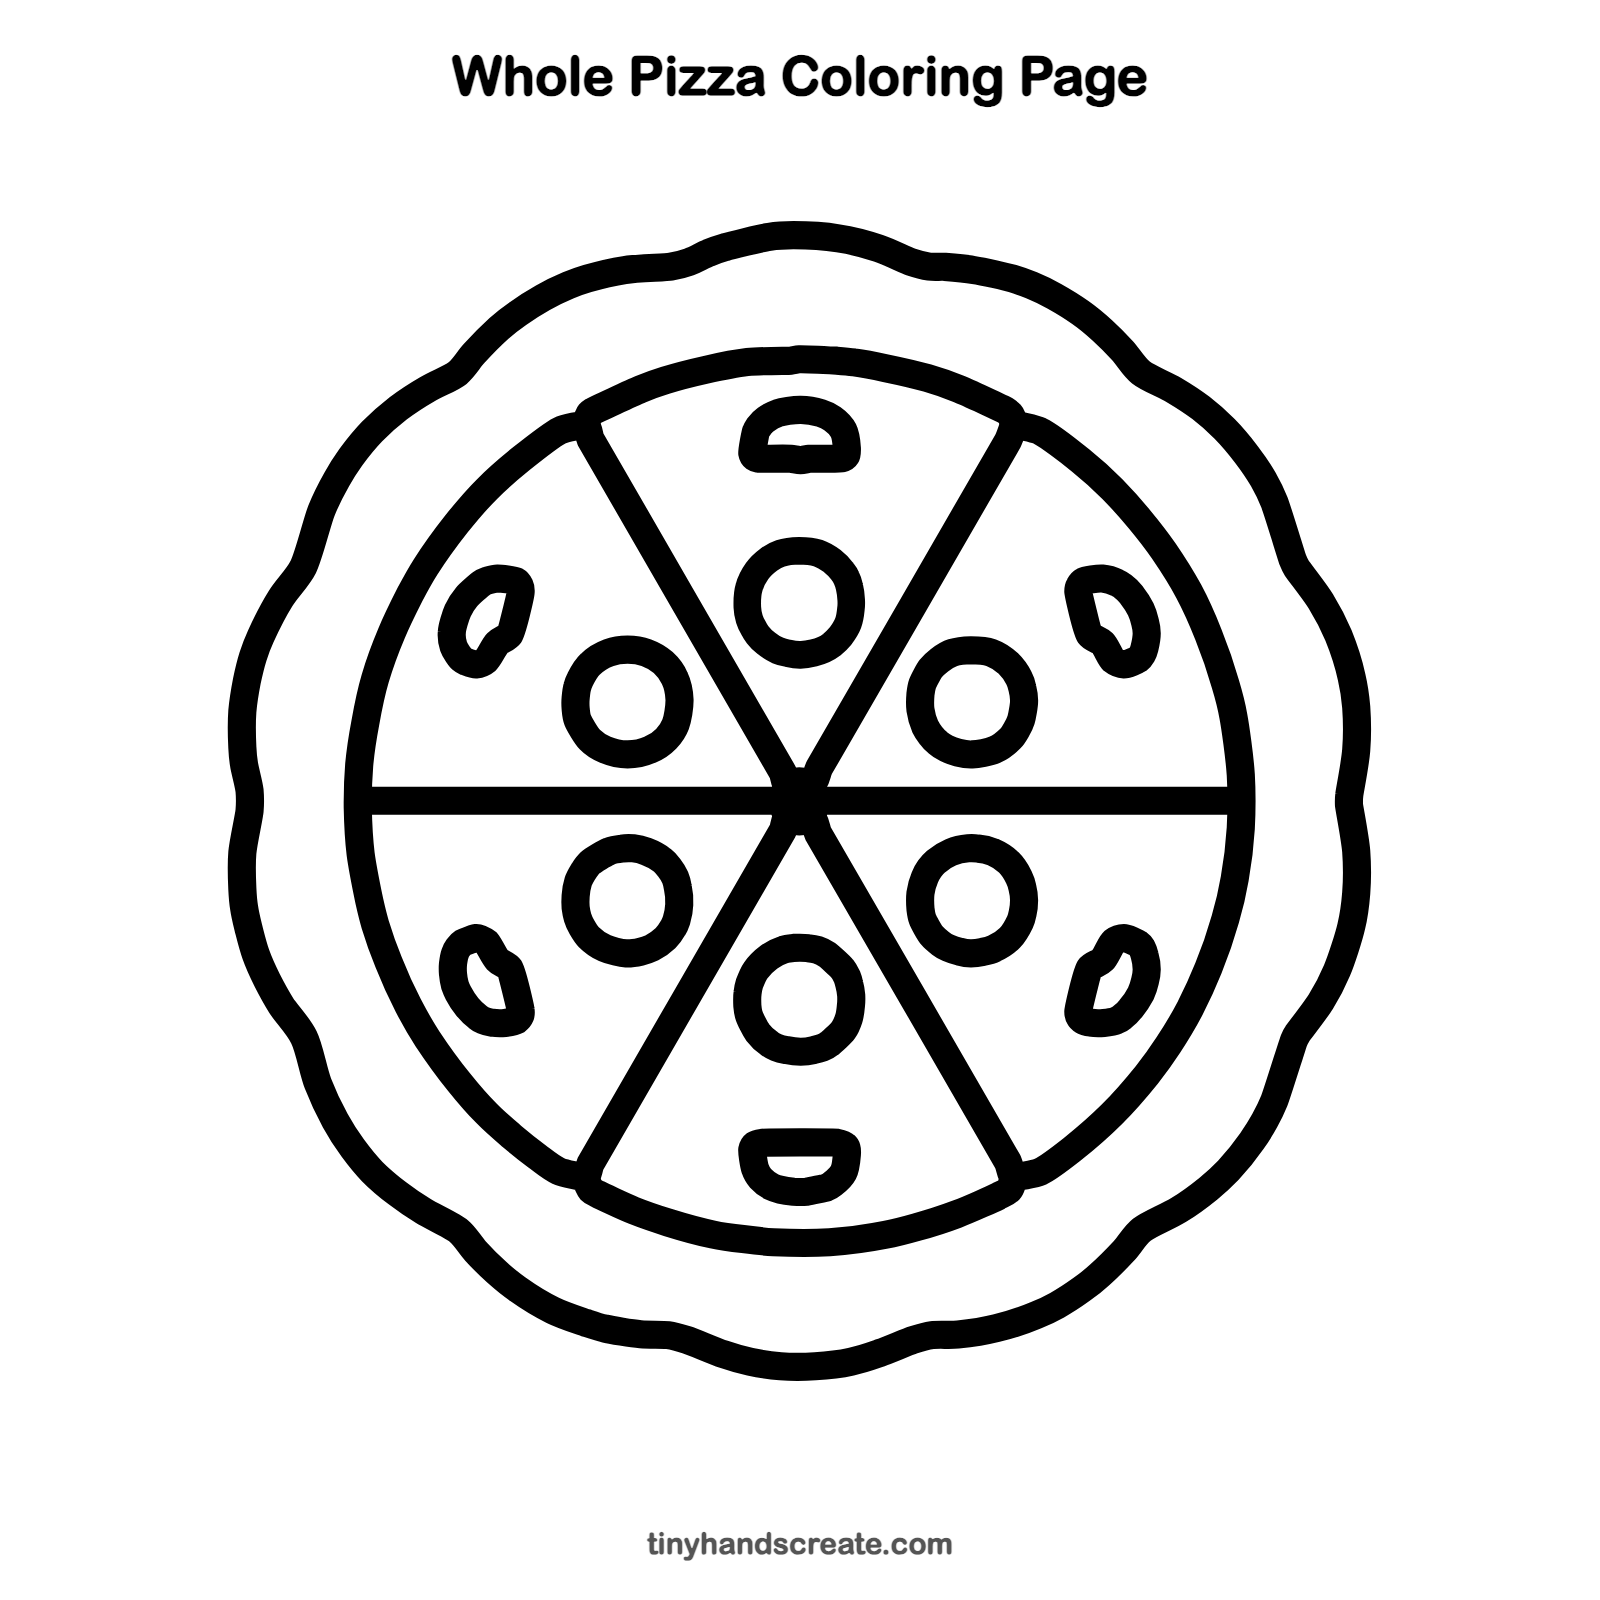
Want to go straight to coloring? Open this whole pizza coloring page at full size and print it. It is the same drawing you just learned, with clean lines ready for crayons or markers.
How to color your whole pizza drawing
Try golden brown for the crust, yellow for the cheese, red for the pepperoni, and dark green or black for the small edge toppings. For a creative twist, make a rainbow pizza with a different silly color in each slice.
Whole pizza fun fact for kids
Pizza as we know it comes from Naples, Italy. A popular story says the Margherita pizza was named after Queen Margherita of Italy in 1889, because its red tomato, white cheese, and green basil match the colors of the Italian flag.
Questions about drawing a whole pizza
What shapes do I need to draw a pizza?
You need circles for the crust, cheese, and pepperoni, and straight lines for the slices. The small edge toppings are tiny half circles or bean shapes.
How do I draw the wavy crust edge?
Sketch a light circle first, then draw small bumps along it, going up and down like gentle hills. You can erase the circle when you are done.
How do I make the slices the same size?
Draw one line across the middle and put a dot in the center. Then draw two more lines that cross at the dot, spaced evenly. Step back and check that the six slices look about equal.