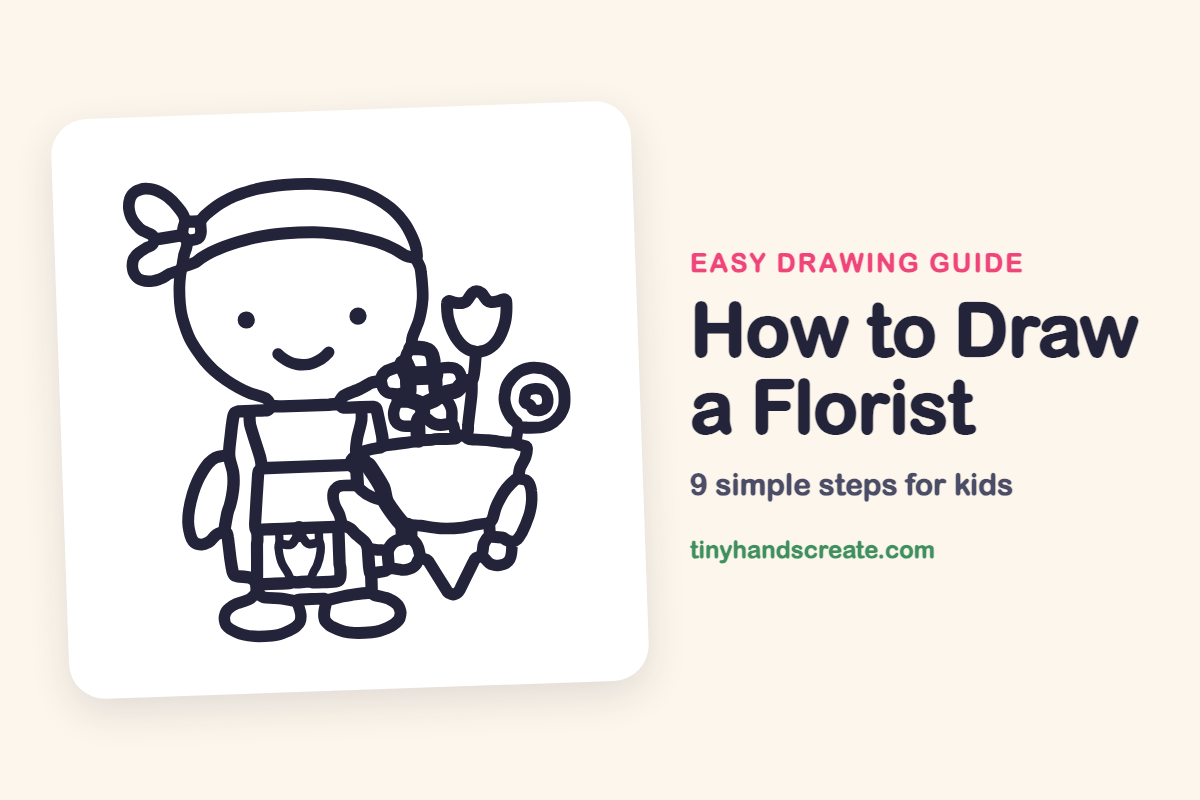
How to Draw a Florist (Easy Step by Step)
This little florist is fun to draw because almost everything is a simple shape. The head is a big circle, the body is a rectangle, and the bouquet wrap is a cone. Kids can finish with a happy face and a bow on the headband.
- Medium
- 15 minutes
- 9 steps
You need: paper, a pencil, an eraser, and crayons or markers for coloring.
Start drawingIn this article (7 sections)
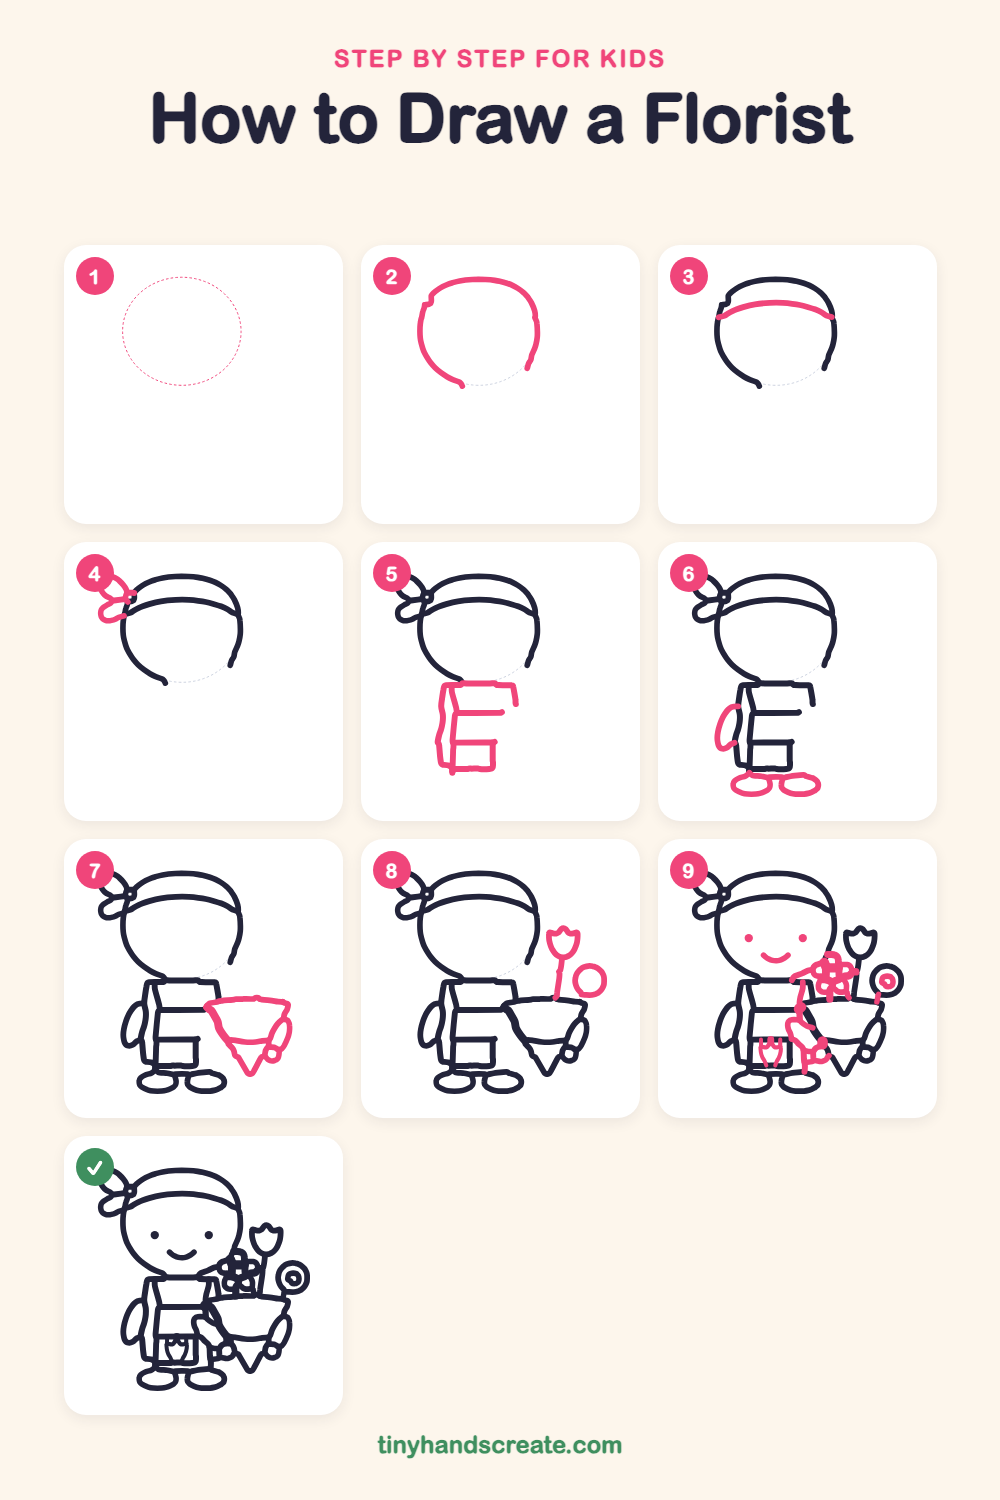
How to draw a florist step by step
How to Draw a Florist · tinyhandscreate.com
Step 1: Guide shapes
Lightly sketch this oval. It only shows where the big parts go, so press softly. You will erase it at the end.
Step 2: The round head
Draw a big round shape for the head, a little wider than it is tall. Leave a small gap at the bottom where the body will go.
Step 3: The headband
Draw a curved line across the top of the head, like a rainbow lying on its side. It starts at the left edge of the head and ends at the right edge.
Step 4: The bow
On the left side of the headband, draw two loops that look like butterfly wings. Add a small knot where the loops meet the headband.
Step 5: Body and apron
Under the head, draw a tall rectangle for the body. Inside it, add a short line across the upper part and a small square at the bottom for the apron pocket.
Step 6: Arm and shoes
Draw a long curved oval for the arm on the left side of the body. Then add two flat ovals at the bottom for the shoes.
Step 7: The bouquet wrap
On the right side of the body, draw a wide curved line for the top of the paper wrap, then slope the sides down to a point like an ice cream cone. Add a curved band across the middle and a small round hand on the right side holding the wrap.
Step 8: Tulip and round flower
Above the wrap, draw a tulip shape with a wiggly top and a straight stem going down into the wrap. Next to it, draw a circle for a round flower.
Step 9: Face and flower details
Add two round dots for eyes and a curved smile. Then draw a flower with petals in the middle of the bouquet, a small swirl in the circle, a tiny tulip on the apron pocket, and a hand on the left side holding the wrap.
All done!
Erase the guide shapes, go over your lines, then color it in.
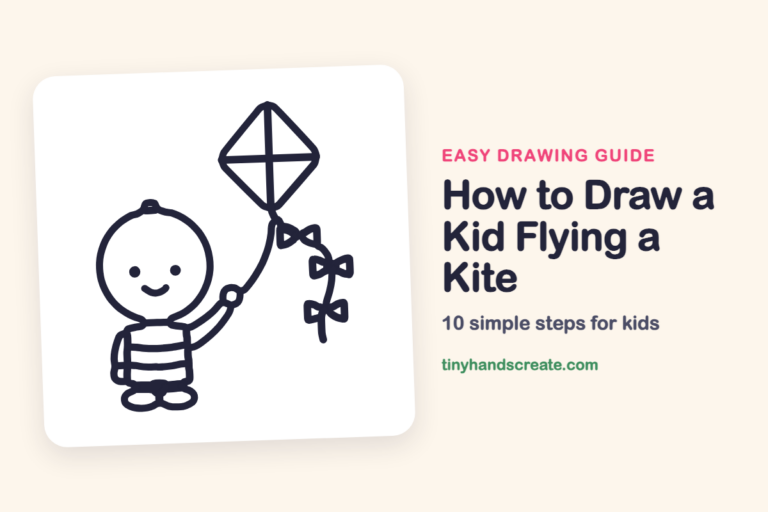
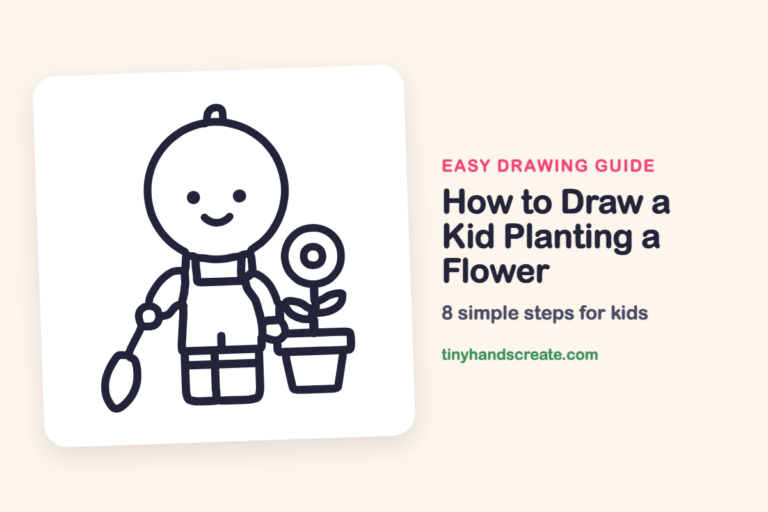
Finished your florist? Keep the pencils out and learn how to draw a kid flying a kite or how to draw a kid planting a flower next.
Tips for drawing a florist
- Draw the bouquet wrap as a wide top with sides sloping down to a point. Then add the curved band across the middle so it looks like paper wrap.
- Draw the headband first, then tuck the bow against its left end.
- Draw the tulip as a small cup with a wavy top edge, then add a long straight stem underneath.
Free florist coloring page
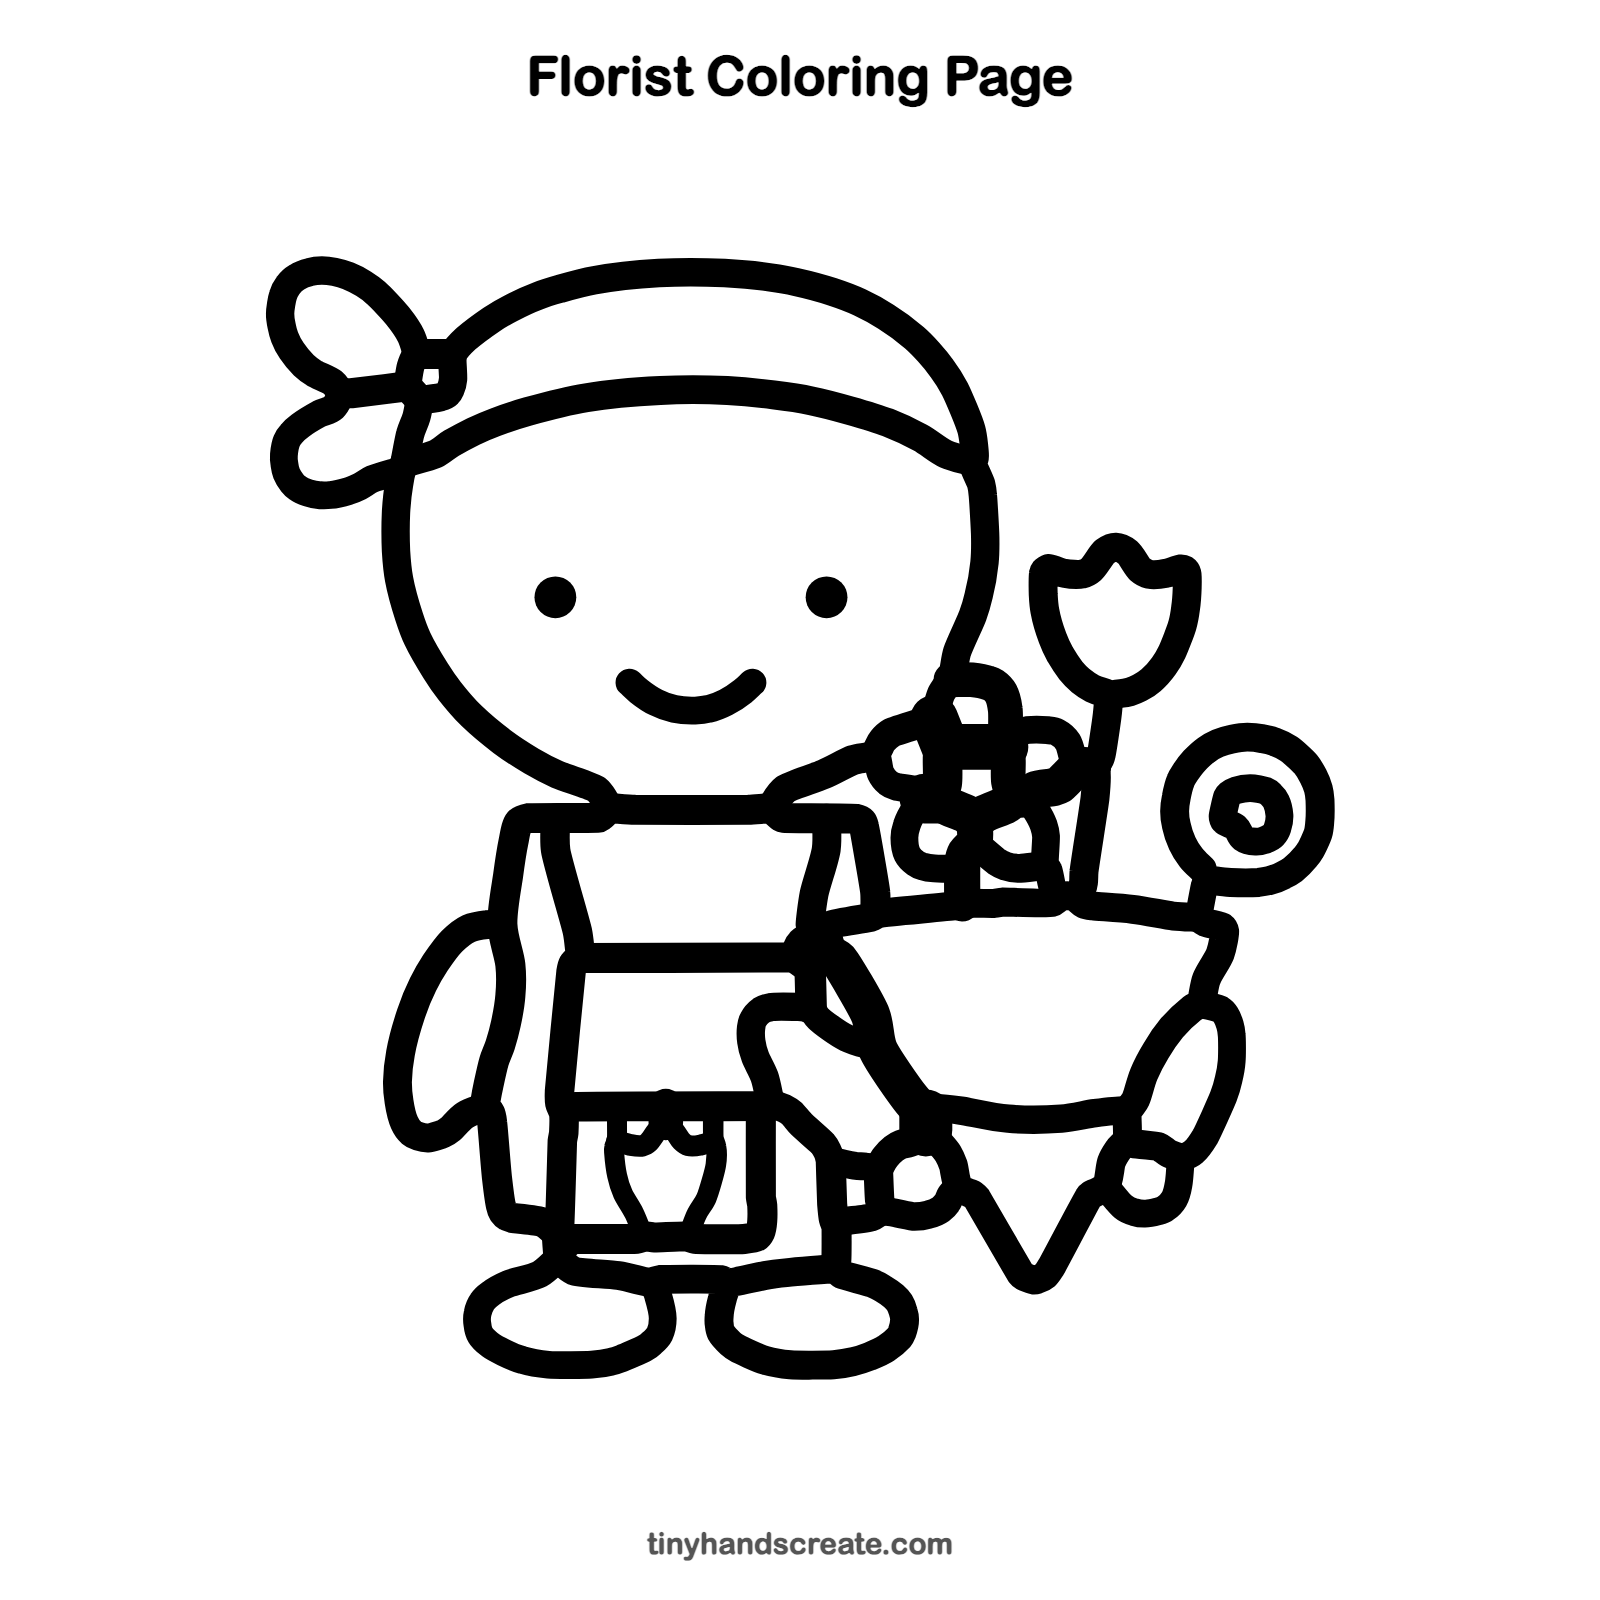
Want to go straight to coloring? Open this florist coloring page at full size and print it. It is the same drawing you just learned, with clean lines ready for crayons or markers.
How to color your florist drawing
Try a pink bow and apron with a bouquet of red, yellow and purple flowers. For a creative twist, give each flower a different color so the bouquet looks like a rainbow.
Florist fun fact for kids
Tulips grow from bulbs, which are planted in the fall and rest underground all winter before blooming in spring.
Questions about drawing a florist
What shapes do I need to draw a florist?
You need a big circle for the head, a rectangle for the body, ovals for the arm and shoes, and a cone shape for the bouquet wrap. The tulip is a small cup with a wavy top.
How do I make my florist look cuter?
Keep the face simple with two dot eyes set wide apart and a small smile. A bow on the headband adds a lot of charm.
How do I draw a tulip?
Start with a small cup shape. Then give the top a wavy edge and add a long, straight stem underneath.