How to Draw a Kid Flying a Kite (Easy Step by Step)
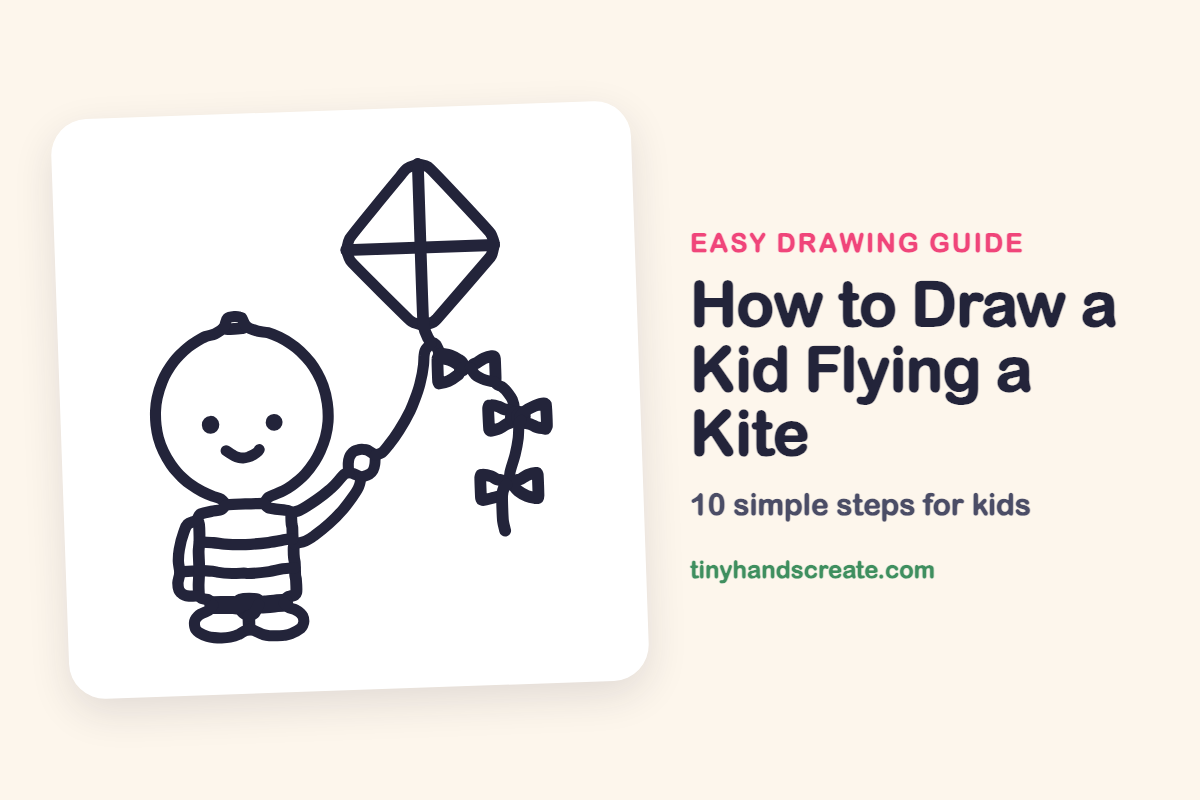
A kid flying a kite is a happy scene with very simple parts. The kid is a big circle head on a rounded box body, and the kite is just a diamond with a cross inside. The wiggly tail with its little bow ties is the part that makes it feel like it is dancing in the wind.
- Easy
- 15 minutes
- 10 steps
You need: paper, a pencil, an eraser, and crayons or markers for coloring.
Start drawingIn this article (7 sections)
How to draw a kid flying a kite step by step
How to Draw a Kid Flying a Kite · tinyhandscreate.com
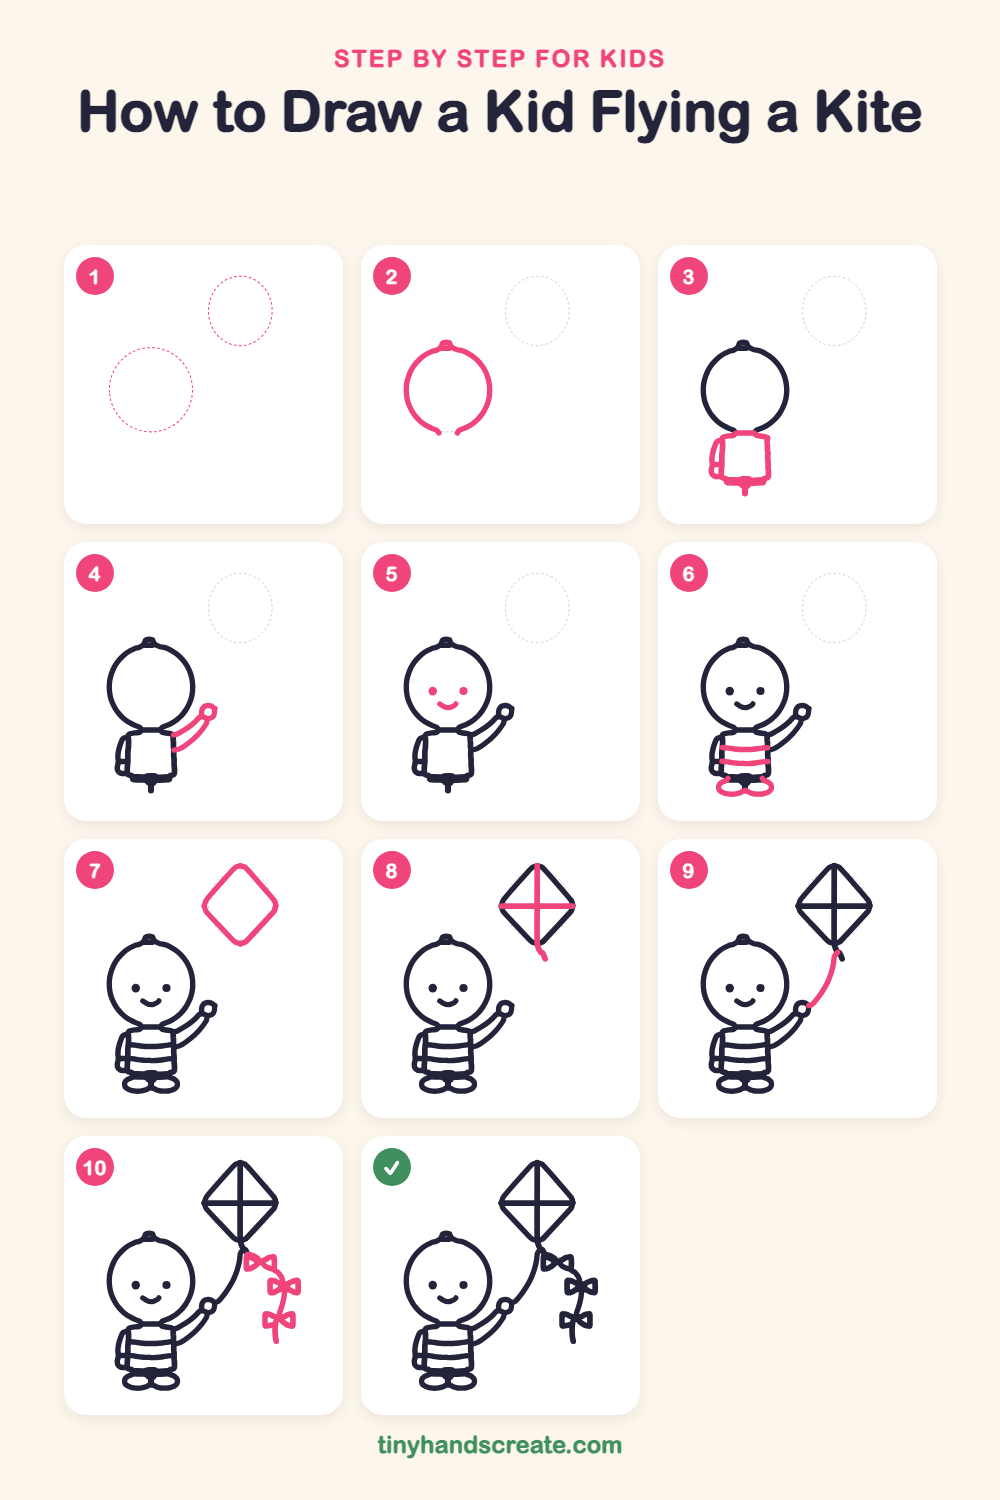
Step 1: Guide shapes
Lightly sketch these 2 ovals. They only show where the big parts go, so press softly. You will erase them at the end.
Step 2: The round head
Draw a big circle for the head, but stop before you close it and leave a little gap at the bottom. Add a tiny bump on top of the circle like a small tuft of hair.
Step 3: The body
Under the head, draw a rounded box shape for the shirt, a little narrower than the head. Add a small rounded bump on the left side for the hand hanging down.
Step 4: The raised arm
Start at the right shoulder and draw two curved lines going up and out, side by side like a bendy tube. Finish the end with a small circle for the fist.
Step 5: The happy face
Put two small dots for eyes on the head, side by side. Draw a little smile curve below them.
Step 6: Stripes and shoes
Draw two curved lines across the shirt for stripes. Then add two ovals at the bottom of the body for the shoes.
Step 7: The kite shape
Up in the sky, draw a big diamond with softly rounded corners, with a point at the top and bottom. Keep the sides even.
Step 8: Kite crossbars
Draw a straight line from the top point down past the bottom point. Then draw a line across the middle from side to side to make a cross.
Step 9: The kite string
Start at the bottom point of the kite and draw a long curved line down to the fist. Let it swoop like a gentle slide.
Step 10: The tail and bows
From the bottom of the kite, draw a wavy line hanging down. Add three bow ties along it, each made of two little triangles that meet in the middle.
All done!
Erase the guide shapes, go over your lines, then color it in.
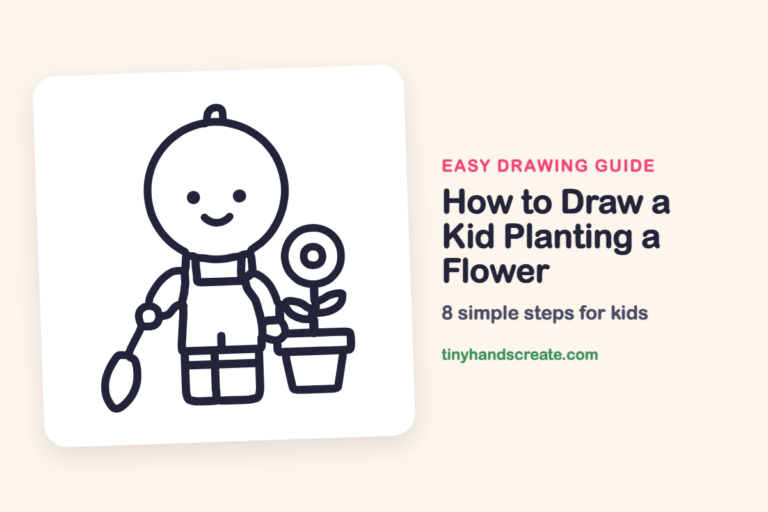
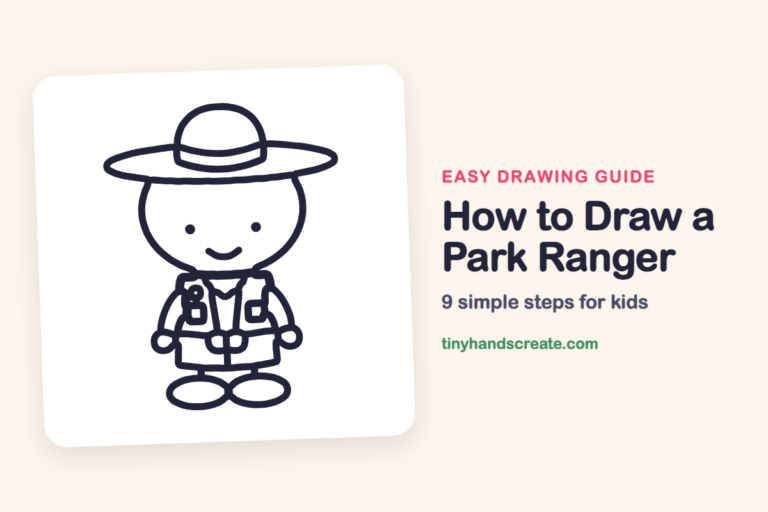
Finished your kid flying a kite? Keep the pencils out and learn how to draw a kid planting a flower or how to draw a park ranger next.
Tips for drawing a kid flying a kite
- Draw the head circle first and the body second so the kid looks balanced. The head should be a little bigger than the body for a cute look.
- For the kite, draw the diamond first, then add the cross inside it. Try to keep both sides of the diamond even.
- The kite string is the trickiest line. Draw it in one smooth swoop from the kite to the fist, and try it in the air with your finger first.
Free kid flying a kite coloring page
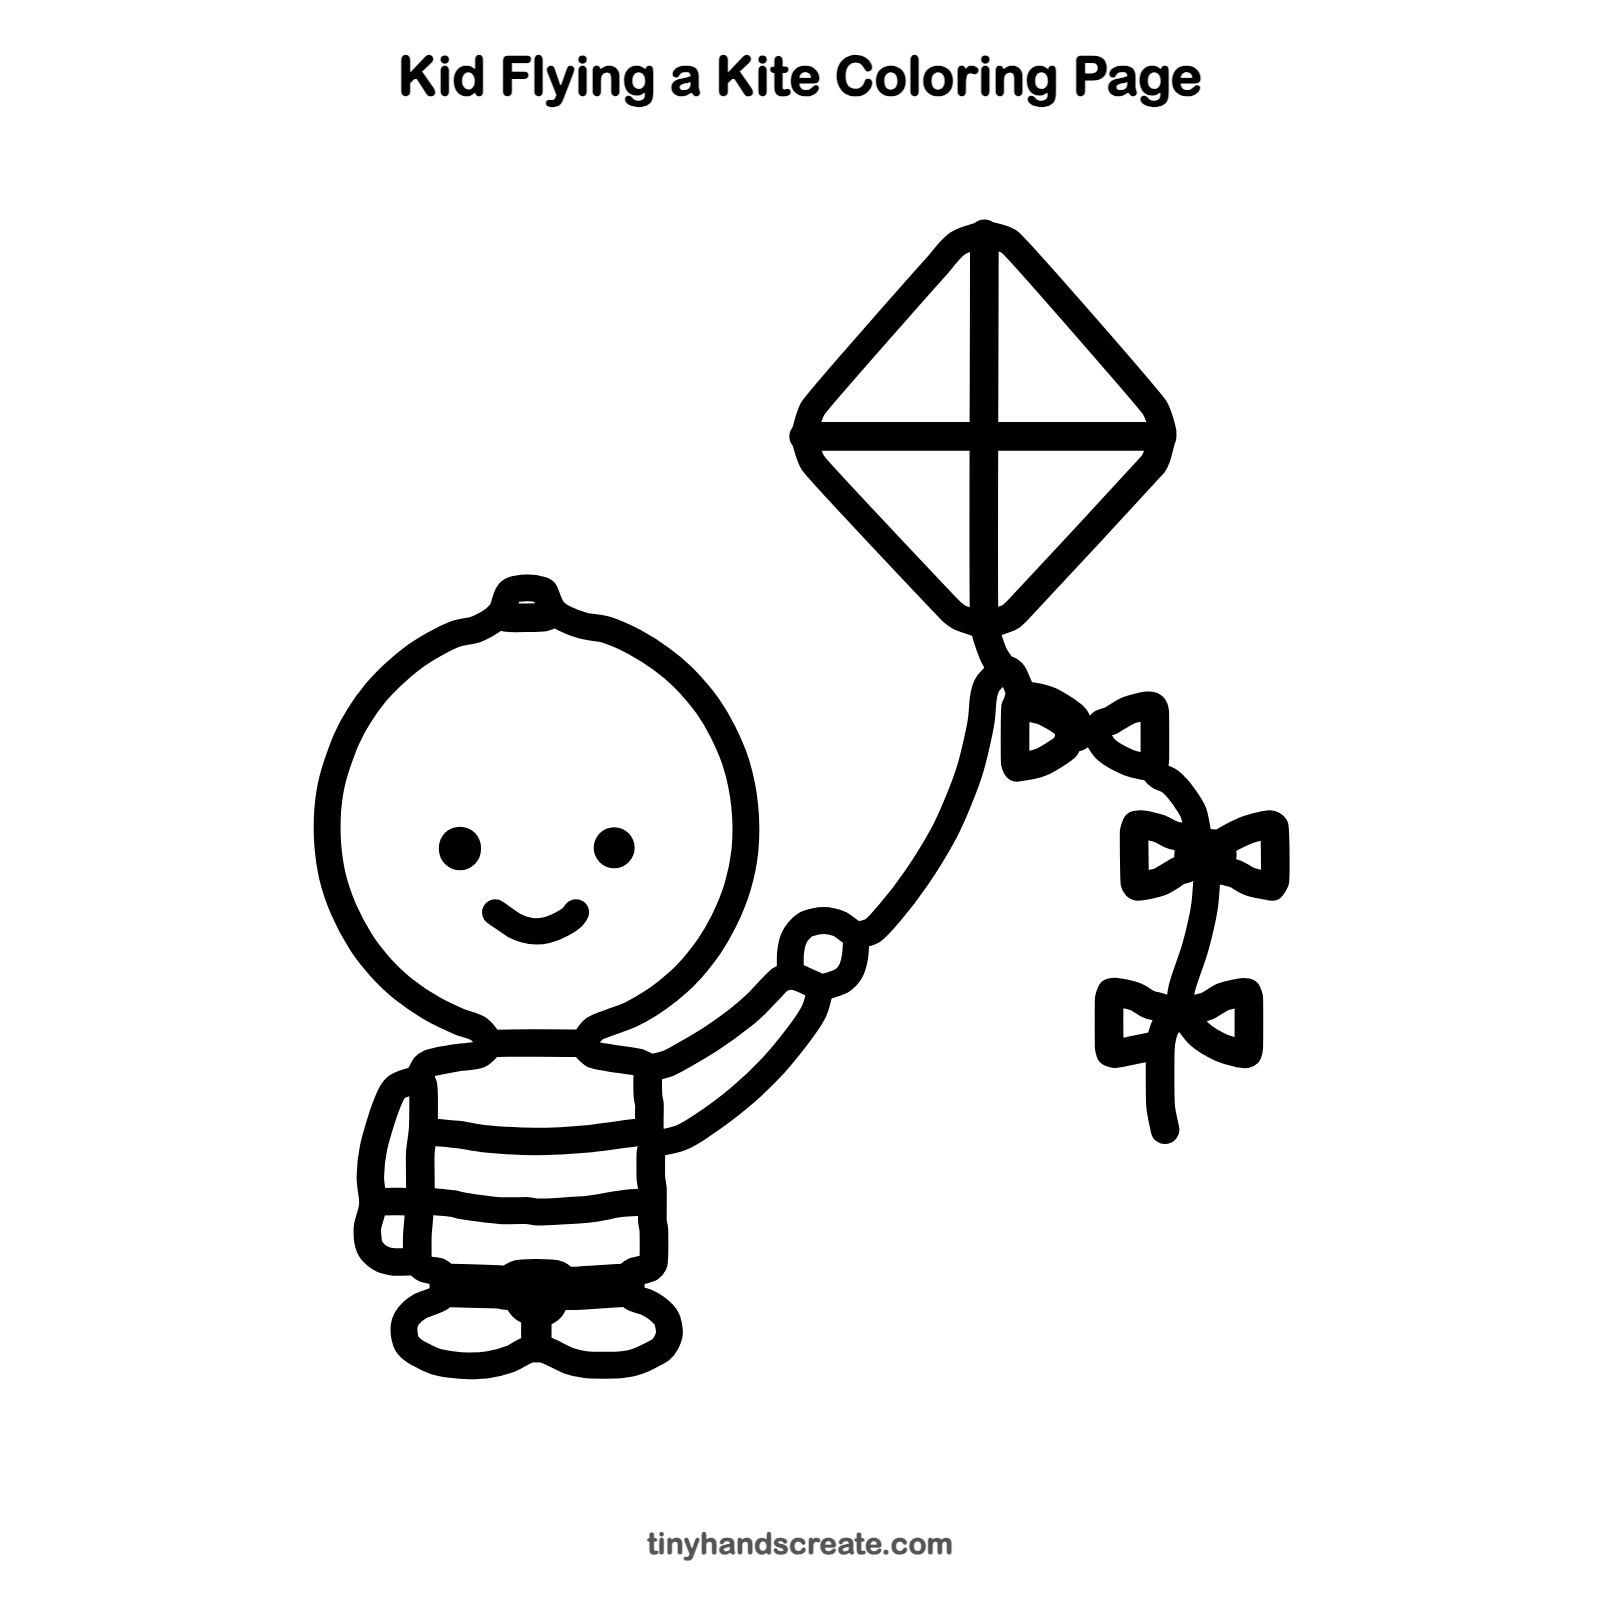
Want to go straight to coloring? Open this kid flying a kite coloring page at full size and print it. It is the same drawing you just learned, with clean lines ready for crayons or markers.
How to color your kid flying a kite drawing
Try a bright red and yellow kite, a blue and white striped shirt, and a different color for each bow on the tail. For a creative twist, add clouds and a few birds in the sky.
Kid flying a kite fun fact for kids
Kites were invented in China more than 2,000 years ago, and early ones were made from silk and bamboo.
Questions about drawing a kid flying a kite
What shapes do I need to draw a kid flying a kite?
You need a circle for the head, a rounded rectangle for the body, and a diamond for the kite. The bows on the tail are made of small triangles.
How do I make my kite look like it is flying?
Make the string curve and let the tail wiggle. Curved lines look like wind is moving them.
How do I make the kid look cuter?
Keep the head big and round, and put the eyes wide apart. A small smile and tiny shoes make the kid look extra sweet.