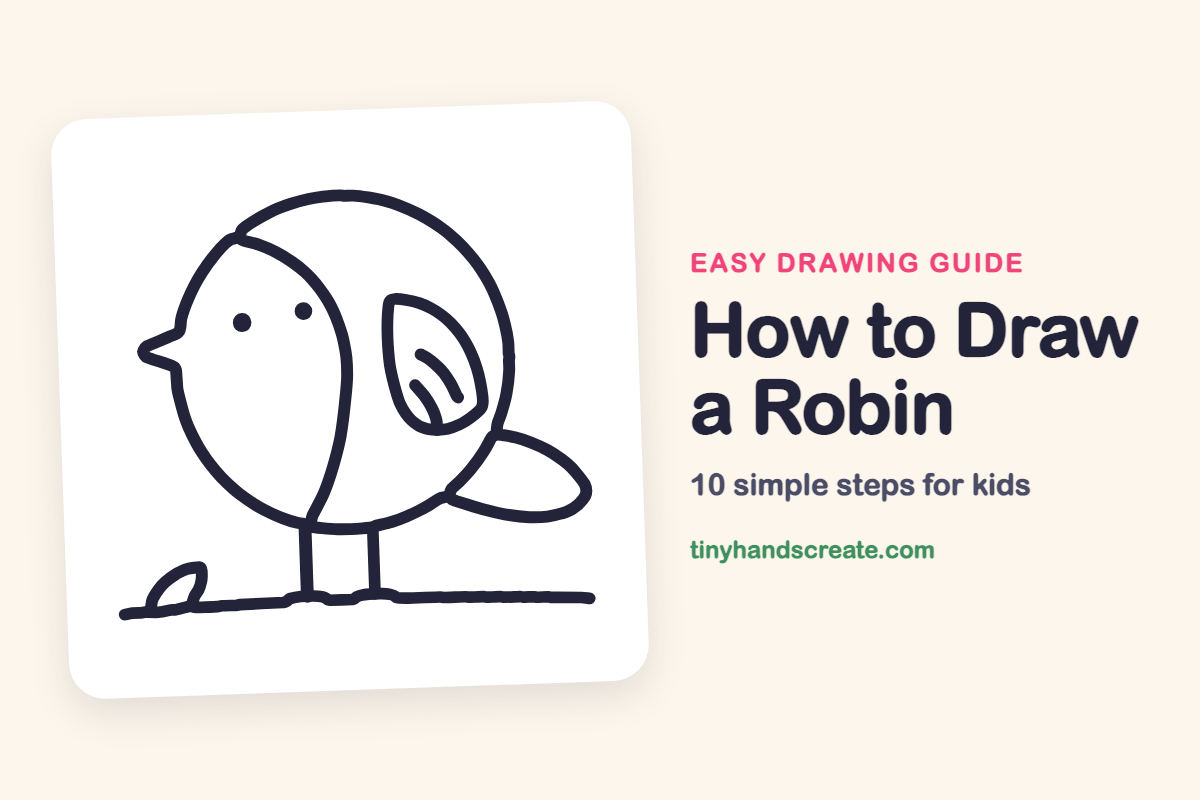
How to Draw a Robin (Easy Step by Step)
A robin is a great first bird to draw because it is mostly one big, round circle. You only need a circle, a teardrop for the wing, a pointed oval for the tail, a triangle for the beak and some straight lines for the legs. The curved line across the tummy makes it look like a real robin.
- Easy
- 10 minutes
- 10 steps
You need: paper, a pencil, an eraser, and crayons or markers for coloring.
Start drawingIn this article (7 sections)
How to draw a robin step by step
How to Draw a Robin · tinyhandscreate.com
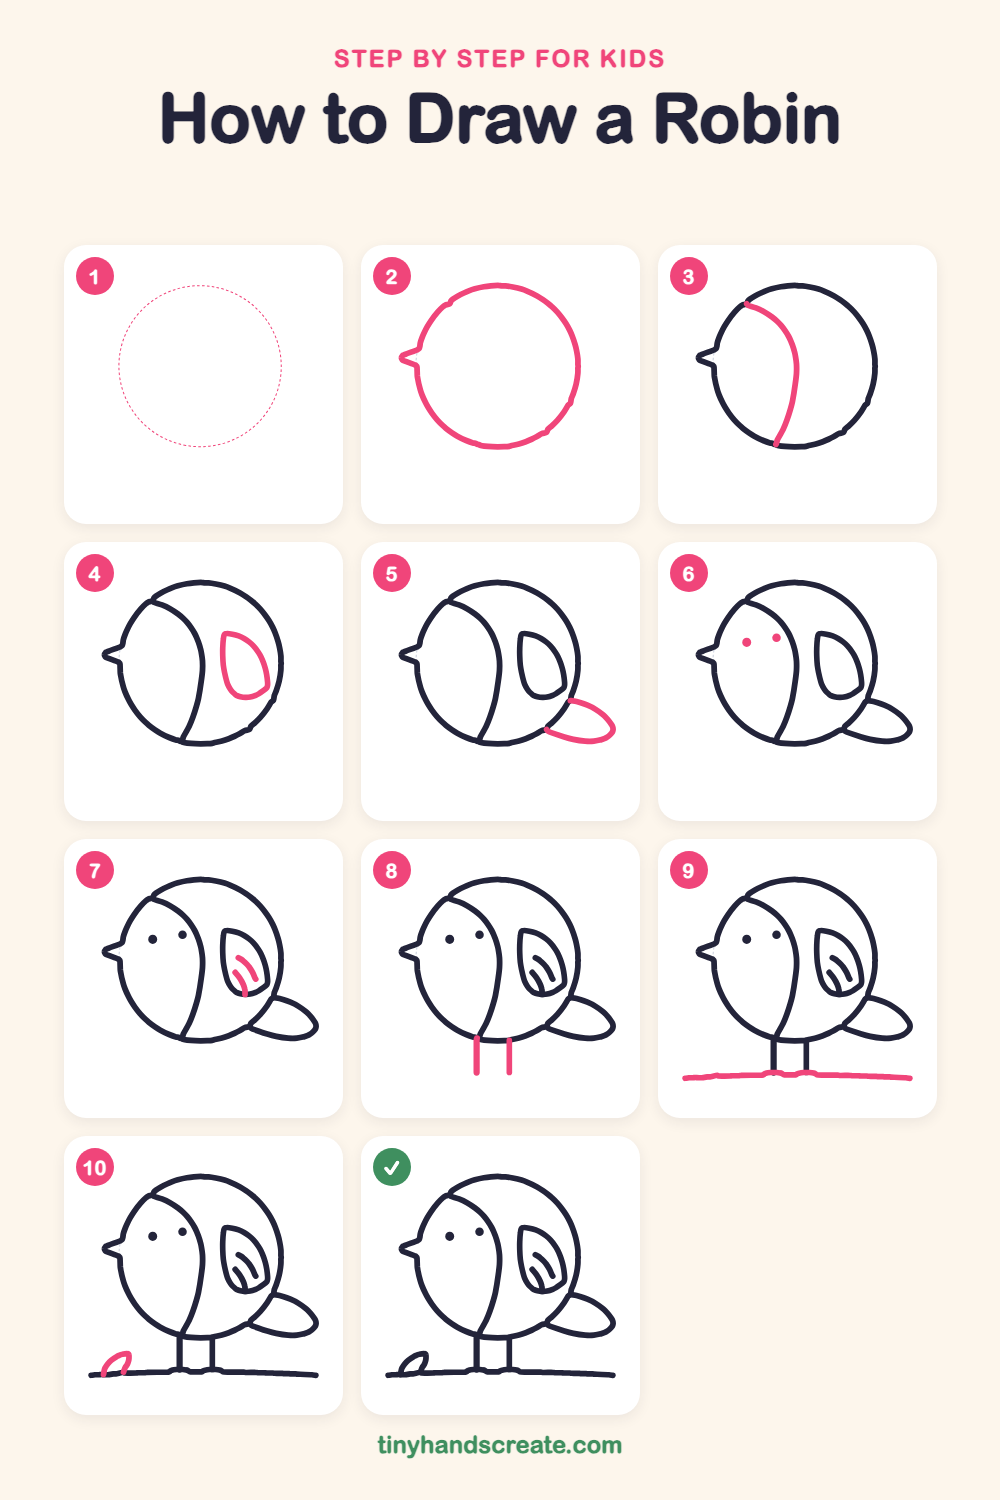
Step 1: Guide shapes
Lightly sketch this oval. It only shows where the big parts go, so press softly. You will erase it at the end.
Step 2: Round body and beak
Draw a big, plump circle for the body. On the left side, add a small sideways triangle that sticks out for the pointy beak.
Step 3: The breast line
Start near the top left of the circle and draw a long curve that bows out to the right and sweeps back down to the bottom of the circle. This marks the round tummy.
Step 4: The wing
On the right side of the body, draw a teardrop shape that is pointy at the top left and rounded at the bottom.
Step 5: The tail
At the lower right, draw a pointed oval that sticks out from the body like a little paddle.
Step 6: The two eyes
On the left side of the head, above and to the right of the beak, add two small round dots side by side.
Step 7: Wing feathers
Inside the wing, draw a few short curved lines that follow the shape of the wing. They look like little swooshes.
Step 8: Two thin legs
Draw two straight lines going down from the bottom of the round body. Keep them about the same length and a little space apart.
Step 9: The branch
Draw a long, slightly wobbly line across the bottom for the branch. Make it touch the bottom of both legs so the robin can stand on it.
Step 10: A little leaf
On the left end of the branch, draw a small pointed leaf shape that grows up from the line.
All done!
Erase the guide shapes, go over your lines, then color it in.
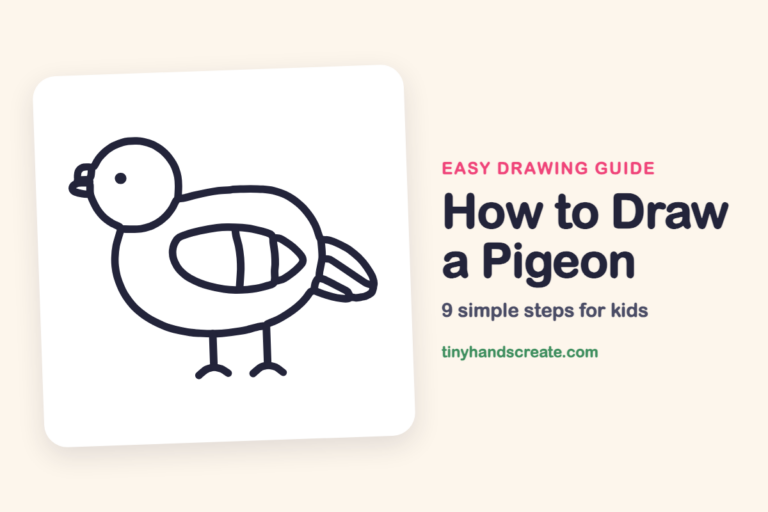
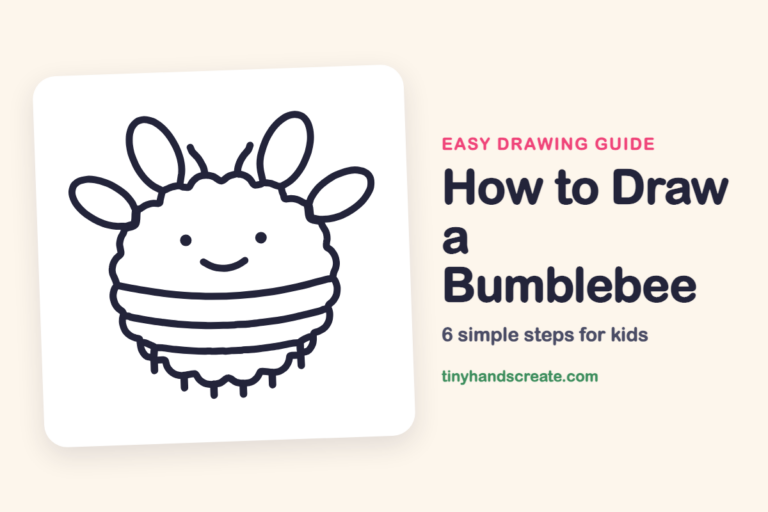
Finished your robin? Keep the pencils out and learn how to draw a pigeon or how to draw a bumblebee next.
Tips for drawing a robin
- Draw the body circle lightly first, then go over it. A round shape can be tricky, so give yourself a few tries.
- Make the beak a small sideways triangle that sticks out from the circle. If it is too big, the robin will look like it is wearing a party hat.
- Keep the two legs straight and the same length so the robin stands up steady on the branch.
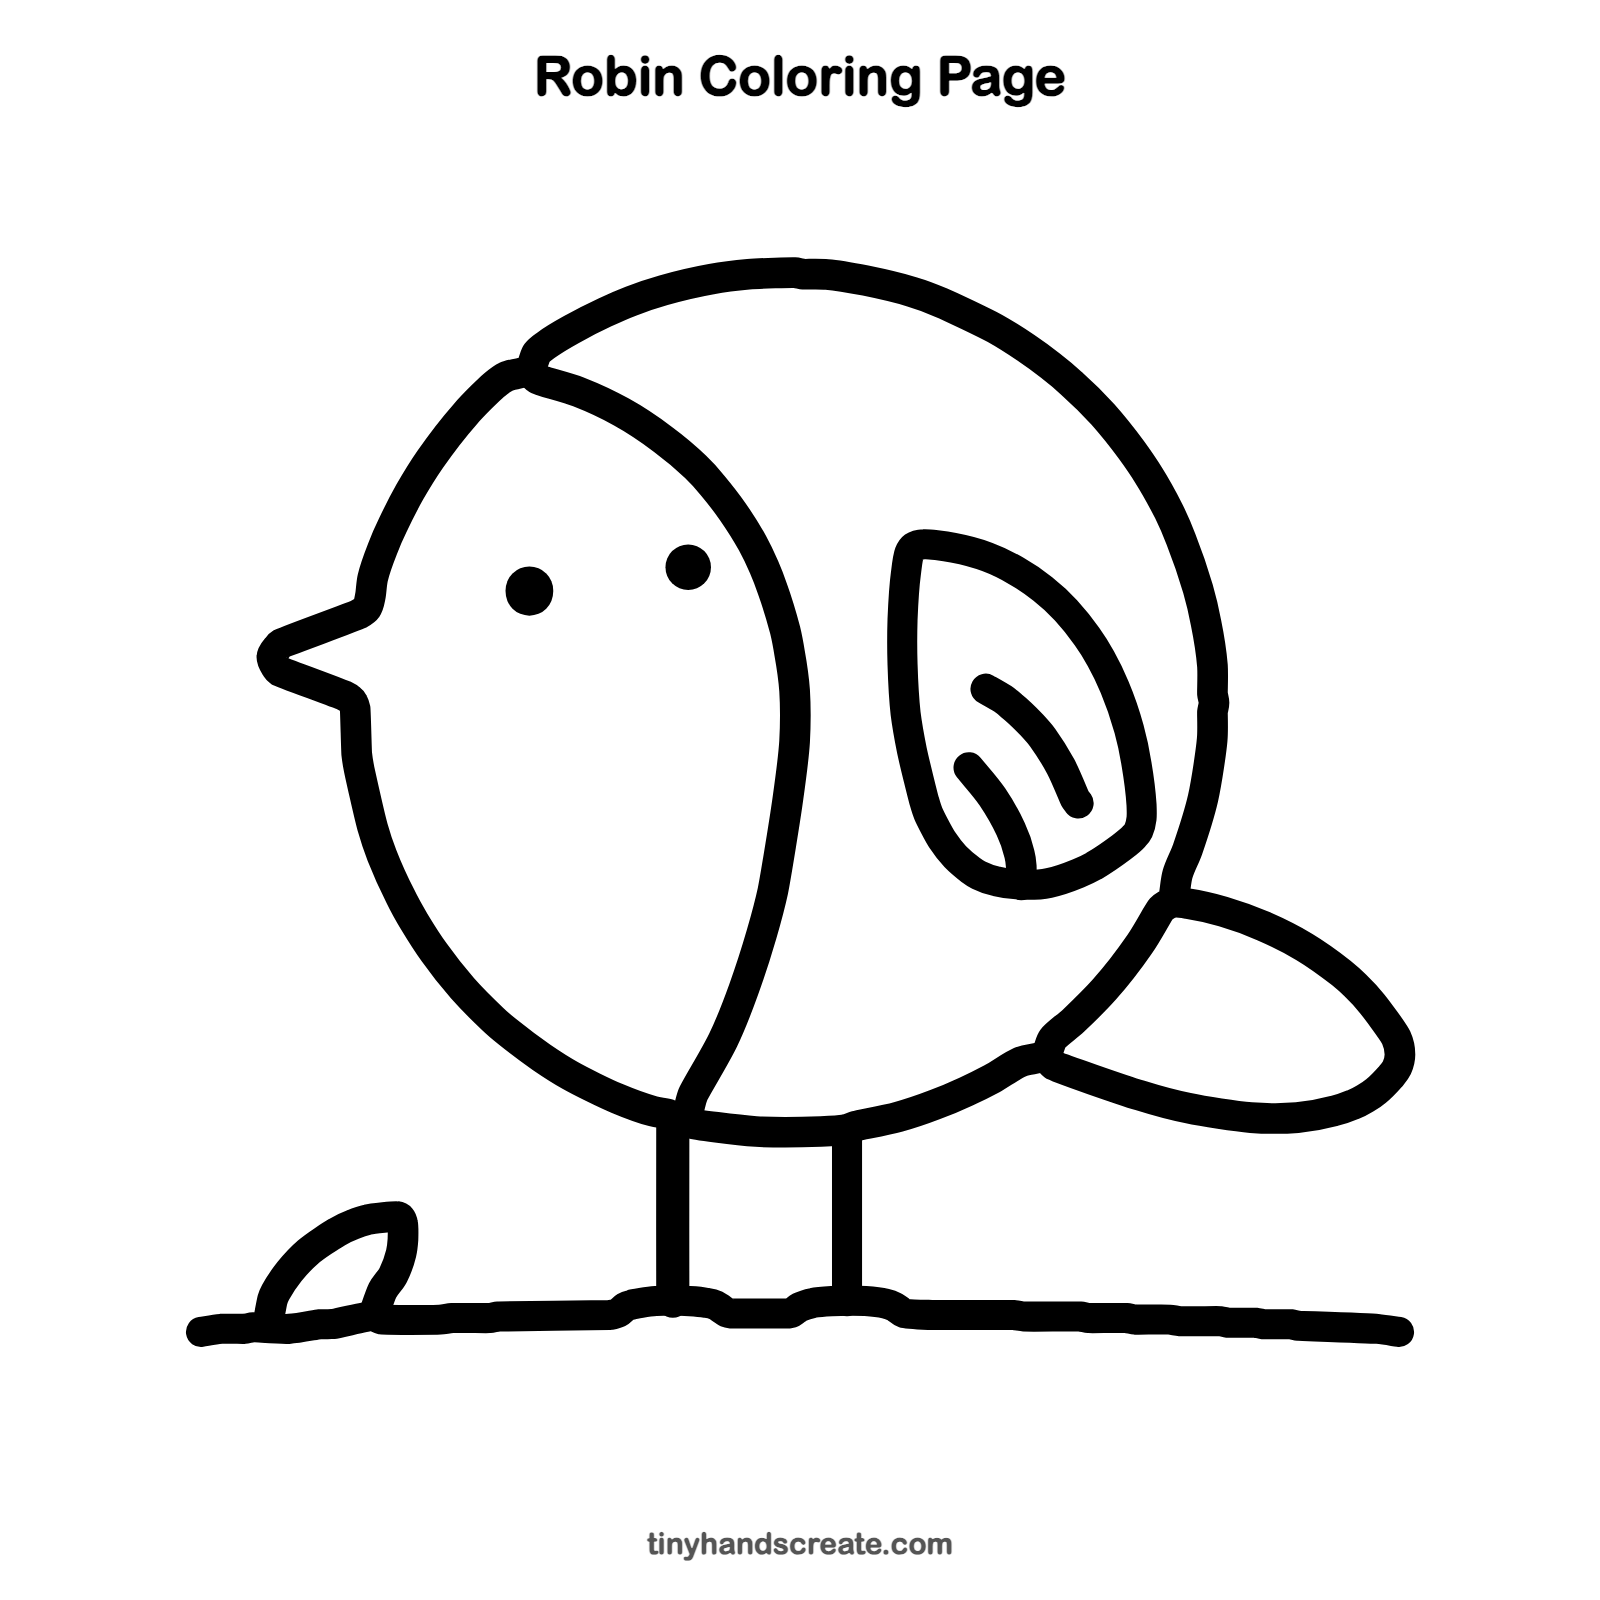
Free robin coloring page
Want to go straight to coloring? Open this robin coloring page at full size and print it. It is the same drawing you just learned, with clean lines ready for crayons or markers.
How to color your robin drawing
Color the tummy a warm orange-red, the wing and back brown, and the beak yellow. For a creative twist, give your robin a rainbow tail or color the leaf a bright green.
Robin fun fact for kids
American robins often sing early in the morning, even before the sun comes up. They also lay light blue eggs.
Questions about drawing a robin
What shapes do I need to draw a robin?
You need a big circle for the body, a small triangle for the beak, a teardrop for the wing and a pointed oval for the tail. Straight lines make the legs and branch.
How do I make my robin look cuter?
Make the body extra round and plump, and keep the eyes small and dark. A tiny leaf on the branch also adds a sweet touch.
How do I draw a robin's red chest?
Draw a curved line from the top left of the body down to the bottom to mark the chest. Then color the tummy side of that curve with orange-red.