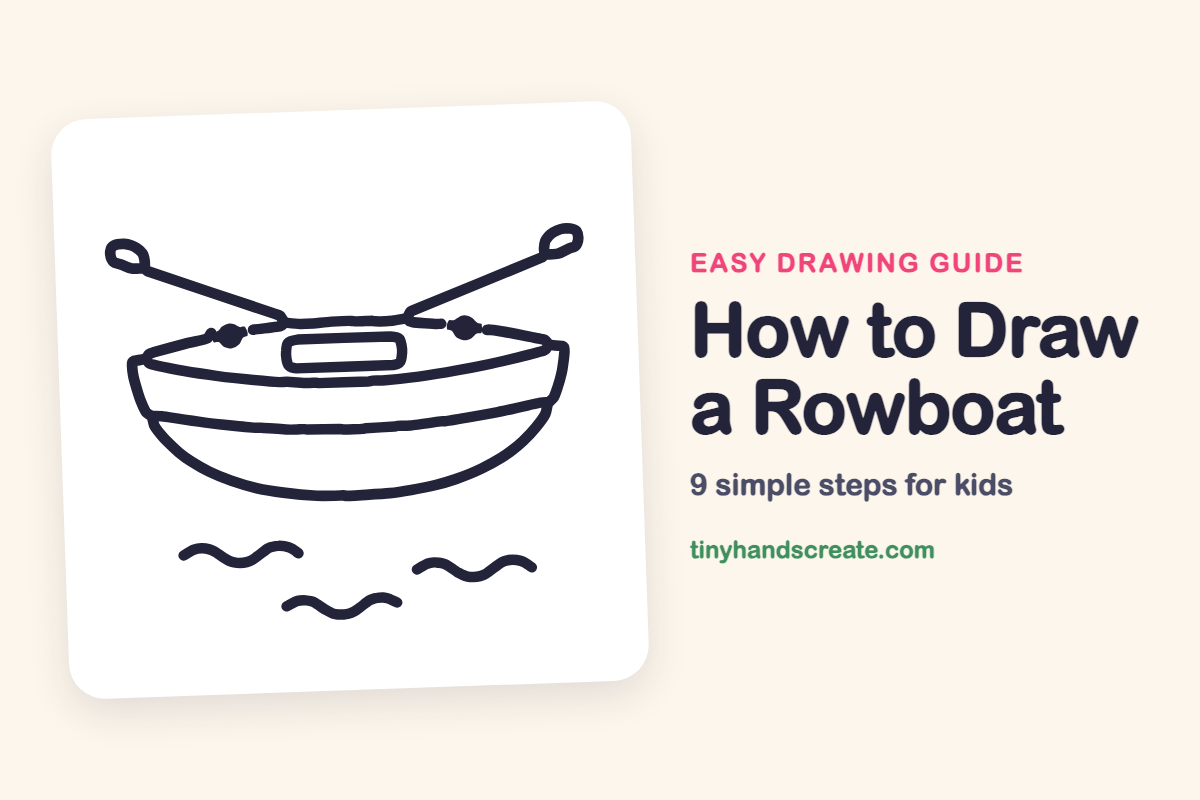
How to Draw a Rowboat (Easy Step by Step)
A rowboat looks great on paper because it is made of just a few easy shapes: a wide bowl for the hull, a small rounded rectangle for the seat, and two long lines with little paddle loops for oars. Add some wavy lines underneath and your boat is ready to float. It is a calm, simple drawing that is fun to color in.
- Easy
- 10 minutes
- 9 steps
You need: paper, a pencil, an eraser, and crayons or markers for coloring.
Start drawingIn this article (7 sections)
How to draw a rowboat step by step
How to Draw a Rowboat · tinyhandscreate.com
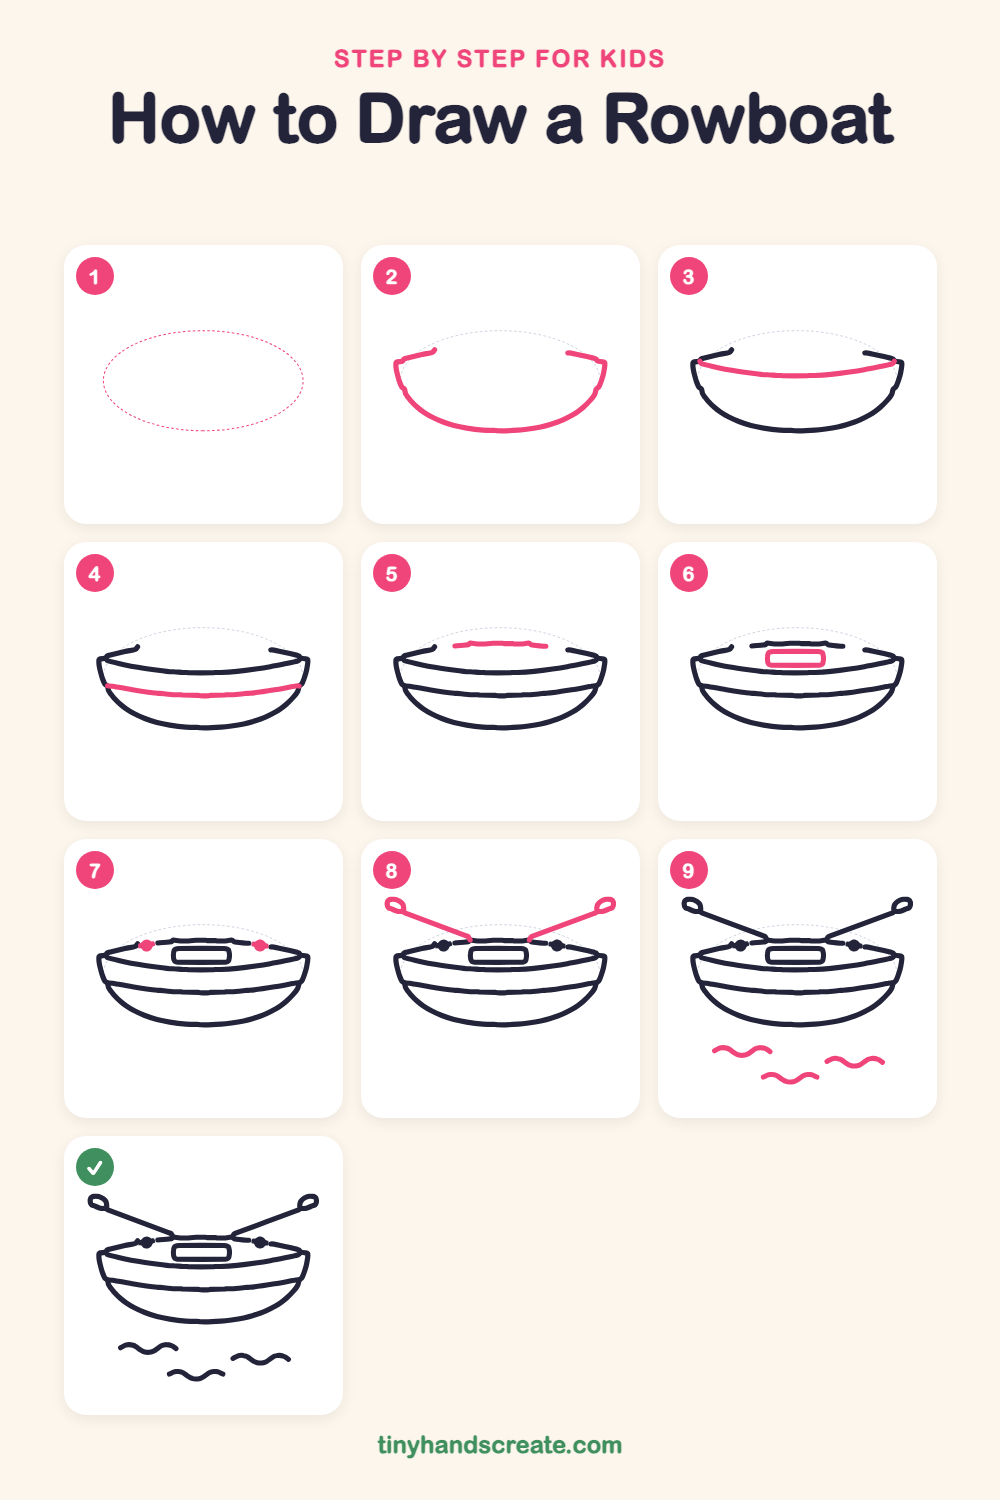
Step 1: Guide shapes
Lightly sketch this oval. It only shows where the big parts go, so press softly. You will erase it at the end.
Step 2: The boat hull
Draw a wide, shallow bowl shape, like the bottom half of an oval. At each top corner, finish with a short line that slants up and toward the middle.
Step 3: The upper curve
Draw a long, gentle curve across the boat from the left side of the bowl to the right side. Let it sag a little in the middle, like a smile.
Step 4: The lower stripe
Lower down, draw another long, gentle curve from the left side of the hull to the right side. Make it curve the same way as the one above it.
Step 5: The top edge
At the top middle, draw a short, slightly wobbly line between the two slanted lines. It fills the gap at the top of the boat.
Step 6: The seat
In the middle, just below the top edge, draw a small rectangle with very round corners. Keep it wider than it is tall.
Step 7: The oar holders
Near the left and right ends of the top edge, draw one small round dot on each side. These are the spots where the oars rest.
Step 8: The two oars
Start at the middle of the top edge and draw a long straight line slanting up and out to the left. Do the same on the right, so the two lines make a wide V. At the end of each line, draw a small loop for the paddle.
Step 9: The water waves
Under the boat, draw three short wavy lines that go up and down like little snakes. Spread them out so the boat looks like it is floating.
All done!
Erase the guide shapes, go over your lines, then color it in.
Finished your rowboat? Keep the pencils out and learn how to draw a jeep or how to draw a forklift next.
Tips for drawing a rowboat
- Draw the hull first as a wide, shallow smile shape. If it is too deep, the boat will look more like a bowl, so keep it wider than it is tall.
- The two oars should slant out at about the same angle. Try drawing the left oar first, then copy it on the right so they look like a matching V.
- Make your waves with one smooth, loose line, like a wobbly snake. Wavy lines do not need to match each other, so mixing the sizes makes the water look natural.
Free rowboat coloring page
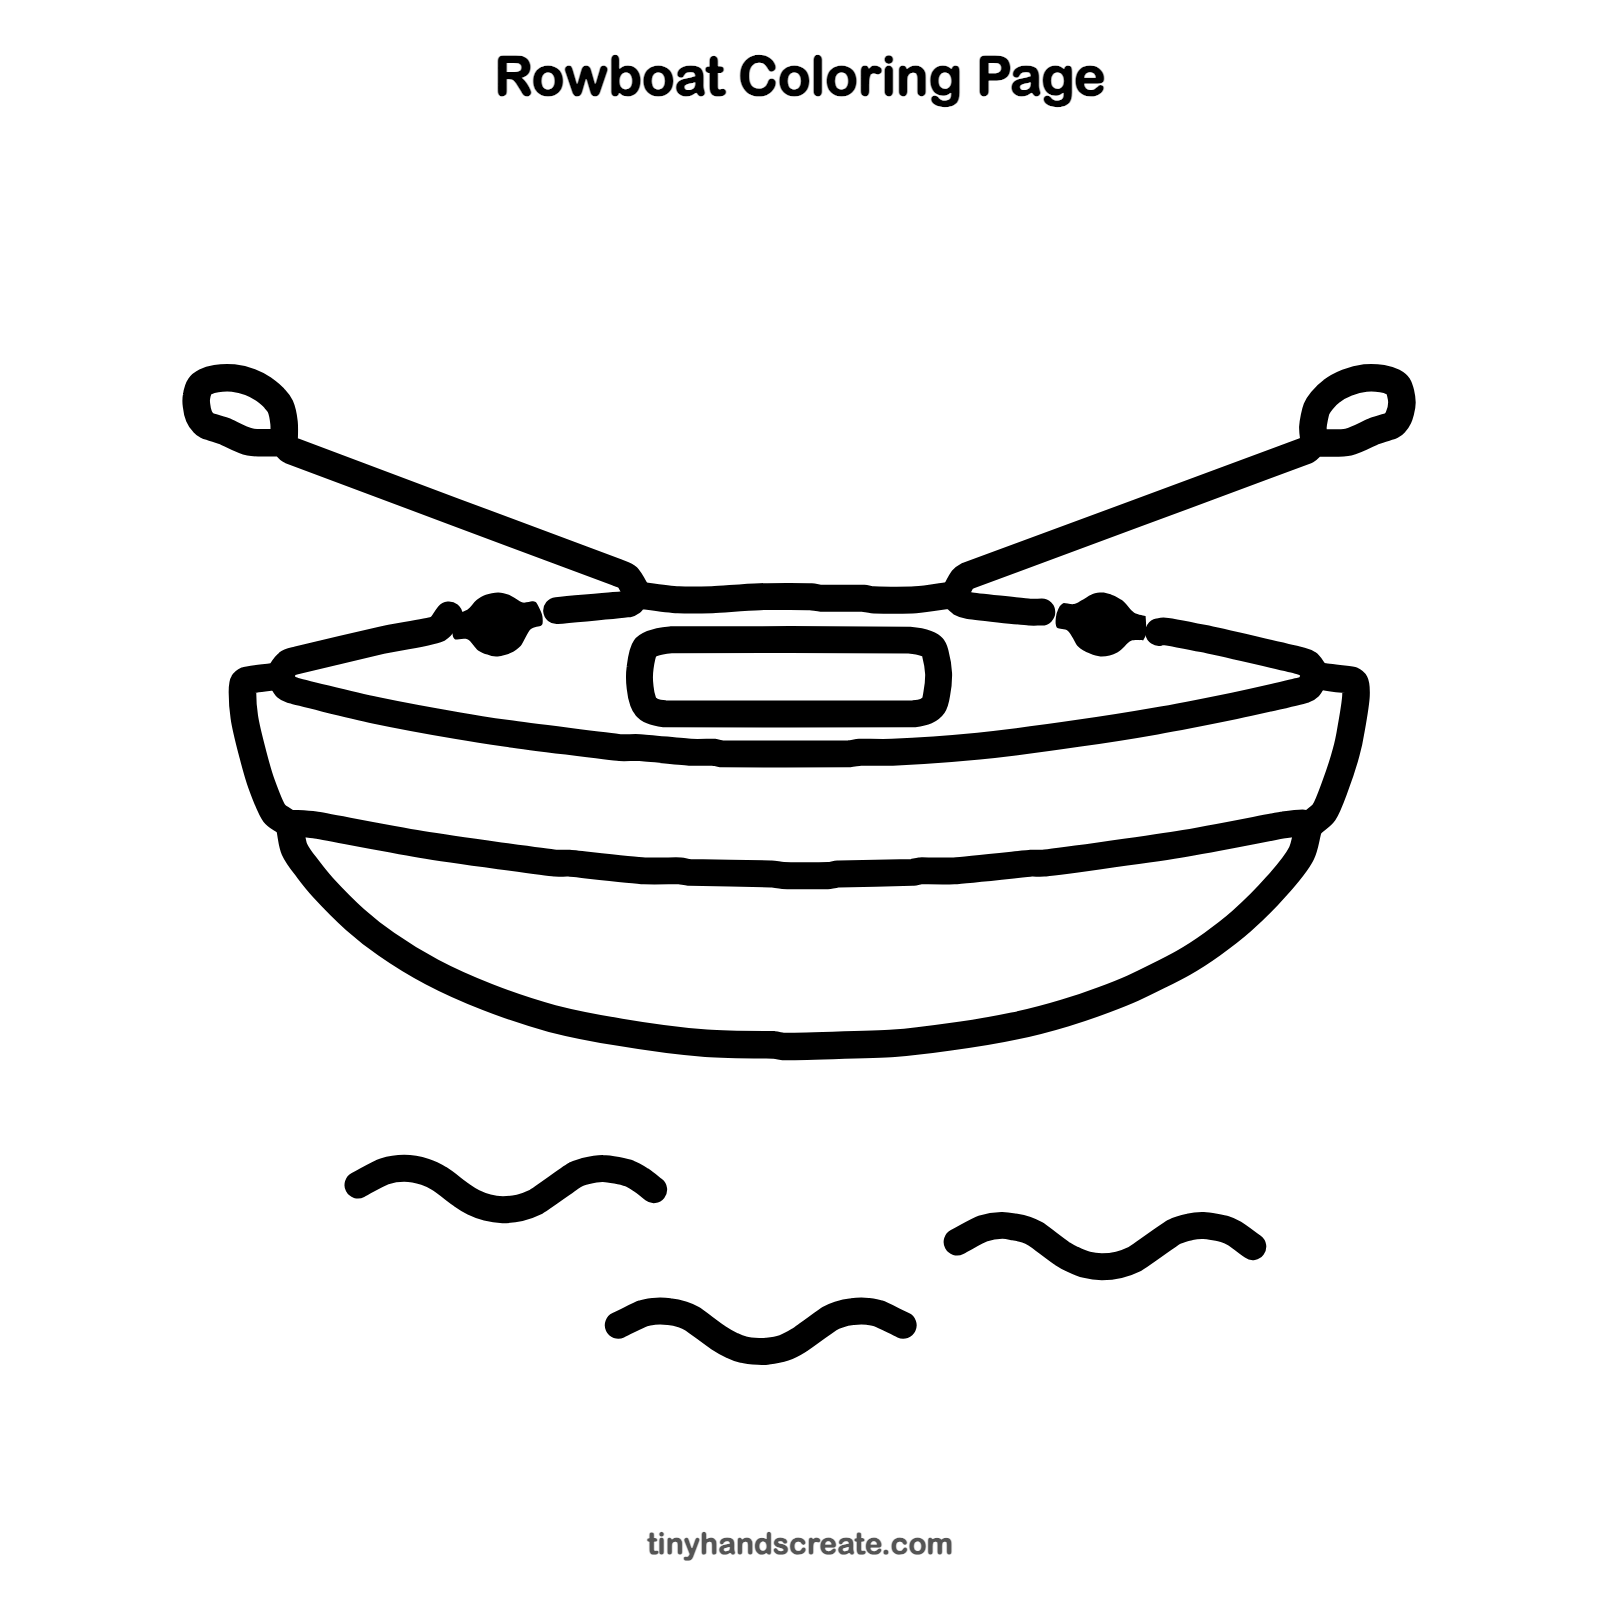
Want to go straight to coloring? Open this rowboat coloring page at full size and print it. It is the same drawing you just learned, with clean lines ready for crayons or markers.
How to color your rowboat drawing
Try a red or blue hull with a white stripe, a brown seat, brown oars, and blue-green water.
Rowboat fun fact for kids
The oldest known boat in the world, the Pesse canoe found in the Netherlands, is about 10,000 years old. It was made by hollowing out a single pine log.
Questions about drawing a rowboat
What shapes do I need to draw a rowboat?
You need a wide curved bowl for the hull, two long curves for the stripes, a small rounded rectangle for the seat, two long lines with small loops for the oars, and three wavy lines for the water.
How do I make my rowboat look like it is floating?
Draw a few wavy lines under the boat and leave a small gap between the hull and the waves. That gap makes the boat look like it is sitting on top of the water.
How do I draw the oars so they look even?
Start both oars at the middle of the top edge and slant them up and out at the same angle on each side. Finish each one with a small loop for the paddle.