How to Draw a Stapler (Easy Step by Step)
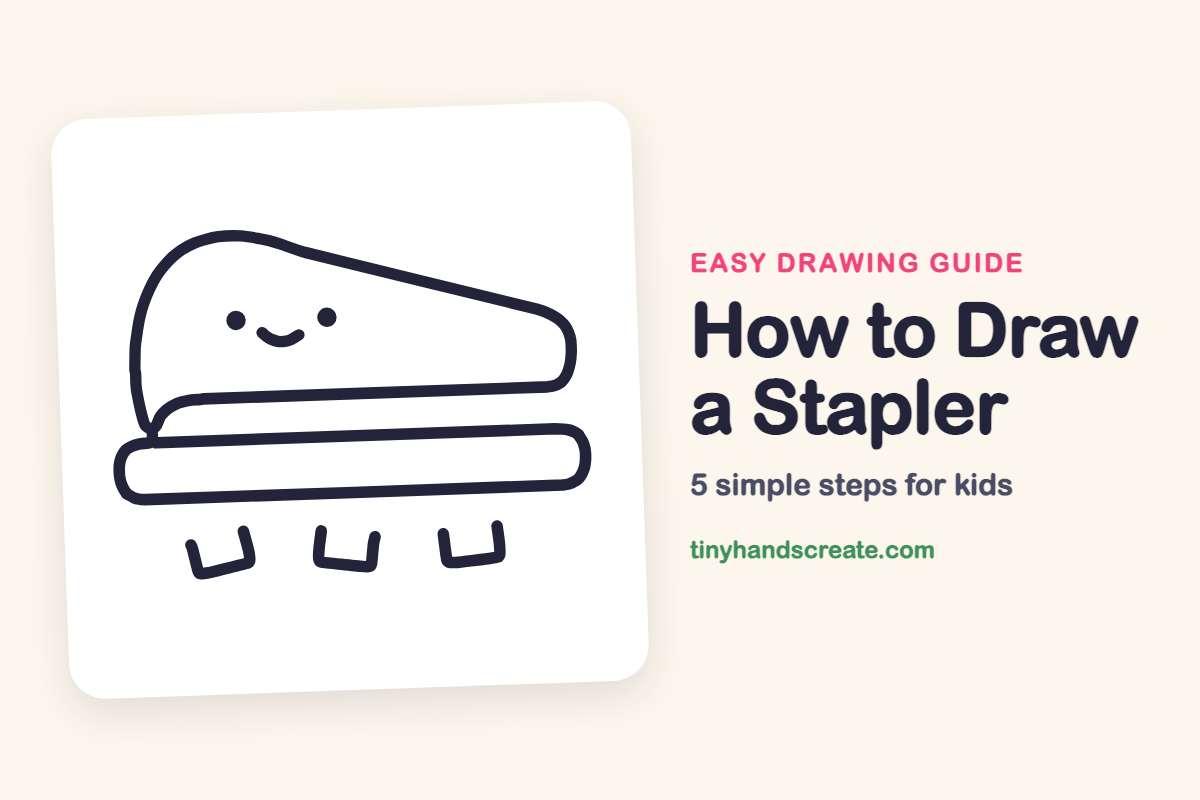
Learn to draw a friendly stapler easily by breaking it down into simple shapes. You'll use a wedge, a pill-shaped base, dots for eyes, a smile, and U-shapes for staples.
- Break down the stapler into simple shapes like wedges and pills.
- Use a big wedge for the body and a long pill for the base.
- Add personality with tiny dot eyes and a little smile.
- Complete your drawing with three small U-shapes for the staples.
This post contains affiliate links. As an Amazon Associate I earn from qualifying purchases.
A stapler is a friendly desk helper, and this one has a smiling face. It is built from a big wedge shape, a long pill-shaped base, two tiny dot eyes, a little smile, and three small U shapes for the staples. Once you see the simple shapes, it is easy to draw.
- Easy
- 10 minutes
- 5 steps
You need: paper, a pencil, an eraser, and crayons or markers for coloring.
Start drawing
In this article (7 sections)
How to draw a stapler step by step
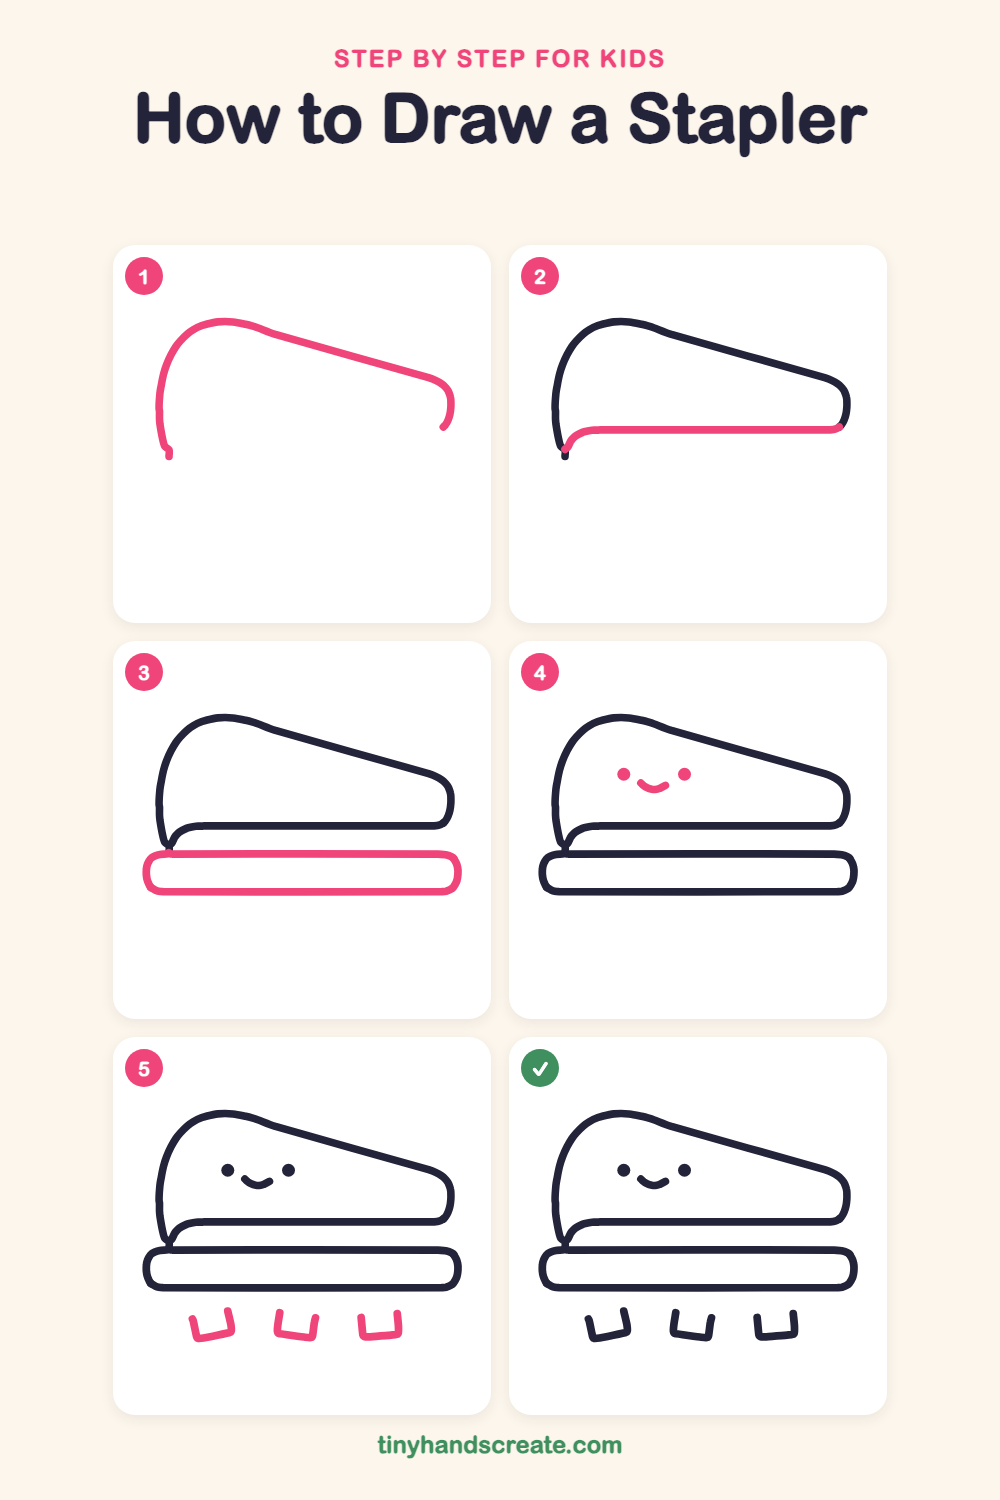
How to Draw a Stapler · tinyhandscreate.com
Step 1: The top body
Start low on the left and draw a tall curve that swoops up and over the top. Then run a long straight line sloping down to the right, and finish with a small rounded curve at the right end.
Step 2: The bottom edge
Start at the bottom of the left curve and curve gently to the right. Then draw a long flat line straight across to the right end, so the top part is closed in like a wedge.
Step 3: The base
Under the wedge, draw a long, flat rounded rectangle, like a skinny pill lying down. Make it a little wider than the wedge above it.
Step 4: Eyes and smile
Near the left side of the wedge, draw two small round dots for eyes. Between them and a little lower, draw a tiny curved smile like a little bowl.
Step 5: The staples
Below the base, draw three little staples in a row. Each one is a U shape with a flat bottom and two short sides that stick up.
All done!
Go over your lines with a marker, then color it in.
Finished your stapler? Keep the pencils out and learn how to draw a chalkboard or how to draw a school desk next.
Tips for drawing a stapler
- Draw the top wedge first and make it big. Everything else sits right under it, so it helps you place the rest.
- Keep the long flat bottom edge of the wedge and the base nearly parallel, like two shelves stacked one above the other.
- For the staples, draw the bottom line of each U first, then add the two sides. Make all three about the same size, and it is fine if they tilt a little.
Free stapler coloring page
Want to go straight to coloring? Open this stapler coloring page at full size and print it. It is the same drawing you just learned, with clean lines ready for crayons or markers.
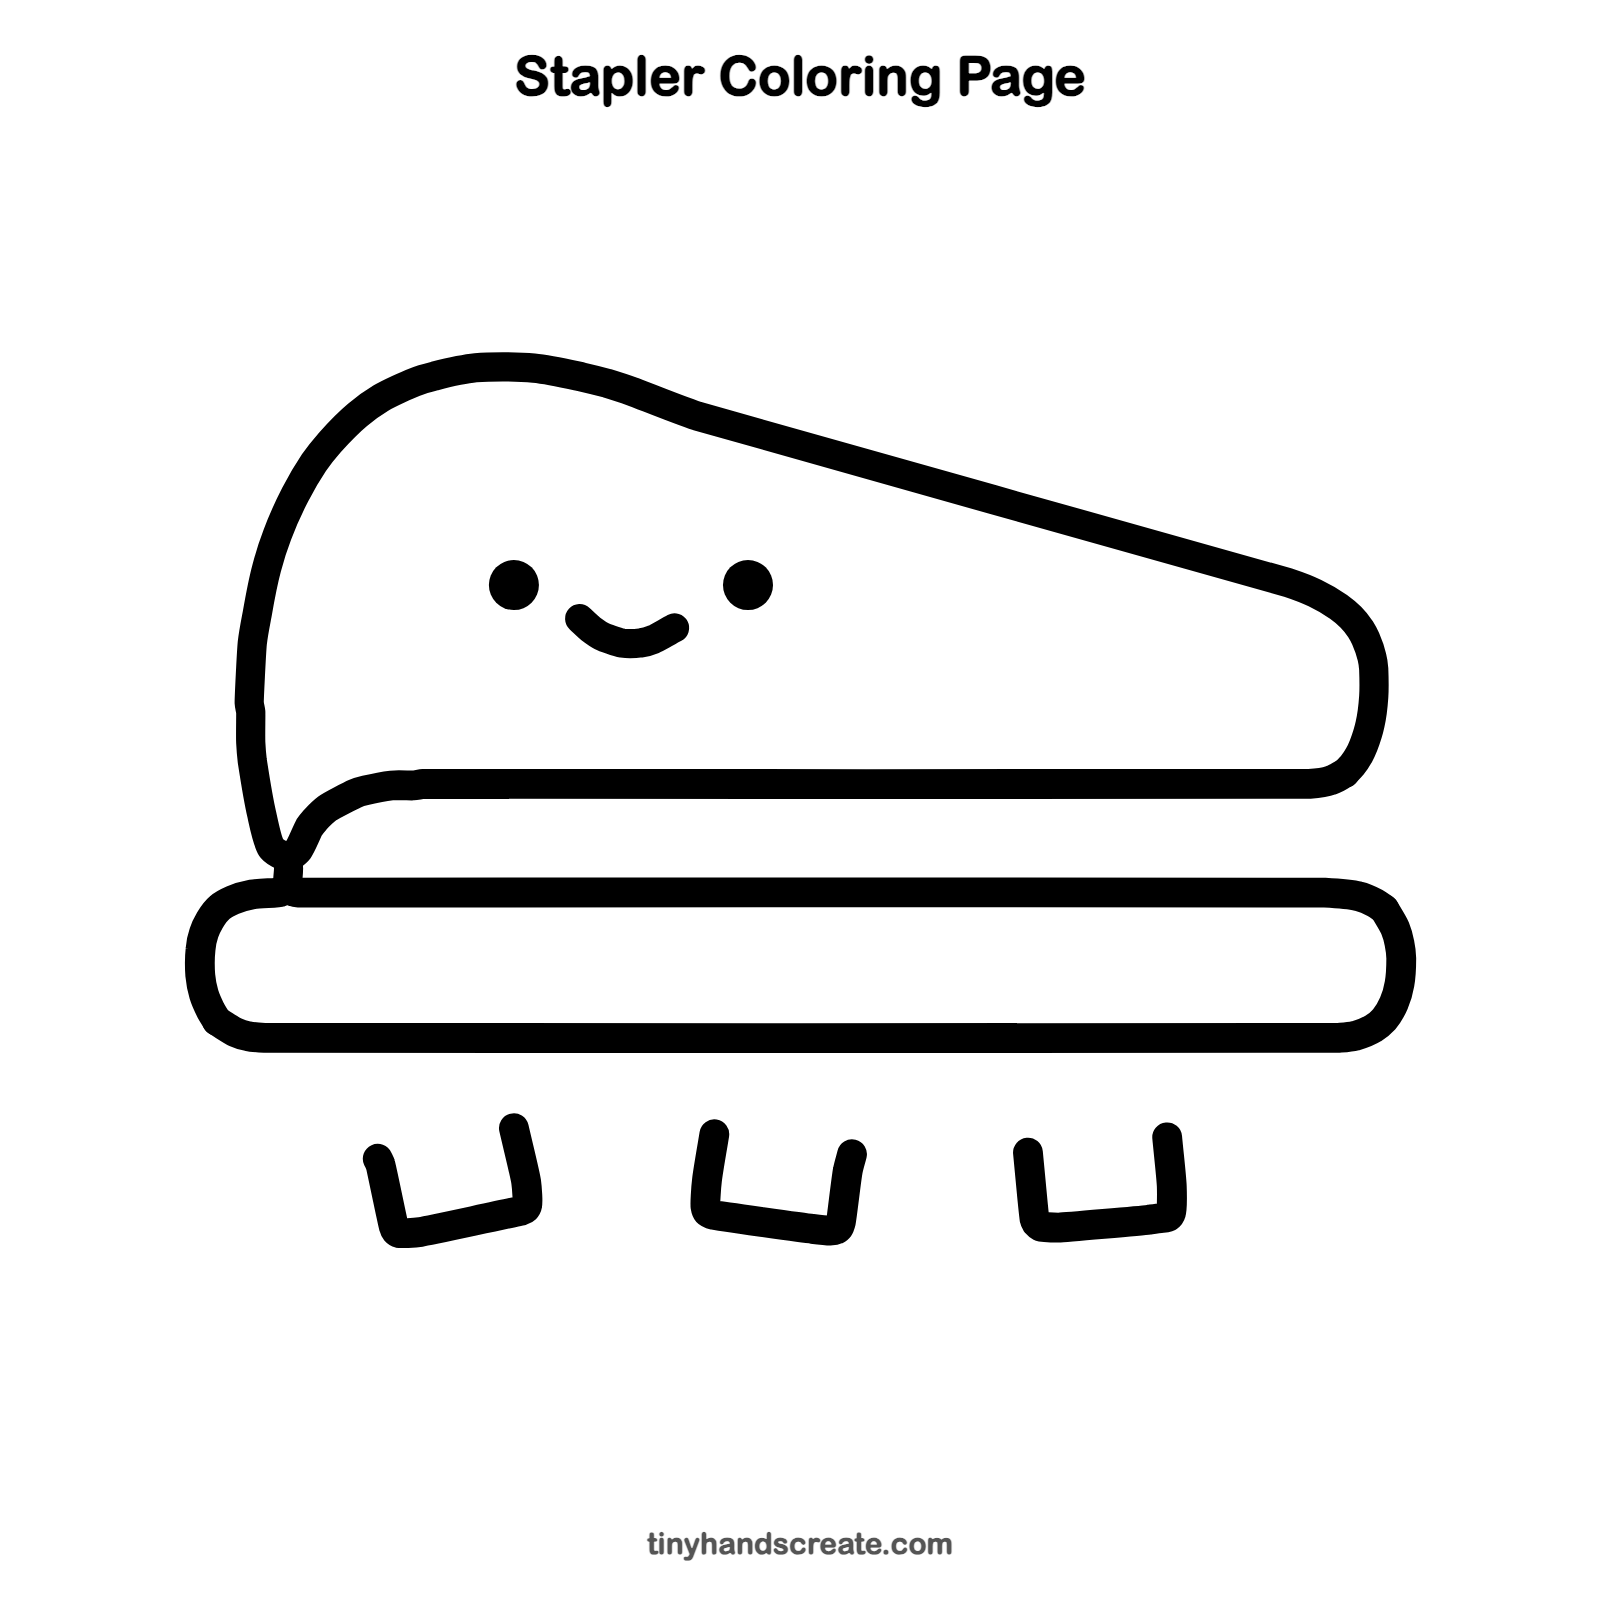
How to color your stapler drawing
Try a bright red or blue for the top wedge and a gray or black base, with silver staples. For a creative twist, color each staple a different rainbow shade.
Stapler fun fact for kids
Staples for a stapler come joined together in a long strip. When you press down, the stapler pushes out one staple at a time and bends its legs flat on the back of the paper.
Questions about drawing a stapler
What shapes do I need to draw a stapler?
You need a big wedge shape for the top, a long rounded rectangle for the base, two dots and a curve for the face, and small U shapes for the staples.
How do I make my stapler look cuter?
Add two round dot eyes and a small smile on the top wedge. Rounding every corner also makes it look soft and friendly.
Why does my stapler look crooked?
Make the flat bottom line of the wedge as straight as you can, and draw the base right under it. When the two long lines run side by side, the whole stapler sits flat.