How to Draw a Slice of Cheesecake (Easy Step by Step)
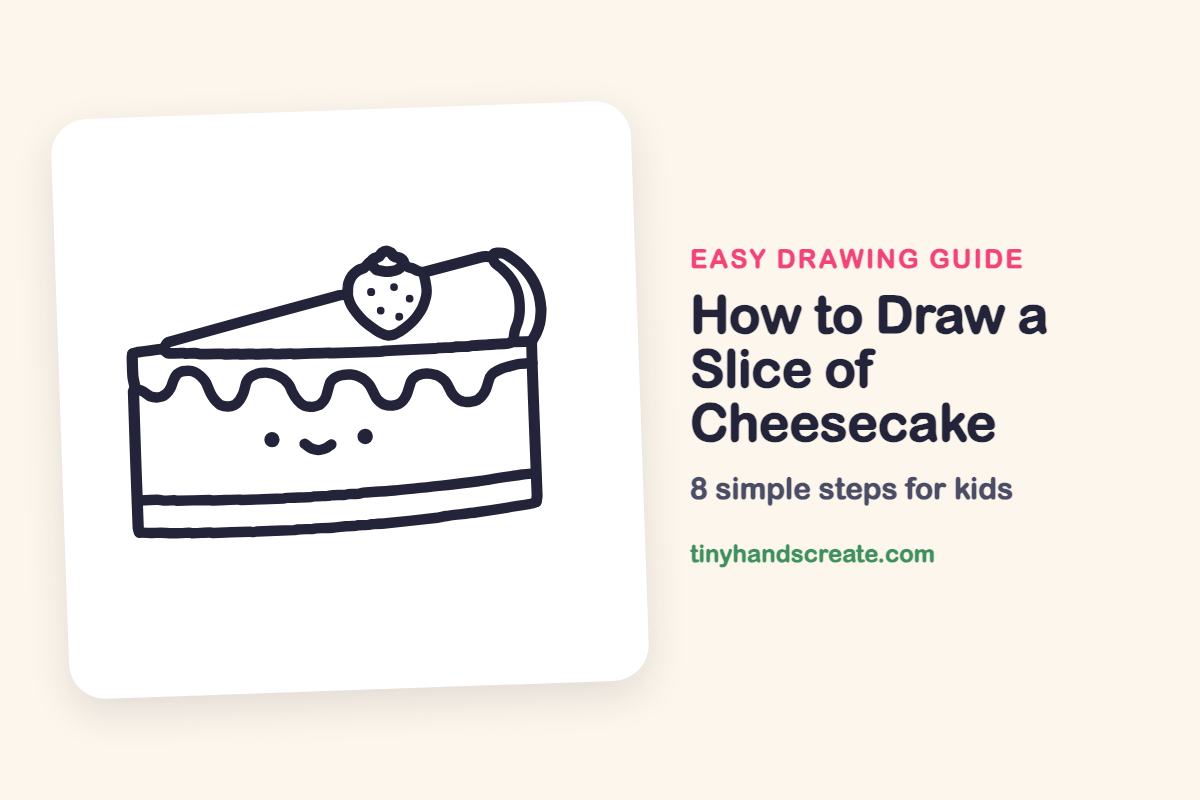
A slice of cheesecake is a fun first dessert to draw because it is mostly boxes, wavy lines, and one little strawberry. You build it from a tall box, a pointy wedge on top, and a ripple of sauce. Once the shapes are down, a smiling face makes it look happy enough to eat.
- Easy
- 12 minutes
- 8 steps
You need: paper, a pencil, an eraser, and crayons or markers for coloring.
Start drawingIn this article (7 sections)
How to draw a slice of cheesecake step by step
How to Draw a Slice of Cheesecake · tinyhandscreate.com
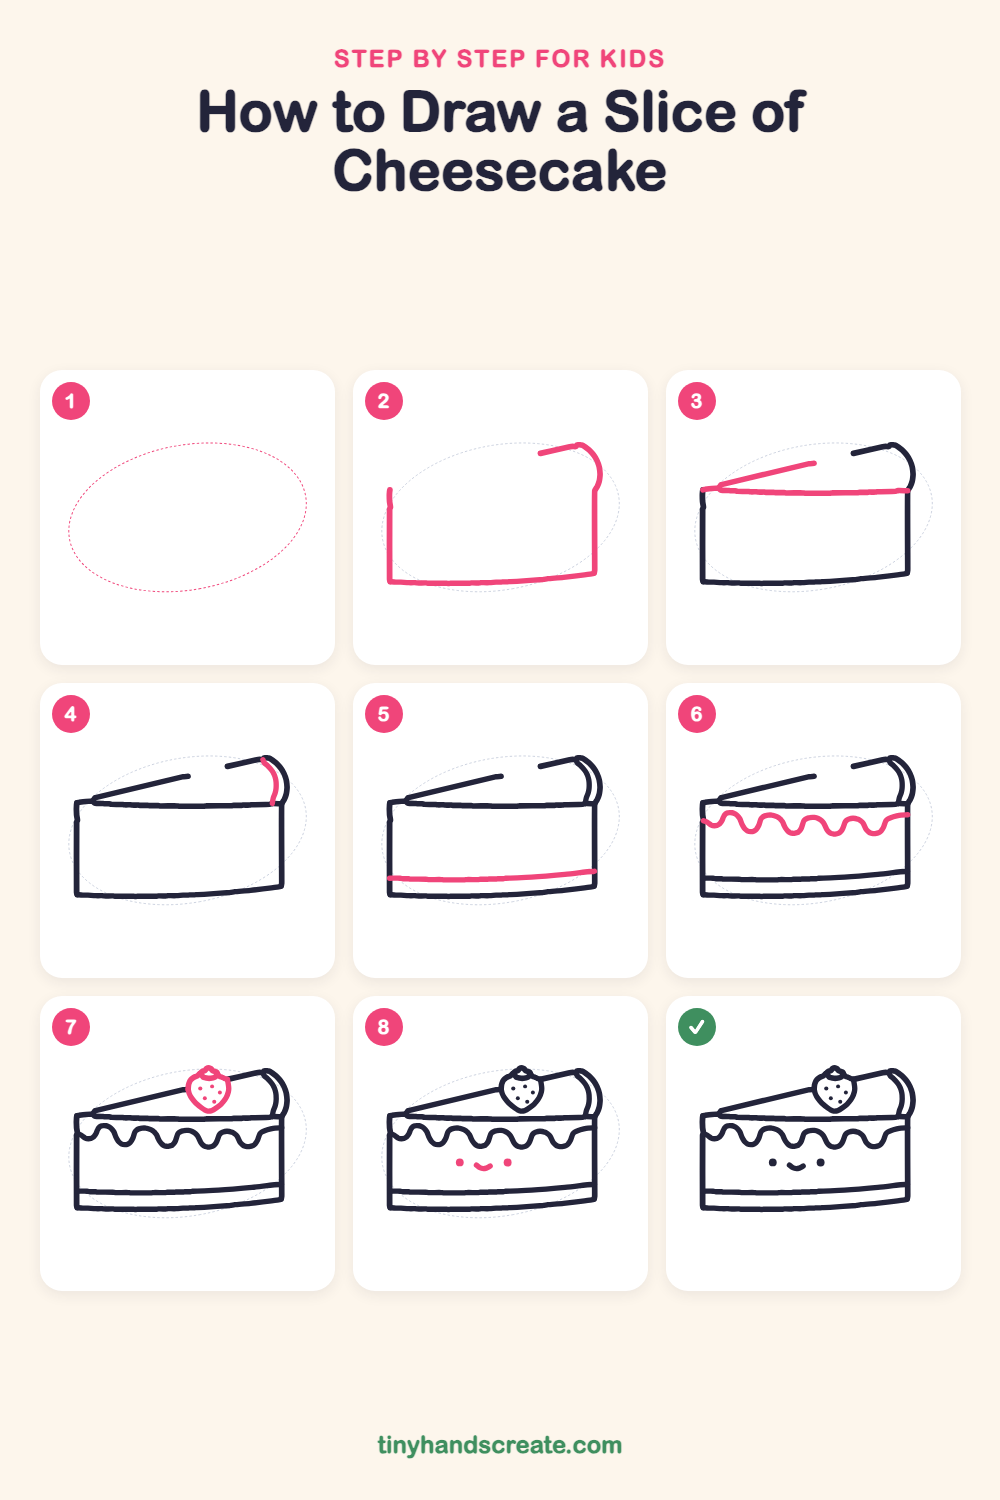
Step 1: Guide shapes
Lightly sketch this oval. It only shows where the big parts go, so press softly. You will erase it at the end.
Step 2: Side and back bump
Draw a tall box shape: start with the left edge, then a slightly curved bottom line, then the right edge going straight up. At the top right, add a short line going left and a rounded bump that curves down to meet the right edge.
Step 3: Top edge and slope
Draw a long, almost straight line across the top of the box, from the left edge to the right edge. From its left end, draw a straight line sloping up to the right to make the pointy top of the slice.
Step 4: Crust curve
At the top right, draw a short curved line just inside the rounded bump. It shows how thick the back of the cake is.
Step 5: The crust stripe
Near the bottom, draw one long line across the side, just above the bottom line. It makes the crumbly crust layer.
Step 6: Wavy topping
Just under the top edge, draw a line of smooth bumps and dips, like gentle waves, going all the way across. It looks like sauce dripping down the cake.
Step 7: The strawberry
On top of the slice, draw a rounded strawberry shape that is wider at the top and pointed at the bottom. Add a little leafy cap on top and a few tiny seed dots inside.
Step 8: Cute face
In the middle of the side, draw two small round dots for eyes. Between them and a little lower, draw a small curved smile.
All done!
Erase the guide shapes, go over your lines, then color it in.
Finished your slice of cheesecake? Keep the pencils out and learn how to draw bacon and eggs or how to draw a salad bowl next.
Tips for drawing a slice of cheesecake
- The wavy sauce line is the trickiest part. Practice a row of gentle hills and valleys on scrap paper first, and keep the bumps about the same size.
- Draw the sloping top line with one steady, slow stroke so the wedge looks straight and pointy.
- Make the strawberry round at the top with a point at the bottom. Add the leafy cap and the seed dots last so they sit neatly on it.
Free slice of cheesecake coloring page
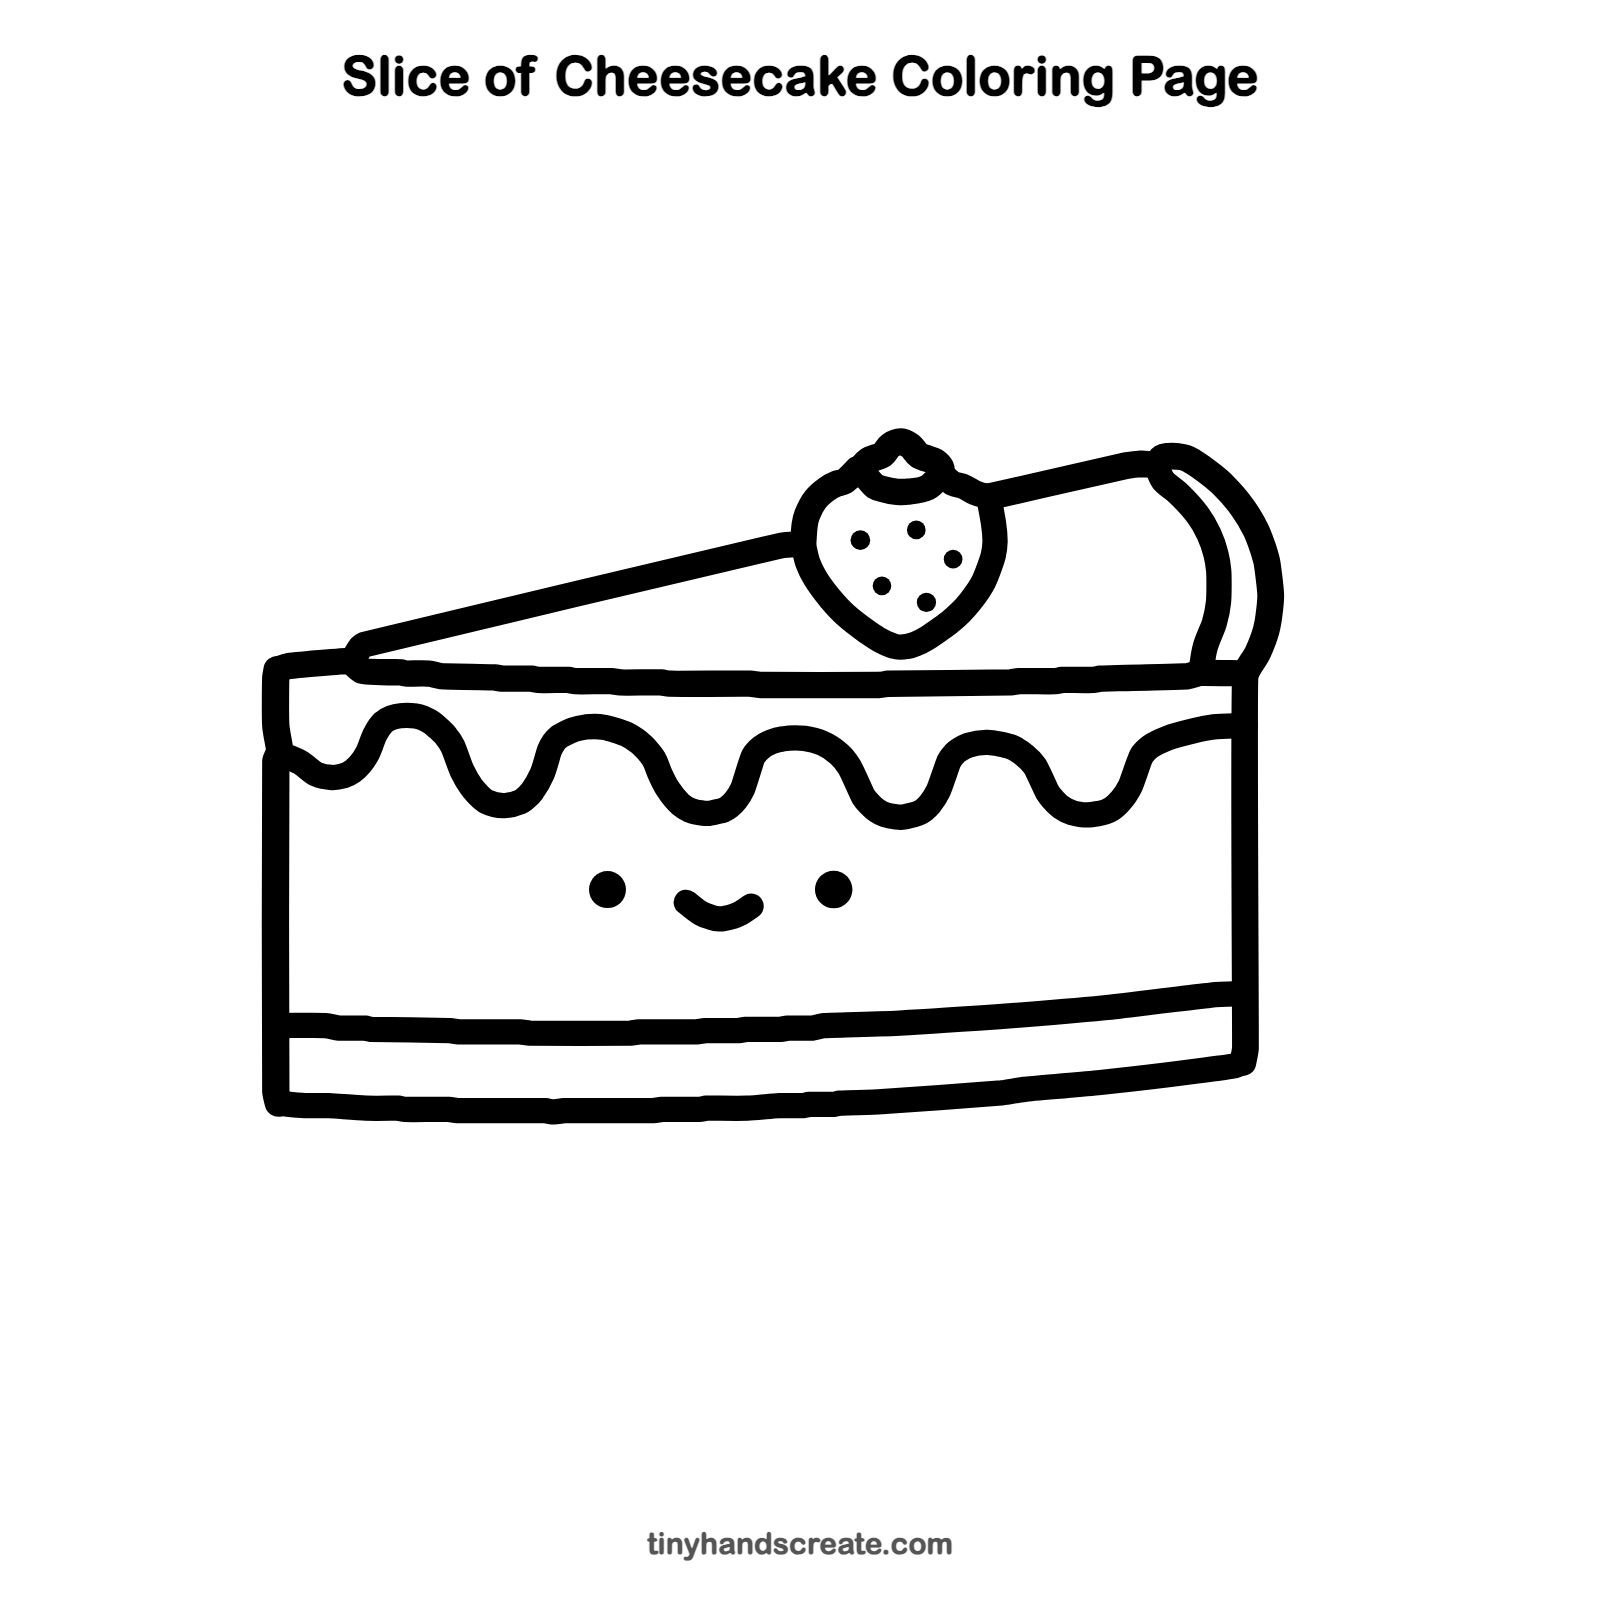
Want to go straight to coloring? Open this slice of cheesecake coloring page at full size and print it. It is the same drawing you just learned, with clean lines ready for crayons or markers.
How to color your slice of cheesecake drawing
Try pale yellow or cream for the cake, light brown for the crust stripe, and red for the strawberry with green leaves. For a twist, color the wavy sauce blueberry purple or chocolate brown.
Slice of cheesecake fun fact for kids
The tiny "seeds" on the outside of a strawberry are each a separate little fruit, and one strawberry has about 200 of them.
Questions about drawing a slice of cheesecake
What shapes do I need to draw a slice of cheesecake?
You need a tall box for the side, a long wedge shape for the top, a wavy line for the sauce, and a rounded strawberry shape on top.
How do I make my cheesecake look cuter?
Add a small face with two round dot eyes and a little smile on the side. A few seed dots on the strawberry make it extra sweet.
How do I draw the wavy sauce evenly?
Lightly mark a row of dots where each hill will peak, then connect them with smooth curves. Matching the spacing keeps the waves tidy.