How to Draw a Chalkboard (Easy Step by Step)
This post contains affiliate links. As an Amazon Associate I earn from qualifying purchases.
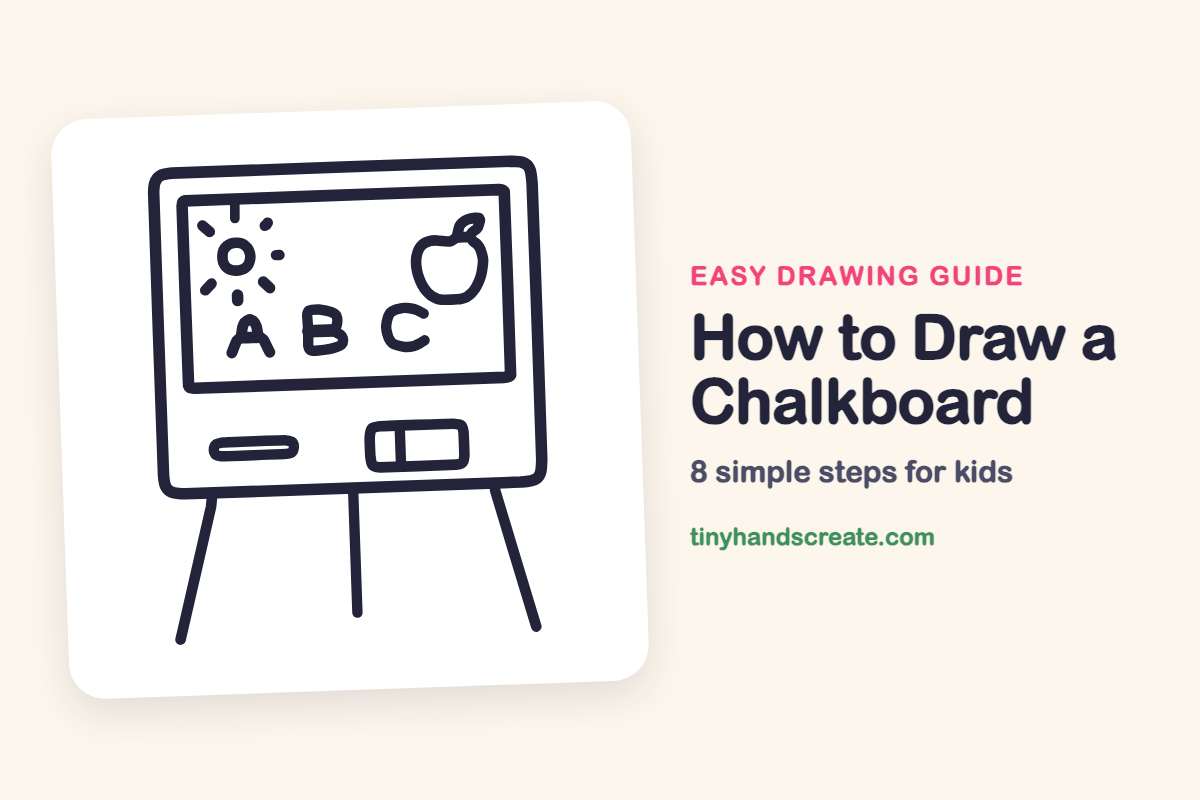
A chalkboard is a fun thing to draw because it holds little pictures inside a big one. It is built from rectangles, circles and a few straight lines. Once the frame and legs are done, you get to doodle a sun, an apple and your ABCs.
- Easy
- 12 minutes
- 8 steps
You need: paper, a pencil, an eraser, and crayons or markers for coloring.
Start drawing
In this article (7 sections)
How to draw a chalkboard step by step
How to Draw a Chalkboard · tinyhandscreate.com
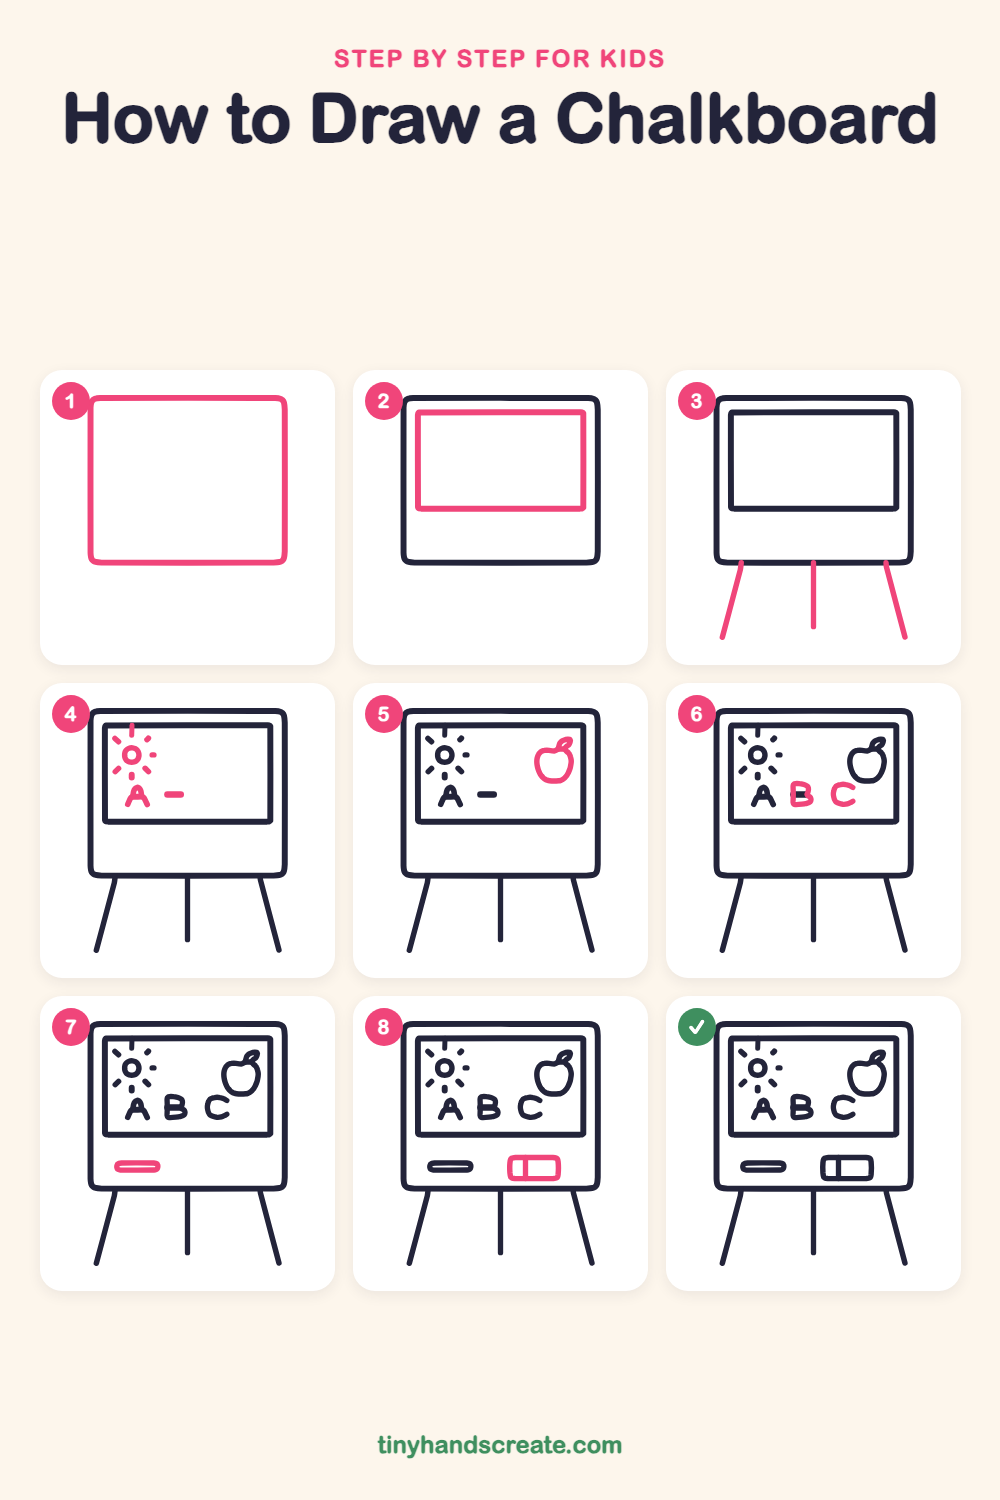
Step 1: The outer frame
Draw a big rectangle with softly rounded corners. This is the board's frame and it takes up most of the page, so leave room underneath for legs.
Step 2: The writing area
Inside the frame, draw a slightly smaller rectangle near the top, with a gap all the way around it. The bottom of the frame stays empty for now.
Step 3: The three legs
Draw a straight line going down from the middle of the bottom edge. Then add one line on each side that leans outward, so the legs make a wide stand.
Step 4: Sun and letter A
In the top left of the writing area, draw a small circle with short dashes all the way around it like sun rays. Below it, write a letter A from two slanted lines and a short bar, then add a short dash to its right.
Step 5: The apple
In the top right of the writing area, draw a round shape that is a little wider at the top, with a small dip in the middle. Add a little pointed leaf on top.
Step 6: Letters B and C
Finish the letter B around the short dash by adding two bumps, one on top of the other. Then write a C to the right as an open curve.
Step 7: The chalk tray
In the empty space under the writing area, on the left, draw a small, long, flat pill shape for the chalk. Draw it with a double line so it looks like a thin stick.
Step 8: The eraser
On the right, in the same empty space, draw a rounded rectangle. Draw one short upright line inside it near the left end to split off the little end.
All done!
Go over your lines with a marker, then color it in.
Finished your chalkboard? Keep the pencils out and learn how to draw a school desk or how to draw a paintbrush next.
Tips for drawing a chalkboard
- Draw the outer frame first and keep it big. The inner writing area, the sun and the letters all have to fit inside it.
- The letters are the trickiest part. Sketch each one as a big, simple shape first, and leave a gap between them so they do not touch.
- Draw the two outer legs leaning out a little, not straight down. That makes the stand look steady.
Free chalkboard coloring page
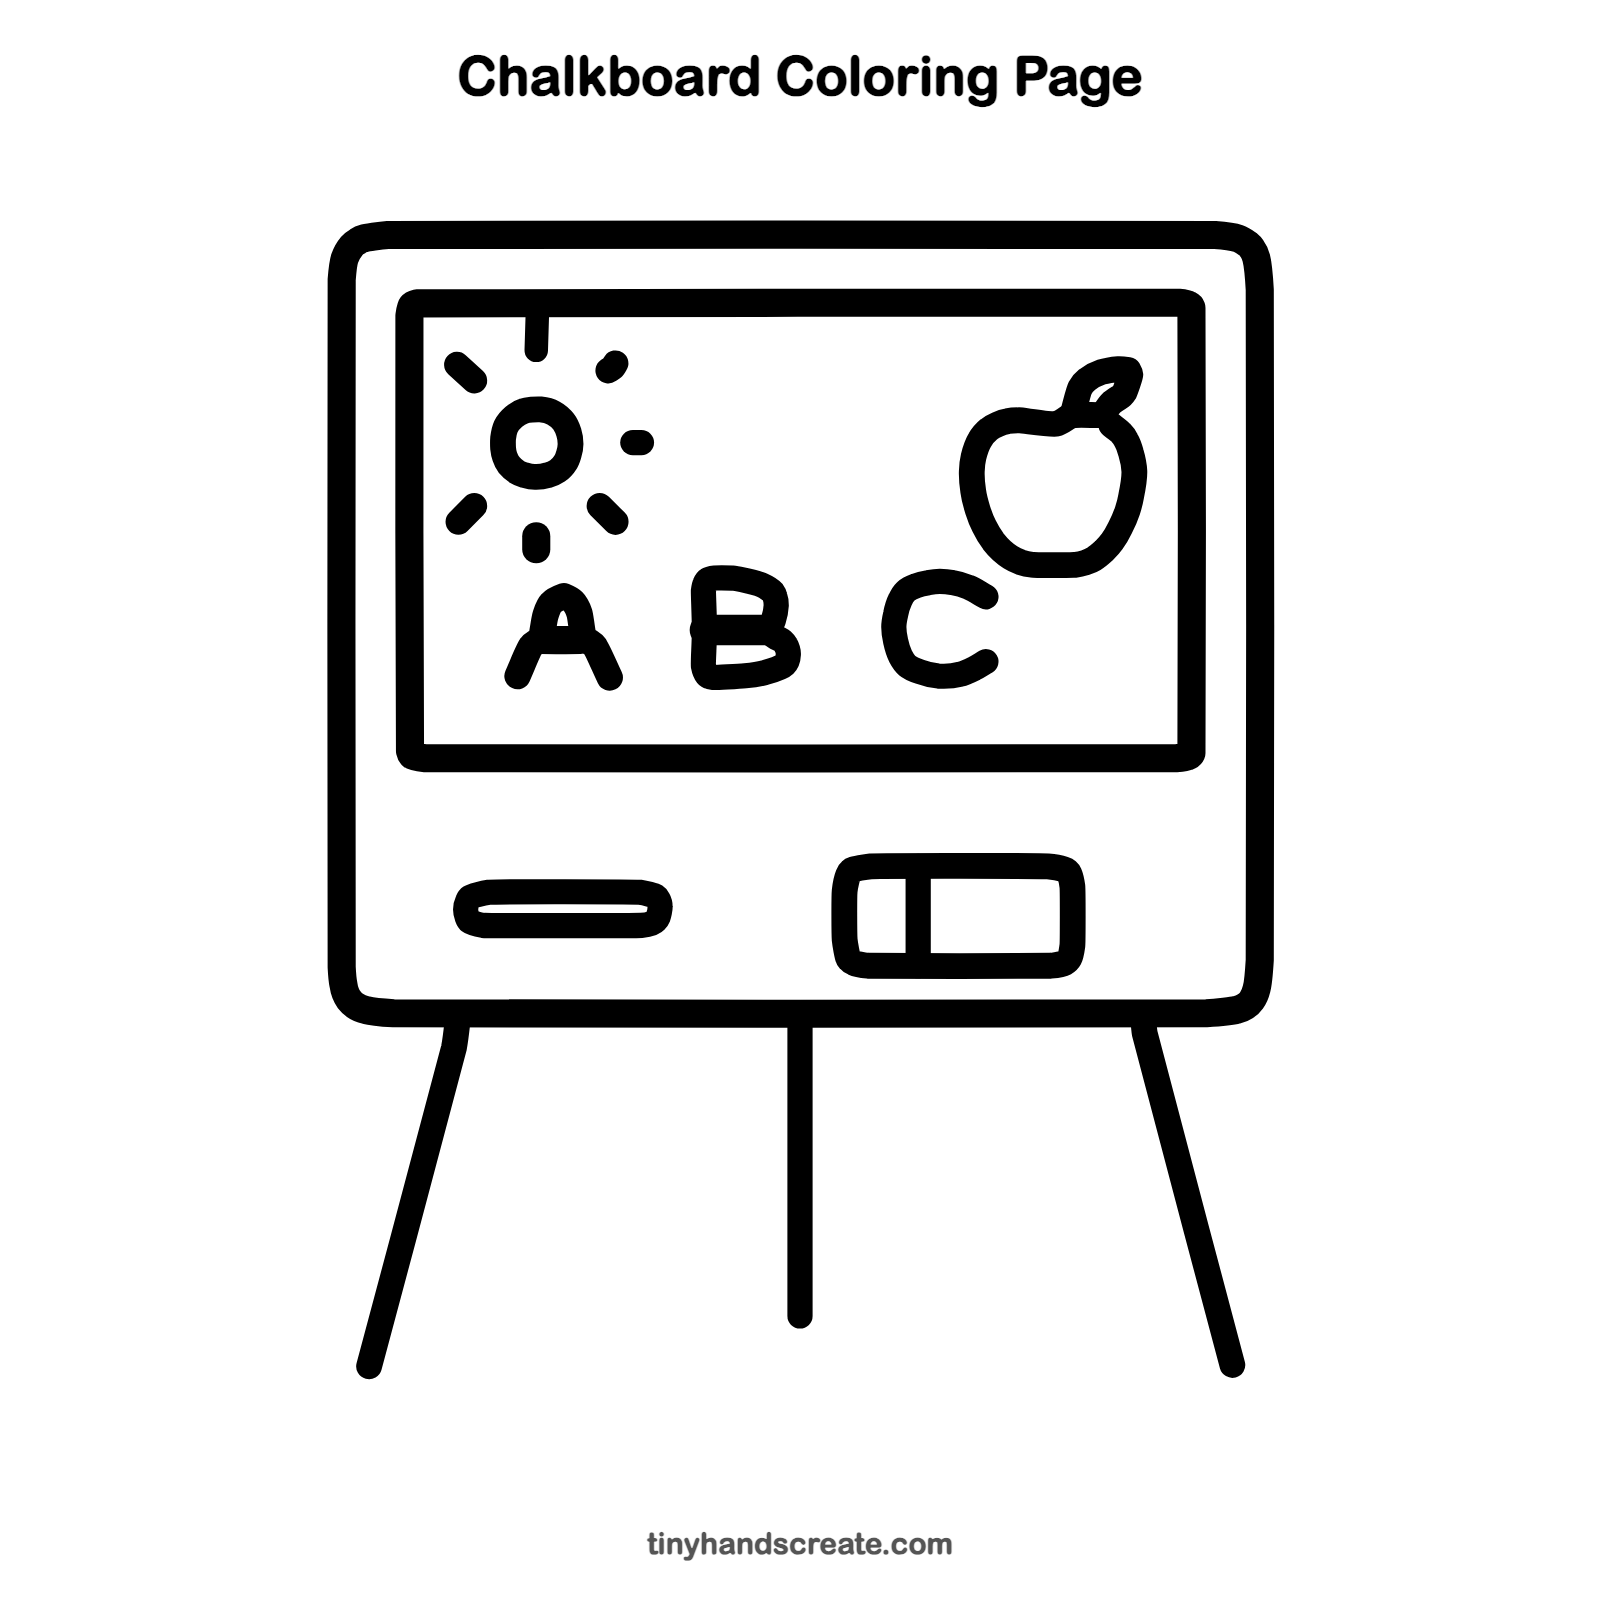
Want to go straight to coloring? Open this chalkboard coloring page at full size and print it. It is the same drawing you just learned, with clean lines ready for crayons or markers.
How to color your chalkboard drawing
Try a dark green or black writing area with white or pastel chalk marks, a yellow sun, a red apple and a brown wooden frame. For a creative twist, write your own name in place of the ABCs.
Chalkboard fun fact for kids
The white cliffs of Dover in England are made of chalk, a soft rock formed from the tiny remains of sea plankton.
Questions about drawing a chalkboard
What shapes do I need to draw a chalkboard?
You need rounded rectangles for the frame and the eraser, a rectangle for the writing area, a circle for the sun, and three straight lines for the legs. The apple is just a rounded shape with a leaf.
How do I make my chalkboard look like a real classroom board?
Add the chalk and the eraser in the space under the writing area, and write a few letters on it. Those small details make it look like a classroom.
How do I draw neat letters on my chalkboard?
Pencil each letter lightly first, using simple shapes. Draw the letters about the same height, then trace over them once they look right.