How to Draw a Paintbrush (Easy Step by Step)
This post contains affiliate links. As an Amazon Associate I earn from qualifying purchases.
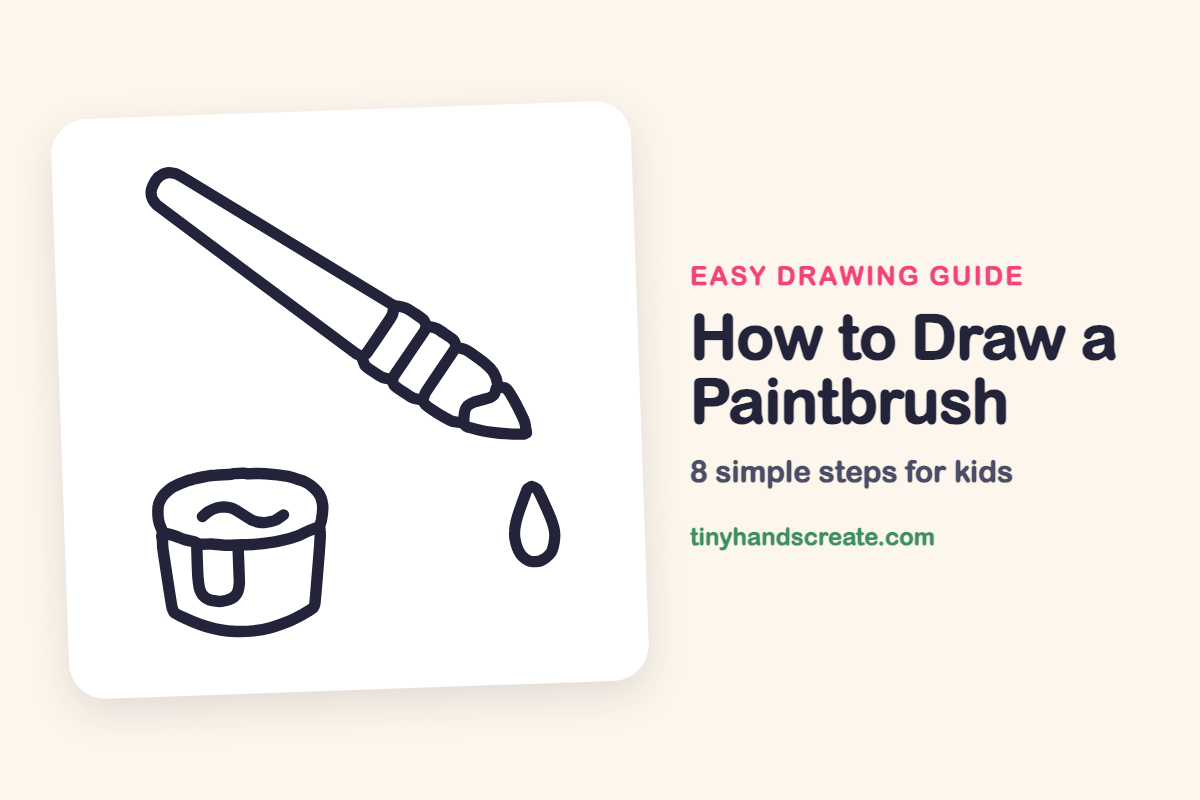
A paintbrush with a pot of dripping paint is a great first drawing because it is made from simple shapes. You will use one long slanted outline, a few stripes, a cup shape, a wavy line, and a raindrop. The tilted brush makes the picture feel like the artist just stepped away.
- Easy
- 12 minutes
- 8 steps
You need: paper, a pencil, an eraser, and crayons or markers for coloring.
Start drawing
In this article (7 sections)
How to draw a paintbrush step by step
How to Draw a Paintbrush · tinyhandscreate.com
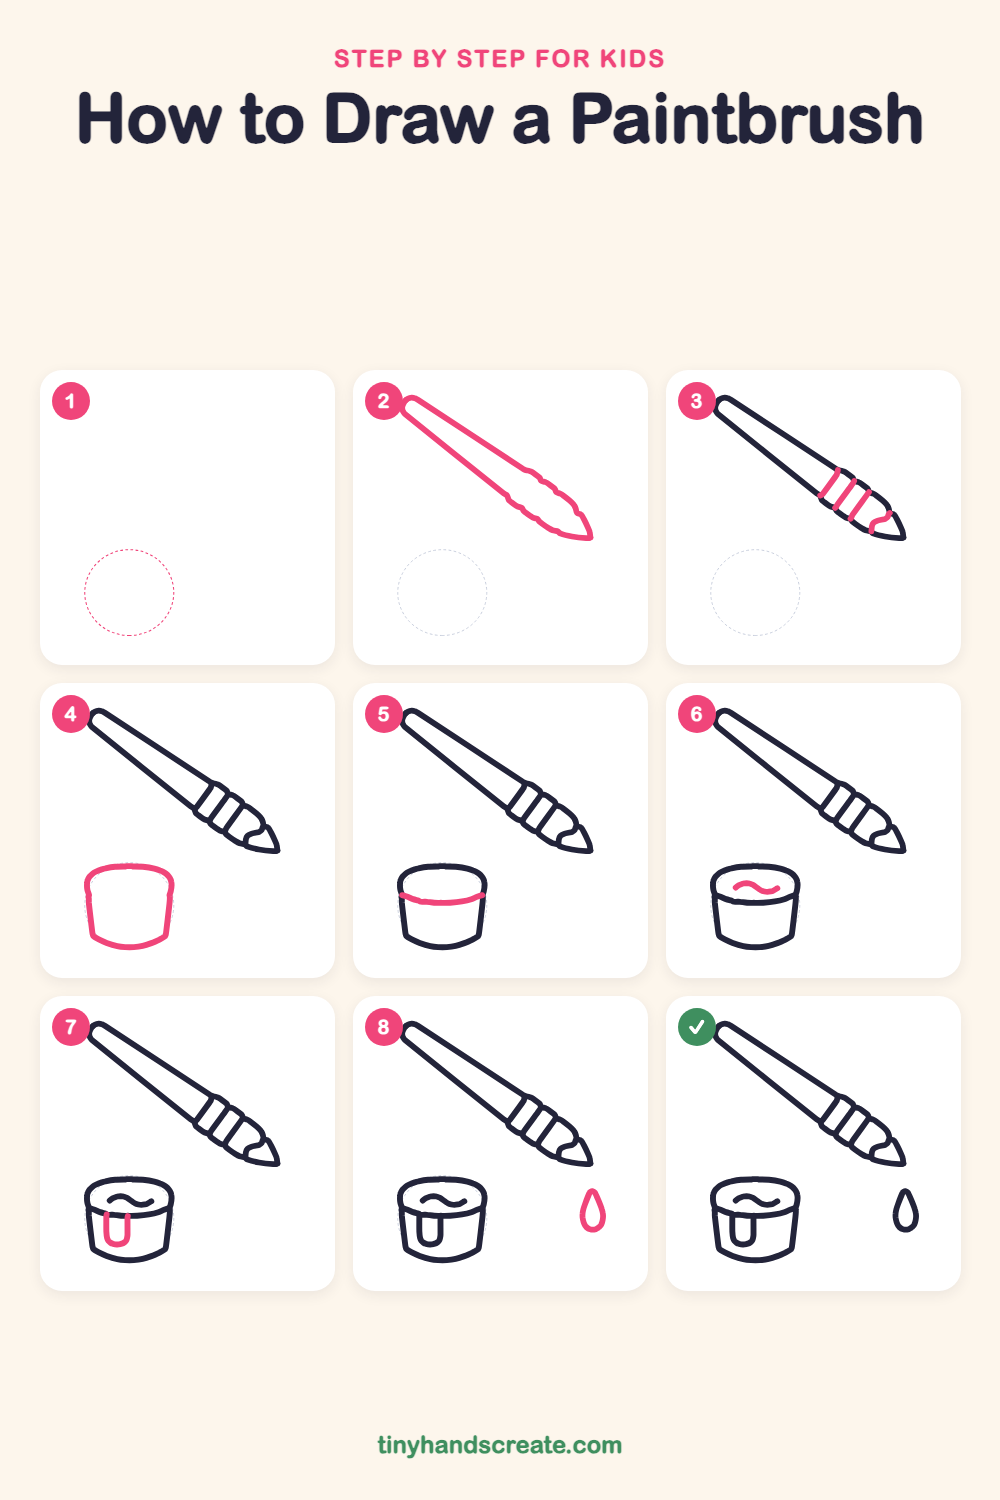
Step 1: Guide shapes
Lightly sketch this oval. It only shows where the big parts go, so press softly. You will erase it at the end.
Step 2: The brush outline
Draw one long, slanted shape like a skinny wedge. Start with a rounded end at the top left, then let the sides spread a little as they slide down to the right and meet at a point.
Step 3: Bands and bristle line
Near the pointed end of the brush, draw three short slanted lines across it, evenly spaced like stripes. Then add a small curved line near the tip to show where the bristles begin.
Step 4: The paint pot
Below the brush on the left, draw a short cup shape. Make a gently curved top, two sides that slant slightly in, and a curved bottom.
Step 5: The pot rim
Draw a gentle curved line across the front of the pot, just under the top. It runs from one side of the pot to the other.
Step 6: Paint on top
Near the top of the pot, draw a short wiggly wave line to show the paint. Think of a sleepy snake lying down.
Step 7: The paint drip
Start at the rim and draw a short, skinny U shape running down the front of the pot. It looks like a drip of paint sliding down.
Step 8: The falling drop
Draw a little raindrop shape to the right of the pot, below the tip of the brush. Give it a point at the top and a round tummy at the bottom.
All done!
Erase the guide shapes, go over your lines, then color it in.
Finished your paintbrush? Keep the pencils out and learn how to draw a pencil case or how to draw a school locker next.
Tips for drawing a paintbrush
- Draw the long brush outline slowly, with one smooth line down each side, so it stays nice and straight.
- Make the three bands on the brush slant the same way, like a row of tilted fence posts.
- Make the top of the pot a little wider than the bottom, so it looks like a sturdy cup.
Free paintbrush coloring page
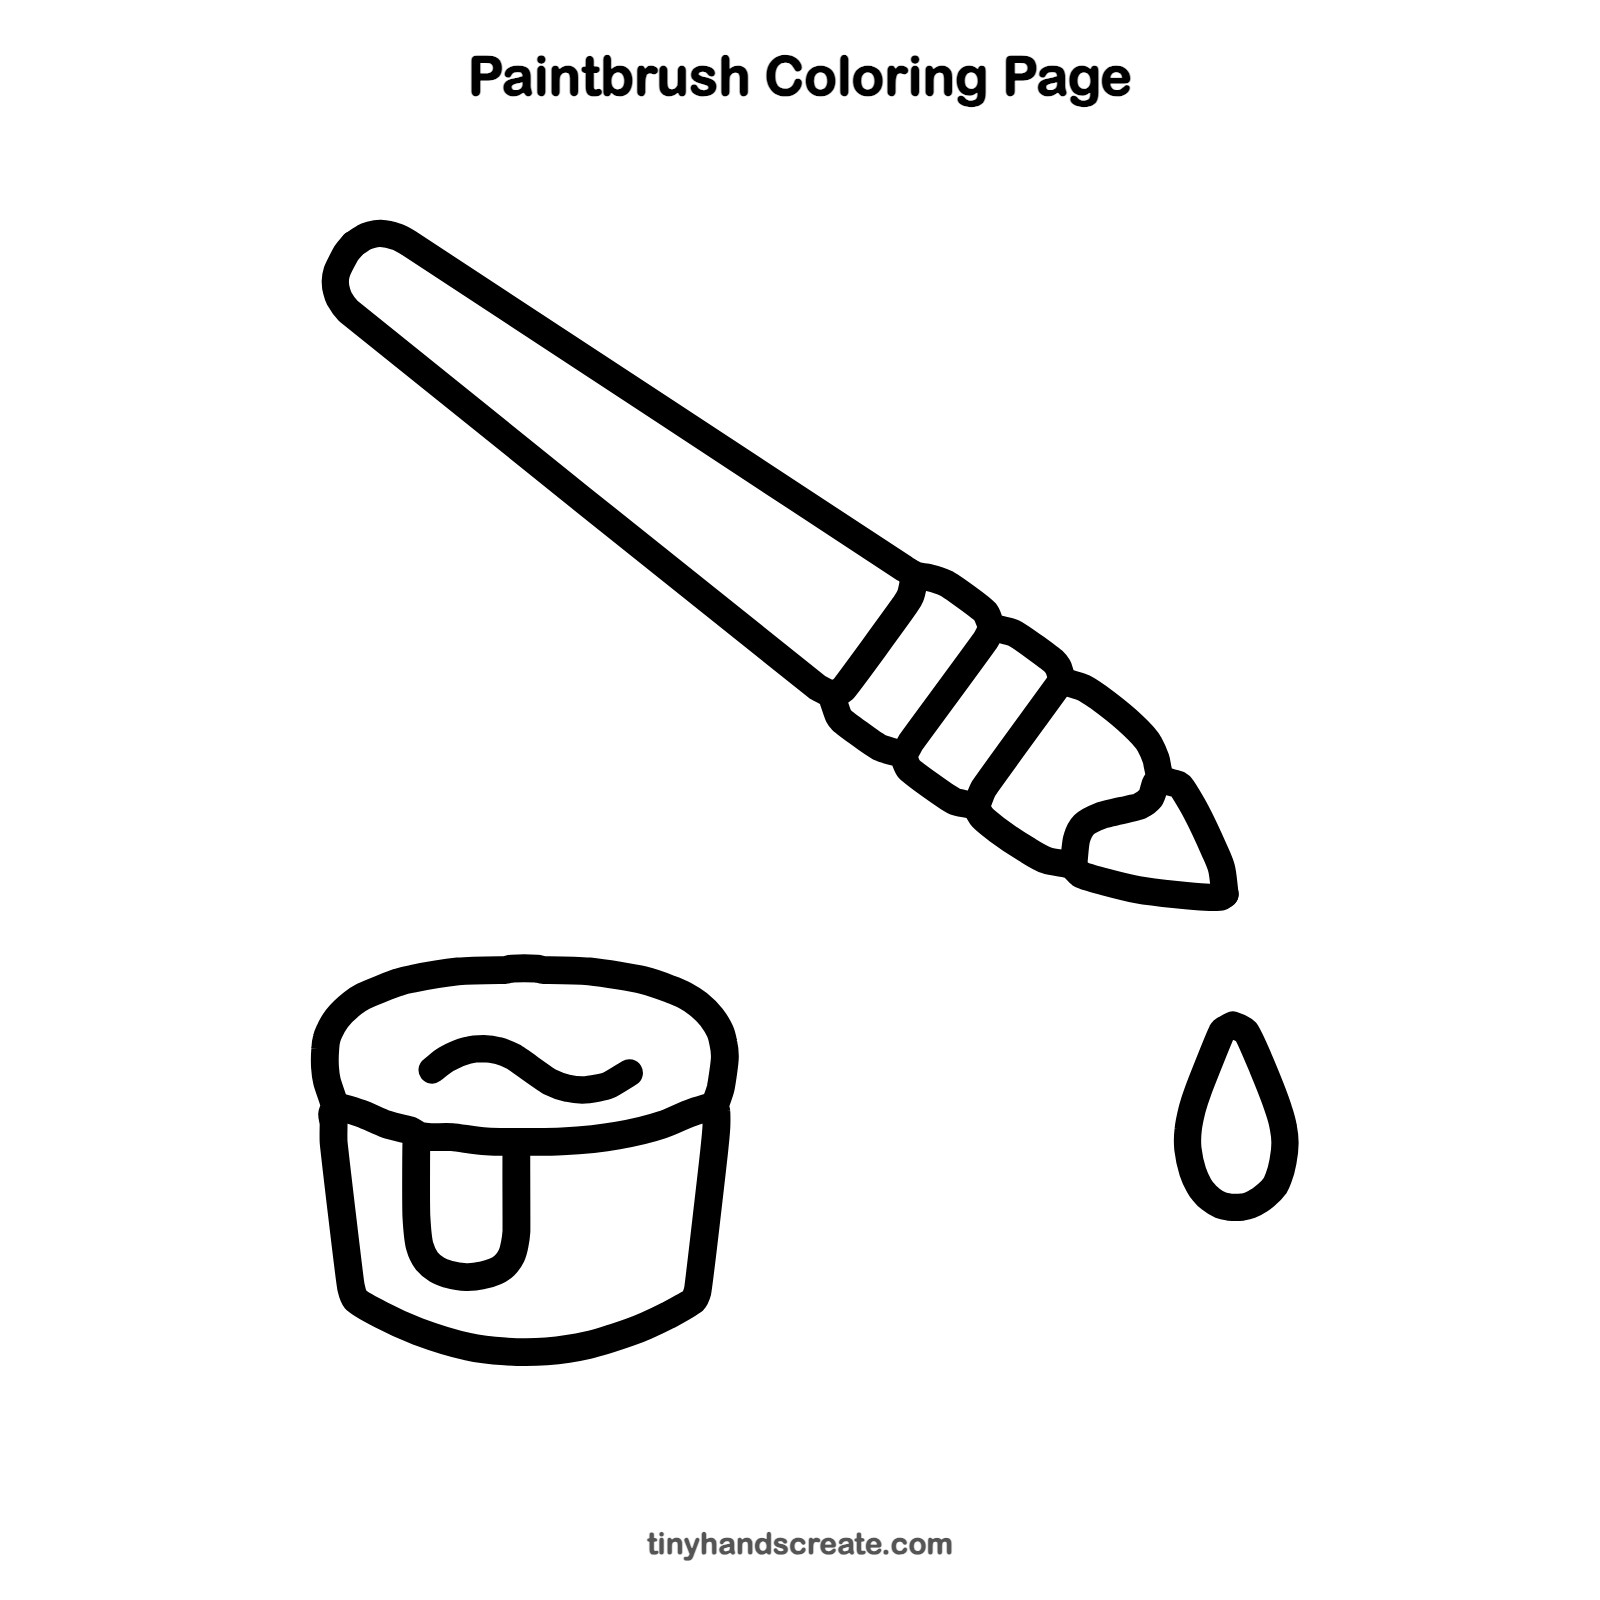
Want to go straight to coloring? Open this paintbrush coloring page at full size and print it. It is the same drawing you just learned, with clean lines ready for crayons or markers.
How to color your paintbrush drawing
Try a brown wooden handle, silver bands, and bright red paint in the pot with a matching red drop. For a fun twist, color each stripe on the brush a different color.
Paintbrush fun fact for kids
Many paintbrushes have a metal band called a ferrule. It holds the bristles tight to the handle so they do not fall out.
Questions about drawing a paintbrush
What shapes do I need to draw a paintbrush?
Start with one long, slanted wedge shape that ends in a point. Then add a few short stripes for the metal band. The paint pot is a short cup shape.
How do I draw a paint drip that looks real?
Draw a short, skinny U shape that starts at the rim and runs down the front of the pot. Keep the two sides smooth and even.
How do I draw the falling drop of paint?
Draw a raindrop with a point at the top and a round bottom. Put it below the tip of the brush, to show paint that just fell.