How to Draw an Abacus (Easy Step by Step)
This post contains affiliate links. As an Amazon Associate I earn from qualifying purchases.
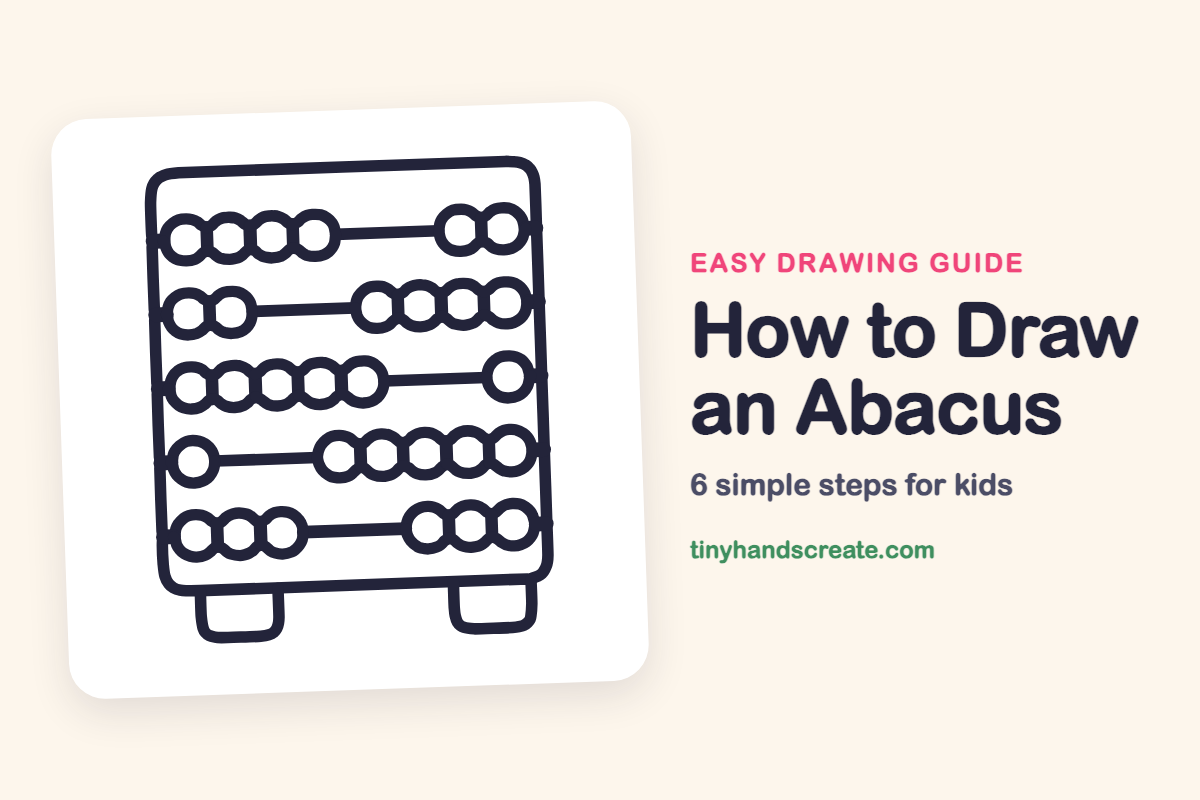
An abacus is fun to draw because it looks tricky but is built from just a few simple shapes: a rounded rectangle, two small U-shapes, straight lines and lots of circles. Once you have drawn one row of beads, the other rows are easy. You can slide the beads differently in every row to show your own number.
- Medium
- 15 minutes
- 6 steps
You need: paper, a pencil, an eraser, and crayons or markers for coloring.
Start drawing

In this article (7 sections)
How to draw an abacus step by step
How to Draw an Abacus · tinyhandscreate.com
Step 1: The frame
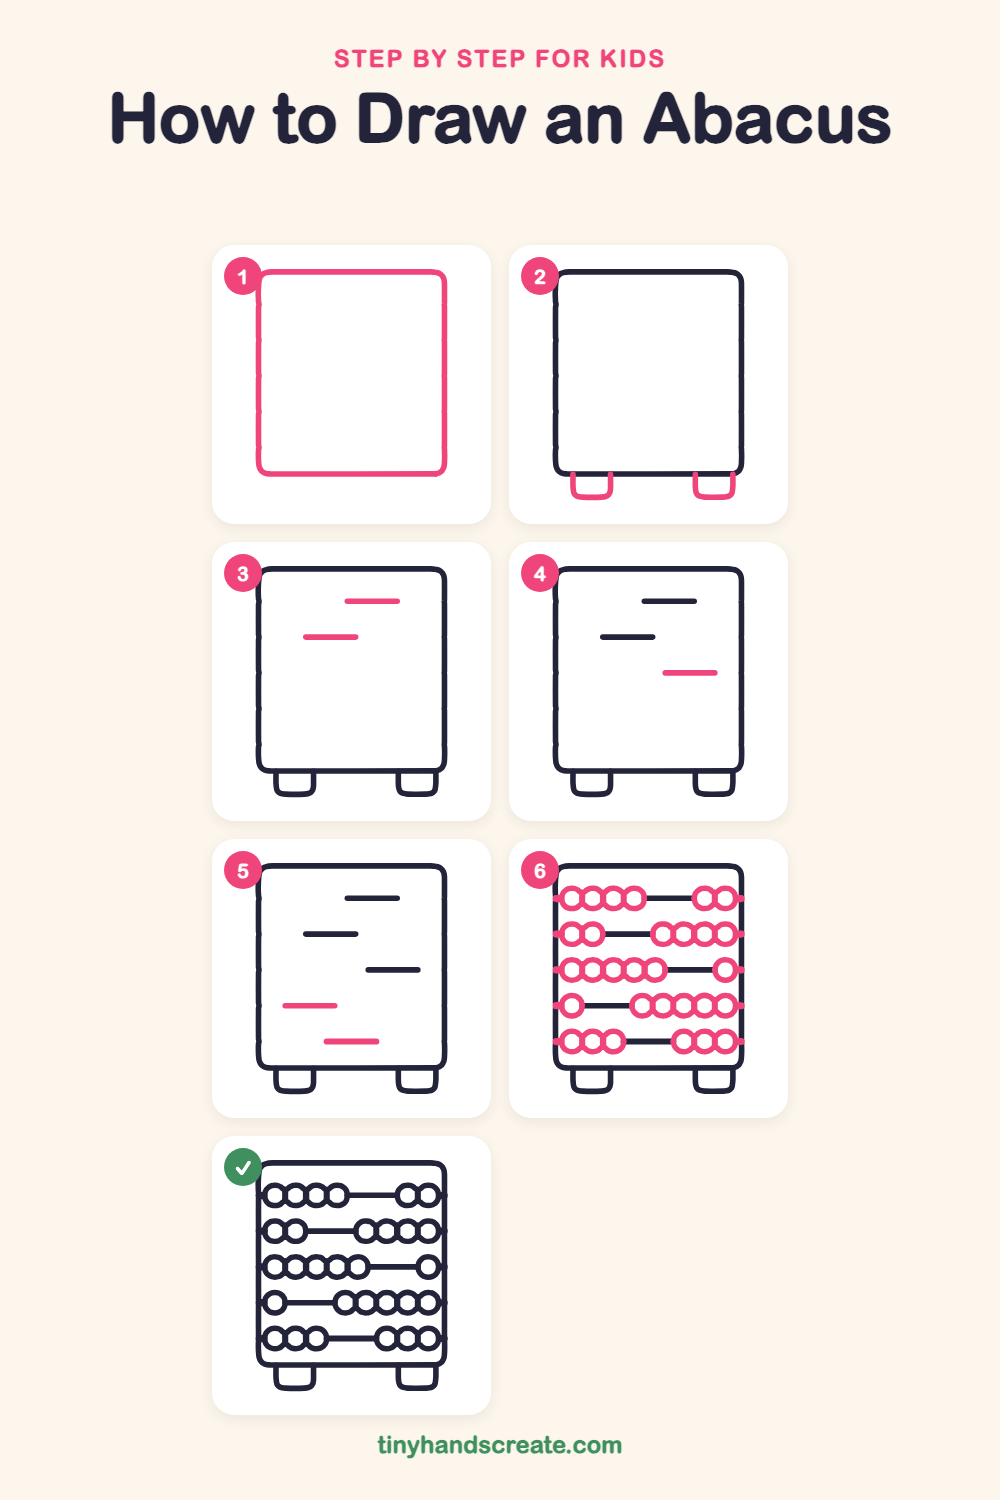
Draw a big rectangle with rounded corners. It is almost square, just a little taller than it is wide. This is the box that holds everything.
Step 2: The two feet
Under the bottom edge of the frame, draw two small U-shapes, one near each corner. The open top of each U sits on the frame, so the abacus can stand on them.
Step 3: The top two rods
Inside the frame, near the top, draw a short straight line leaning toward the right side. Draw a second short line below it, but start this one further to the left.
Step 4: The middle rod
Draw one more short straight line below the first two, in the middle of the frame and toward the right side. Leave room under it for two more lines.
Step 5: The bottom two rods
Near the bottom of the frame, draw two more short straight lines on the left side, one below the other. Keep the space between all five lines about the same.
Step 6: The round beads
Along each line, draw a row of small circles that touch each other, like beads on a string. Put some beads at the left end and some at the right end, with the line showing in the gap between them. The lines now reach all the way across the frame.
All done!
Go over your lines with a marker, then color it in.
Finished your abacus? Keep the pencils out and learn how to draw markers or how to draw a crayon next.
Tips for drawing an abacus
- Space the five lines evenly down the frame, so the rows of beads line up neatly.
- Draw each row of beads on its line, starting from one side of the frame and working toward the other, so the beads touch each other and the frame.
- The beads are the trickiest part. Try to draw them all about the same size, and trace a coin or bottle cap if your circles wobble.
Free abacus coloring page
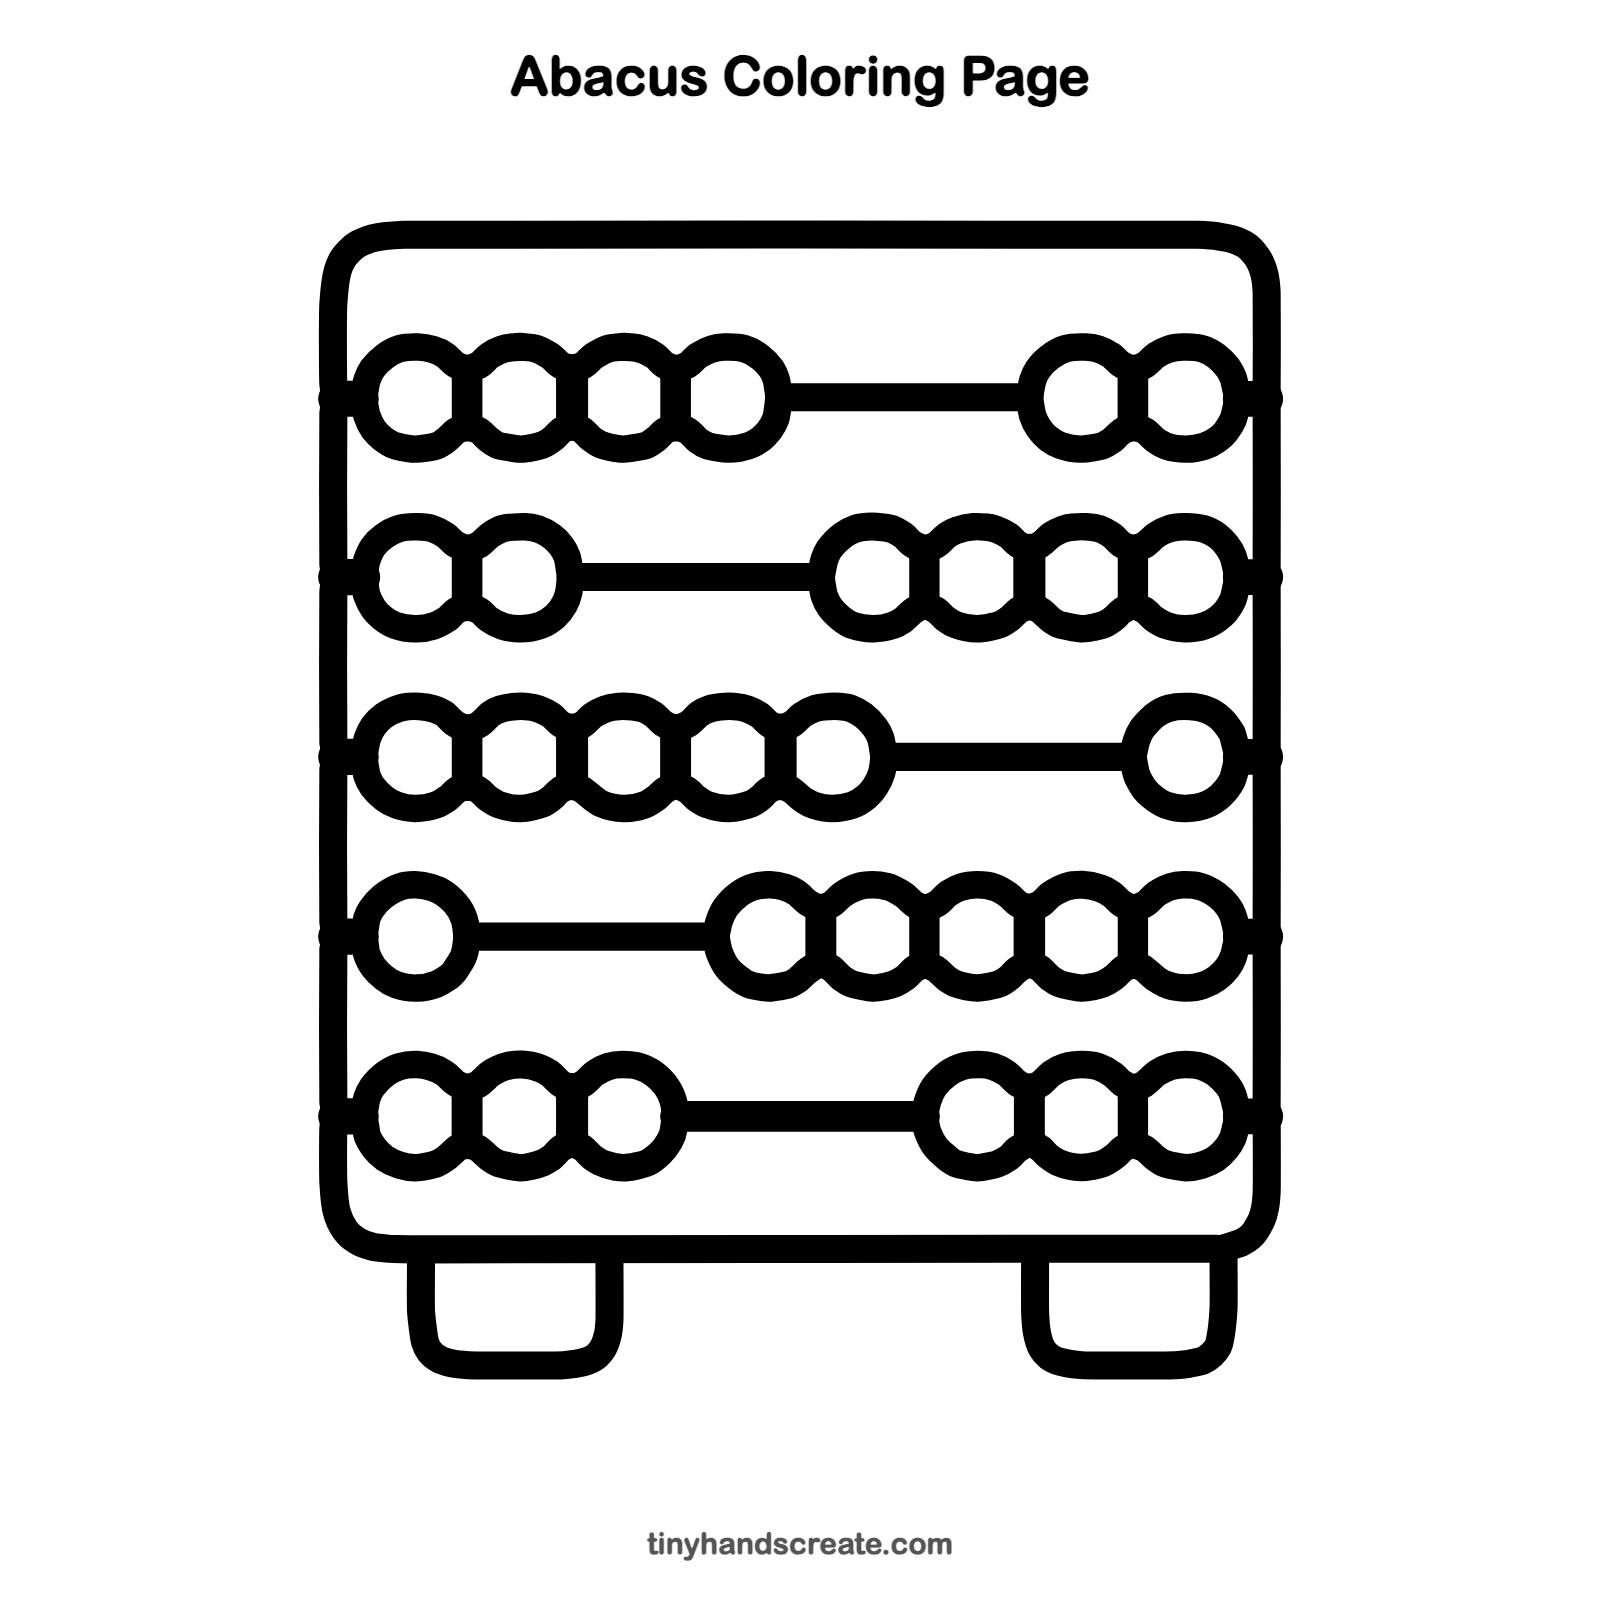
Want to go straight to coloring? Open this abacus coloring page at full size and print it. It is the same drawing you just learned, with clean lines ready for crayons or markers.
How to color your abacus drawing
Try bright rainbow beads, with one color for each row, and a wood-brown frame. For a creative twist, color the beads on the left side of every row and leave the beads on the right side plain.
Abacus fun fact for kids
The abacus is one of the oldest counting tools in the world. People have used different kinds of abaci for thousands of years, and some people still use one today to do math very fast.
Questions about drawing an abacus
What shapes do I need to draw an abacus?
You need a rounded rectangle for the frame, two small U-shapes for the feet, straight lines for the rods and circles for the beads.
How do I make my abacus beads look neat?
Draw one circle, then draw the next one touching its side, and keep going along the rod. Tracing a coin or bottle cap makes every bead the same size.
Can I show a real number on my abacus?
Yes. Slide the beads you want to count over to one side of each rod and leave the rest on the other side. Then you can count the beads on that side to read your number.