How to Draw a Pencil Case (Easy Step by Step)
This post contains affiliate links. As an Amazon Associate I earn from qualifying purchases.
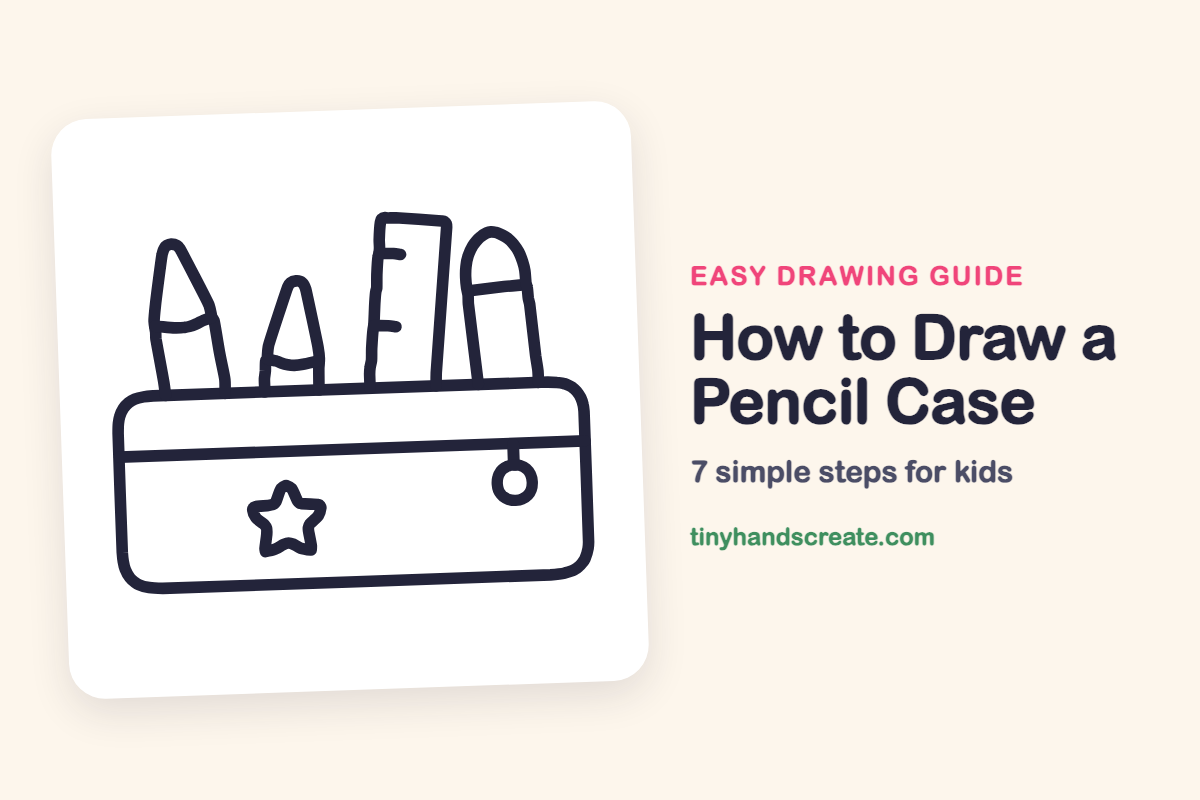
A pencil case is a friendly drawing because it is mostly rectangles with a few tools peeking out the top. You will use a rounded rectangle, a small circle, a star, and some long, skinny shapes. Each tool is a different shape, so the finished picture feels full and busy.
- Easy
- 12 minutes
- 7 steps
You need: paper, a pencil, an eraser, and crayons or markers for coloring.
Start drawing
In this article (7 sections)
How to draw a pencil case step by step
How to Draw a Pencil Case · tinyhandscreate.com
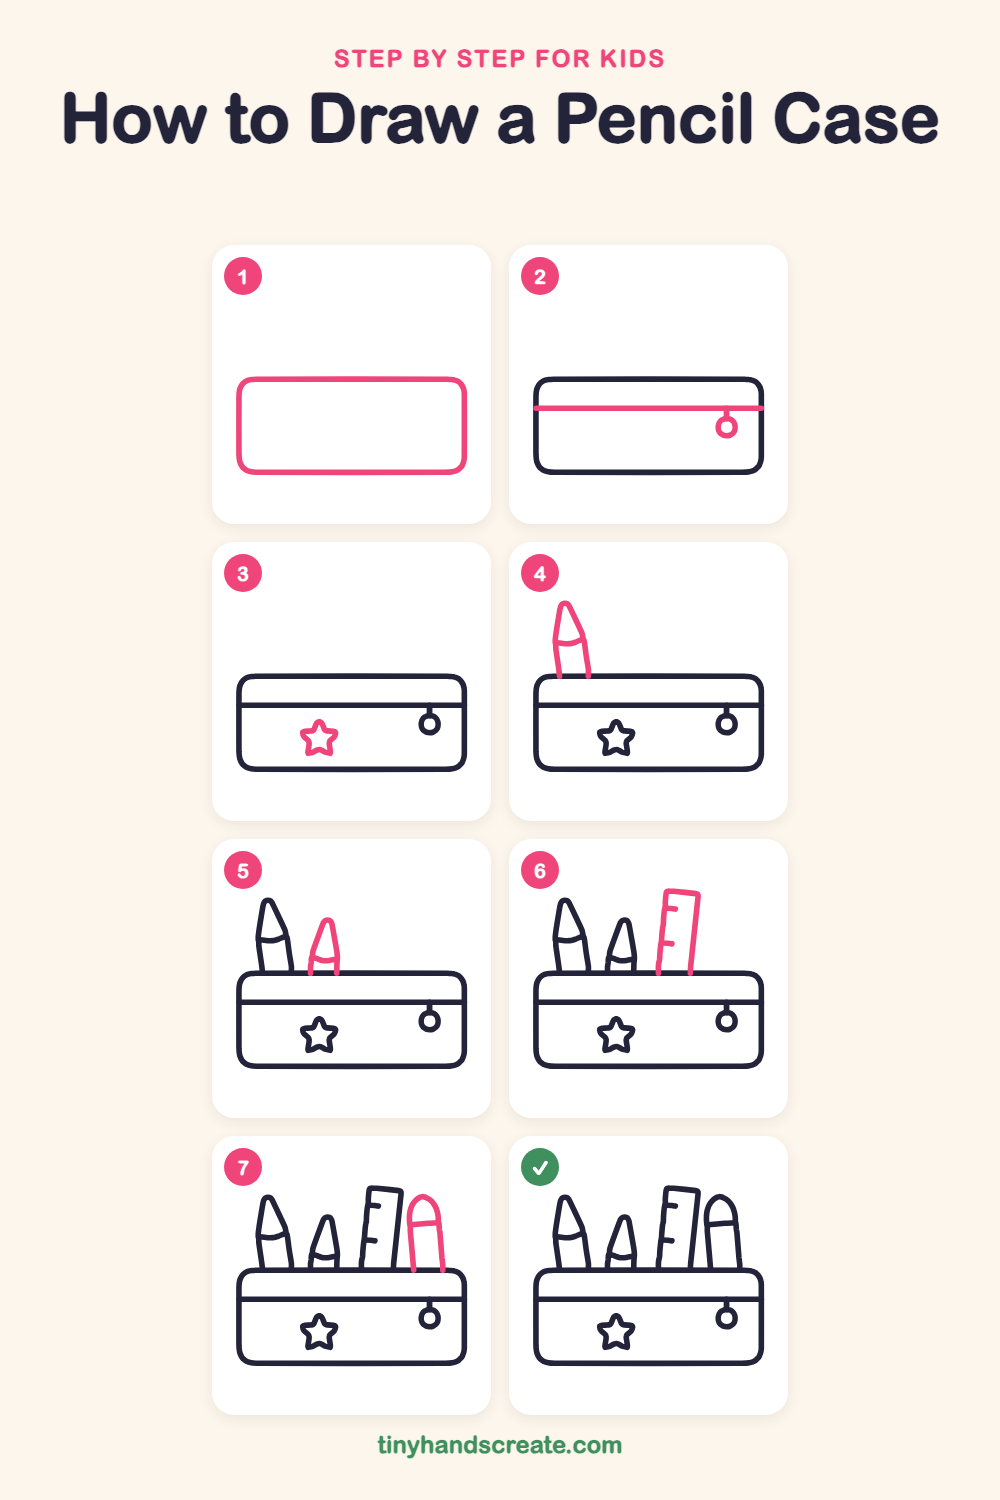
Step 1: The case
Draw a wide rectangle with soft, rounded corners, like a loaf of bread lying down. Leave plenty of room above it for the things that stick out.
Step 2: Zipper and pull
Draw a straight line across the case, a little below the top edge, from the left side to the right side. Near the right end, add a short tick hanging down and finish it with a small circle.
Step 3: The star
Draw a small star on the lower left of the case. Start with a point at the top and zigzag down and around, then close it.
Step 4: The tall crayon
Start at the top edge of the case and draw two slightly slanted lines that go up and meet in a pointed tip. Add a curved line across the upper part for the paper wrapper.
Step 5: The small crayon
Draw a shorter crayon next to the first one, the same way: two lines rising from the top edge of the case to a small pointed tip. Add a gentle curved line across the lower part.
Step 6: The ruler
Draw a tall, thin rectangle that leans a tiny bit, with its bottom at the top edge of the case. Then add short sideways lines down the left edge, like little steps, for the measuring marks.
Step 7: The marker
Draw two long lines that rise from the top edge of the case and curve together into a rounded dome at the top. Add a straight line across, just under the dome, for the cap.
All done!
Go over your lines with a marker, then color it in.
Finished your pencil case? Keep the pencils out and learn how to draw a school locker or how to draw an abacus next.
Tips for drawing a pencil case
- Draw the case first and leave a big gap above it. The crayons, ruler, and marker need room to stand up tall.
- Start each tool at the top edge of the case. They look like they are tucked inside when the lines stop right there.
- Draw the star small, with five points. Start at the top point and zigzag around so the points come out even.
Free pencil case coloring page
Want to go straight to coloring? Open this pencil case coloring page at full size and print it. It is the same drawing you just learned, with clean lines ready for crayons or markers.
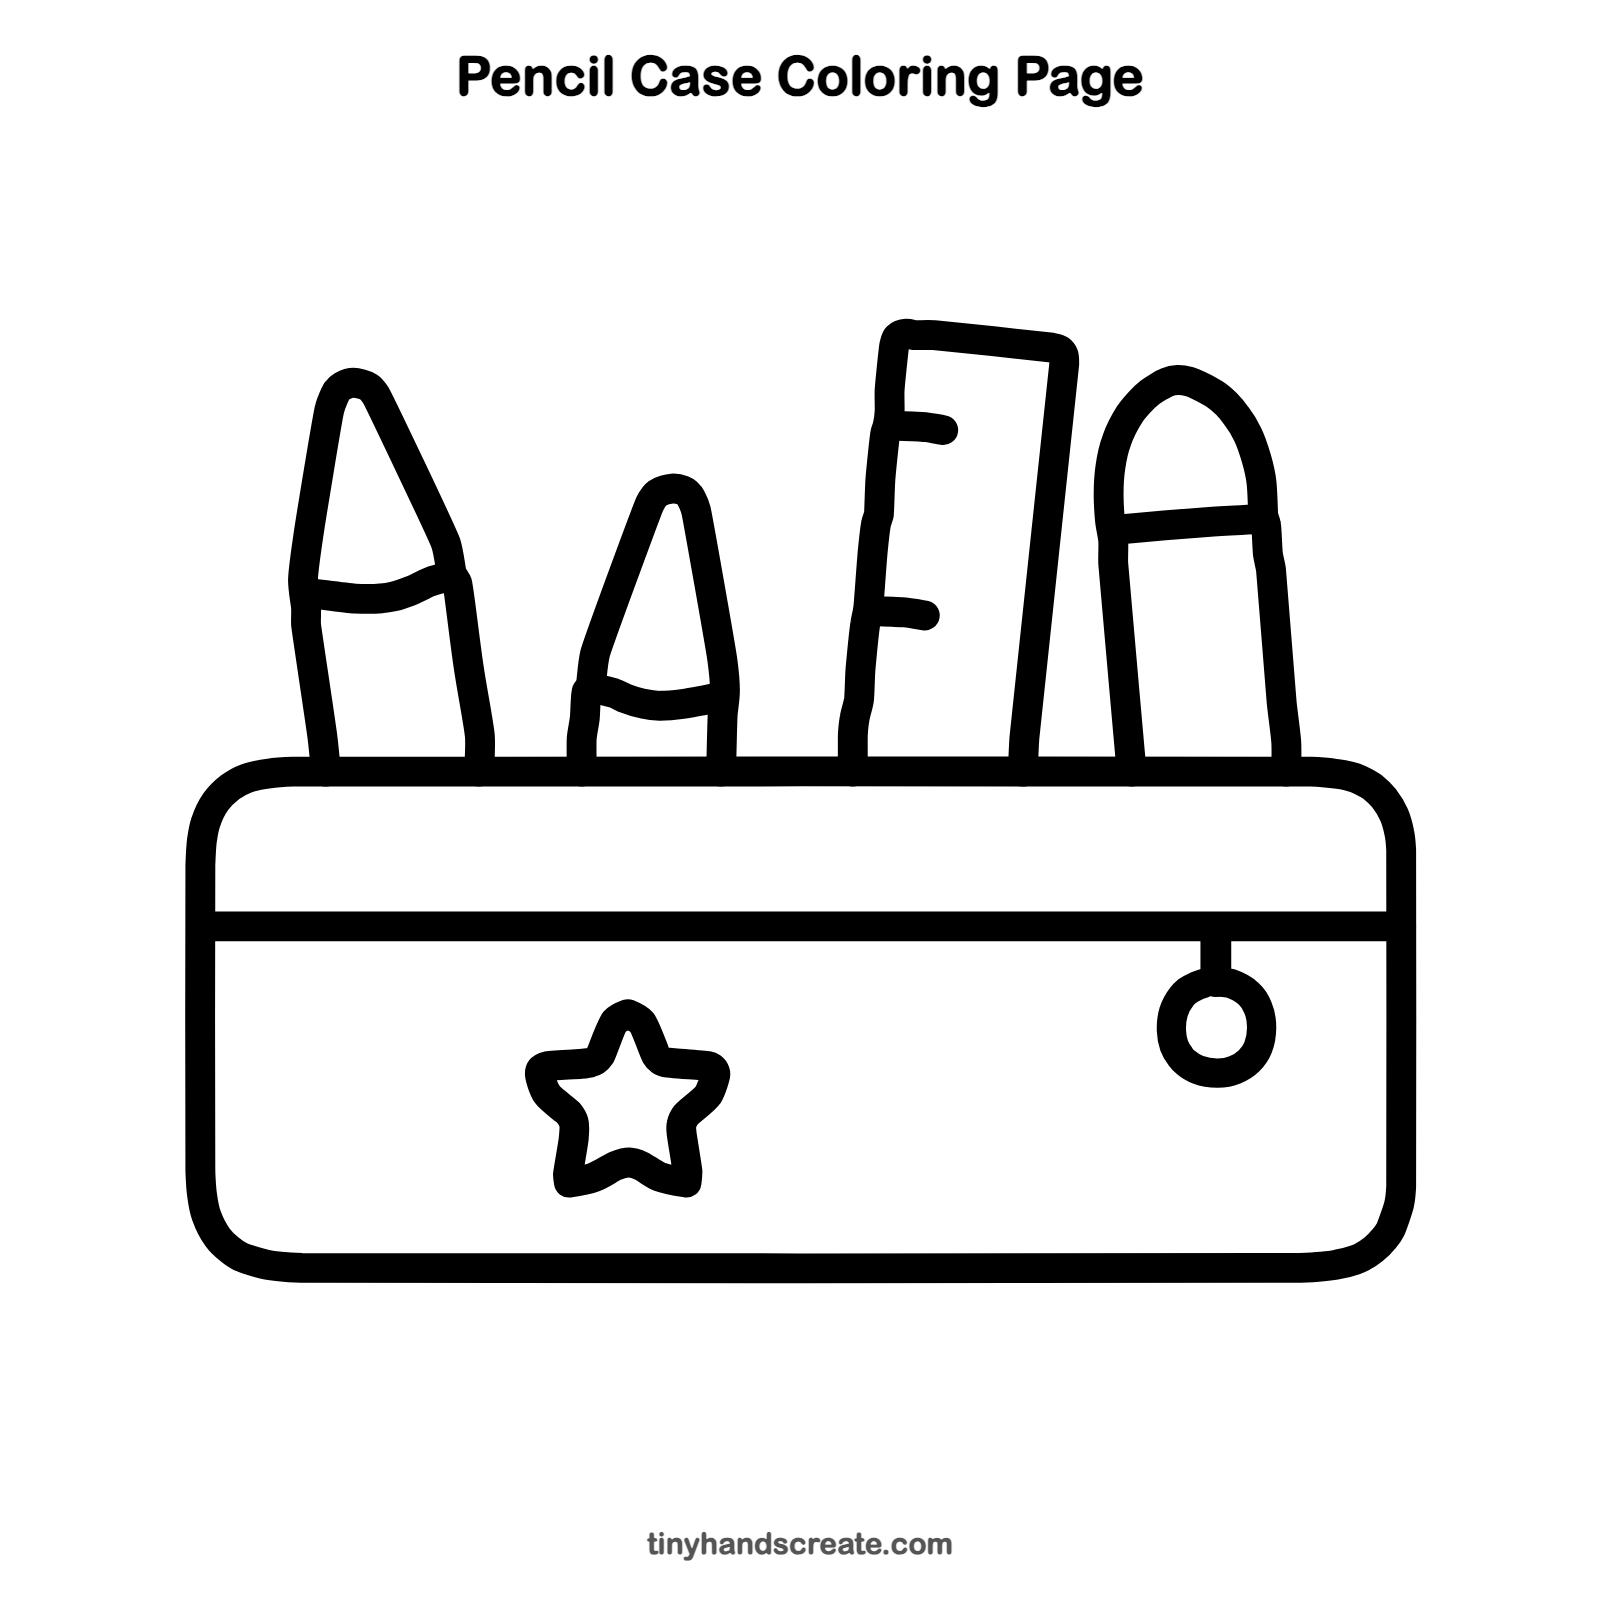
How to color your pencil case drawing
Try a bright red or blue case, with each tool in a different color so they are easy to tell apart. For a twist, give the star a rainbow of colors or add your own name on the case.
Pencil case fun fact for kids
The "lead" in a wooden pencil is not lead at all. It is a core of graphite mixed with clay, and the word graphite comes from a Greek word meaning "to write."
Questions about drawing a pencil case
What shapes do I need to draw a pencil case?
Start with a wide rectangle with round corners for the case. Add a line and a small circle for the zipper, a star, and tall shapes with pointed or rounded tops for the crayons, ruler, and marker.
How do I make my pencil case look more fun?
Add more stickers, like hearts or smiley faces, on the front of the case. You can also draw more tools sticking out, such as pencils or scissors.
How do I draw the tools so they look inside the case?
Stop each tool's lines at the top edge of the case. Do not draw them going down into the case, and they will look tucked in.