How to Draw a Laughing Face (Easy Step by Step)
This post contains affiliate links. As an Amazon Associate I earn from qualifying purchases.
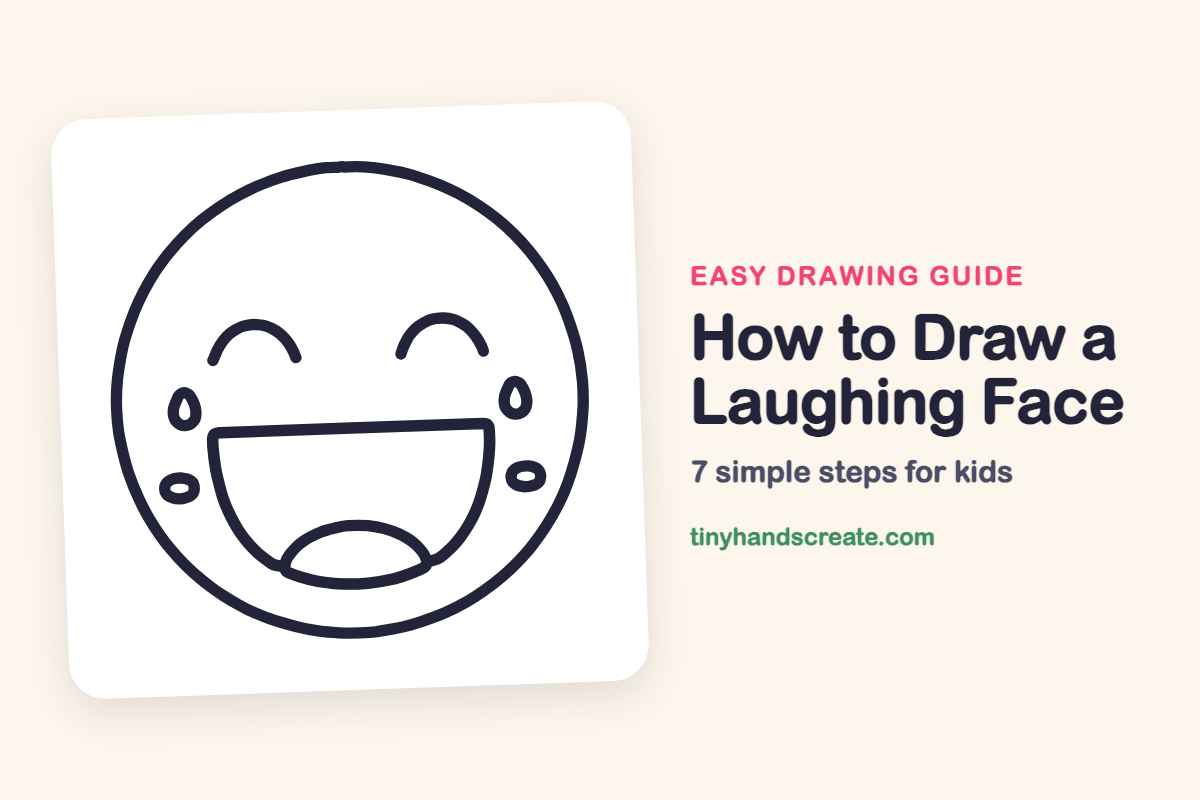
A laughing face is a great first emoji to draw because it is made from just a few simple shapes: a circle, a bowl, some curves and tiny raindrops. The squeezed-shut eyes and the big open mouth show how much fun the joke is. Once you can draw this one, you can change the lines to make lots of other feelings.
- Easy
- 10 minutes
- 7 steps
You need: paper, a pencil, an eraser, and crayons or markers for coloring.
Start drawing
In this article (7 sections)
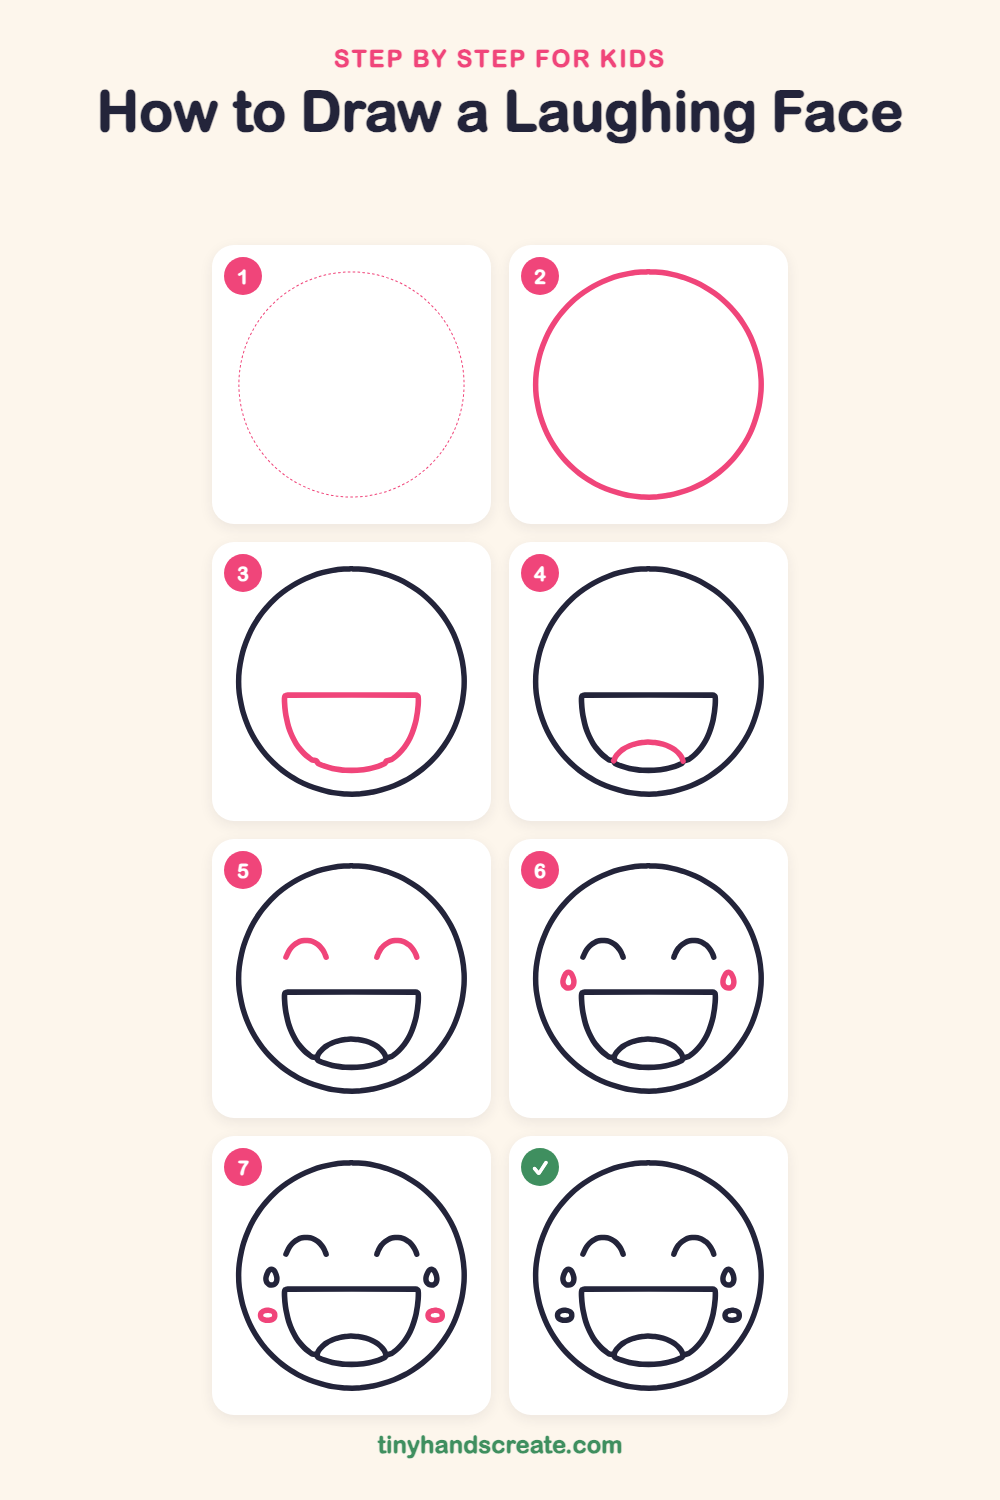
How to draw a laughing face step by step
How to Draw a Laughing Face · tinyhandscreate.com
Step 1: Guide shapes
Lightly sketch this oval. It only shows where the big parts go, so press softly. You will erase it at the end.
Step 2: The round face
Draw a big circle for the face. Take your time and keep the line smooth, leaving plenty of room inside.
Step 3: The big open mouth
Near the lower middle, draw a flat line straight across. From each end, curve a line down and around like a big bowl and join them at the bottom.
Step 4: The tongue
Inside the bottom of the mouth, draw a small hill shape. Start and end it on the bowl line so it looks like a tongue.
Step 5: Happy closed eyes
Above the mouth, draw two upside-down U shapes, one on the left and one on the right. Make them about the same size so the eyes look squeezed shut with laughing.
Step 6: Tears of joy
Beside the mouth, up near the top corners, draw two little raindrops. Make each one pointy on top and round on the bottom, then add a tiny drop inside.
Step 7: Rosy cheeks
Below each tear, near the edge of the face, draw a small flat oval. Add a tiny oval inside each one to finish the cheeks.
All done!
Erase the guide shapes, go over your lines, then color it in.
Finished your laughing face? Keep the pencils out and learn how to draw a heart eyes face or how to draw a winking face next.
Tips for drawing a laughing face
- Draw the big circle first and keep it light, since every other part has to fit inside it.
- The mouth is the trickiest part. Make the flat top line first, then curve both sides down so they match.
- Draw the eyes as two curves that are the same size and the same height, and leave a gap between them so the face does not look crowded.
Free laughing face coloring page
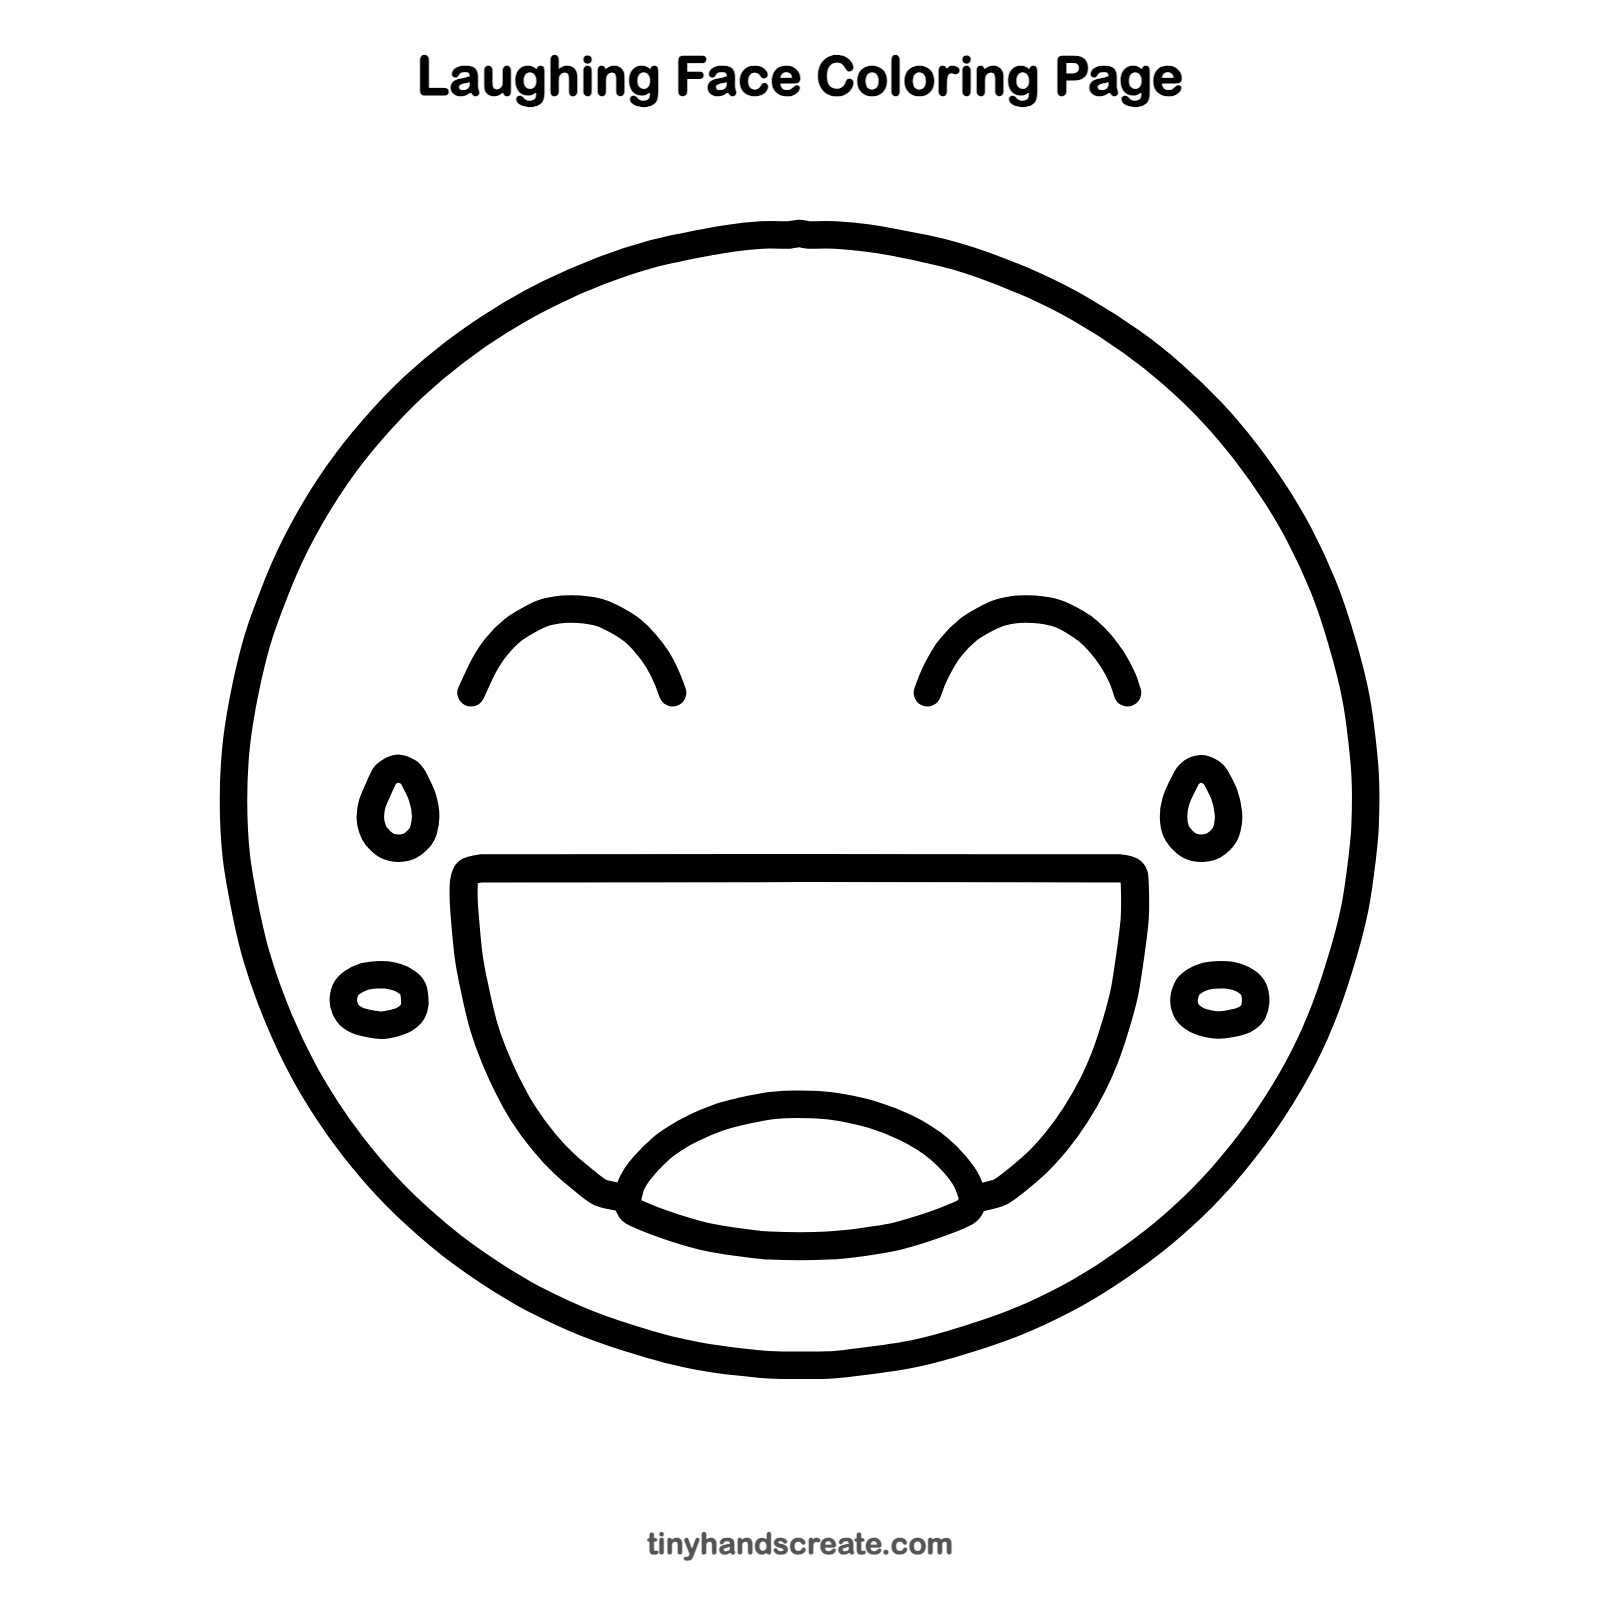
Want to go straight to coloring? Open this laughing face coloring page at full size and print it. It is the same drawing you just learned, with clean lines ready for crayons or markers.
How to color your laughing face drawing
Color the face bright yellow, the mouth deep red or pink, and the tongue a lighter pink. Give the tears a pale blue color and the little cheek ovals a soft pink.
Laughing face fun fact for kids
Babies usually start to laugh when they are about 3 to 4 months old, long before they can say their first words.
Questions about drawing a laughing face
What shapes do I need to draw a laughing face?
You need a circle for the face, a bowl shape for the mouth, a small hill for the tongue, two curved arches for the eyes, two small raindrops for the tears, and two tiny ovals for the cheeks.
How do I make my laughing face look happier?
Make the mouth wider and curve the eye arches higher. Adding the tears and cheeks makes it look like the laugh is bursting out.
Why does my mouth look lopsided?
Draw the flat top line first, then curve both sides down to the same depth. Looking at the left and right sides as you go helps them match.