How to Draw a Christmas Cupcake (Easy Step by Step)
This post contains affiliate links. As an Amazon Associate I earn from qualifying purchases.
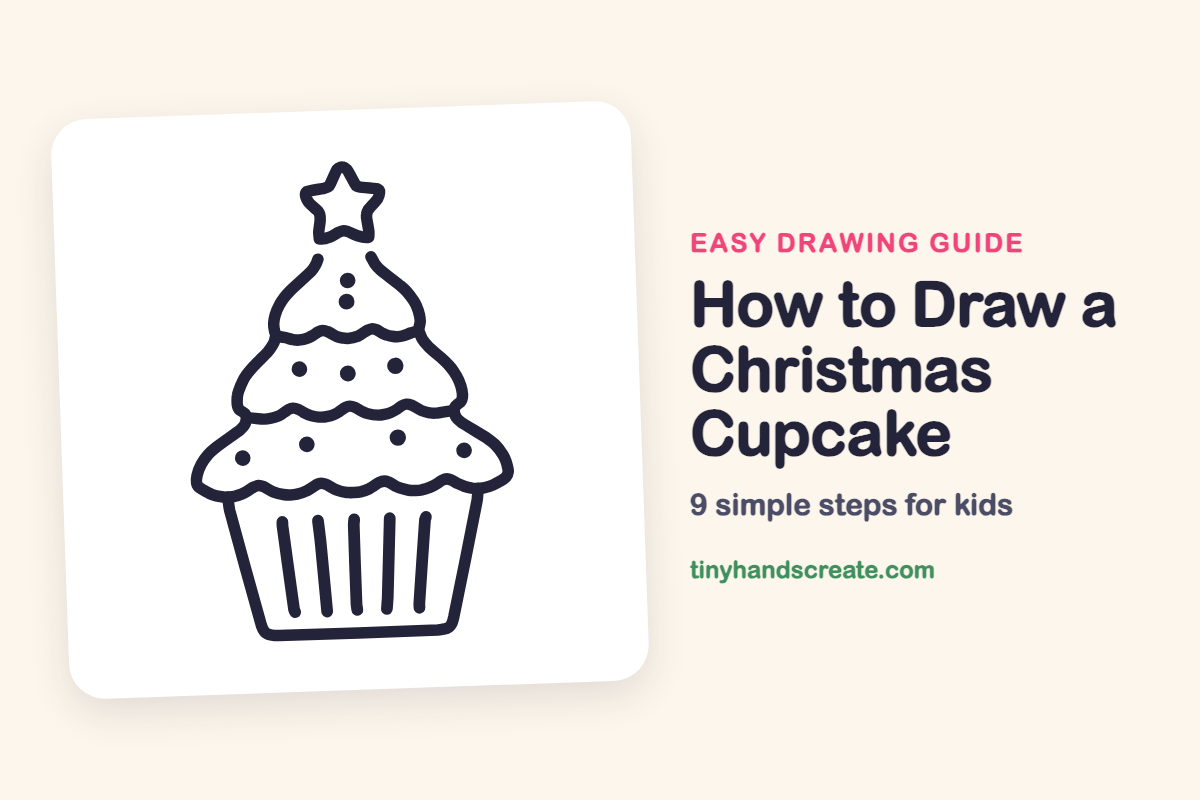
A Christmas cupcake that looks like a little tree is a sweet drawing to try. It is built from a flowerpot-shaped cup, three wavy tiers of frosting, and a five-pointed star on top. Once you can draw wavy lines and small round dots, you can draw the whole thing.
- Medium
- 15 minutes
- 9 steps
You need: paper, a pencil, an eraser, and crayons or markers for coloring.
Start drawing
In this article (7 sections)
How to draw a Christmas cupcake step by step
How to Draw a Christmas Cupcake · tinyhandscreate.com
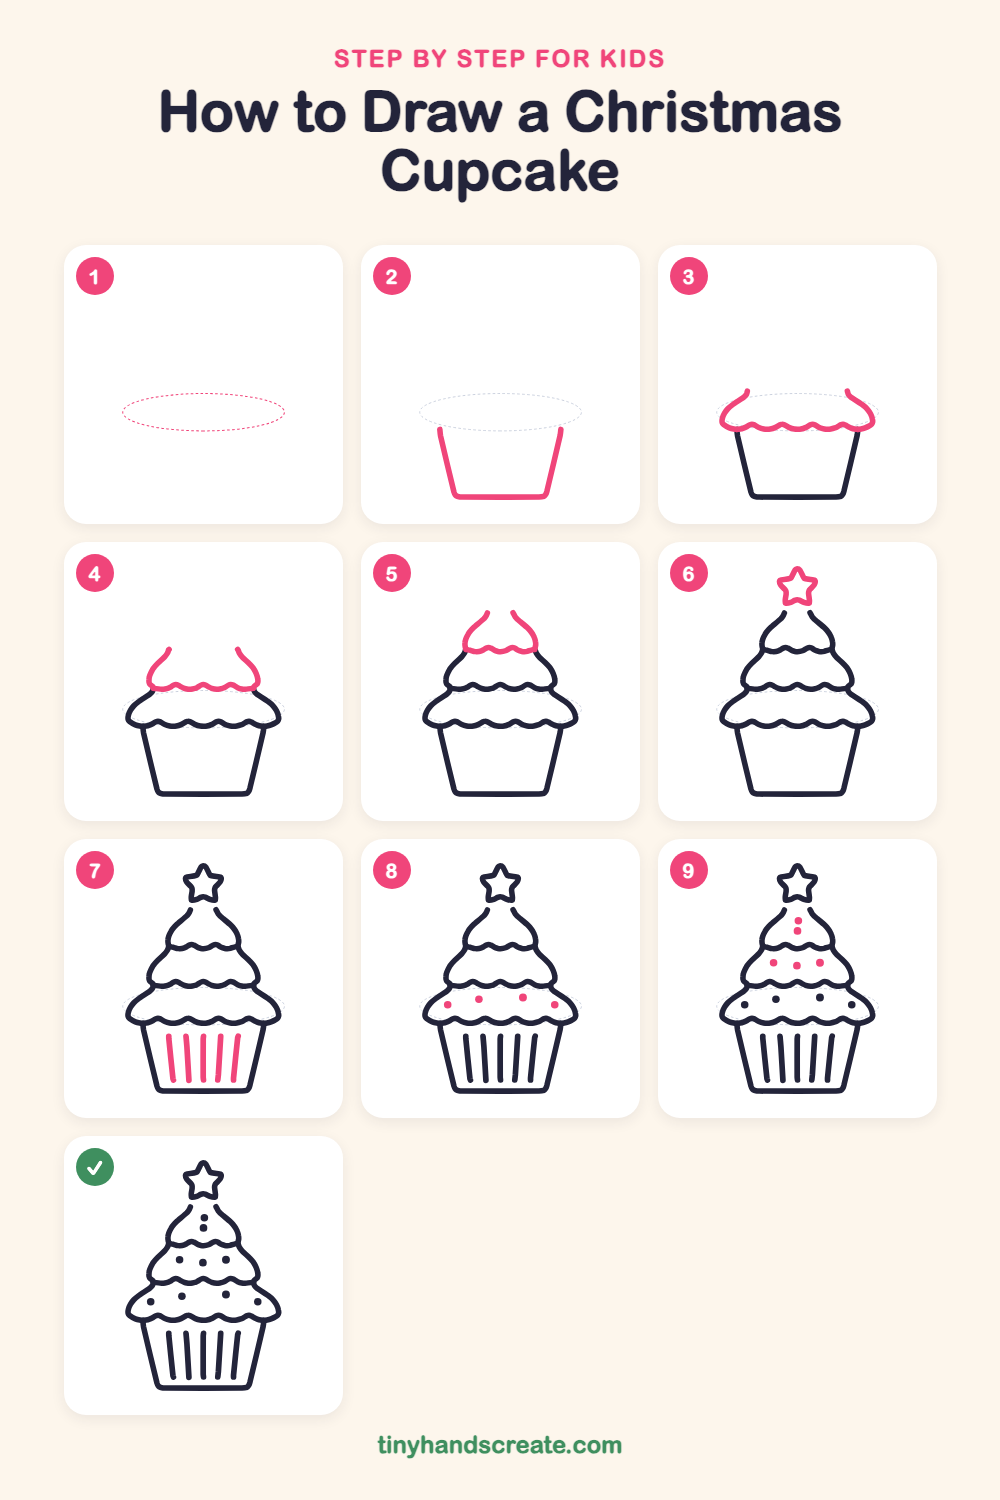
Step 1: Guide shapes
Lightly sketch this oval. It only shows where the big parts go, so press softly. You will erase it at the end.
Step 2: The cupcake cup
Draw a wide shape like a flowerpot: a flat bottom line with two sides that slant outward as they go up. Leave the top open for now.
Step 3: Bottom frosting tier
Across the top of the cup, draw a wavy line from one side to the other, like little hills. At each end, curve a short line up and in, like a wide hat shape.
Step 4: Middle frosting tier
Above the first tier, draw another wavy line that is a bit narrower. Add a curved side going up from each end, so the tree gets smaller as it climbs.
Step 5: Top frosting tier
Draw a smaller wavy line near the top. Then draw two curved sides that lean toward each other and stop just before they meet, making the tip of the tree.
Step 6: The star
Draw a small five-pointed star on top of the tree, in the gap between the two curved sides. Start with a peak at the top, then zigzag out to each point and back in.
Step 7: Cup stripes
Draw five straight lines down the cup, from near the top to near the bottom. Make them slant a little, like the sides of the cup.
Step 8: Sprinkle dots
Add four small round dots on the bottom tier of frosting, spaced out along the wavy line. Press your pencil down and fill in each little dot.
Step 9: Tree ornaments
Finish with dots on the upper tiers: two in a stack on the top tier and three in a row on the middle tier. They look like round ornaments.
All done!
Erase the guide shapes, go over your lines, then color it in.
Finished your Christmas cupcake? Keep the pencils out and learn how to draw a Christmas donut or how to draw a Christmas lantern next.
Tips for drawing a Christmas cupcake
- The wavy lines are the trickiest part, so draw them as a row of small hills, all about the same size, and go slowly.
- Make each tier of frosting a little narrower than the one below it, so the tree comes to a point under the star.
- Keep the five points of the star about the same length. A light pencil dot at each point can help you place them.
Free Christmas cupcake coloring page
Want to go straight to coloring? Open this Christmas cupcake coloring page at full size and print it. It is the same drawing you just learned, with clean lines ready for crayons or markers.
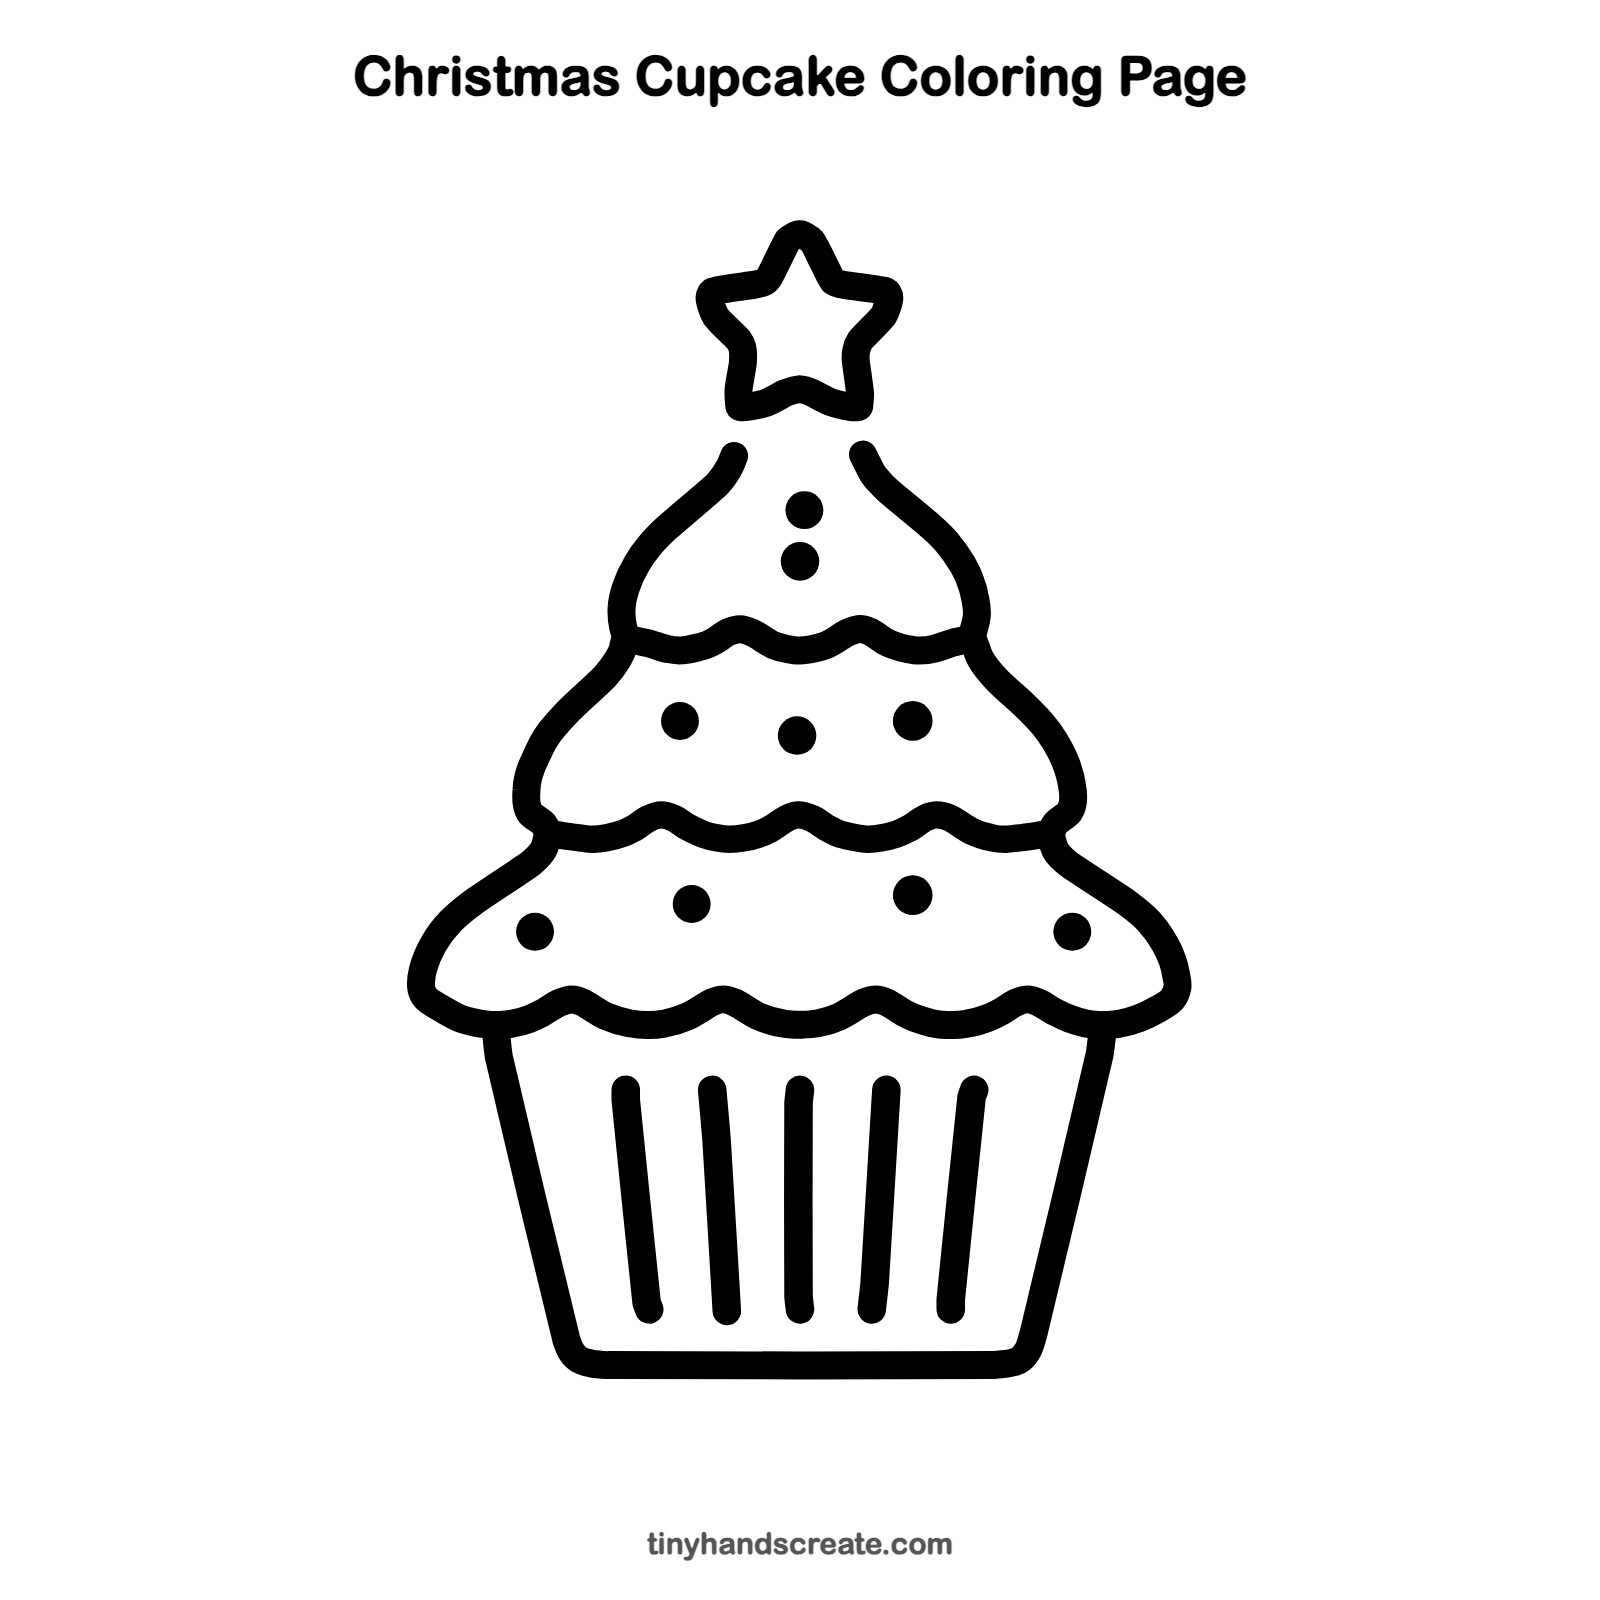
How to color your Christmas cupcake drawing
Try green frosting with red, yellow, and blue ornament dots, a golden star, and a cup in red or brown.
Christmas cupcake fun fact for kids
The word cupcake first appeared in print in 1796, in an American cookbook by Amelia Simmons, which described a light cake baked in small cups.
Questions about drawing a Christmas cupcake
What shapes do I need to draw a Christmas cupcake?
You need a flowerpot shape for the cup, wavy lines and curved sides for the frosting tiers, a star, straight lines for the stripes, and small dots.
How do I make my cupcake look cuter?
Draw the dots all about the same size and keep the stripes evenly spaced. Neat, matching shapes make the cupcake look extra cheerful.
How do I draw a star that looks even?
Start with a small peak at the top, then zigzag out to each point and back in. Keep each point about the same length and it will look balanced.