How to Draw a Turkey Cupcake (Easy Step by Step)
This post contains affiliate links. As an Amazon Associate I earn from qualifying purchases.
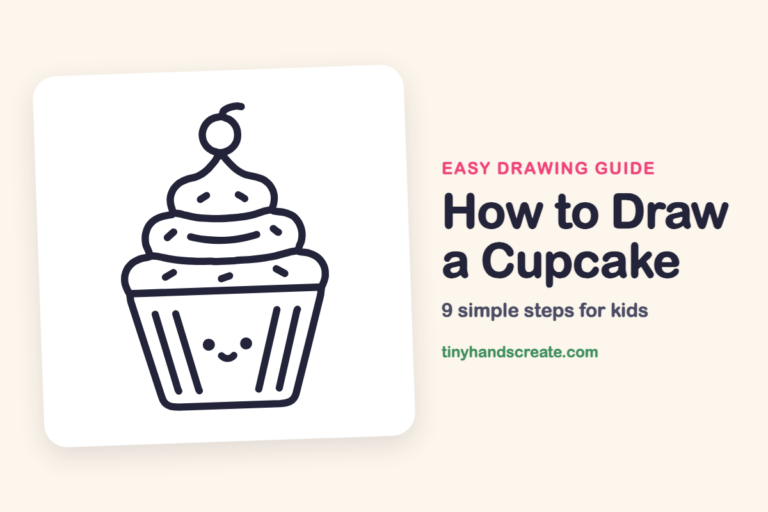
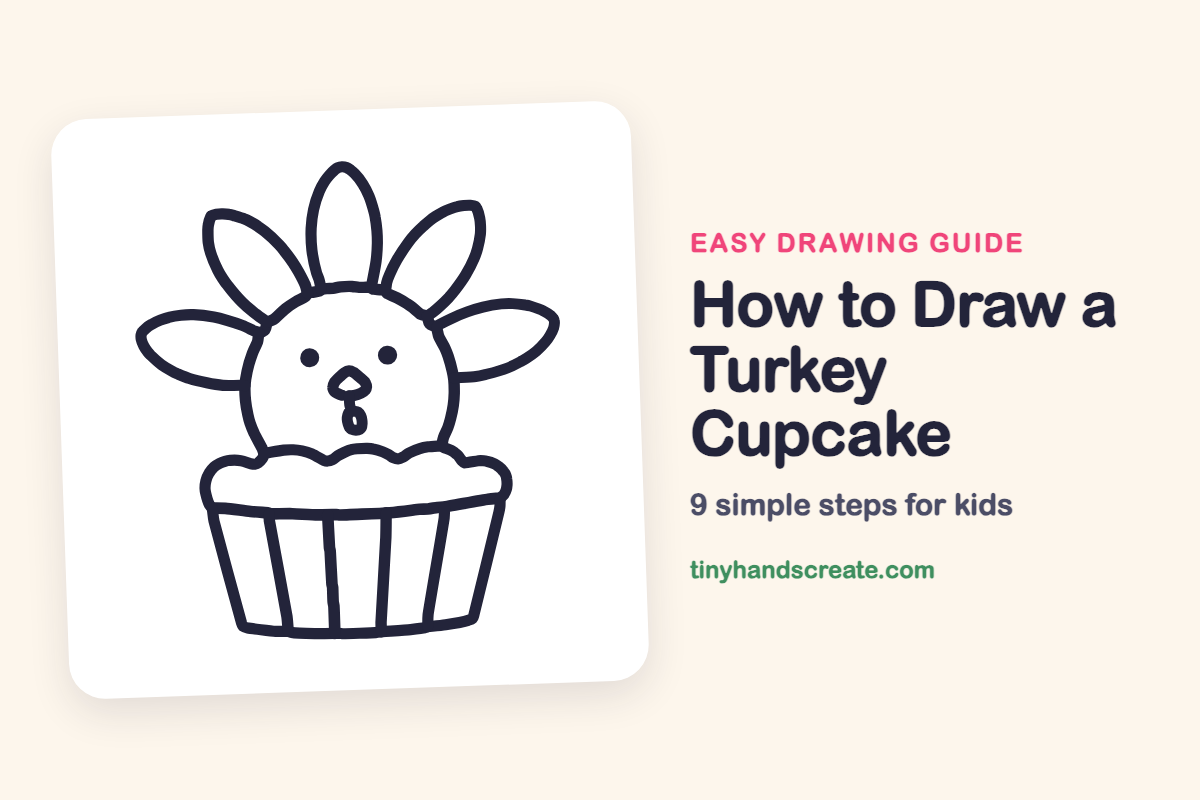
A turkey cupcake is a cheerful fall drawing made from a few simple shapes. You will use a circle for the head, leaf shapes for the feathers, and a wavy line and a few straight lines for the cupcake. It is a fun one to draw before Thanksgiving.
- Easy
- 15 minutes
- 9 steps
You need: paper, a pencil, an eraser, and crayons or markers for coloring.
Start drawing
In this article (7 sections)
How to draw a turkey cupcake step by step
How to Draw a Turkey Cupcake · tinyhandscreate.com
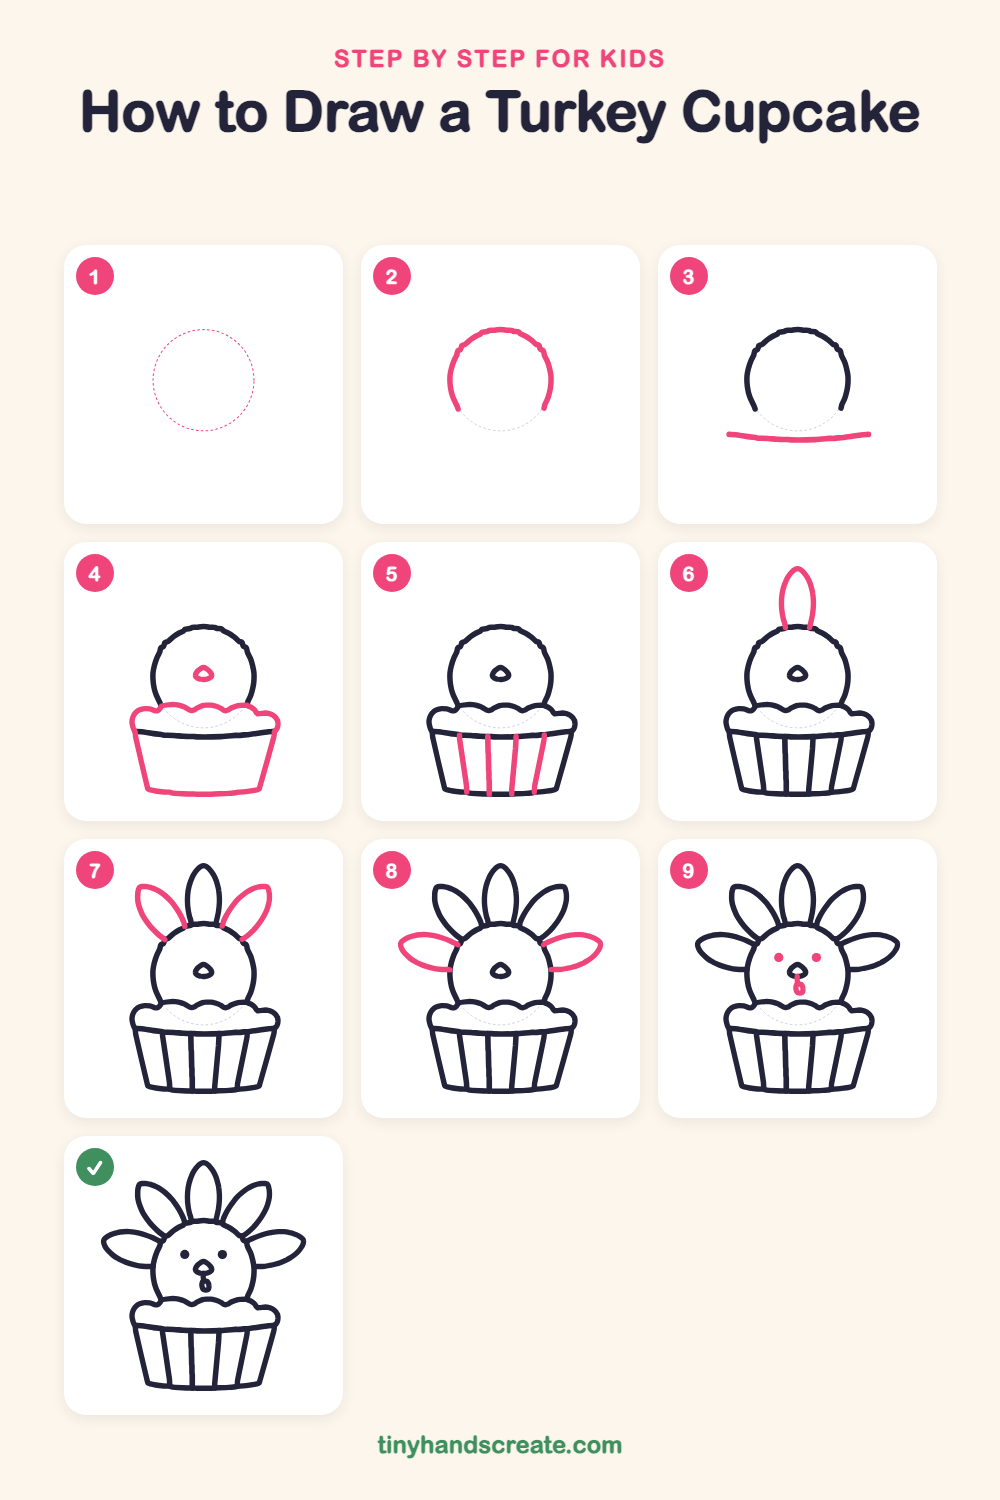
Step 1: Guide shapes
Lightly sketch this oval. It only shows where the big parts go, so press softly. You will erase it at the end.
Step 2: The round head
Draw a big circle in the middle of your page, but stop before you close it and leave the bottom open. The cupcake will hide the bottom of the head.
Step 3: Top of the wrapper
Under the head, draw one long, gently curved line from the left side to the right side. This is the top edge of the cupcake wrapper.
Step 4: Frosting and wrapper
Draw a tiny rounded triangle in the middle of the face for the beak. Then draw a wavy, bumpy line like a little cloud across the top of the wrapper for frosting. From each end of the curved line, draw a line sloping down and slightly inward, and join them at the bottom with a gently curved line.
Step 5: Wrapper stripes
Draw four lines from the top of the wrapper to the bottom, spaced evenly like the pleats of a paper cup. Let them slant a little to match the sides.
Step 6: The middle feather
Draw a tall pointy oval, like a leaf, standing straight up from the top of the head.
Step 7: Upper side feathers
Draw two more leaf shapes, one leaning to the left and one leaning to the right of the middle feather. Start each one at the top of the head.
Step 8: Side feathers
Draw two wide leaf shapes pointing out sideways, one from each side of the head, like little wings.
Step 9: Eyes and wattle
Draw two small round dots for eyes, one on each side of the beak. Then draw a tiny oval that hangs down under the beak like a droplet.
All done!
Erase the guide shapes, go over your lines, then color it in.
Finished your turkey cupcake? Keep the pencils out and learn how to draw a turkey cookie or how to draw a turkey next.
Tips for drawing a turkey cupcake
- Leave the bottom of the head circle open, so the frosting can sit in front of it without messy overlapping lines.
- The wavy frosting is the trickiest part, so think of it as a row of little cloud bumps instead of one long squiggle.
- Start every feather as a pointy oval at the head and let the tips fan outward, keeping the sizes similar so the turkey looks balanced.
- Draw the eyes as small dots with a little space between them and the beak.
Free turkey cupcake coloring page
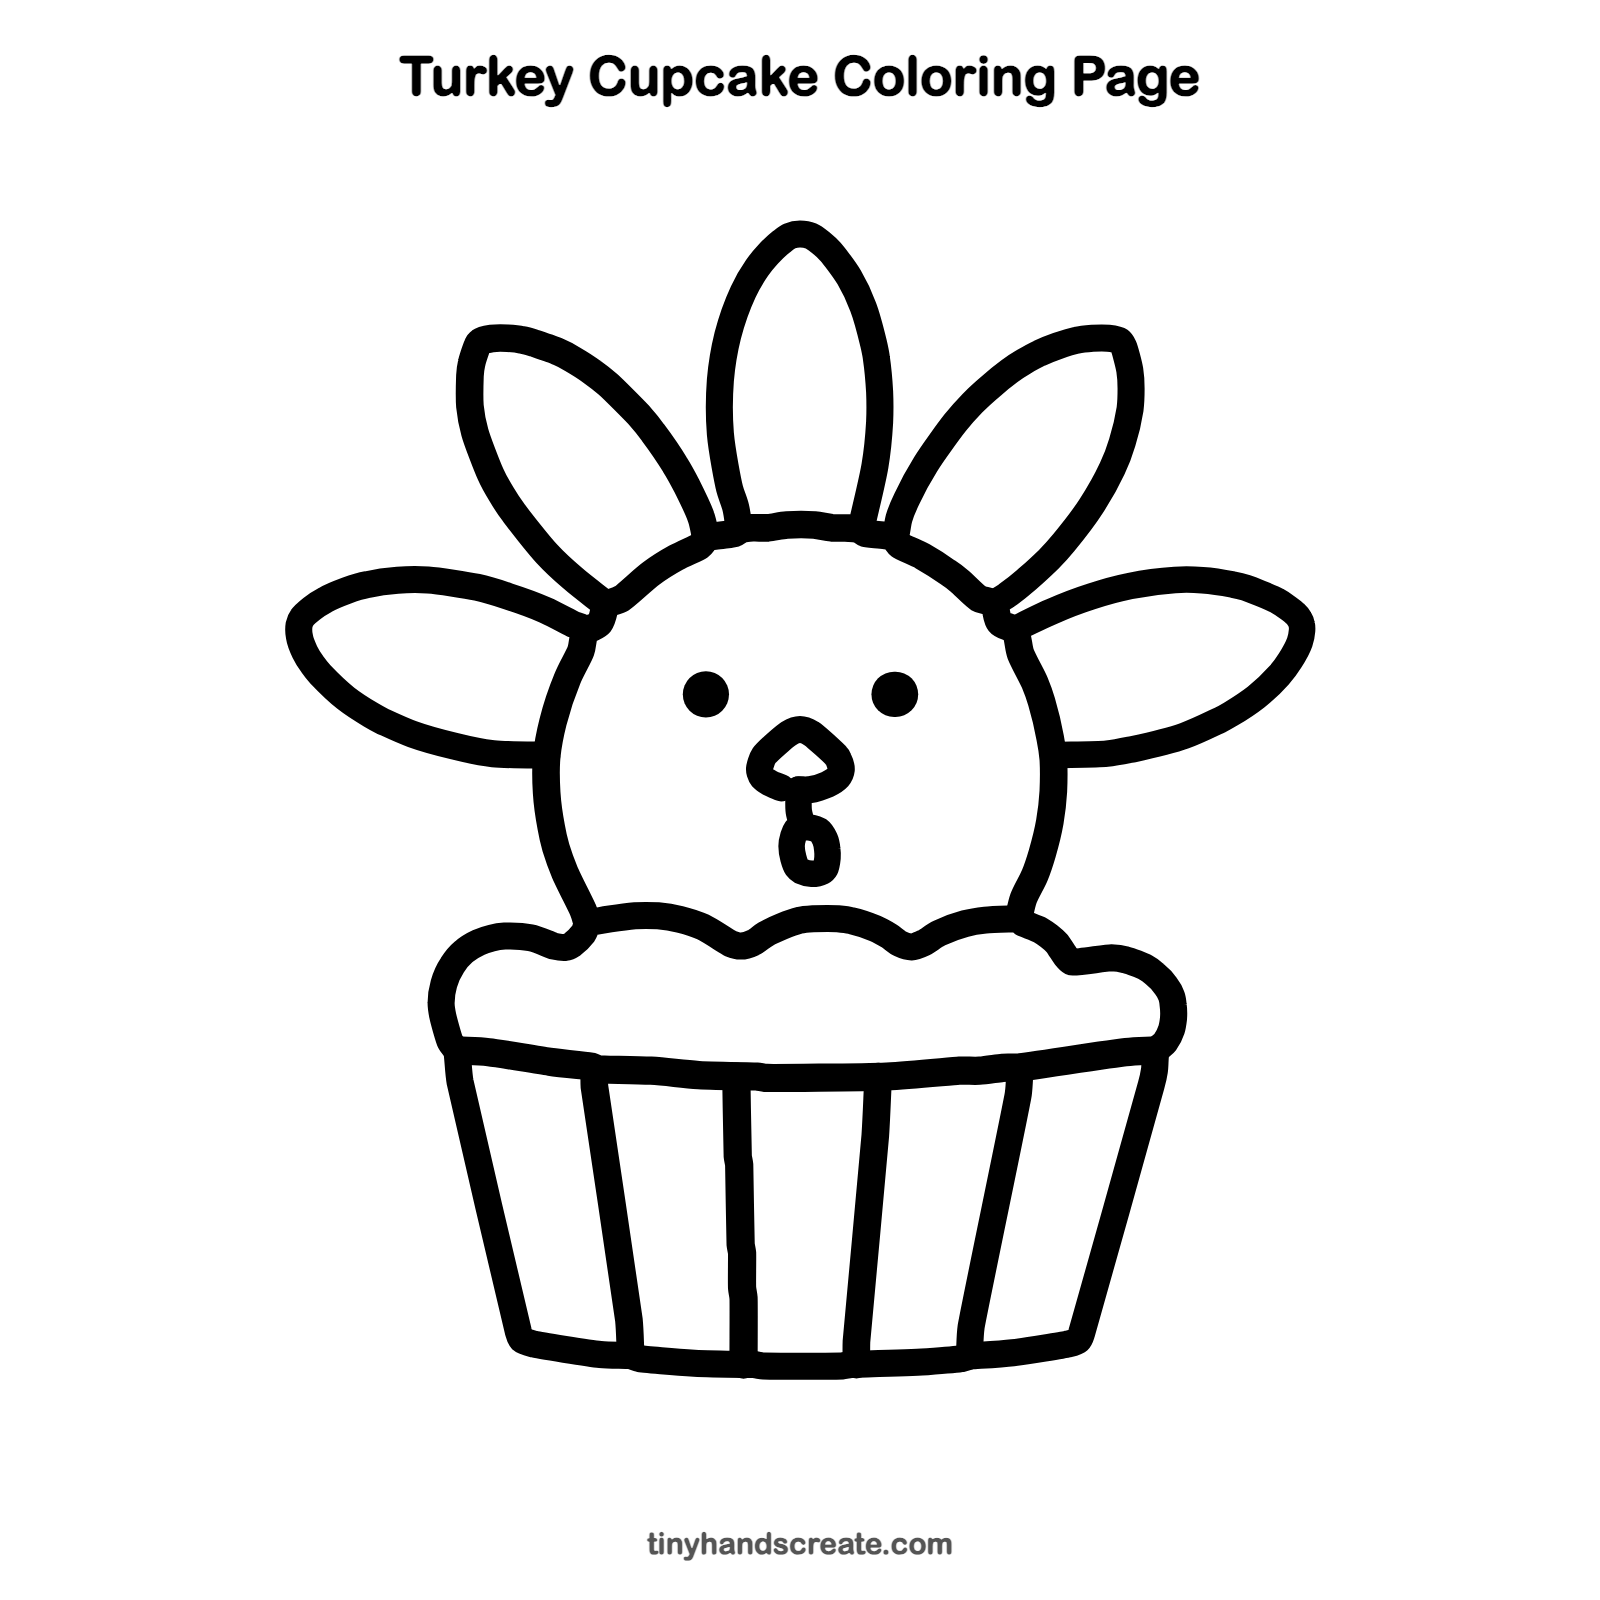
Want to go straight to coloring? Open this turkey cupcake coloring page at full size and print it. It is the same drawing you just learned, with clean lines ready for crayons or markers.
How to color your turkey cupcake drawing
Try a brown head with a yellow or orange beak and a red wattle. Color the feathers red, orange, yellow, and green for a fall look. Pick a bright color for the frosting and another for the wrapper stripes.
Turkey cupcake fun fact for kids
Male turkeys are called toms, and baby turkeys are called poults. A tom fans out his tail feathers to show off.
Questions about drawing a turkey cupcake
What shapes do I need to draw a turkey cupcake?
You need a circle for the head, pointy ovals for the feathers, a small rounded triangle for the beak, and a wavy line with straight lines for the cupcake.
How do I make my turkey cupcake look cuter?
Keep the eyes small and the head nice and round. Making the feathers all about the same size also helps.
Why are the wrapper lines not perfectly straight?
They do not need to be perfect. Slightly slanted lines look like real paper cupcake pleats, so a little wobble is fine.