How to Draw a Bandage (Easy Step by Step)
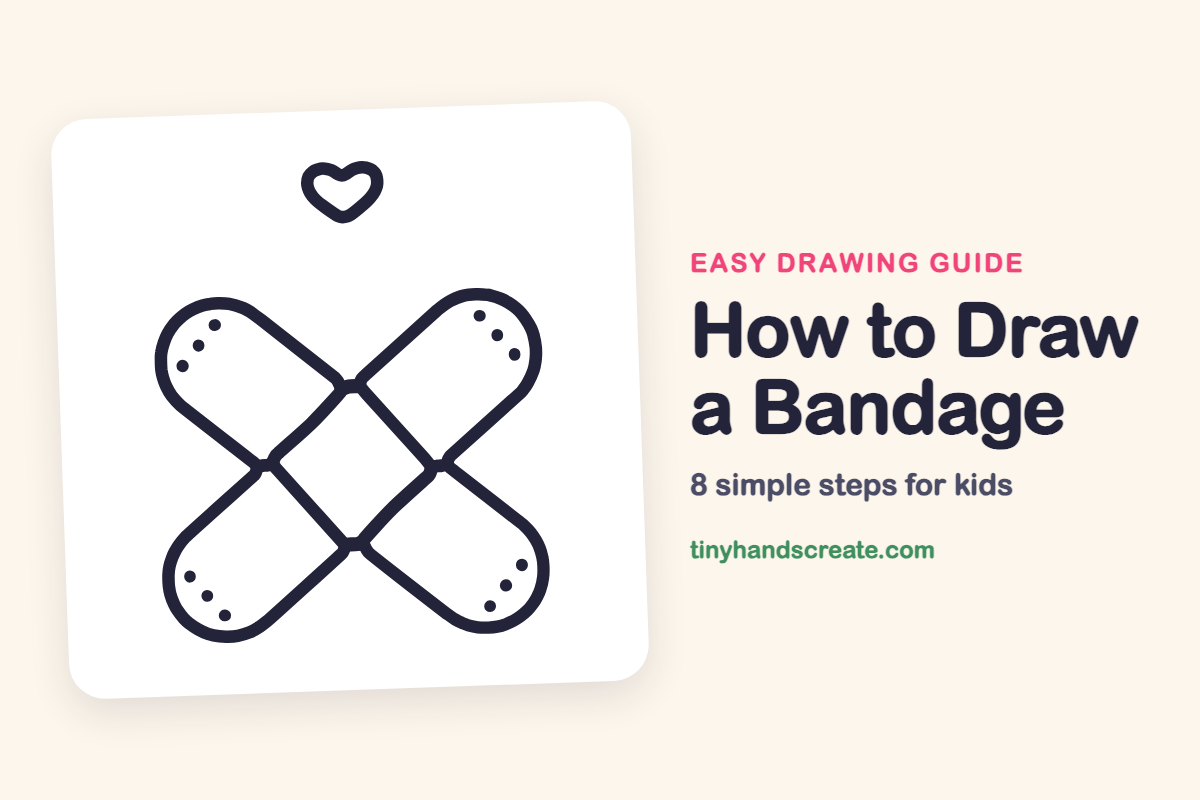
Two crossed bandages with a little heart above them make a drawing that says take care. It is built from four rounded pad ends, a small tilted square where they cross, a few dots, and a heart.
- Easy
- 10 minutes
- 8 steps
You need: paper, a pencil, an eraser, and crayons or markers for coloring.
Start drawingIn this article (7 sections)
How to draw a bandage step by step
How to Draw a Bandage · tinyhandscreate.com
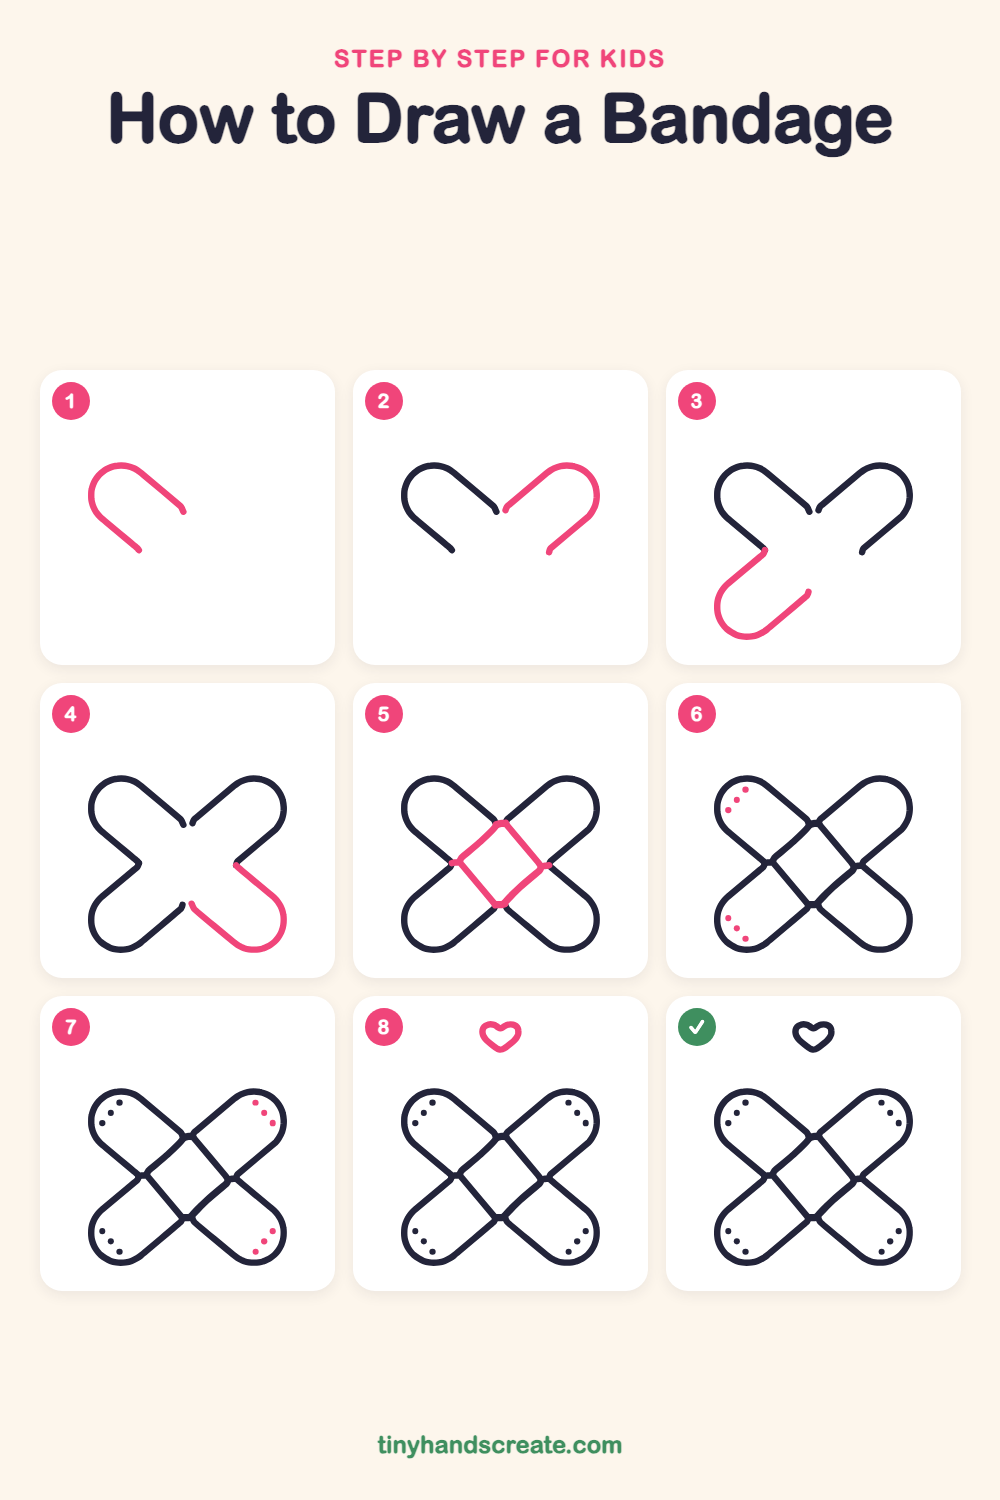
Step 1: First pad end
Start at the upper left and draw a curve like an upside-down U with a round top. Then let both sides slant down to the right, and leave the two ends open.
Step 2: Second pad end
Draw the same kind of upside-down U on the upper right, with a round top on the right. Let its sides slant down to the left, stopping just before the first shape.
Step 3: Lower left pad end
Draw a round end at the lower left, like a rounded U on its side. Start from the point on the left side of the X and curve around, then bring the line up toward the middle.
Step 4: Lower right pad end
Do the same on the lower right: draw a round end that starts at the point on the right side of the X. Curve around the bottom and bring the line back toward the middle. Now you have an X made of four pills.
Step 5: The center square
Where the pads cross, draw a small tilted square, like a diamond. Connect its four corners to the pad lines so the middle looks closed.
Step 6: Left side dots
Draw three tiny dots in a curved row inside the round end of the upper left pad. Do the same inside the round end of the lower left pad.
Step 7: Right side dots
Copy the dots on the two pads on the right. Make three tiny dots in a curved row inside each round end.
Step 8: The little heart
Draw a small heart floating above the bandage. Begin with two bumps at the top, then curve the lines down to a point in the middle.
All done!
Go over your lines with a marker, then color it in.
Finished your bandage? Keep the pencils out and learn how to draw a stethoscope or how to draw a stopwatch next.
Tips for drawing a bandage
- Draw the first pad end lightly. The other three should be the same size, so copy its shape.
- The center square is the trickiest part. Keep its four sides straight, and let the pad lines touch its corners.
- Make the dots the same size and space them evenly along a curve. Use the same pattern on all four pads.
Free bandage coloring page
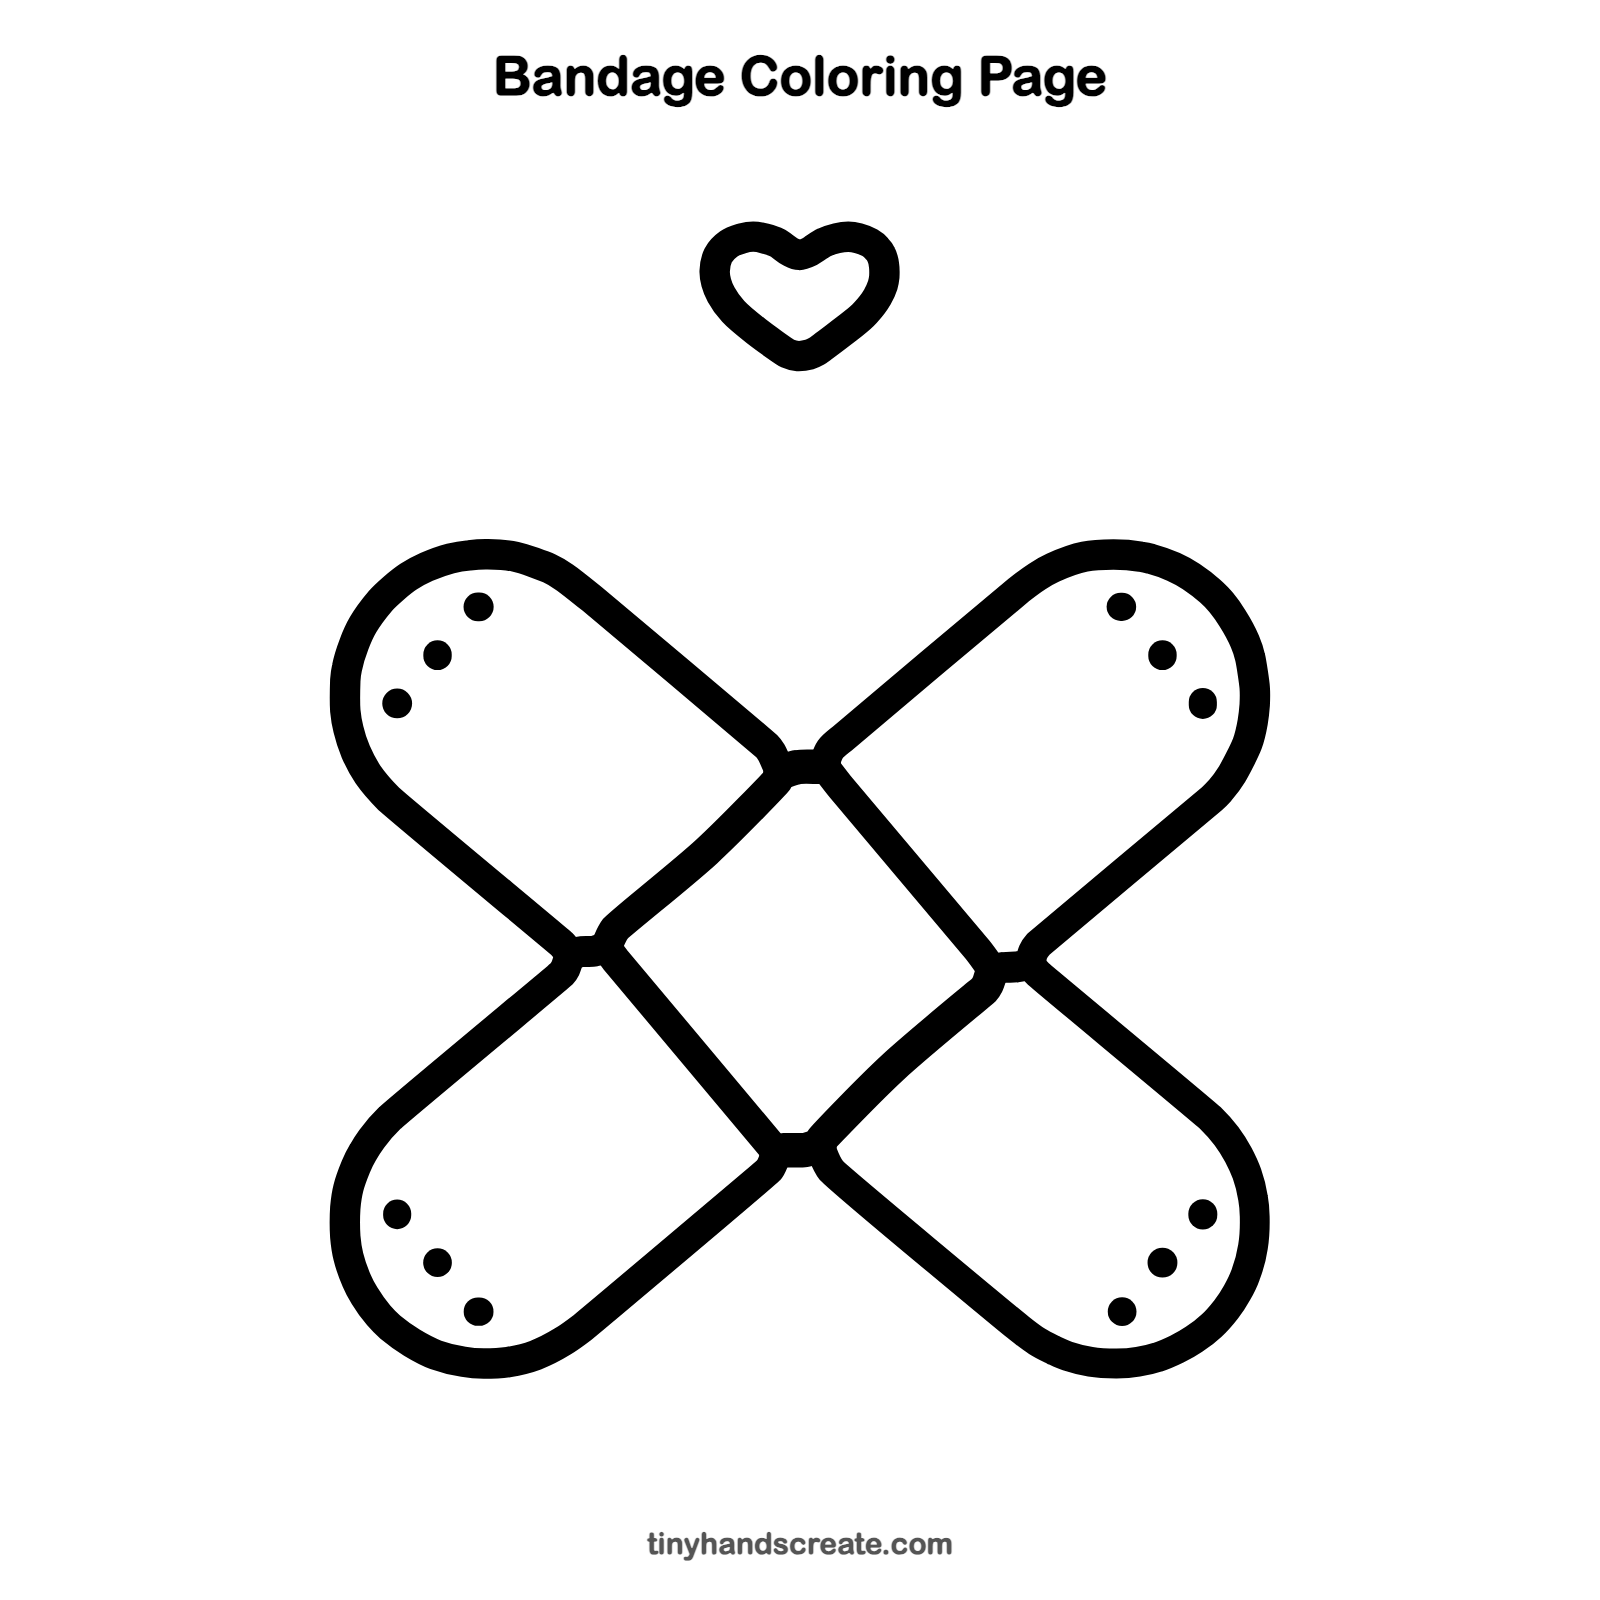
Want to go straight to coloring? Open this bandage coloring page at full size and print it. It is the same drawing you just learned, with clean lines ready for crayons or markers.
How to color your bandage drawing
Try tan or peach for the pads, with pale pink for the heart. For a creative twist, give each pad a different pattern like stripes or stars.
Bandage fun fact for kids
The adhesive bandage was invented in 1920 by Earle Dickson, who made one for his wife because she kept cutting her fingers while cooking.
Questions about drawing a bandage
What shapes do I need to draw a bandage?
You need rounded pad ends (like upside-down U shapes), a small tilted square in the middle, tiny dots, and a heart.
How do I make the crossed bandages look even?
Make all four rounded ends the same size. Draw the top two first, then the bottom two so the X stays balanced.
How can I make my bandage drawing look cuter?
Color the heart bright red or pink, and decorate the pads with stars or stripes.