How to Draw a Stopwatch (Easy Step by Step)
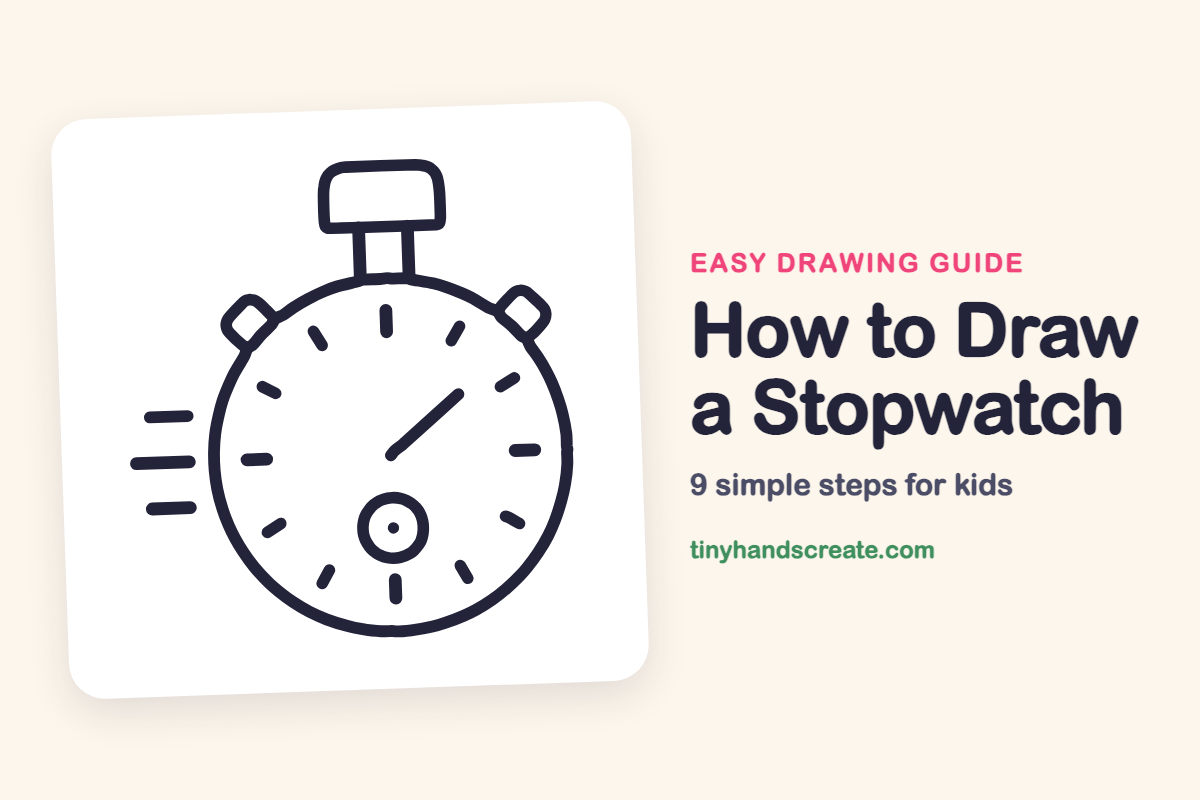
A stopwatch is a fun first drawing because it is mostly a circle, a few small shapes and short lines. You start with one big round shape, then add the top button, side buttons, little tick marks and a pointing hand. The speed lines on the side make it look like it is racing.
- Easy
- 12 minutes
- 9 steps
You need: paper, a pencil, an eraser, and crayons or markers for coloring.
Start drawingIn this article (7 sections)
How to draw a stopwatch step by step
How to Draw a Stopwatch · tinyhandscreate.com
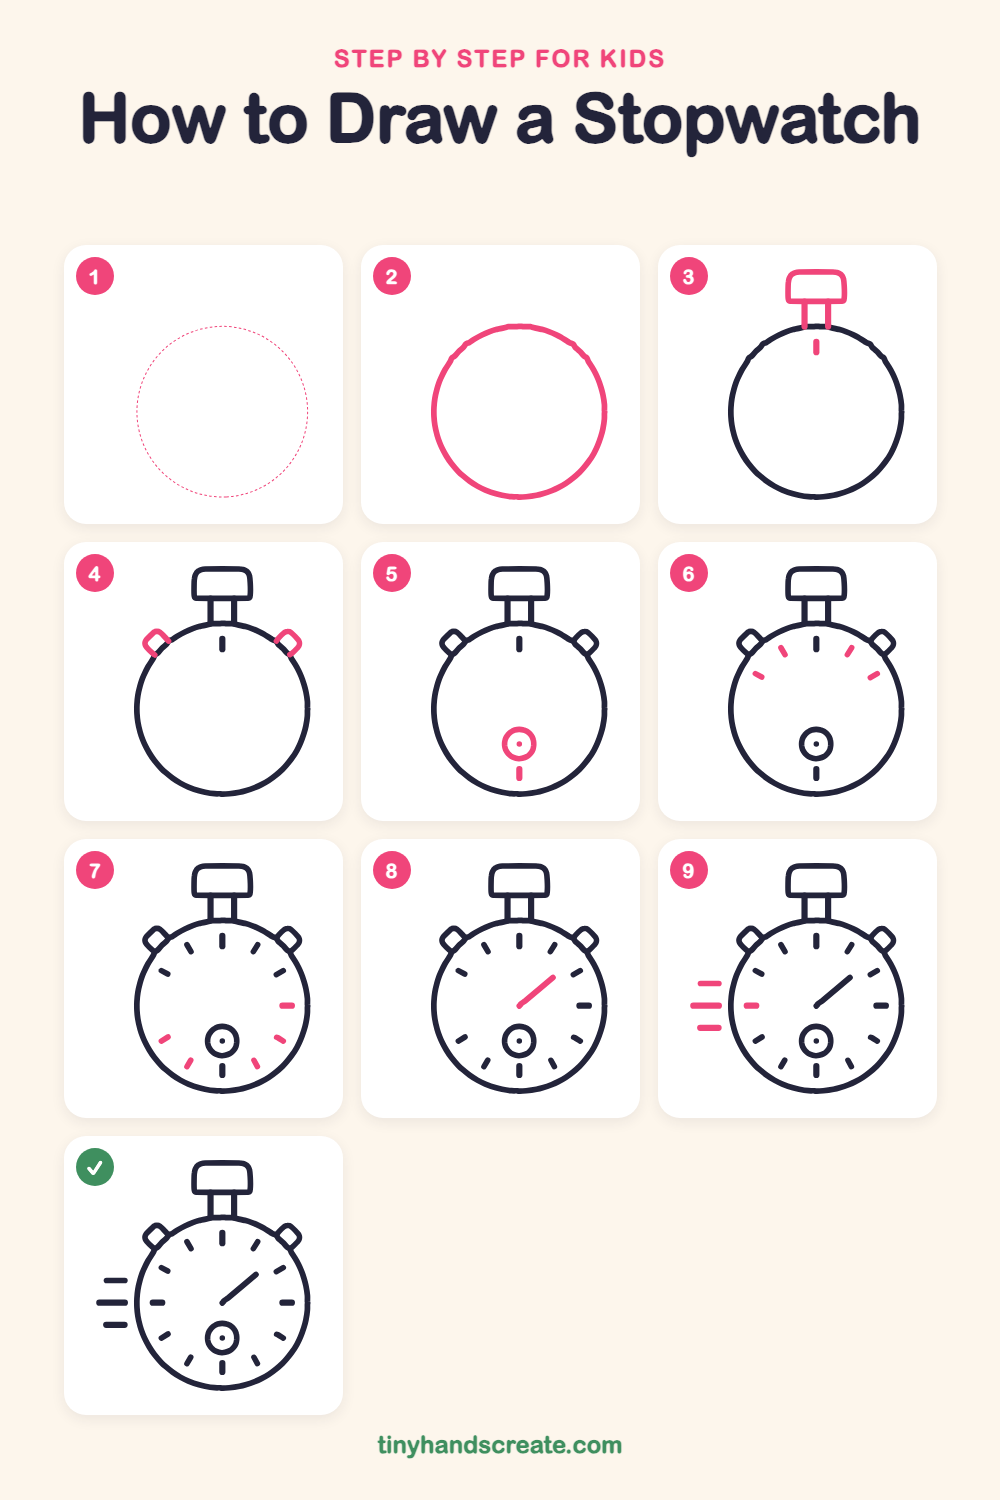
Step 1: Guide shapes
Lightly sketch this oval. It only shows where the big parts go, so press softly. You will erase it at the end.
Step 2: The round case
Draw a big circle in the middle of your page. This is the body of the stopwatch, so make it nice and round.
Step 3: Top button and stem
On top of the circle, draw two short straight lines going up, side by side. Cap them with a wide rounded rectangle, like a little hat. Then add a tiny dash just inside the top of the circle.
Step 4: Side buttons
Draw a small tilted square on each upper side of the circle, with one corner pointing out. Tuck them so they touch the edge of the case.
Step 5: Small dial
Near the bottom inside the circle, draw a small circle with a tiny dot in the middle. Then add a short dash below it, just inside the bottom edge.
Step 6: Upper clock marks
Inside the top of the circle, draw two short slanted dashes on each side of the top dash. Keep them an even distance from the edge.
Step 7: More clock marks
Keep going around the circle with short dashes. Add one on the right side and two on each lower side, tilting each one toward the center.
Step 8: The time hand
Draw a straight line from the center of the circle up toward the upper right. Stop it before it reaches the marks.
Step 9: Speed lines
Draw one last dash on the left side inside the circle. Then, outside the circle on the left, draw three short straight lines, one above the other, with the middle line the longest.
All done!
Erase the guide shapes, go over your lines, then color it in.
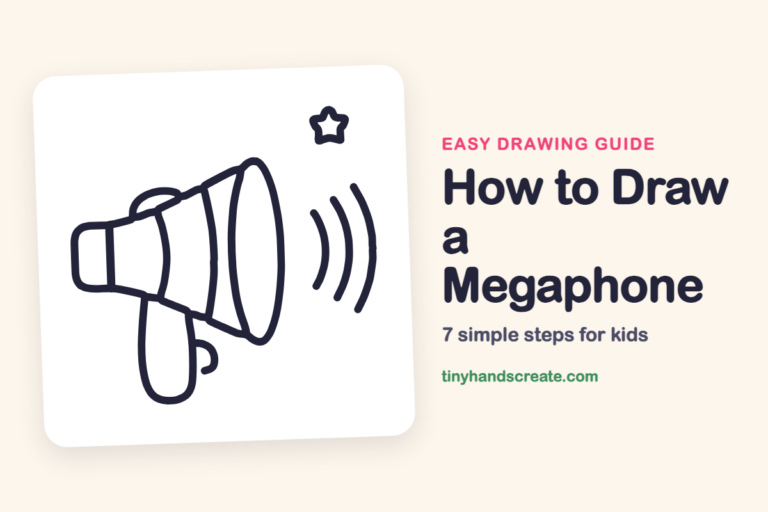
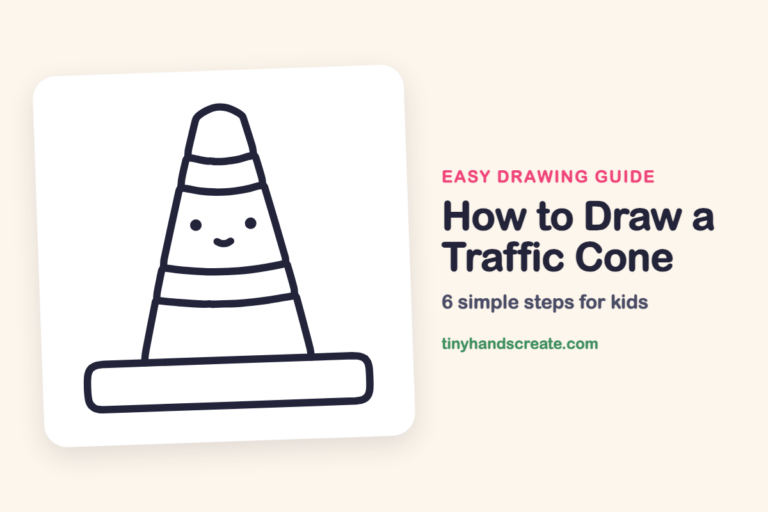
Finished your stopwatch? Keep the pencils out and learn how to draw a megaphone or how to draw a traffic cone next.
Tips for drawing a stopwatch
- Draw the big circle slowly. If it wobbles a little, that is okay, because the clock marks will make it look neat.
- Draw the clock marks in the order of the steps: top and bottom first, then fill in the ones between them.
- Tilt each mark so it points toward the center of the circle, and they will line up neatly like a real clock face.
Free stopwatch coloring page
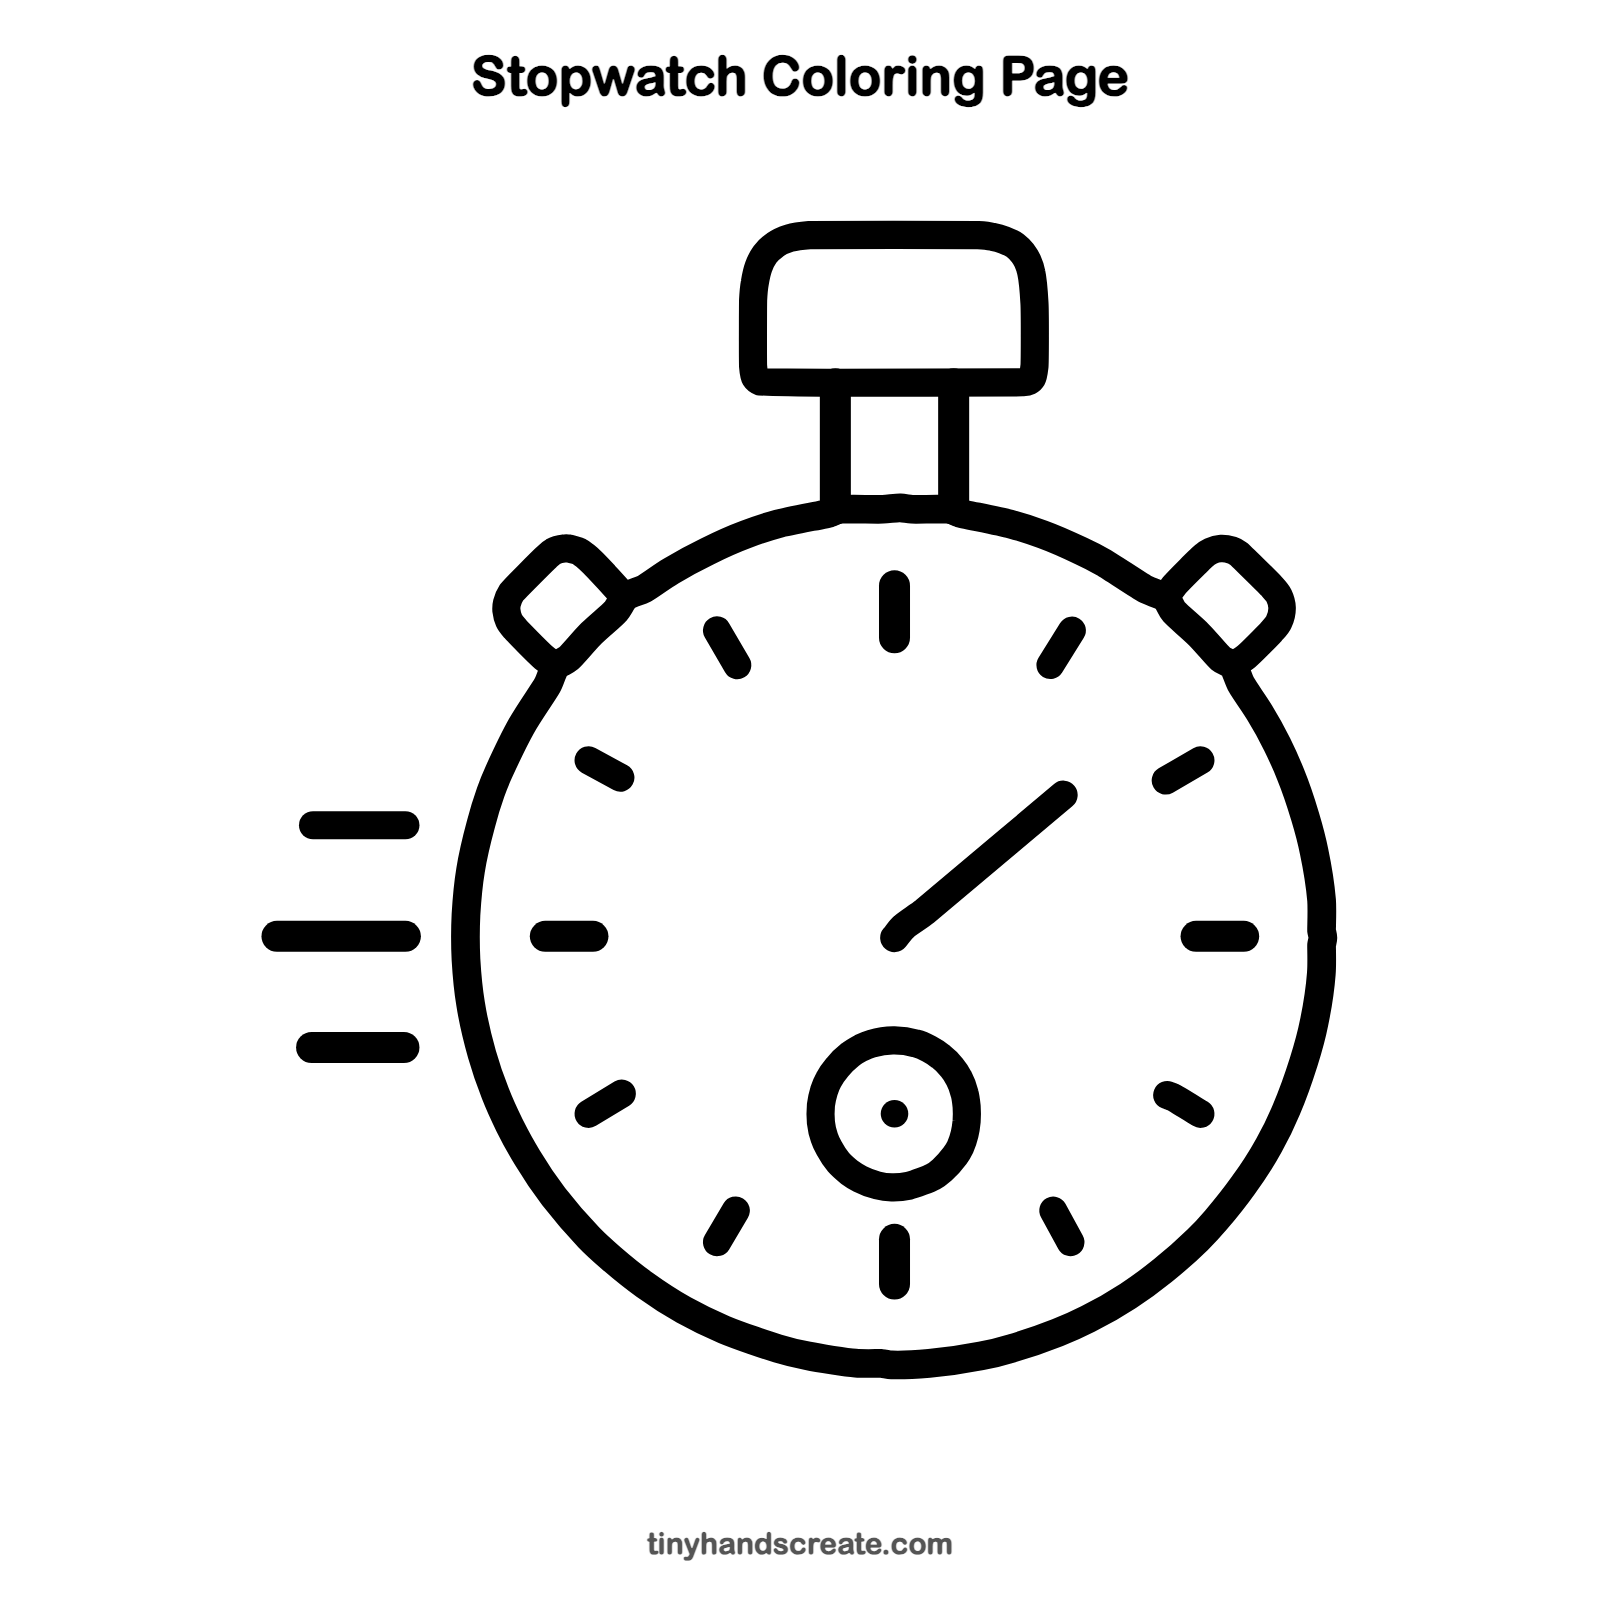
Want to go straight to coloring? Open this stopwatch coloring page at full size and print it. It is the same drawing you just learned, with clean lines ready for crayons or markers.
How to color your stopwatch drawing
Try silver or gold for the case and bright red for the top button, with a black hand and marks. For a creative twist, color the speed lines in rainbow colors.
Stopwatch fun fact for kids
A stopwatch has a button that starts and stops the timer, so you can measure short moments like a race. Many digital stopwatches show hundredths of a second.
Questions about drawing a stopwatch
What shapes do I need to draw a stopwatch?
You need one big circle, a rounded rectangle with two short lines for the top button, two small tilted squares for the side buttons and lots of short dashes. A smaller circle sits near the bottom.
How do I space the clock marks evenly?
Start with the marks at the top and bottom. Then add the ones in between, keeping each one the same distance from the edge of the circle.
How do I make my stopwatch look like it is moving fast?
Add three straight lines beside it, like the speed lines in this drawing. Make the middle one the longest.