How to Draw a Hard Hat (Easy Step by Step)
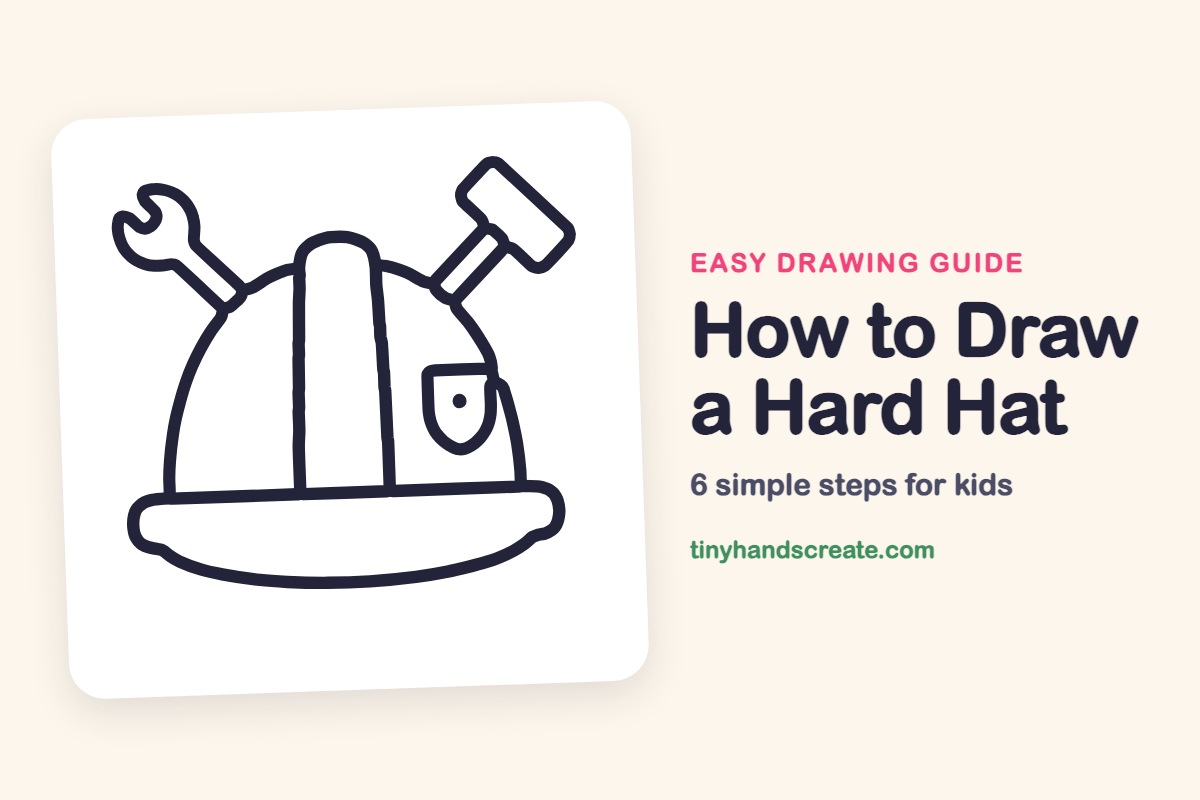
A hard hat is a friendly mix of a curved arch, a wide rounded brim, and a few straight lines. This one has a wrench and a hammer tucked behind it, so it also feels like a tiny builder's story. Once you can draw the dome, the rest is easy to add one piece at a time.
- Easy
- 12 minutes
- 6 steps
You need: paper, a pencil, an eraser, and crayons or markers for coloring.
Start drawingIn this article (7 sections)
How to draw a hard hat step by step
How to Draw a Hard Hat · tinyhandscreate.com
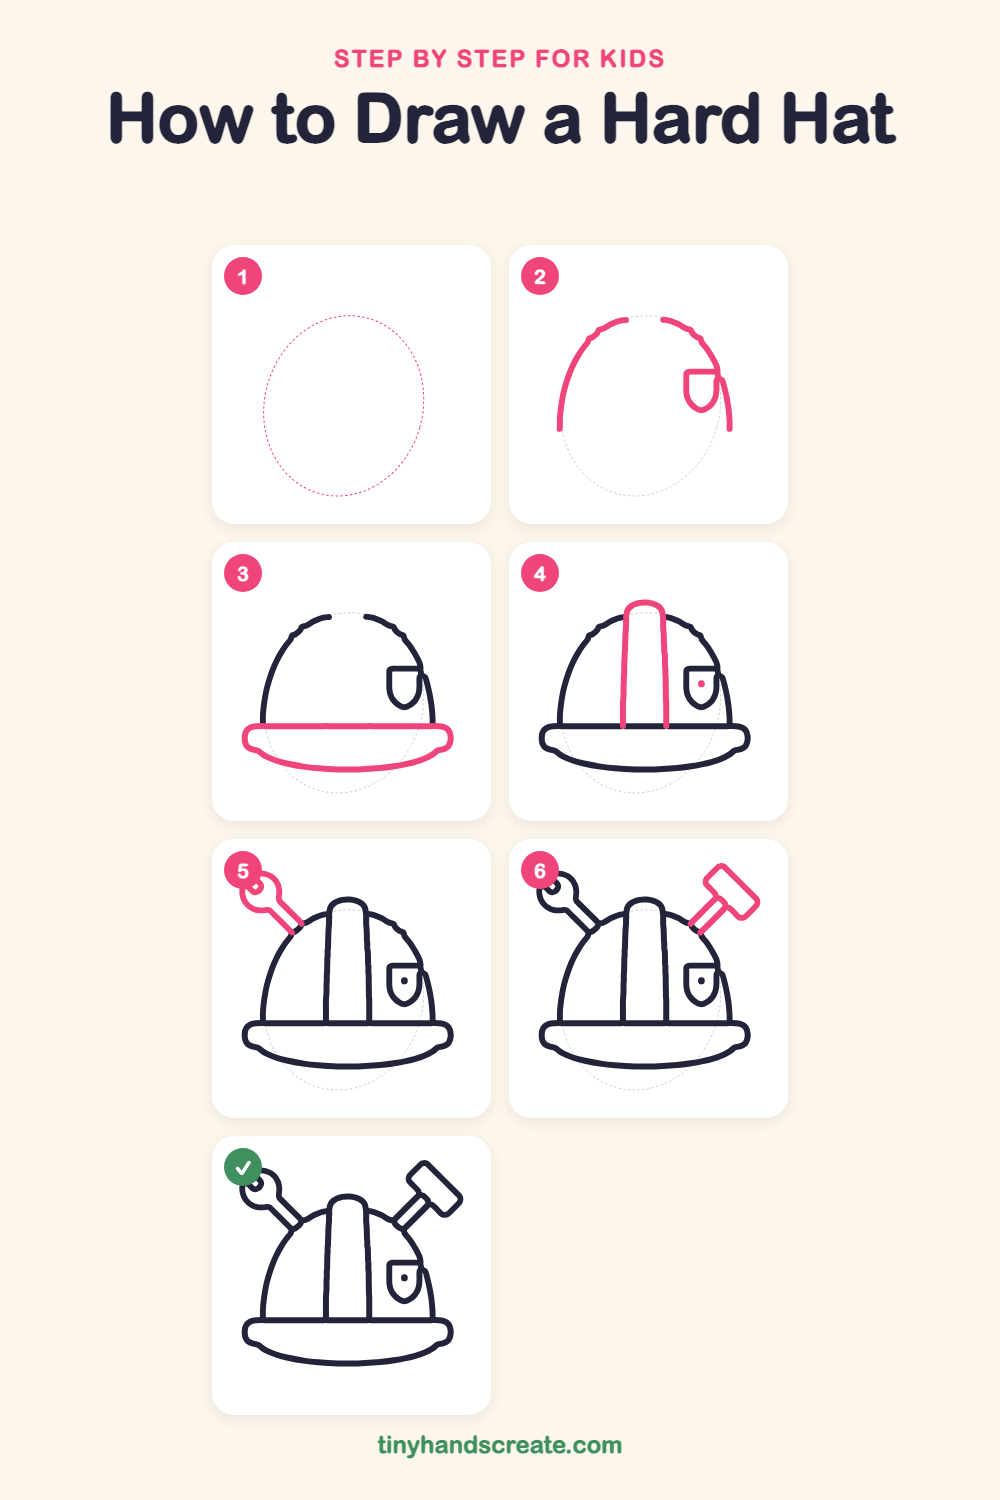
Step 1: Guide shapes
Lightly sketch this oval. It only shows where the big parts go, so press softly. You will erase it at the end.
Step 2: Dome and badge
Draw a tall, curved arch like a hill for the top of the hat, and leave a small gap at the very top. On the right side, add a little shield shape with a flat top and a rounded bottom.
Step 3: The wide brim
Draw a long flat line straight across the bottom of the dome. Under it, draw a wide, rounded band with curved ends, like a thick smile.
Step 4: Center ridge and dot
Draw a tall, narrow bump with a rounded top up the middle of the dome, using two lines that go down to the brim. Then add a small dot in the middle of the shield.
Step 5: The wrench
On the left, draw a long, thin tilted handle that ends where it meets the dome. At the top, draw a round head with a notch cut out, like an open mouth.
Step 6: The hammer
On the right, draw two slanted parallel lines for the handle, starting at the dome. At the top, draw a tilted rectangle with rounded corners for the hammer head.
All done!
Erase the guide shapes, go over your lines, then color it in.
Finished your hard hat? Keep the pencils out and learn how to draw a cowgirl or how to draw a kid with a balloon next.
Tips for drawing a hard hat
- Draw the dome as one smooth curve, starting at the bottom left and going up and over to the right. The small gap at the top gets covered later by the center ridge.
- Make the brim wider than the dome so the hat looks like it sits firmly on a head. Round the two ends instead of making sharp corners.
- Draw the wrench and hammer as long thin handles first, then add the heads. Let the handles meet the dome so they look tucked in.
Free hard hat coloring page
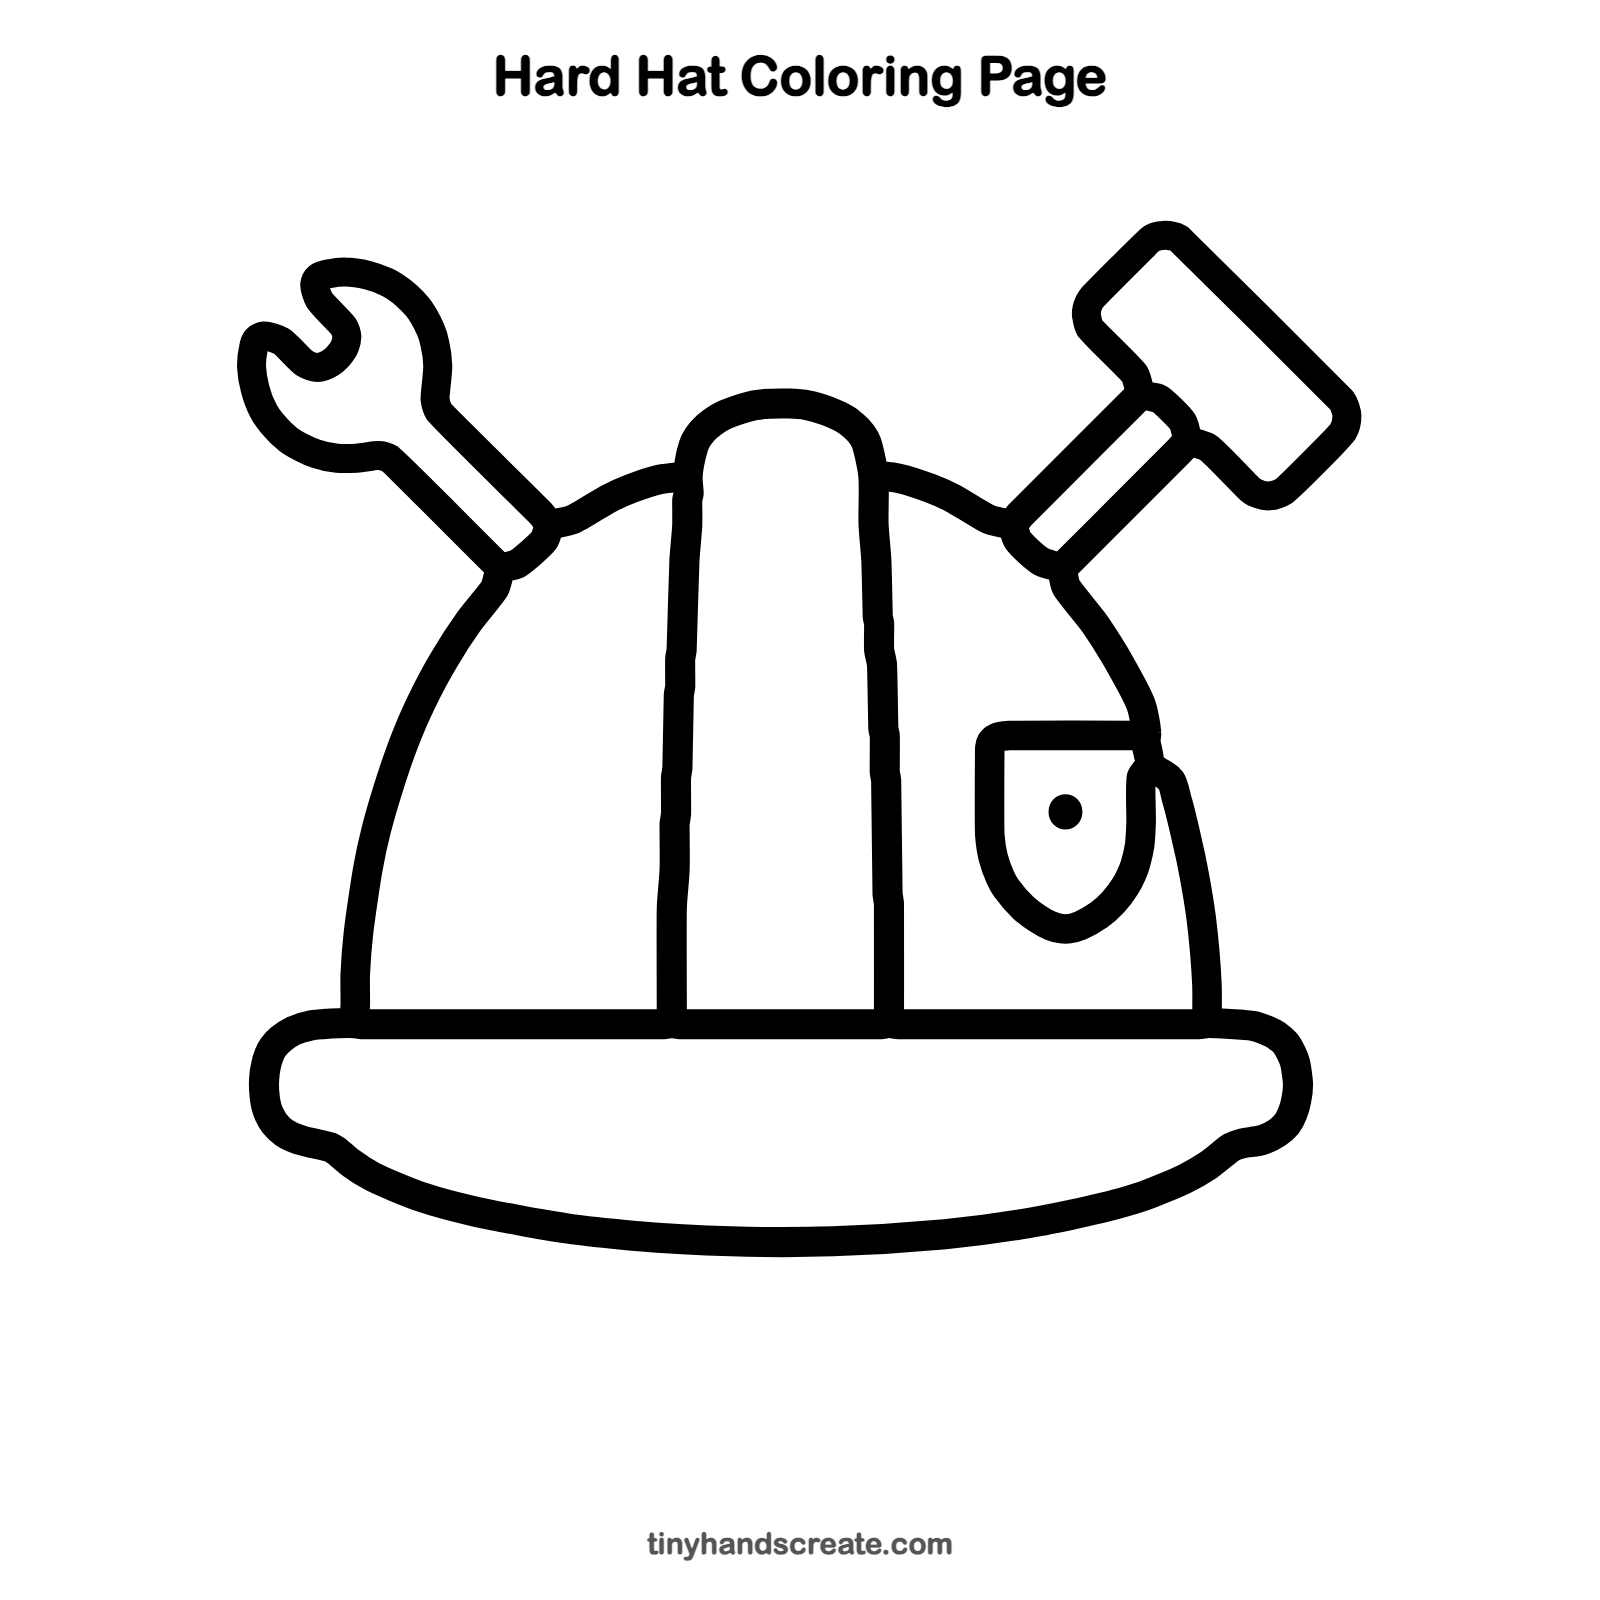
Want to go straight to coloring? Open this hard hat coloring page at full size and print it. It is the same drawing you just learned, with clean lines ready for crayons or markers.
How to color your hard hat drawing
Bright yellow or orange is the classic hard hat color, with gray for the wrench and a brown handle on the hammer. For a creative twist, give the hat a sticker pattern, like stars or stripes, on the dome.
Hard hat fun fact for kids
Construction workers wear hard hats to protect their heads from falling objects and bumps. The hard, smooth shell helps spread out a hit, and the inside has straps that make a small gap between the shell and the head.
Questions about drawing a hard hat
What shapes do I need to draw a hard hat?
You need a curved arch for the dome, a wide rounded band for the brim, a tall rounded bump for the ridge, and a small shield for the badge. The tools use long thin handles, a round head with a notch, and a tilted rectangle.
How do I make my hard hat look balanced?
Draw a light line down the middle first, then check that both sides of the dome look about the same. The wrench and hammer should lean out at similar angles.
How do I draw the wrench head?
Start with a long thin handle, then draw a round head at the top and cut a small notch into it. Go slowly and round off the corners so it looks smooth.