How to Draw a Snow Shovel (Easy Step by Step)
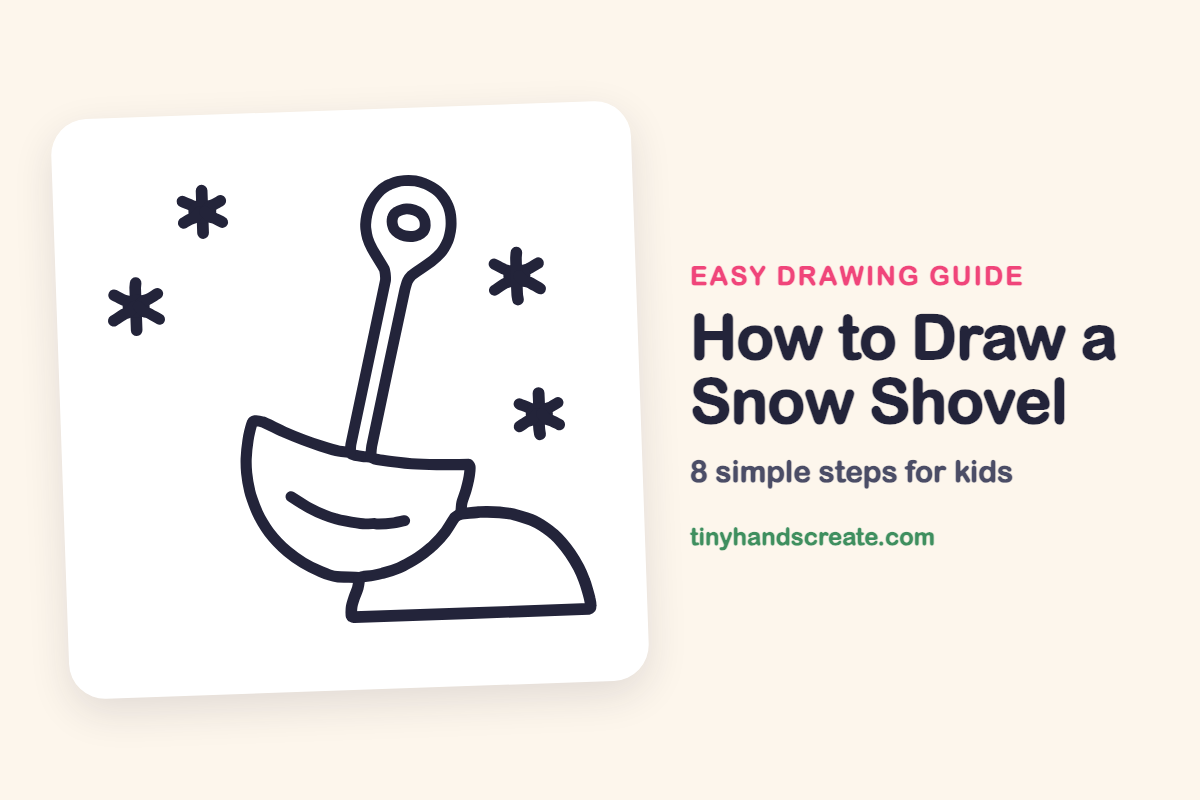
A snow shovel is a fun first drawing because it is built from a few simple shapes: a curved bowl, a long thin handle with a round grip, and a bumpy hill of snow. Add a few snowflakes and the whole page feels like a cold winter day. You only need to draw curves, straight lines and little stars.
- Easy
- 10 minutes
- 8 steps
You need: paper, a pencil, an eraser, and crayons or markers for coloring.
Start drawing
In this article (7 sections)
How to draw a snow shovel step by step
How to Draw a Snow Shovel · tinyhandscreate.com
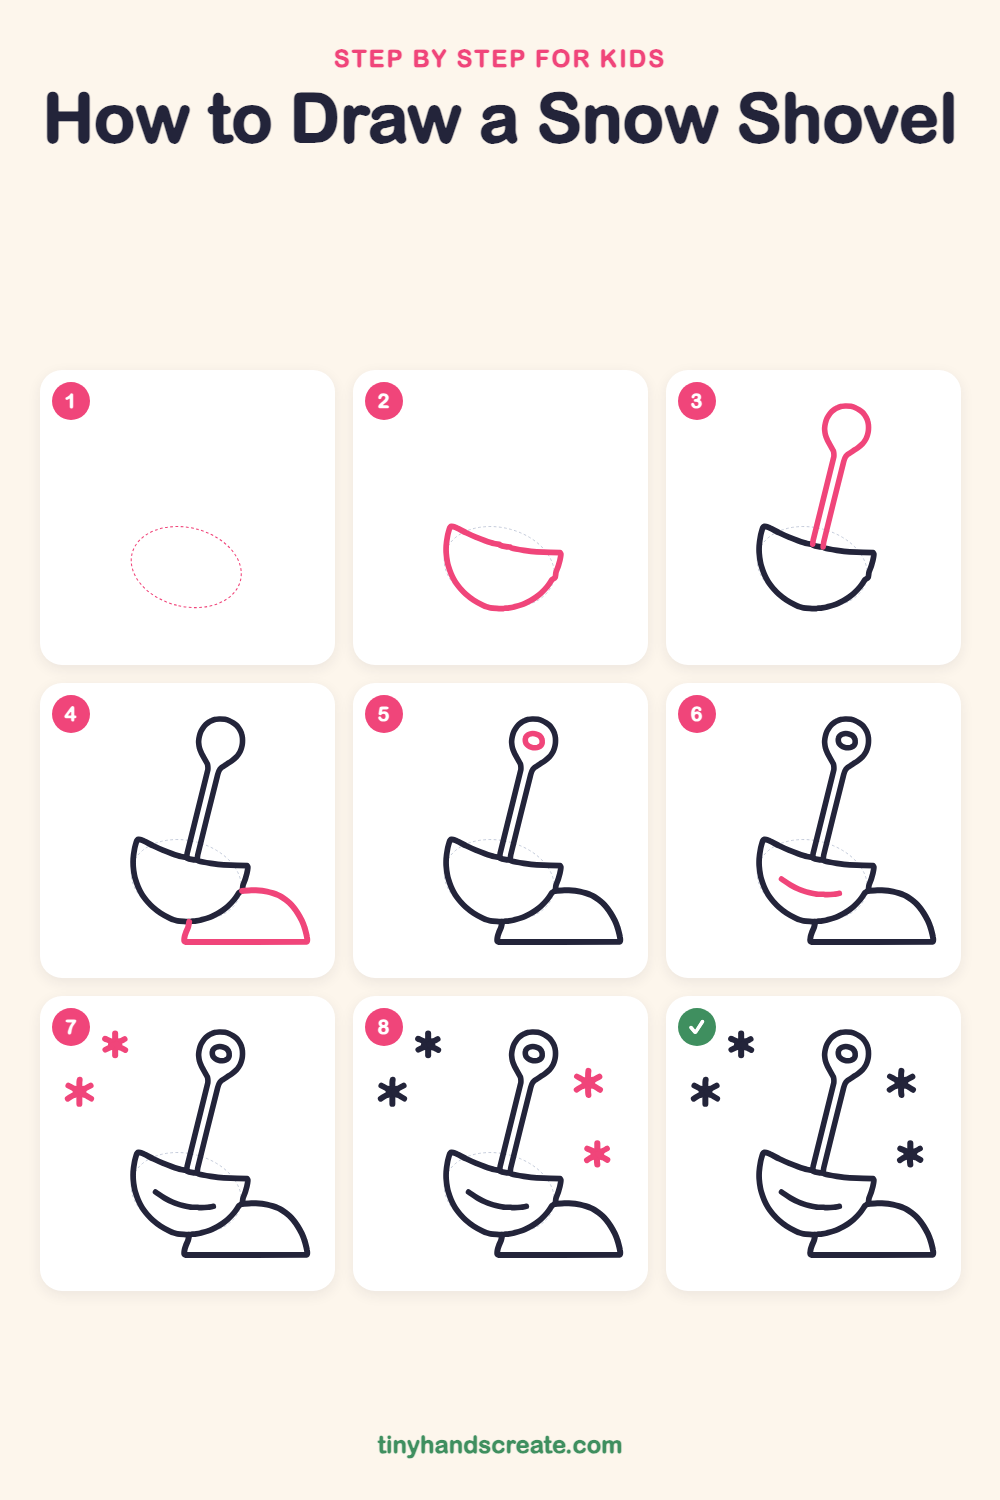
Step 1: Guide shapes
Lightly sketch this oval. It only shows where the big parts go, so press softly. You will erase it at the end.
Step 2: The shovel scoop
Start with the scoop. Draw a slightly slanted line across the top, then draw a big round bowl hanging down from it, like half of a circle.
Step 3: Handle and grip
Draw two long lines close together, leaning up and to the right from the top edge of the scoop, like a thin stick. At the top, join them with a round loop for the grip.
Step 4: The pile of snow
Next to the scoop, draw a snowy hill. Start at the right side of the scoop, curve up and over like a bump, then come down to a flat line on the ground that ends under the scoop.
Step 5: Hole in the grip
Inside the round grip at the top, draw a small oval. This is the hole where a hand can hold on.
Step 6: A curve in the scoop
Inside the scoop, draw one gentle curved line, like a little smile. It shows the smooth inside of the shovel.
Step 7: Left snowflakes
On the left side of the page, draw two snowflakes, one higher and one lower. For each, draw three short lines that cross in the middle, like a star, to make six little arms.
Step 8: Right snowflakes
On the right side, draw two more snowflakes the same way, one higher and one lower. Cross three short lines in the middle to make six arms again.
All done!
Erase the guide shapes, go over your lines, then color it in.
Finished your snow shovel? Keep the pencils out and learn how to draw a washing machine or how to draw a vacuum cleaner next.
Tips for drawing a snow shovel
- Draw the scoop first and make it a big half circle. The handle and the snow pile both connect to it, so it works like an anchor for the whole drawing.
- Keep the two handle lines close to parallel. Draw the first line, then draw the second one next to it, keeping the same space all the way up.
- For the snowflakes, draw one line, then cross it with two more lines through the middle. Making them all about the same size is easier than it looks.
Free snow shovel coloring page
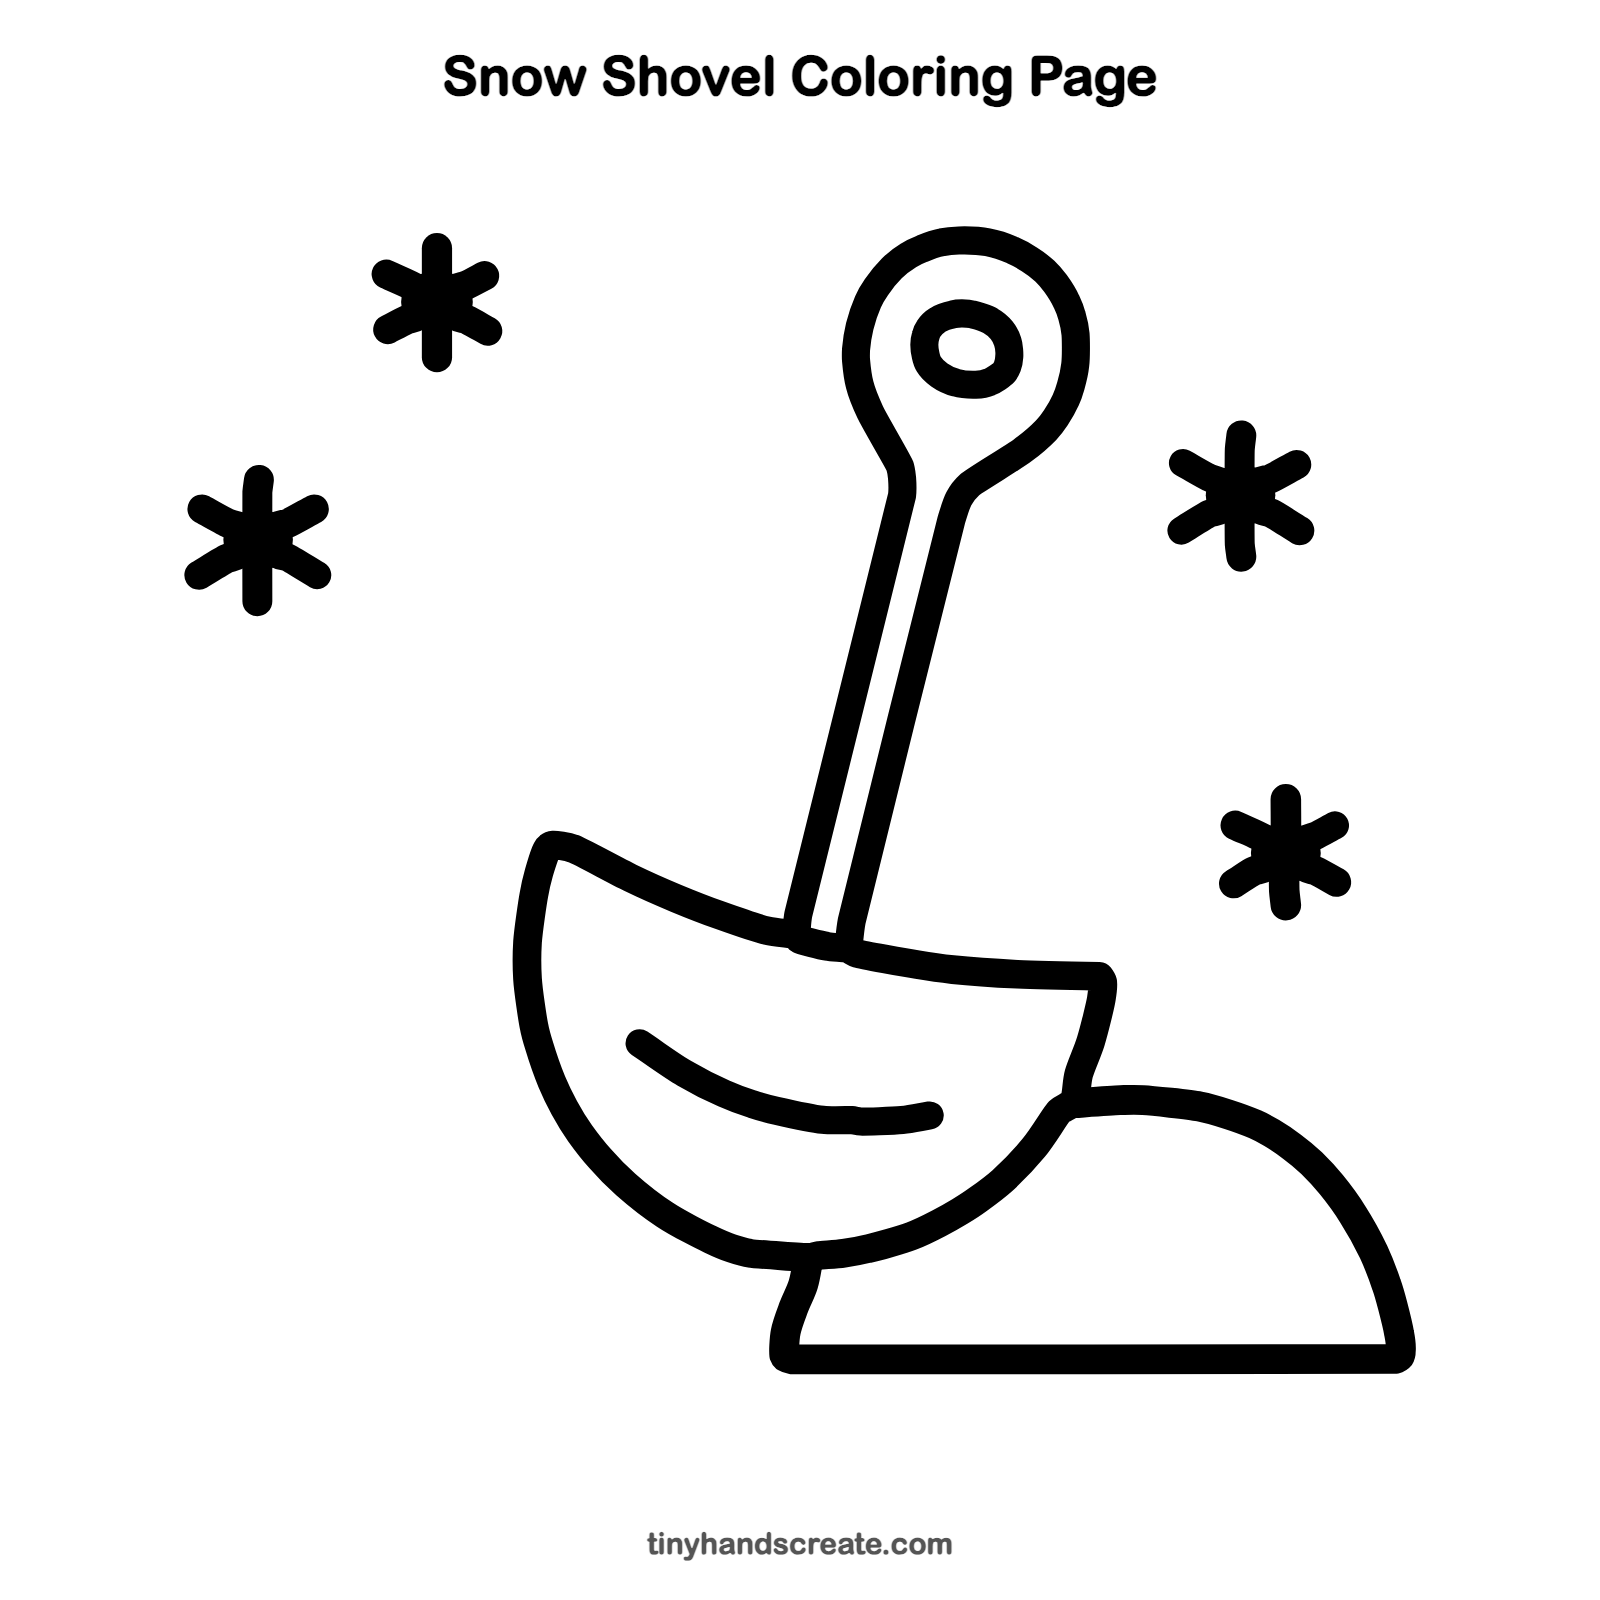
Want to go straight to coloring? Open this snow shovel coloring page at full size and print it. It is the same drawing you just learned, with clean lines ready for crayons or markers.
How to color your snow shovel drawing
Try a bright red or blue scoop with a brown wooden handle, and a pale blue pile of snow. For a creative twist, color each snowflake a different icy color, or draw a snowman waiting nearby.
Snow shovel fun fact for kids
Snow crystals grow with six sides or six arms. That happens because of the way water molecules line up when they freeze, which is why the snowflakes in this drawing each have six arms.
Questions about drawing a snow shovel
What shapes do I need to draw a snow shovel?
You need a half circle for the scoop, two long slanted lines for the handle, a round loop with a small oval for the grip, and a rounded bump for the snow pile.
How do I draw snowflakes that look the same?
Draw three short lines that cross in the middle, like a star. This gives you six arms every time.
How do I make my shovel look like it is stuck in the snow?
Draw the snow pile so it starts at the side of the scoop and goes down to a flat line under it. Then the scoop looks like it is digging into the snow.