How to Draw a Fairy Door (Easy Step by Step)
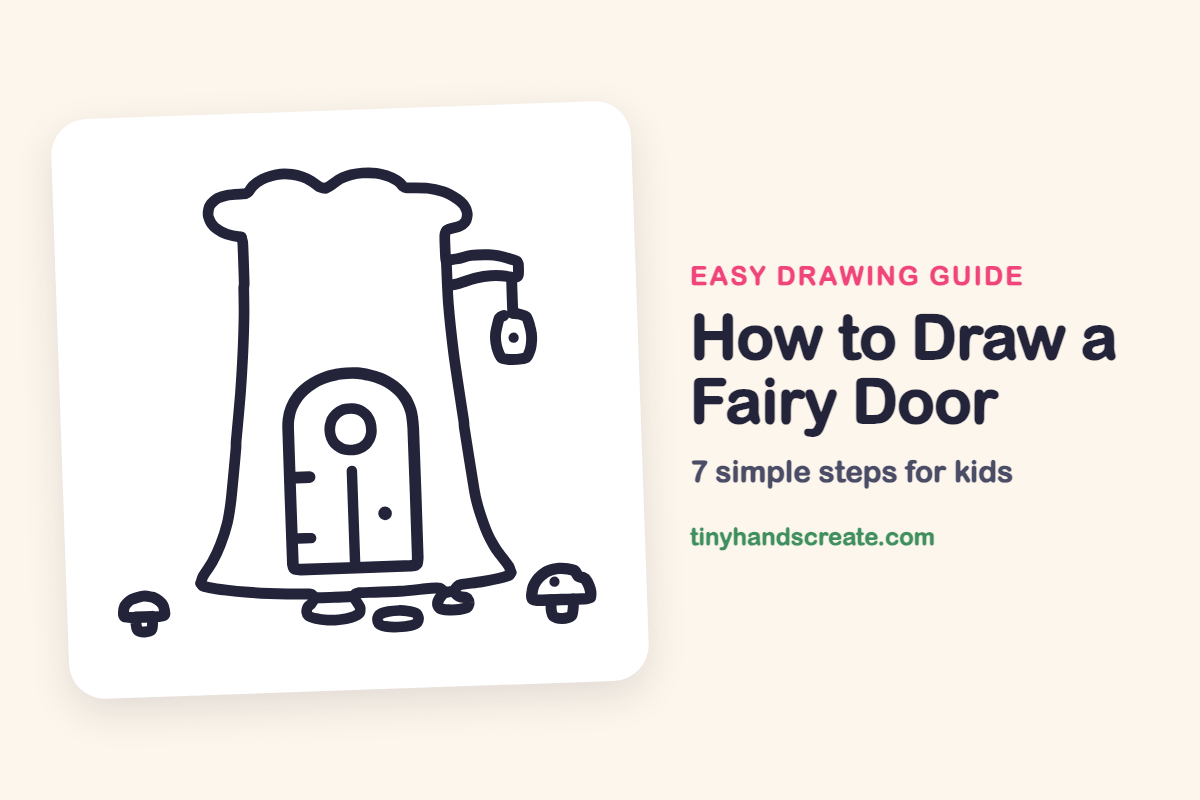
A fairy door is a tiny house tucked into the base of a tree, and that makes it fun to draw. It is built from simple shapes: a bell-shaped trunk, an arch for the door, and a few circles and ovals for the details. Each piece is easy on its own, so you can make a magical little home one step at a time.
- Easy
- 15 minutes
- 7 steps
You need: paper, a pencil, an eraser, and crayons or markers for coloring.
Start drawingIn this article (7 sections)
How to draw a fairy door step by step
How to Draw a Fairy Door · tinyhandscreate.com
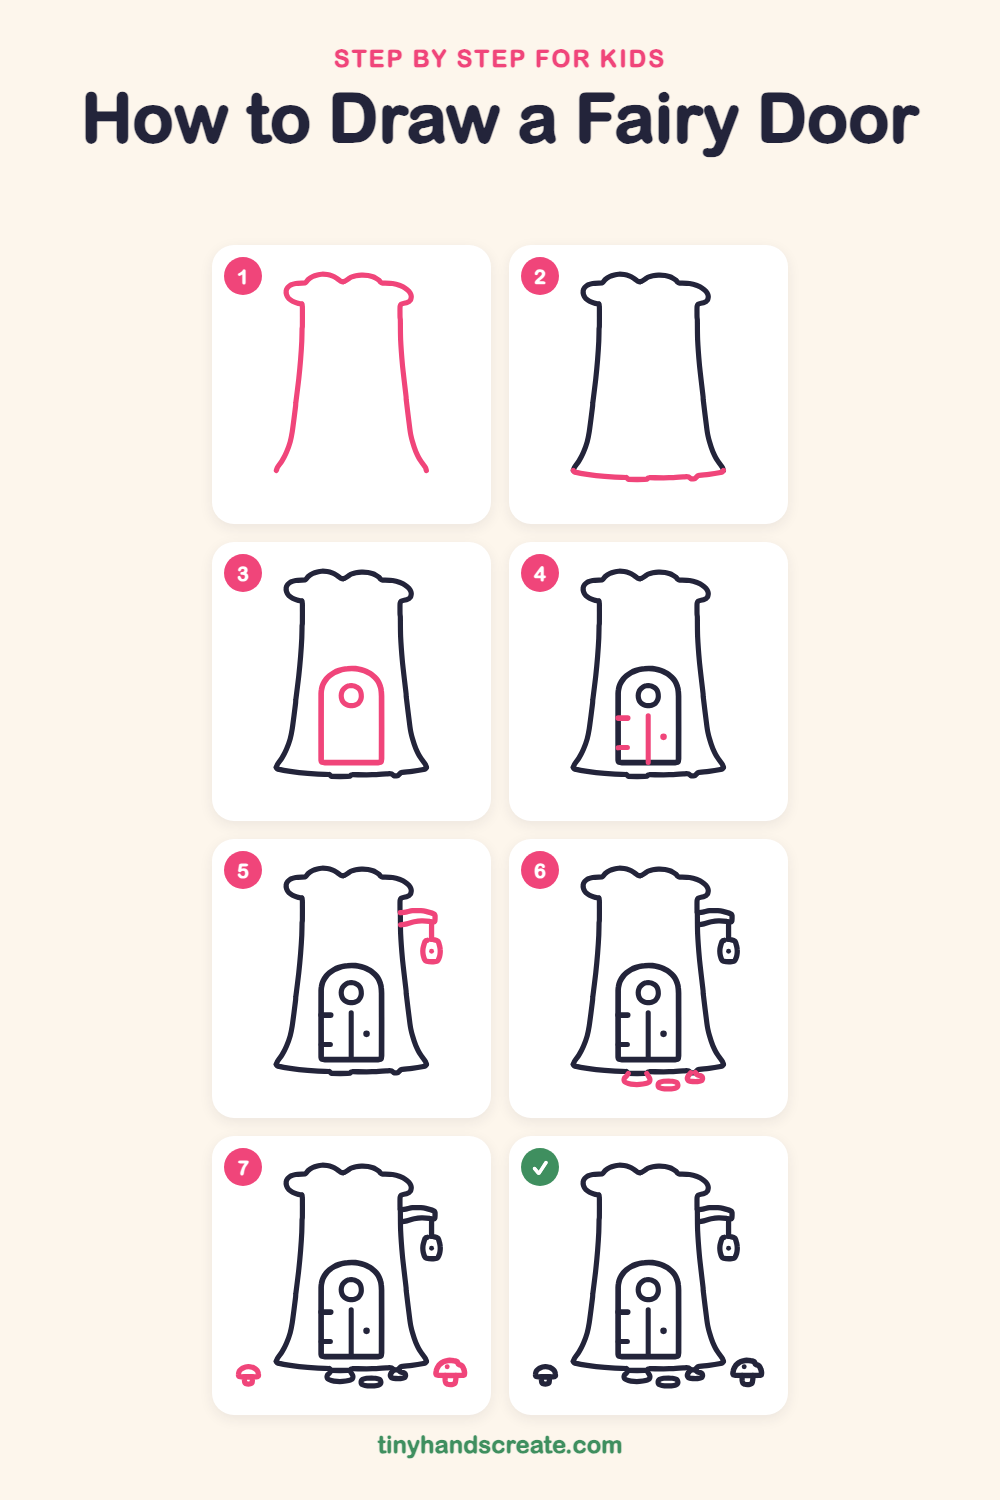
Step 1: Trunk top and sides
Draw a wobbly bumpy line across the top for the top of the tree. From each end, draw a long line going down that curves outward at the bottom, so the trunk gets wider like a bell.
Step 2: The ground line
Connect the two bottom ends of the trunk with a gently curved line. It can sag a little in the middle, like a soft smile.
Step 3: Arched door and window
Draw a tall door in the lower middle of the trunk with a flat bottom and two straight sides. Round off the top like a hill, then add a small circle near the top of the door for a window.
Step 4: Door details
Draw a straight line down the middle of the door, starting below the window. Add two short lines on the left side for hinges and a small dot on the right for the doorknob.
Step 5: Hanging lantern
On the right side of the trunk, draw a short curved arm that sticks out and bends down at the end. Hang a small oval lantern from its tip and put a dot inside.
Step 6: Stepping stones
Draw three small flat ovals along the bottom of the trunk, one on the left, one in the middle and one on the right. Make them different sizes so they look like stones.
Step 7: Little mushrooms
Draw a small mushroom on each side of the tree, outside the trunk. Make each one with a rounded cap and a short stem underneath, and add a dot on the cap of the one on the right.
All done!
Go over your lines with a marker, then color it in.
Finished your fairy door? Keep the pencils out and learn how to draw a space station or how to draw a moon rover next.
Tips for drawing a fairy door
- Draw the two sides of the trunk so they flare out at the bottom. If the lines come out different, that is fine, because real trees are never perfectly even.
- For the arched door, draw the flat bottom and two straight sides first, then round off the top last. Starting with the dome is much harder.
- Make the stepping stones in different sizes and let them touch the ground line. This makes them look like they are resting on the ground.
Free fairy door coloring page
Want to go straight to coloring? Open this fairy door coloring page at full size and print it. It is the same drawing you just learned, with clean lines ready for crayons or markers.
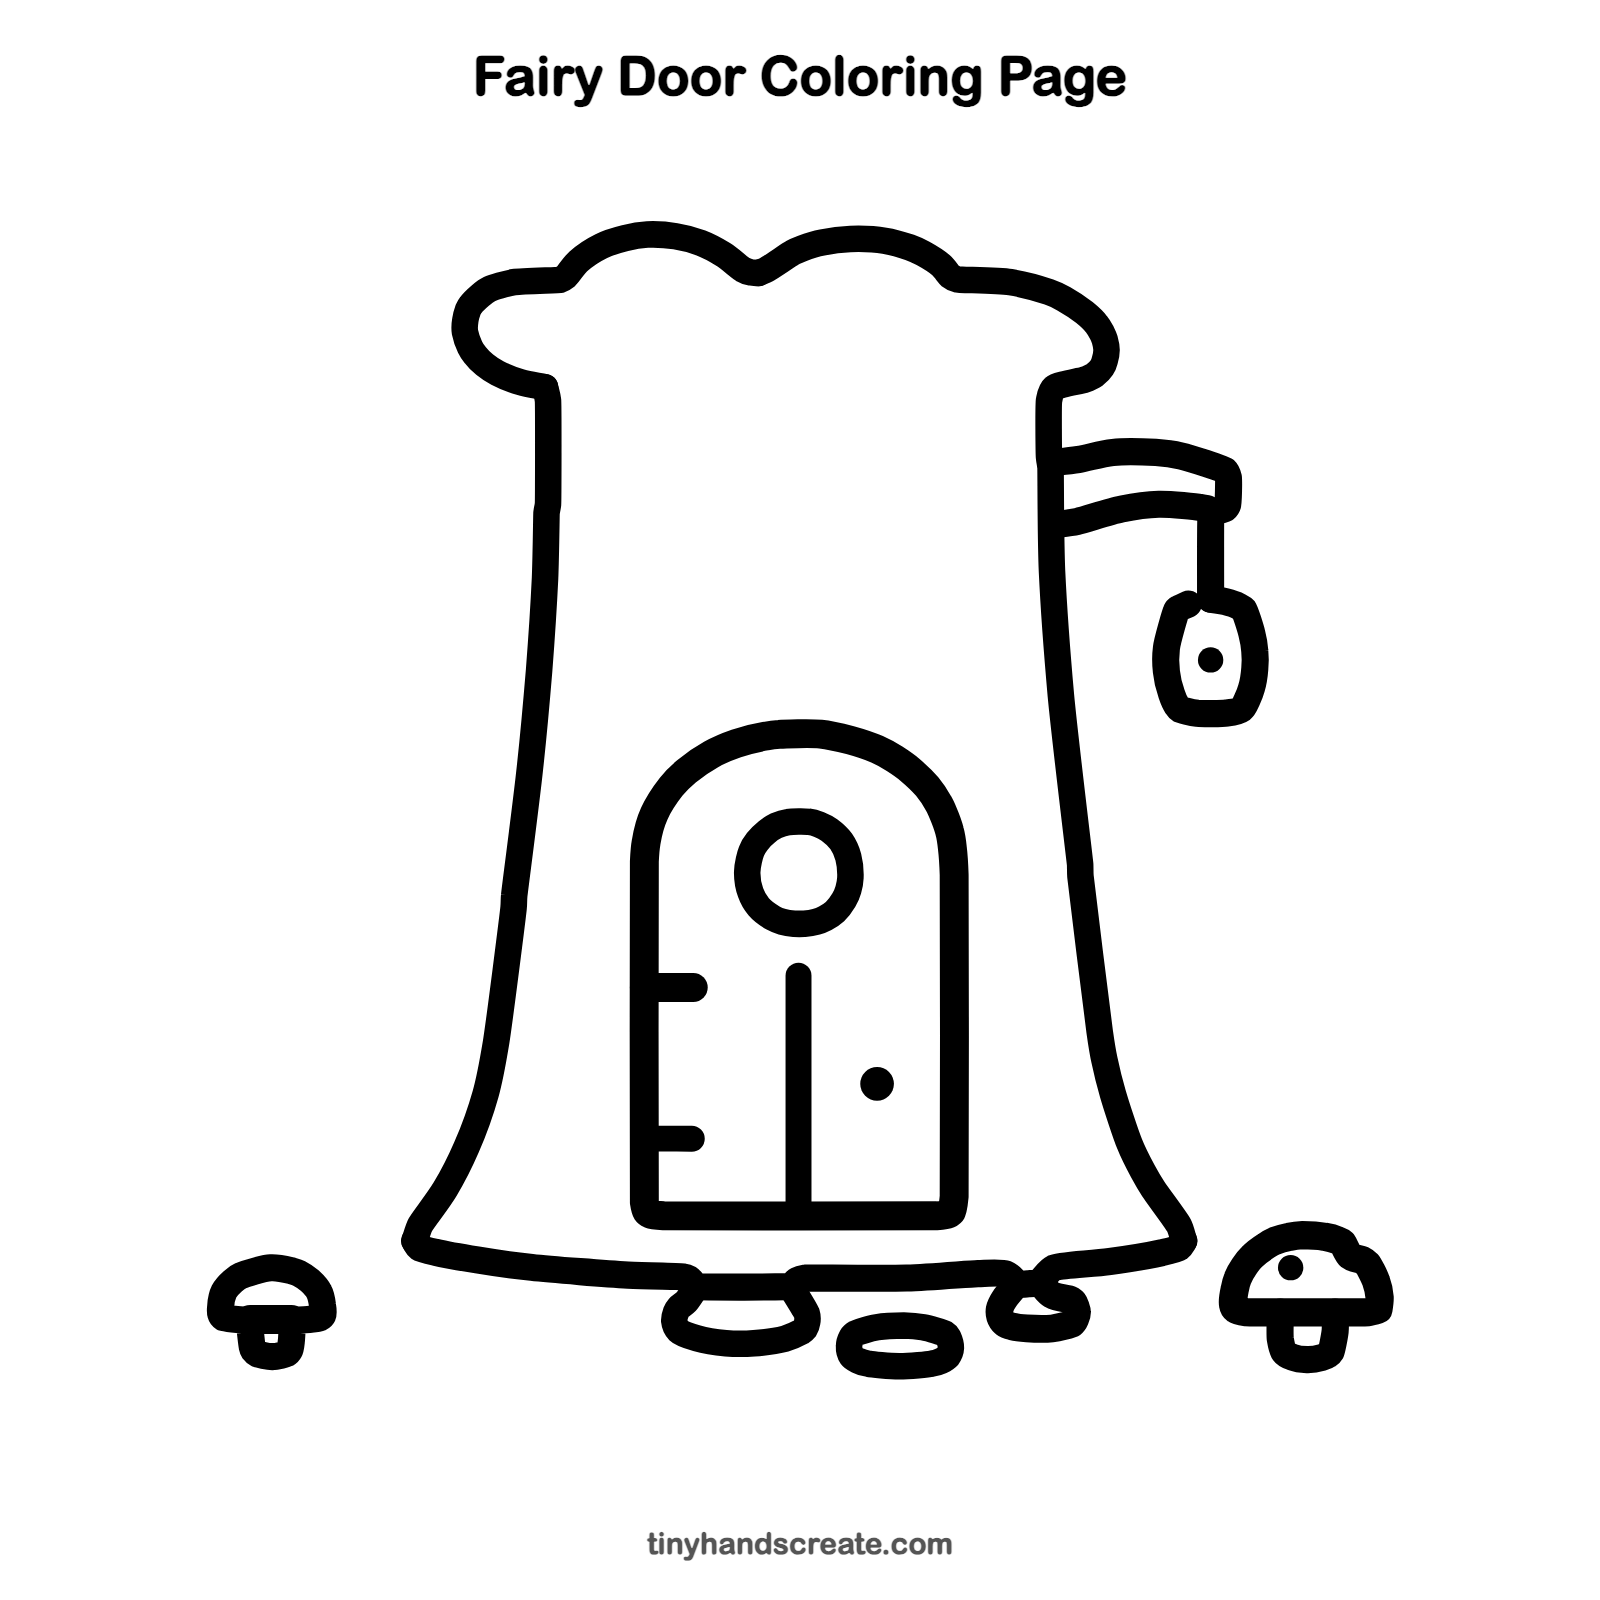
How to color your fairy door drawing
Try warm brown for the trunk and a bright color like purple or red for the door. For a creative twist, color the lantern bright yellow and add glowing dots around it, as if fireflies have come to visit.
Fairy door fun fact for kids
The word fairy comes from the Old French word faerie, which meant the land or world where fairies live. Stories about fairies are hundreds of years old.
Questions about drawing a fairy door
What shapes do I need to draw a fairy door?
You need a bell shape for the trunk, an arch for the door, and some circles and ovals. The mushrooms are rounded caps on short stems.
How do I make my fairy door look more magical?
Add extra details like tiny flowers, more mushrooms, stars, or glowing dots around the lantern. The row of stepping stones also makes it feel like a real fairy home.
How do I draw a door that looks even?
Start with the flat bottom and two straight sides, and keep the sides the same height. Finishing with the round top helps the two sides match.