How to Draw a School Bell (Easy Step by Step)
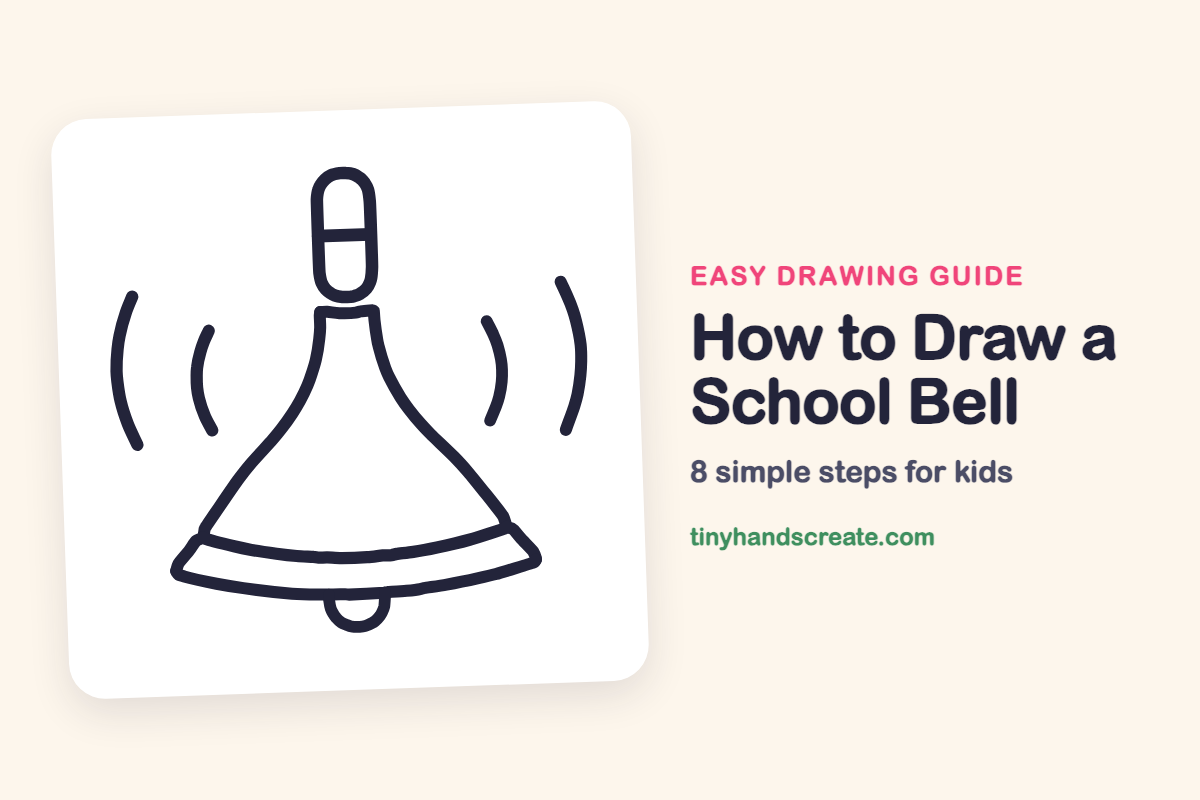
Learn how to easily draw a school bell using simple shapes like a wide funnel, a pill, and curved lines. You'll be able to create a ringing bell drawing in just a few minutes.
- Use simple shapes like a funnel, pill, and curved lines to form your bell.
- Add small curves to the sides to make your bell appear to be ringing.
- Complete your easy school bell drawing quickly, in just a few minutes.
This post contains affiliate links. As an Amazon Associate I earn from qualifying purchases.
A school bell is a fun first drawing because it is built from a few simple shapes: a wide funnel-like bell, a pill, and some curved lines. The little curves on each side make it look like it is really ringing. Anyone can finish it in a few minutes.
- Easy
- 10 minutes
- 8 steps
You need: paper, a pencil, an eraser, and crayons or markers for coloring.
Start drawing
In this article (7 sections)
How to draw a school bell step by step
How to Draw a School Bell · tinyhandscreate.com
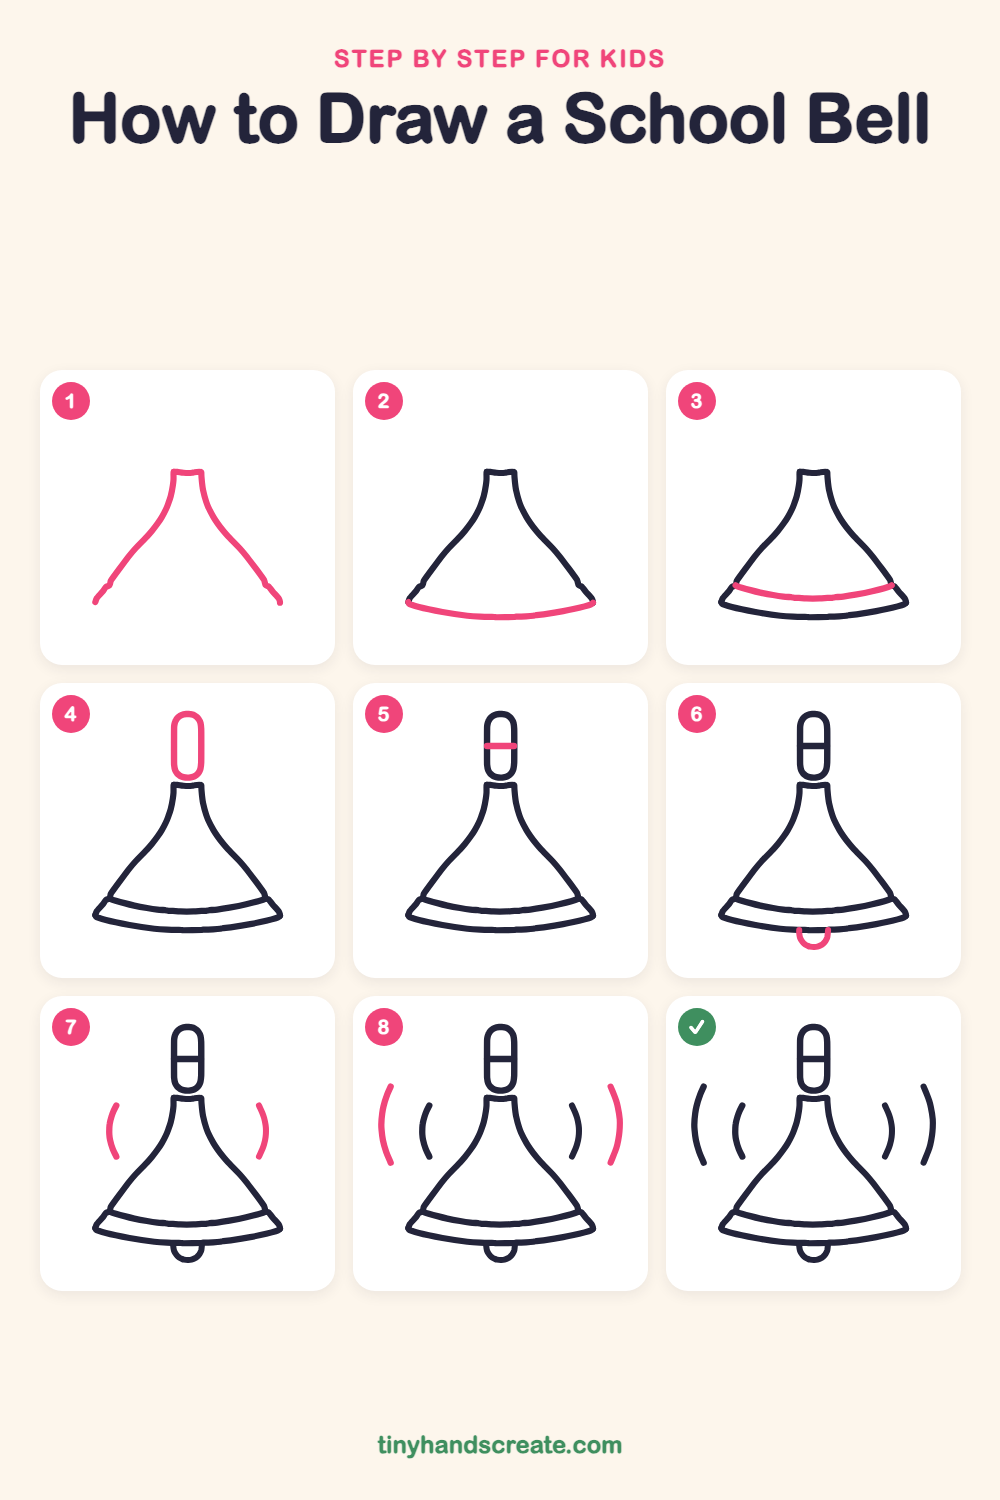
Step 1: Bell body sides
Draw two long curved lines that start at the bottom left and bottom right and sweep up toward the middle, like the sides of a funnel. Stop at the top with a short flat line joining them, so the shape is narrow at the top and wide at the bottom.
Step 2: The bottom rim
Connect the two bottom ends of the bell with a long, gently curved smile line.
Step 3: The rim band
Draw another smile-shaped curve just above the bottom line, from one side of the bell to the other. This makes a band that wraps around the bottom of the bell.
Step 4: The handle
Above the bell, draw a tall pill shape, like a long rounded rectangle. Let its bottom sit just above the flat top of the bell.
Step 5: The handle line
Draw one short straight line across the pill, a little above its middle, from one side to the other.
Step 6: The clapper
Under the bell, at the center of the bottom rim, draw a small letter U that hangs down. This is the part that swings to make the bell ring.
Step 7: Close sound waves
Next to each side of the bell, draw a short curved line like a bracket. The left one bends like an open parenthesis and the right one bends like a closing parenthesis, so the two match.
Step 8: Far sound waves
Add one longer curved line outside each of the first ones, matching the same bend. These show the sound spreading far away.
All done!
Go over your lines with a marker, then color it in.
Finished your school bell? Keep the pencils out and learn how to draw a school bus or how to draw a backpack next.
Tips for drawing a school bell
- Draw the bell body slowly. The sides curve in near the top and flare out at the bottom, so let the lines bend.
- Make the bottom rim and the band above it curve the same way, like two smiles stacked on top of each other, so they look like they wrap around the bell.
- Draw the sound waves last and make the pairs match on the left and right sides.
Free school bell coloring page
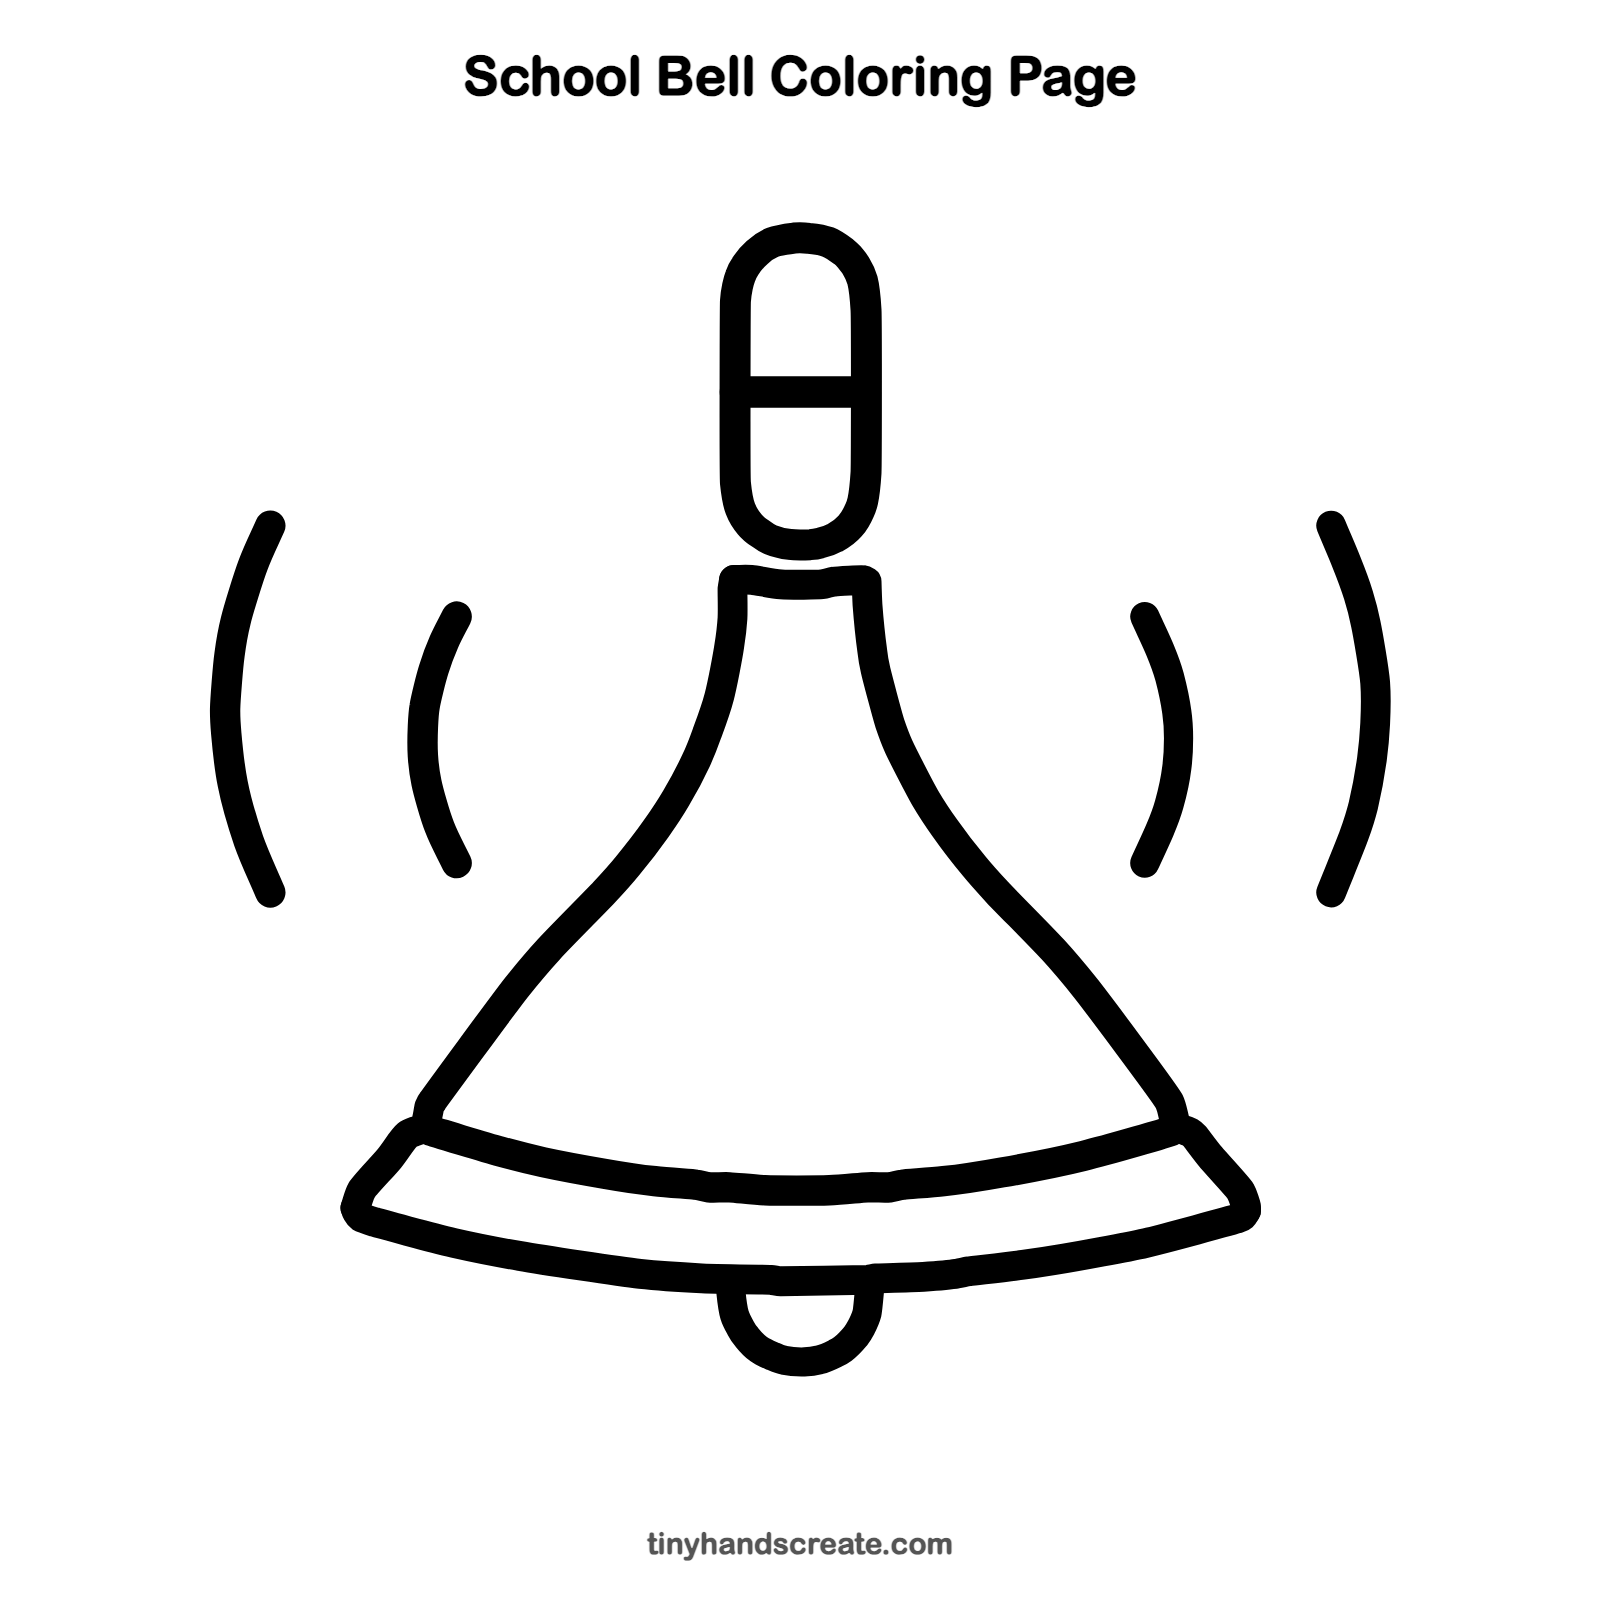
Want to go straight to coloring? Open this school bell coloring page at full size and print it. It is the same drawing you just learned, with clean lines ready for crayons or markers.
How to color your school bell drawing
Try golden yellow or brass for the bell and a brown handle. For a fun twist, color the sound waves in rainbow colors so the ring looks full of music.
School bell fun fact for kids
Many schools long ago used a hand bell to call children in from recess. Inside a bell, a small part called the clapper swings and hits the sides to make the sound.
Questions about drawing a school bell
What shapes do I need to draw a school bell?
You need a wide flared bell shape, a pill shape for the handle, and a small U for the clapper. A few curved lines finish it off.
How do I make my school bell look like it is ringing?
Add curved lines on both sides of the bell, short ones close in and longer ones farther out. These look like sound waves moving through the air.
Why does my bell look lopsided?
Try a light pencil line down the middle to check that both sides match. Then draw the left and right sides the same way.