How to Draw Cranberry Sauce (Easy Step by Step)
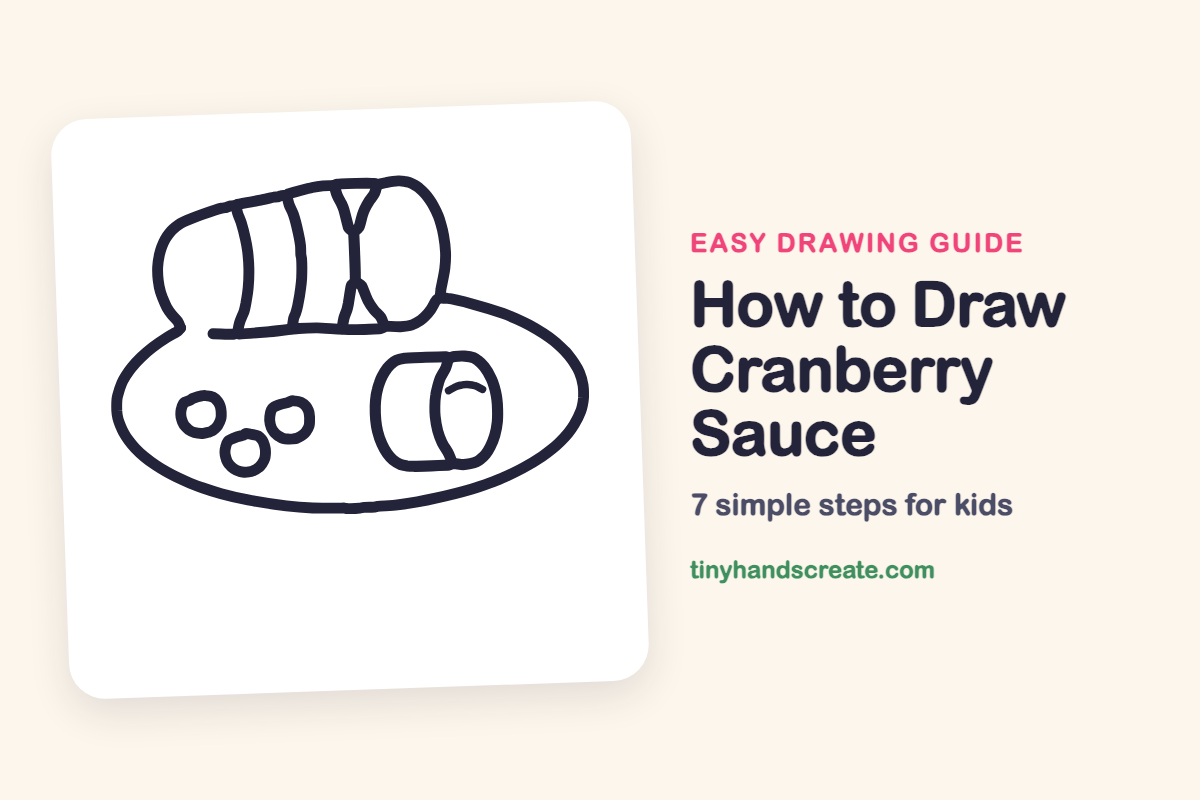
This guide teaches you how to draw log-shaped cranberry sauce, complete with can ridges and a cut slice, using simple shapes like ovals and tubes. You'll practice drawing curves that wrap around forms.
- Start your drawing with an oval plate.
- Construct the log shape using a tilted tube.
- Add realistic ridges and a distinct cut slice.
- Practice wrapping curves around your shapes.
- Finish your drawing with three small circles.
This post contains affiliate links. As an Amazon Associate I earn from qualifying purchases.
Cranberry sauce shaped like a log, with ridges from the can, is a funny and familiar sight on a holiday table. This drawing is built from an oval plate, a tilted tube, a few curved lines, a cut slice and three little circles. It is a good one for practicing curves that wrap around a shape.
- Easy
- 10 minutes
- 7 steps
You need: paper, a pencil, an eraser, and crayons or markers for coloring.
Start drawing
In this article (7 sections)
How to draw cranberry sauce step by step
How to Draw Cranberry Sauce · tinyhandscreate.com
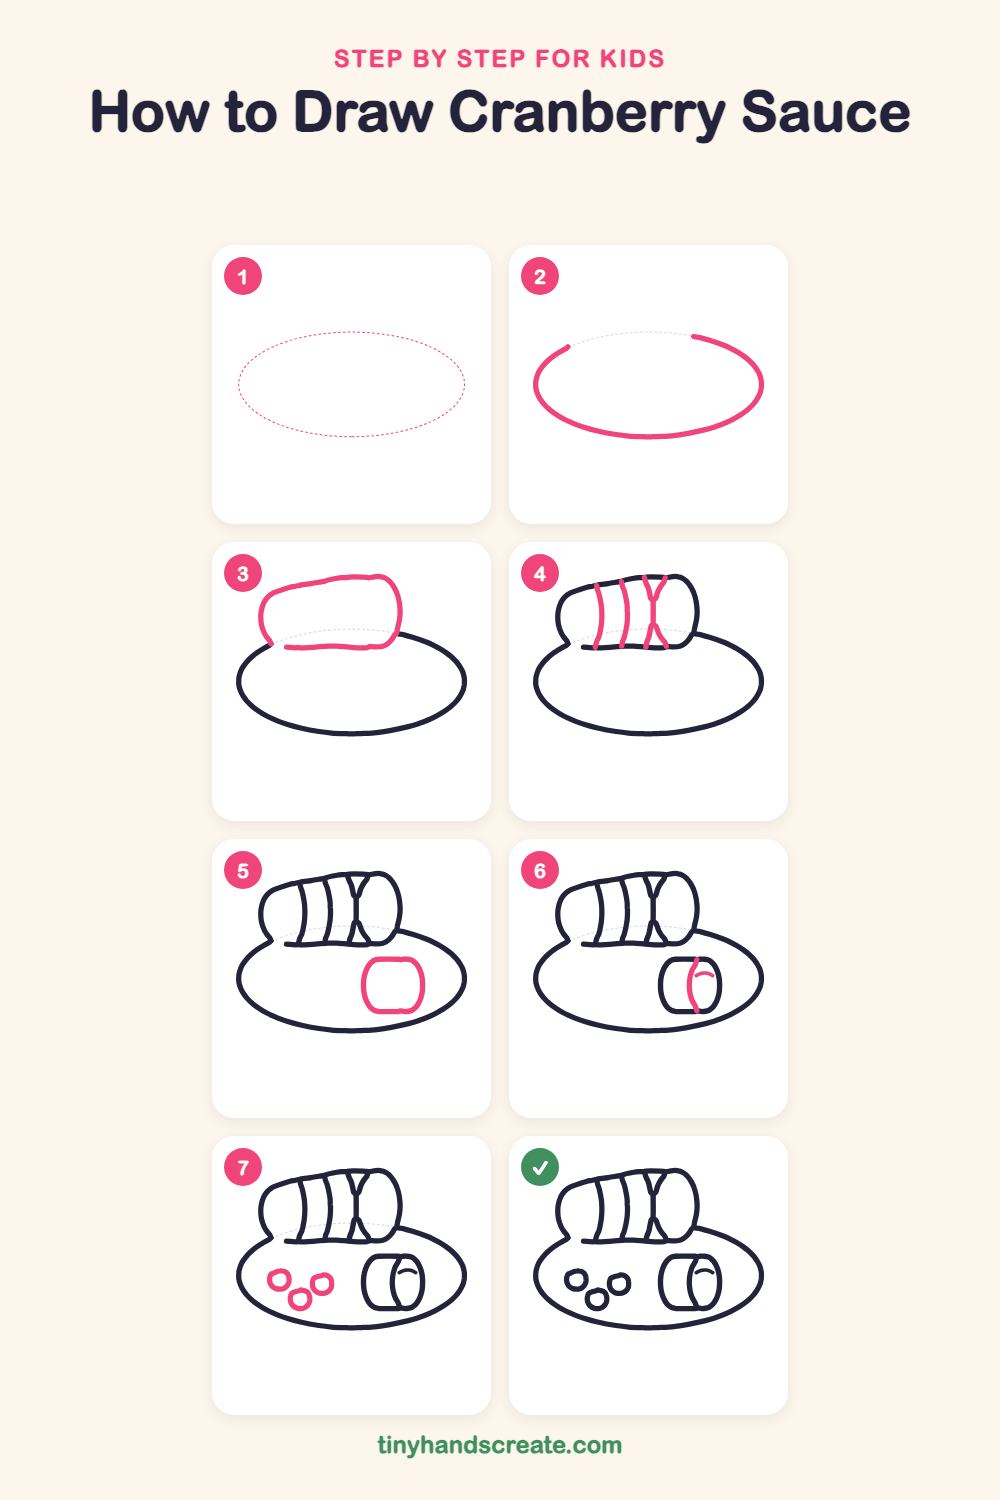
Step 1: Guide shapes
Lightly sketch this oval. It only shows where the big parts go, so press softly. You will erase it at the end.
Step 2: The big plate
Draw a wide, flat oval across the bottom of your paper. Leave a little gap at the top, because the sauce will sit there.
Step 3: The sauce log
Draw a fat, tilted tube shape that rests on the top of the plate. Make the right end a round curve and the left end a soft, bumpy curve, and close the bottom with a long line.
Step 4: Slice lines
Draw three curved lines across the log, each going from the top edge to the bottom edge. Near the right end, add two short curves that cross each other in the middle.
Step 5: The cut slice
On the right side of the plate, draw a short, wide rounded rectangle lying on its side. This is one slice that has been cut off.
Step 6: Slice end and shine
Near the right end of the slice, draw a tall curved line from top to bottom to make the round end. Add a tiny curved line beside it for a shiny highlight.
Step 7: Cranberries
Draw three small circles on the left side of the plate, with two side by side and one tucked below them. They do not have to be perfect, since real cranberries are a little bumpy.
All done!
Erase the guide shapes, go over your lines, then color it in.
Finished your cranberry sauce? Keep the pencils out and learn how to draw a turkey or how to draw a slice of pumpkin pie next.
Tips for drawing cranberry sauce
- Make the curved slice lines bend the same way so they look like they wrap around the log.
- Draw the plate oval first and let the log sit over its top edge, so you do not have to fit the plate around the log.
- Draw the cranberries as slightly lumpy circles of different sizes, which makes them look like real berries.
Free cranberry sauce coloring page
Want to go straight to coloring? Open this cranberry sauce coloring page at full size and print it. It is the same drawing you just learned, with clean lines ready for crayons or markers.
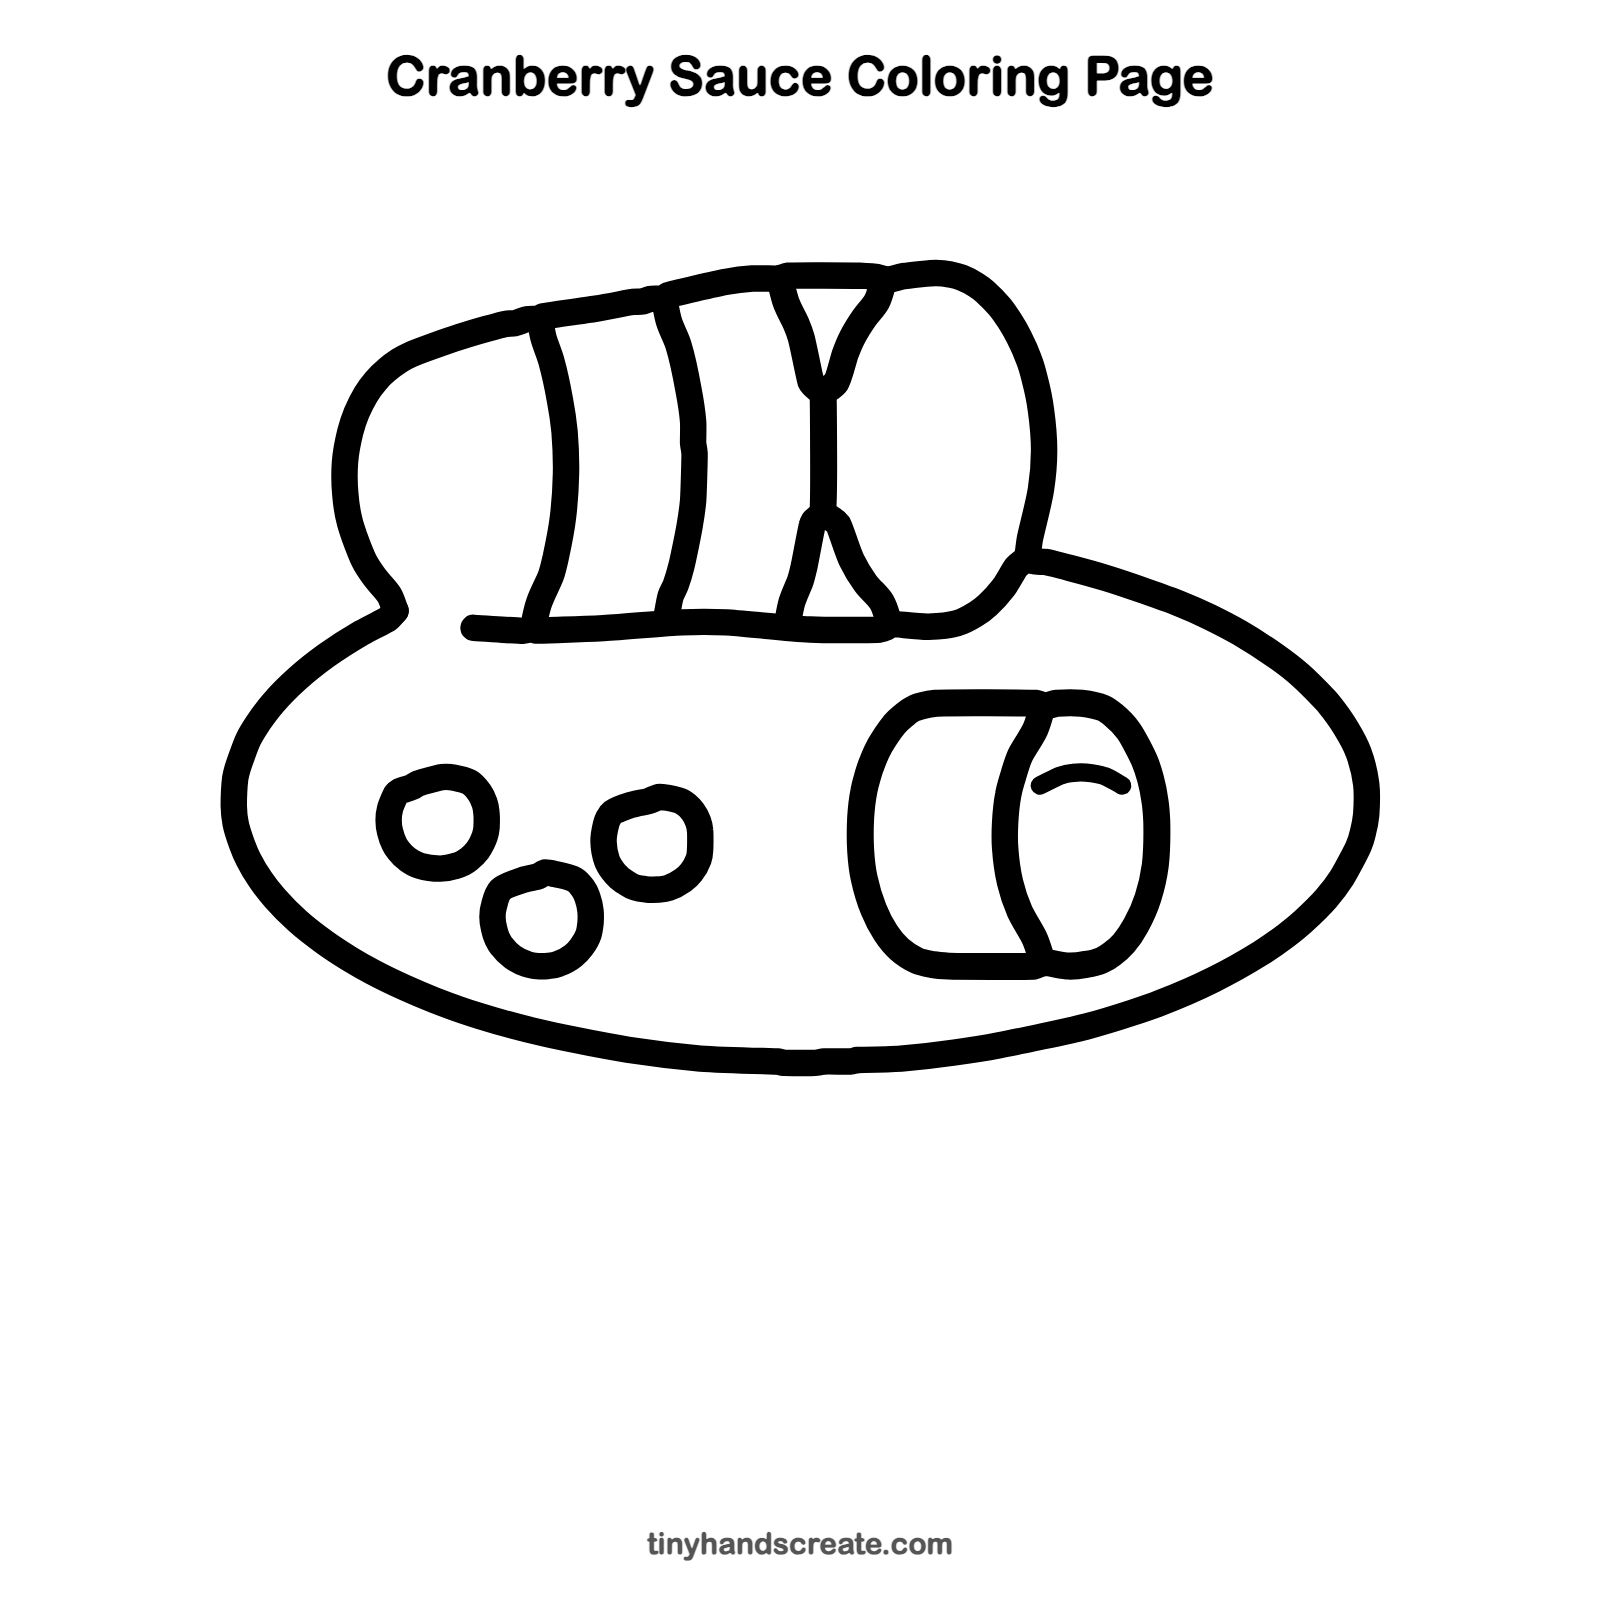
How to color your cranberry sauce drawing
Use deep red and magenta for the sauce and berries, and a light blue or cream for the plate. For a twist, draw a tiny turkey or a leaf napkin next to the plate and color the whole holiday table.
Cranberry sauce fun fact for kids
Cranberries have tiny pockets of air inside, so they float. Cranberry farmers flood their fields with water, and the berries pop up to the top.
Questions about drawing cranberry sauce
What shapes do I need to draw cranberry sauce?
You need a large oval for the plate, a tilted tube for the log, curved lines for the slices, a rounded rectangle for the cut slice, and small circles for the berries.
How do I make the log look round instead of flat?
Curve the slice lines so they bend around the tube, like rings. Curves that wrap around make a flat shape look like a tube.
How do I make the cranberries look cuter?
Make them different sizes and wobble the outlines a little. Group them in a little triangle so they look friendly.