How to Draw Gears (Easy Step by Step)
Learn how to easily draw gears using simple shapes like wavy circles, small rings, and curved lines. You'll practice drawing multiple gears that fit together to build a whole machine.
- Draw gears using simple round shapes with square teeth.
- Practice creating wavy, toothy circles.
- Master drawing small rings and curved lines.
- Learn to fit multiple gears closely together.
- Build a whole gear machine with your drawings.
Gears are fun to draw because they are just round shapes with square teeth around the edge. Once you can draw a wavy toothy circle, a small ring, and a curved line, you can build a whole machine. Here three gears fit together, so you will practice drawing shapes that tuck in close to each other.
- Medium
- 15 minutes
- 7 steps
You need: paper, a pencil, an eraser, and crayons or markers for coloring.
Start drawing


In this article (7 sections)
How to draw gears step by step
How to Draw Gears · tinyhandscreate.com
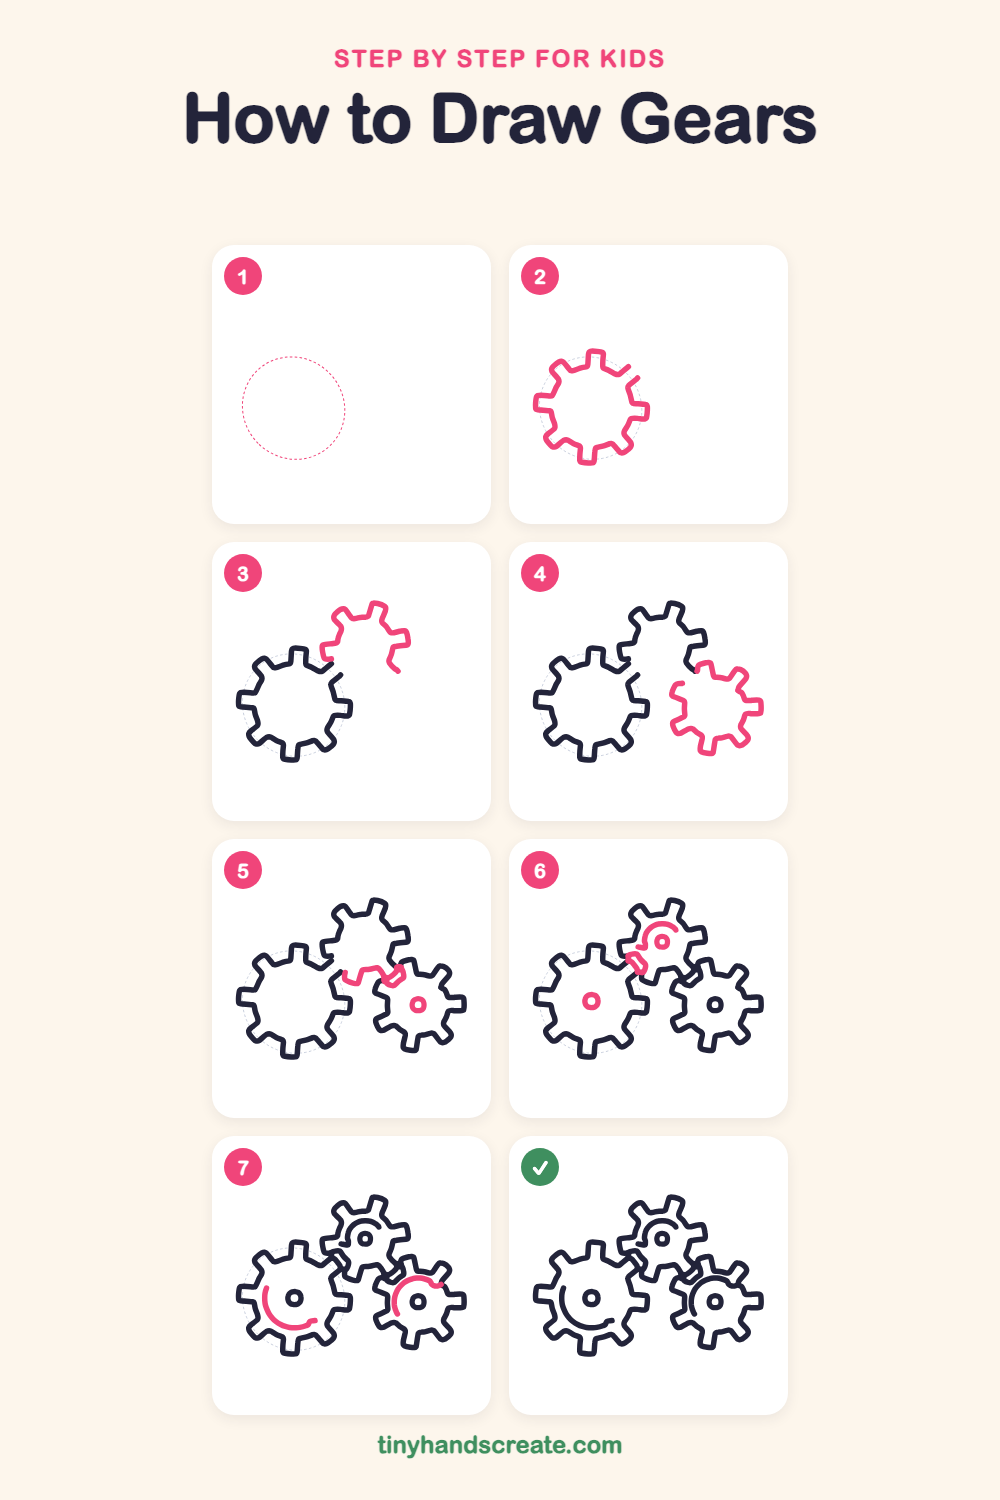
Step 1: Guide shapes
Lightly sketch this oval. It only shows where the big parts go, so press softly. You will erase it at the end.
Step 2: The big gear
Start with the biggest gear on the left. Draw a wavy ring of square teeth sticking out all the way around it, like a crown. Leave a small gap near the upper right.
Step 3: The top gear
Draw a medium gear above and to the right of the big one. Make a curved line with square teeth around it, and leave it open on the side that faces the big gear.
Step 4: The lower right gear
Draw a third gear below and to the right of the top one. Use another toothy outline that wraps around its right side and bottom, and leave the top open.
Step 5: Meeting teeth and a hole
Where the top gear and the lower right gear meet, draw a short zigzag of small teeth to link them. Then draw a small ring in the middle of the lower right gear, like a tiny donut.
Step 6: Two more center rings
Draw a small ring in the middle of the big gear and another in the middle of the top gear. Add a short curved line above the top gear's ring, and a little slanted tooth where it touches the big gear.
Step 7: Curved turning lines
Inside the big gear and the lower right gear, draw a long curved line that follows the edge of the circle, like a smile or a rainbow. Add a tiny curved mark inside the top gear, too.
All done!
Erase the guide shapes, go over your lines, then color it in.
Finished your gears? Keep the pencils out and learn how to draw a rocket or how to draw a shooting star next.
Tips for drawing gears
- Draw the big gear first and leave space around it, so the other two gears have room to snuggle up against it.
- The teeth are the trickiest part. Make each tooth a short, wide block and try to space them about the same distance apart, like the numbers on a clock.
- Where two gears meet, slow down and let the teeth fit into the gaps between each other instead of crossing over.
Free gears coloring page
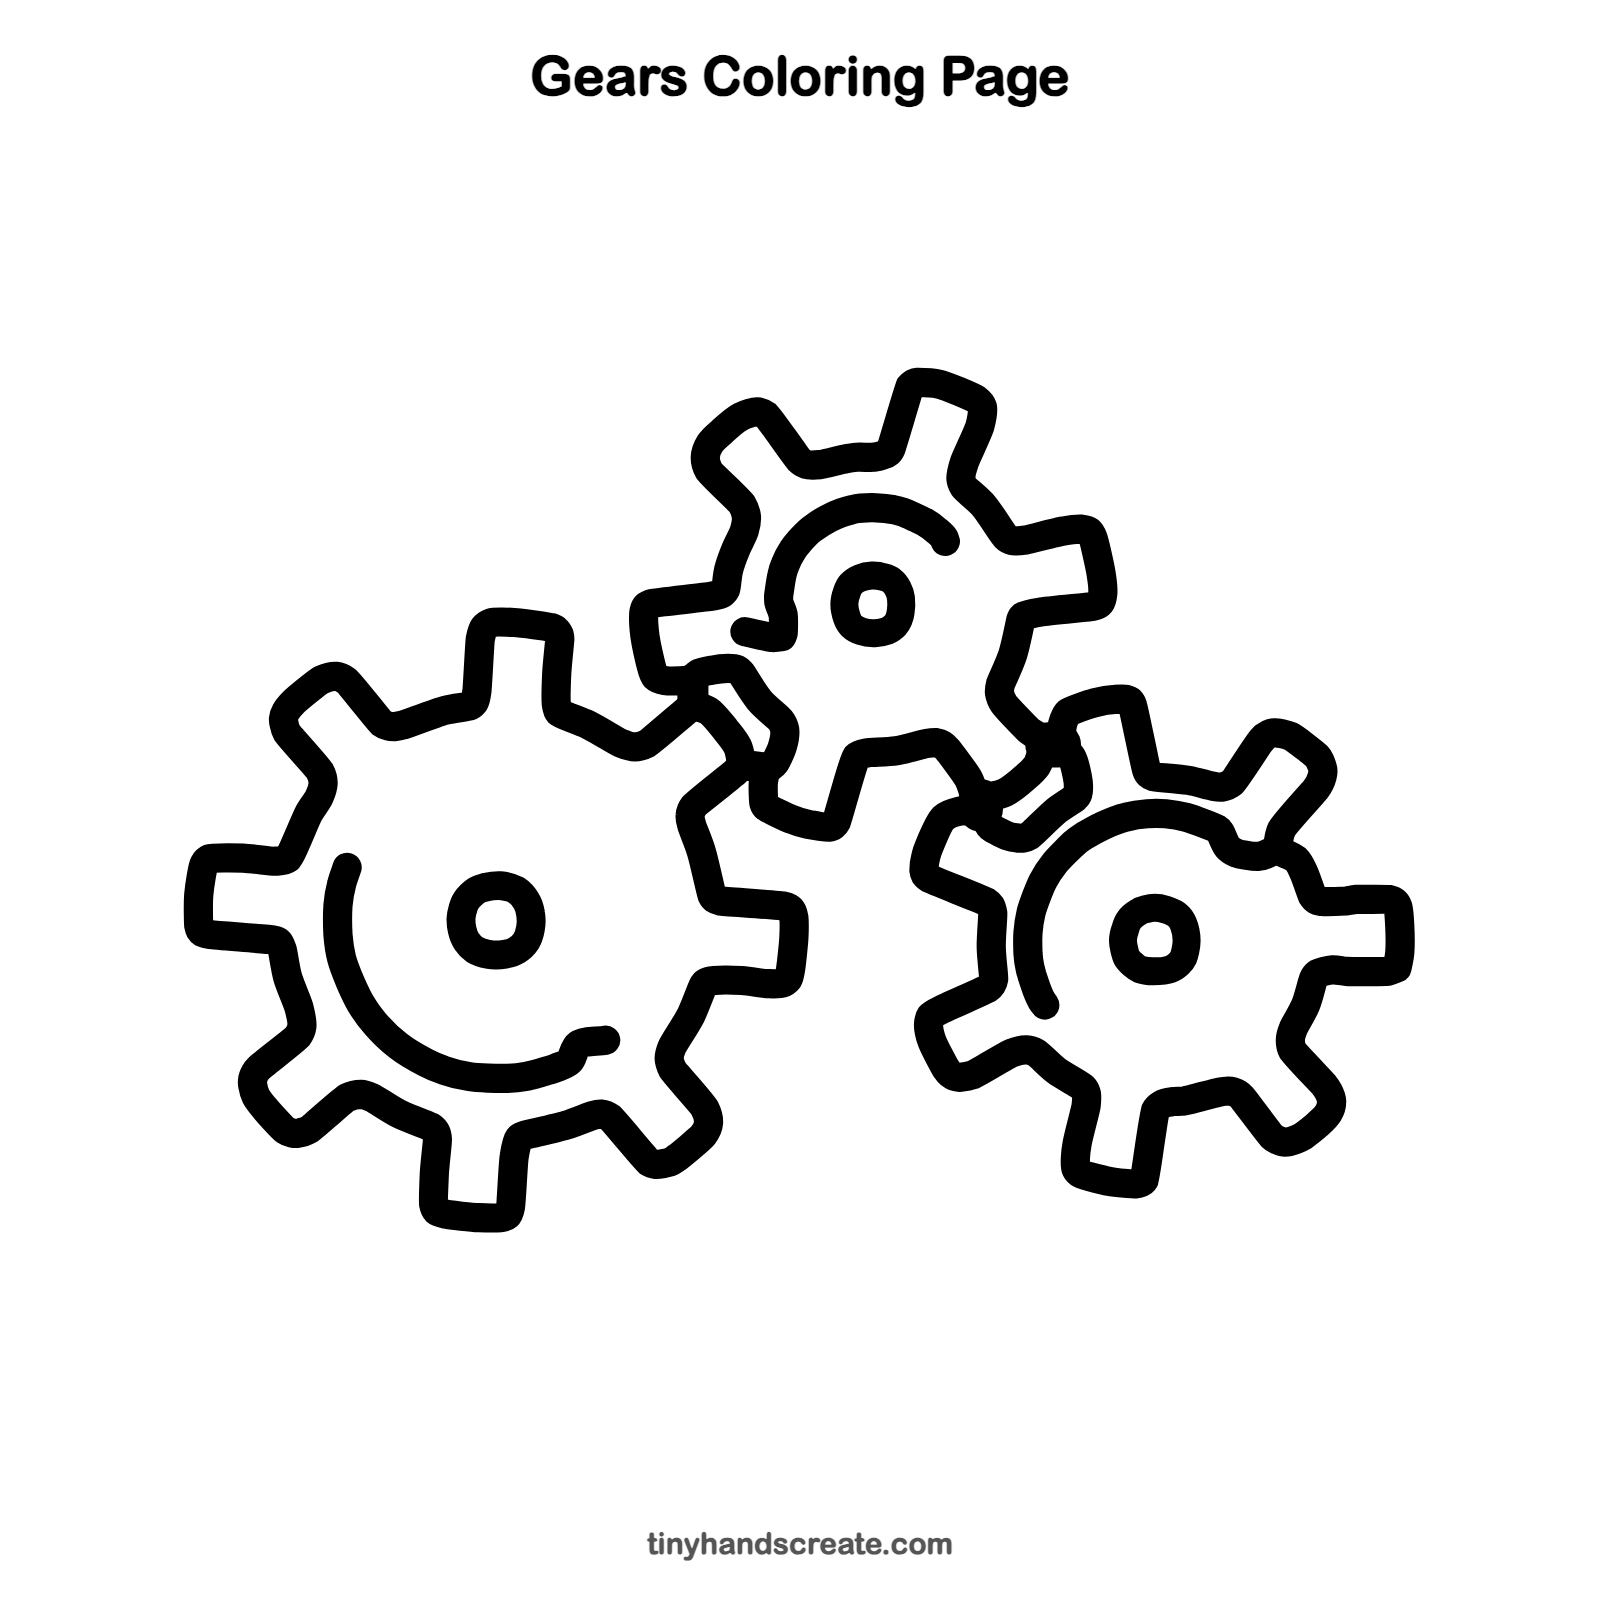
Want to go straight to coloring? Open this gears coloring page at full size and print it. It is the same drawing you just learned, with clean lines ready for crayons or markers.
How to color your gears drawing
Try silver, gray, and copper for a real machine look, or give each gear its own bright color. You can also color the rings in the middle a different shade from the rest of the gear.
Gears fun fact for kids
When one gear turns, the gear touching it turns the opposite way. A small gear also spins faster than a big gear, which is why clocks and bicycles use gears of different sizes.
Questions about drawing gears
What shapes do I need to draw gears?
You need a round outline with square teeth for each gear body and a small ring for each center hole. A long curved line inside the big gears shows which way they turn.
How do I make my gears look like they fit together?
Draw the big gear first, then place the next gear so a tooth from one points into a gap on the other. Leave a thin space between them so they do not look squished.
How do I make the teeth even?
Lightly mark spots around the circle first, like the hours on a clock. Then draw one tooth at each mark so they come out evenly spaced.