How to Draw a Pen (Easy Step by Step)
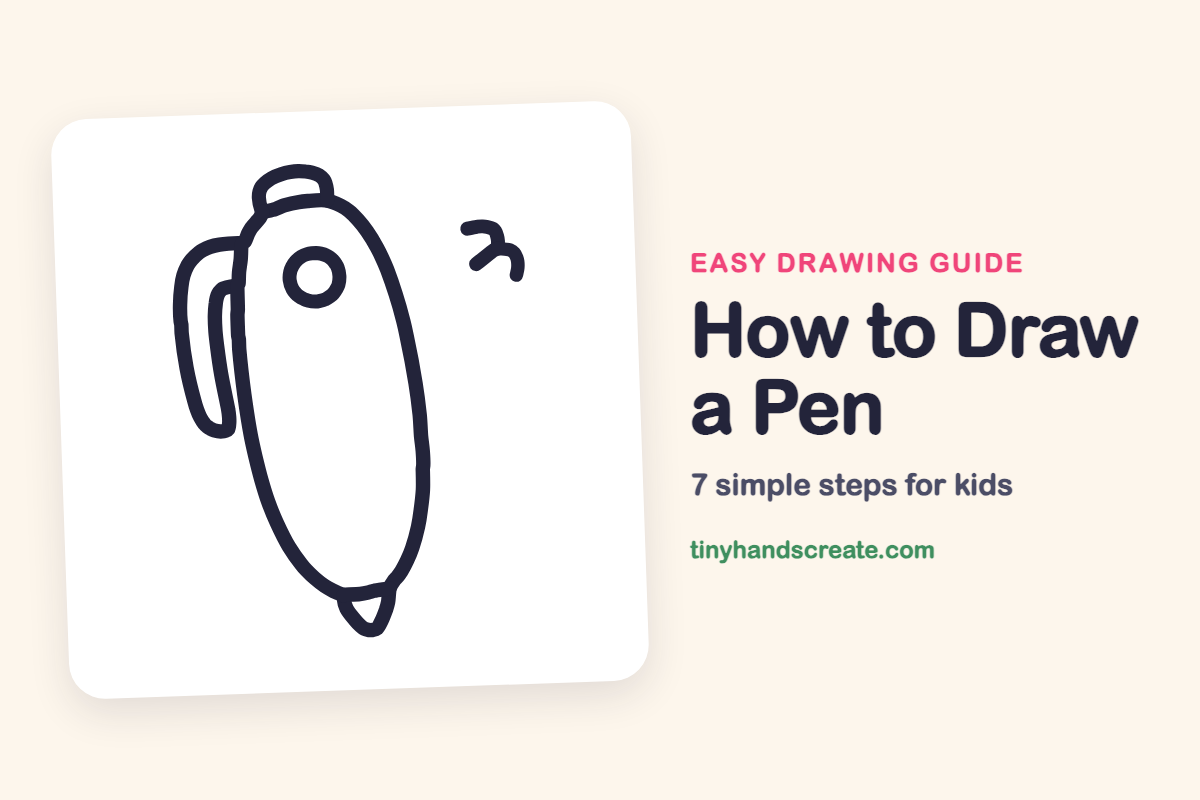
Learn to draw a simple clicky pen using basic shapes like an oval body, circle, hook, and cap. You'll quickly add each part and finish with a squiggle to make it look ready to write.
- Begin your pen drawing by creating a long oval for the body.
- Add a small circle, a skinny hook, and a little cap to form the pen's parts.
- Complete your drawing with a small squiggle to make the pen appear ready to write.
This post contains affiliate links. As an Amazon Associate I earn from qualifying purchases.
A clicky pen is a great first drawing because it is built from just a few simple shapes: a long oval body, a small circle, a skinny hook, and a little cap. Once the body is down, each part is quick to add. A little squiggle at the end makes it look like the pen is ready to write.
- Easy
- 8 minutes
- 7 steps
You need: paper, a pencil, an eraser, and crayons or markers for coloring.
Start drawing


In this article (7 sections)
How to draw a pen step by step
How to Draw a Pen · tinyhandscreate.com
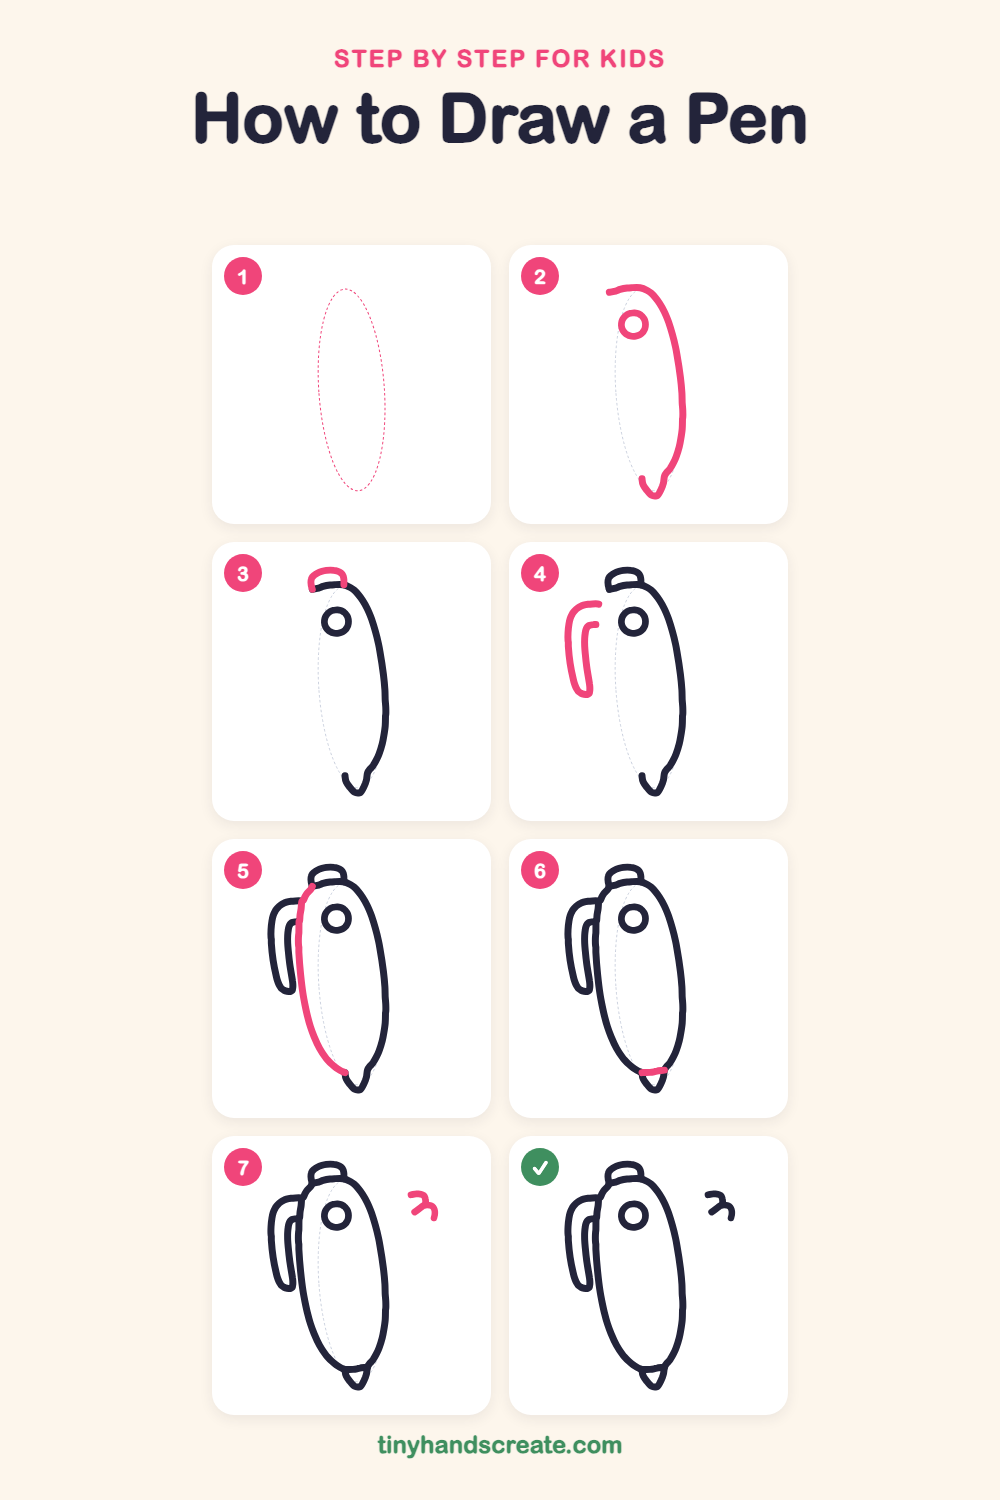
Step 1: Guide shapes
Lightly sketch this oval. It only shows where the big parts go, so press softly. You will erase it at the end.
Step 2: Right side and button
Start near the top left and draw a long curve across the top, down the right side, and into a small rounded point at the bottom. Then draw a small circle inside the upper left part of the pen for the button.
Step 3: The top cap
On the very top of the pen, draw a small rounded bump like a little hill. Let both ends of the bump touch the body.
Step 4: The clip
On the left side, draw a long skinny hook like a bookmark. Start near the top of the body, curve out to the left, go straight down, and finish with a rounded bottom.
Step 5: Left side of body
Draw a long curved line down the left side of the pen. Start at the top of the body, curve down, and end near the pointed bottom to close the shape.
Step 6: The tip band
Near the bottom, draw a short line straight across the body, right where it meets the small rounded tip.
Step 7: The squiggle
To the right of the pen, draw a small curly squiggle that looks like a number 3 lying on its side. It shows the pen is ready to write.
All done!
Erase the guide shapes, go over your lines, then color it in.
Finished your pen? Keep the pencils out and learn how to draw a rocket or how to draw a shooting star next.
Tips for drawing a pen
- Draw the body lightly first, so you can fix the shape before you press hard. Aim for an oval that is about three times taller than it is wide.
- The clip is the trickiest part. Think of a long skinny hook, like a bendy bookmark, and start it near the top of the body.
- Keep the pen tip small and rounded at the bottom. If it is too big, the pen will look like a rocket.
Free pen coloring page
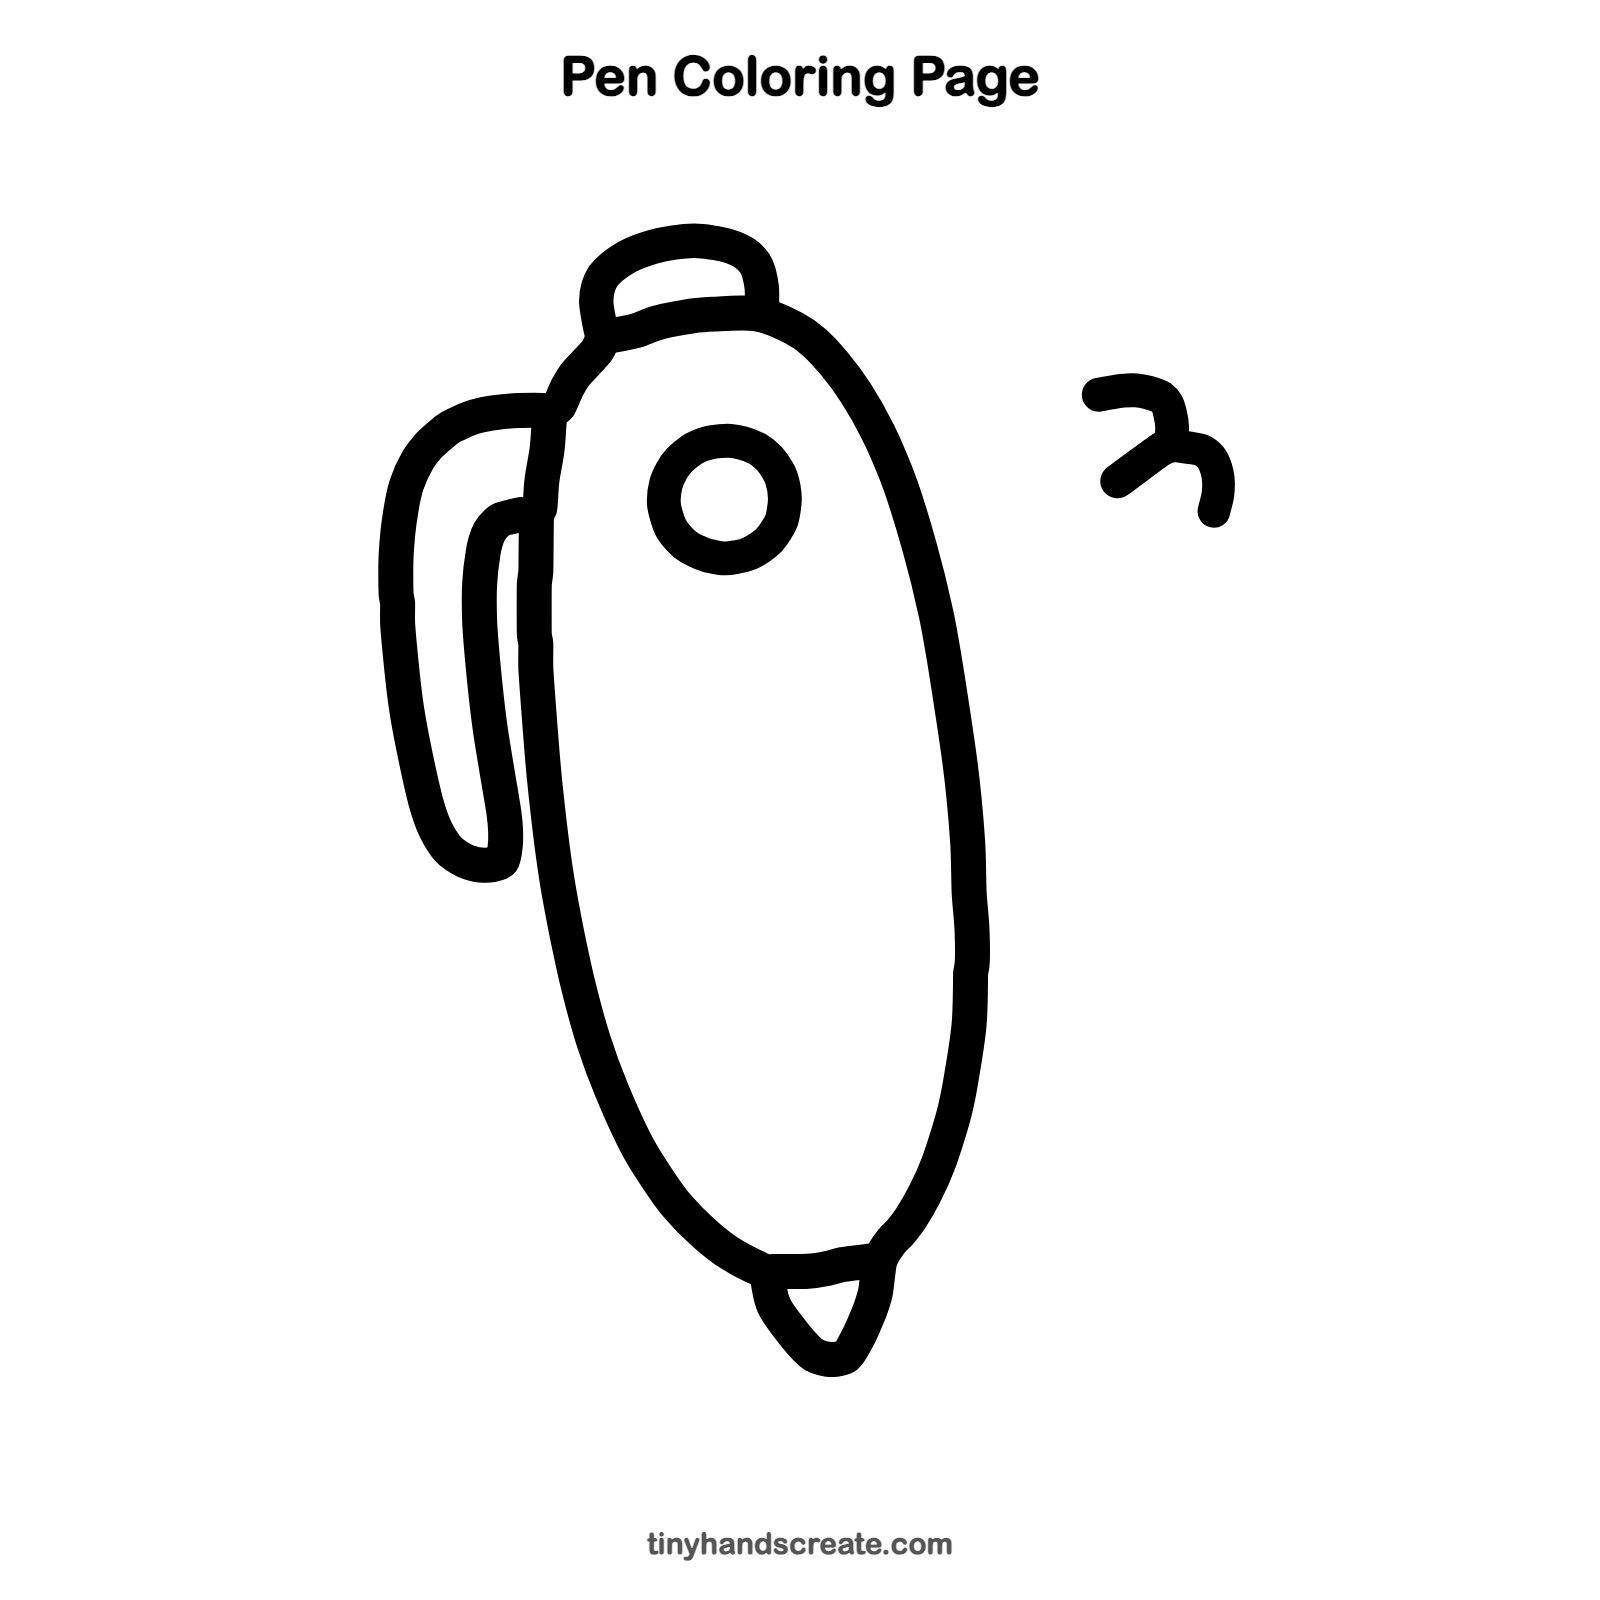
Want to go straight to coloring? Open this pen coloring page at full size and print it. It is the same drawing you just learned, with clean lines ready for crayons or markers.
How to color your pen drawing
Try a bright blue or red body with a gray clip and a yellow button. For a creative twist, color the squiggle in rainbow stripes, as if the pen writes in magic ink.
Pen fun fact for kids
The ballpoint pen works because of a tiny metal ball in the tip. As you write, the ball rolls and picks up ink from inside the pen, then leaves it on the paper.
Questions about drawing a pen
What shapes do I need to draw a pen?
You need a long oval for the body, a small circle for the button, a skinny hook for the clip, and a small bump for the cap. A short line near the bottom finishes the tip.
How do I make my pen look cuter?
Make the body a little fatter and the tip a little smaller. You can also add a happy face on the body or a few sparkles next to the squiggle.
How do I draw the clip on a pen?
Start near the top of the left side of the body and curve out and down in a long skinny hook. Finish with a rounded bottom, like a bookmark.