How to Draw a Village (Easy Step by Step)
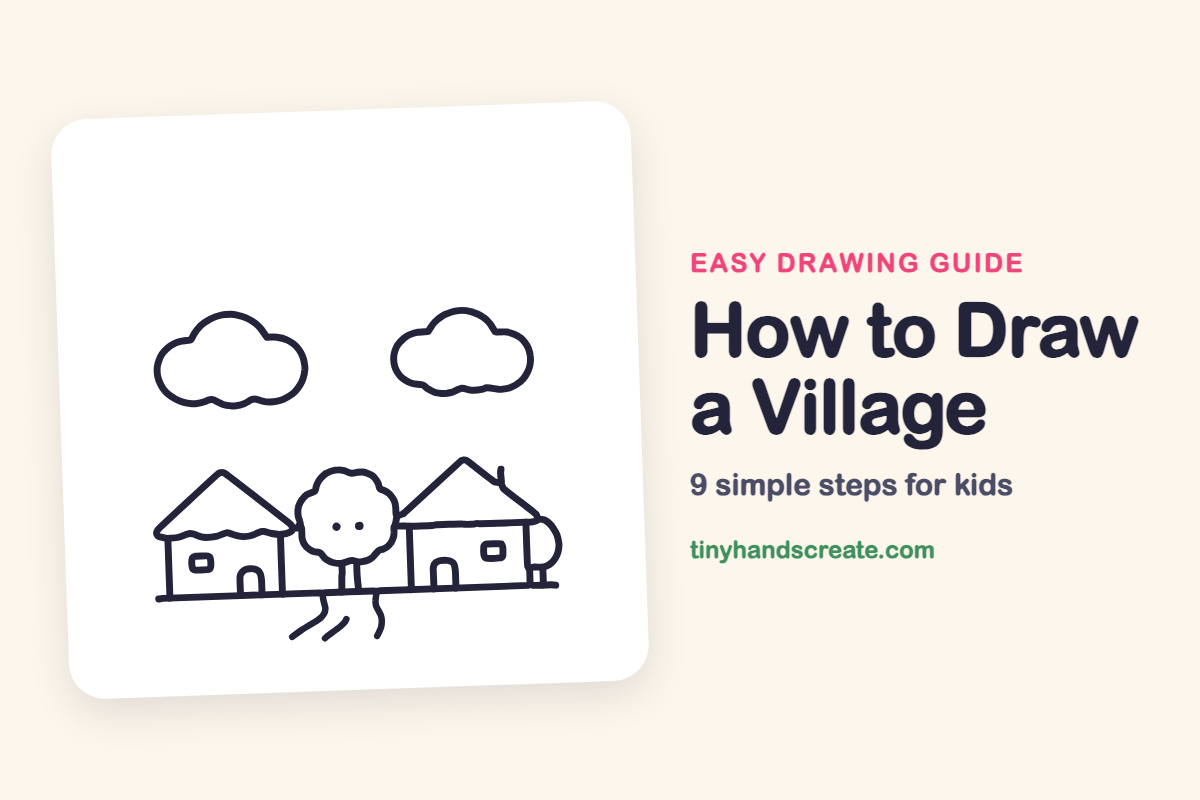
Learn to draw a charming village using simple shapes like straight lines, triangles, and puffy clouds. You'll easily create walls, roofs, and even a friendly tree to make a cozy little town.
- Draw village walls using simple straight lines.
- Top buildings with pointy roofs made from triangles.
- Add puffy, bumpy clouds to your village scene.
- Include a friendly tree with a face for character.
This post contains affiliate links. As an Amazon Associate I earn from qualifying purchases.
A village is a fun drawing because it is made from simple shapes you already know: straight lines, triangles, and puffy bumpy clouds. You will stand up walls, top them with pointy roofs, and add a friendly tree with a face. Every piece is easy on its own, and together they make a cozy little town.
- Easy
- 15 minutes
- 9 steps
You need: paper, a pencil, an eraser, and crayons or markers for coloring.
Start drawing


In this article (7 sections)
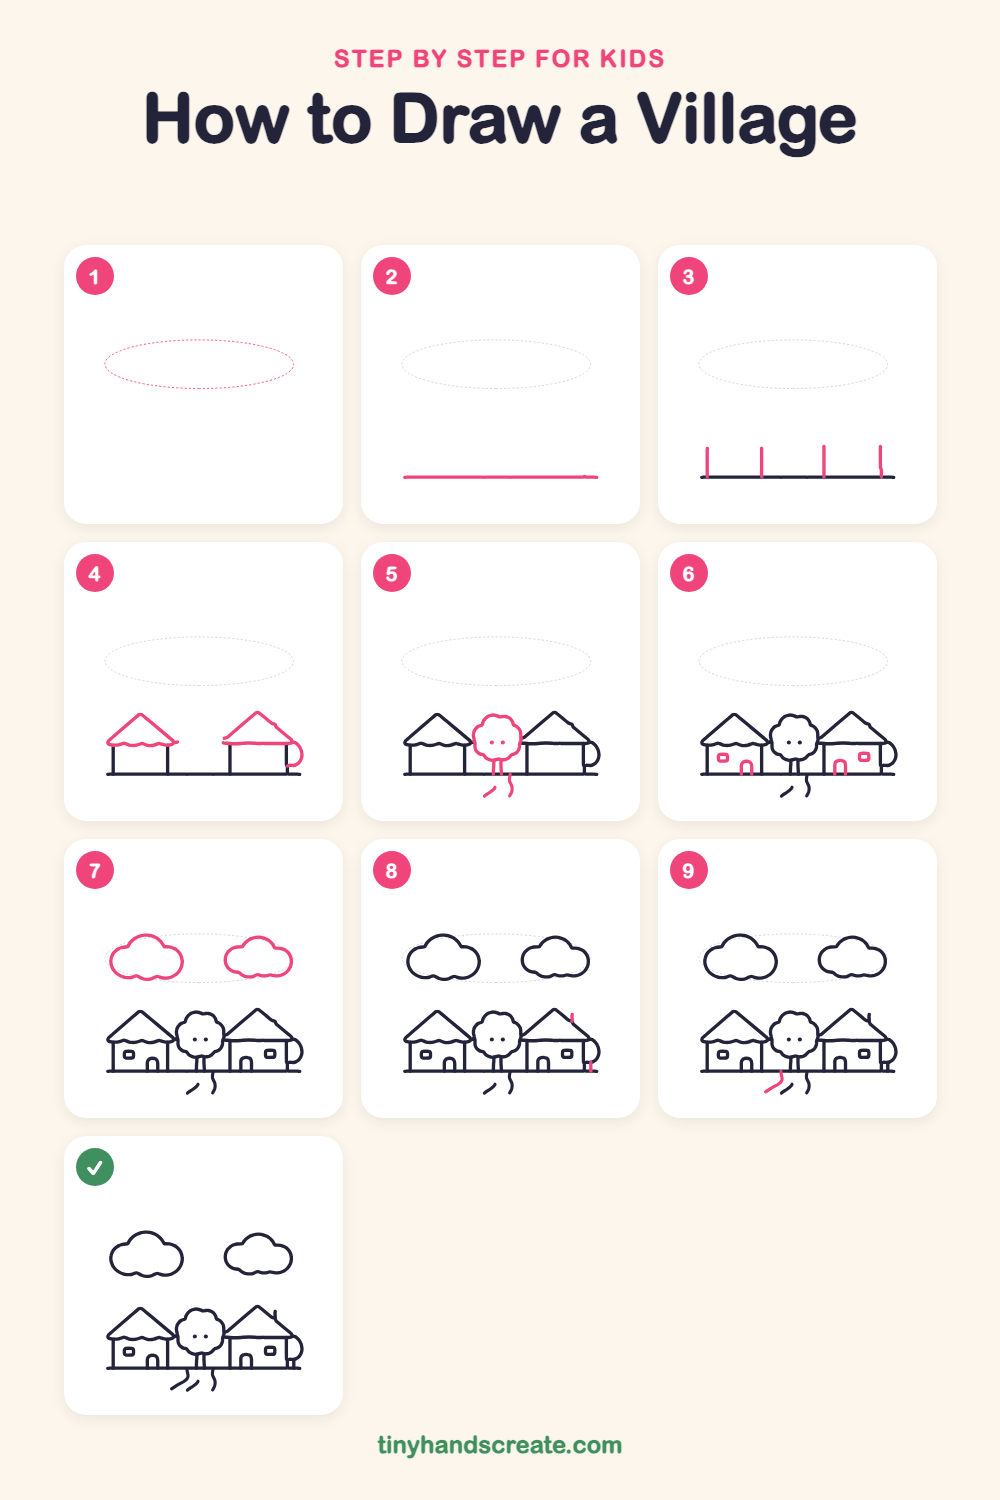
How to draw a village step by step
How to Draw a Village · tinyhandscreate.com
Step 1: Guide shapes
Lightly sketch this oval. It only shows where the big parts go, so press softly. You will erase it at the end.
Step 2: The ground line
Draw one long straight line across the bottom of your page. This is the ground that the houses and the tree will stand on.
Step 3: Four wall lines
Stand four short straight lines straight up from the ground line. Make two on the left for the first house and two on the right for the second house, with a gap in the middle.
Step 4: Roofs and little bush
Draw a pointy triangle roof on top of each pair of wall lines. Make the bottom edge of the left roof wavy and the bottom edge of the right roof straight. Then add a small curved bump on the right side of the right house.
Step 5: Round tree and path
Between the houses, draw a puffy tree top with bumpy edges and two little dots for eyes. Draw two short lines down from it to the ground for the trunk. Below the ground line, add two short wiggly lines for a path.
Step 6: Windows and doors
Draw a small rounded rectangle for a window on each house. Under each window, draw a door shaped like an upside-down U that starts on the ground line.
Step 7: Two clouds
Up in the sky, draw two fluffy clouds. Make each one with a row of round bumps along the top and a gently curved bottom.
Step 8: Chimney and bush trunk
Add a short straight line sticking up from the right roof for a chimney. Then draw a tiny straight line down from the bump on the right of the house to the ground line.
Step 9: More path
Below the ground line on the left, add one more wiggly line next to the others to make the path wider.
All done!
Erase the guide shapes, go over your lines, then color it in.
Finished your village? Keep the pencils out and learn how to draw a rocket or how to draw a shooting star next.
Tips for drawing a village
- Draw the ground line first and keep it straight. The houses and the tree all sit on it, so a steady line makes everything else easier.
- The wavy edge on the left roof is the trickiest part. Draw a row of small, gentle humps, like a sleepy snake, instead of trying to make one perfect curve.
- Start the tree bumps small and round, then connect them. If a bump looks odd, just add another one next to it.
Free village coloring page
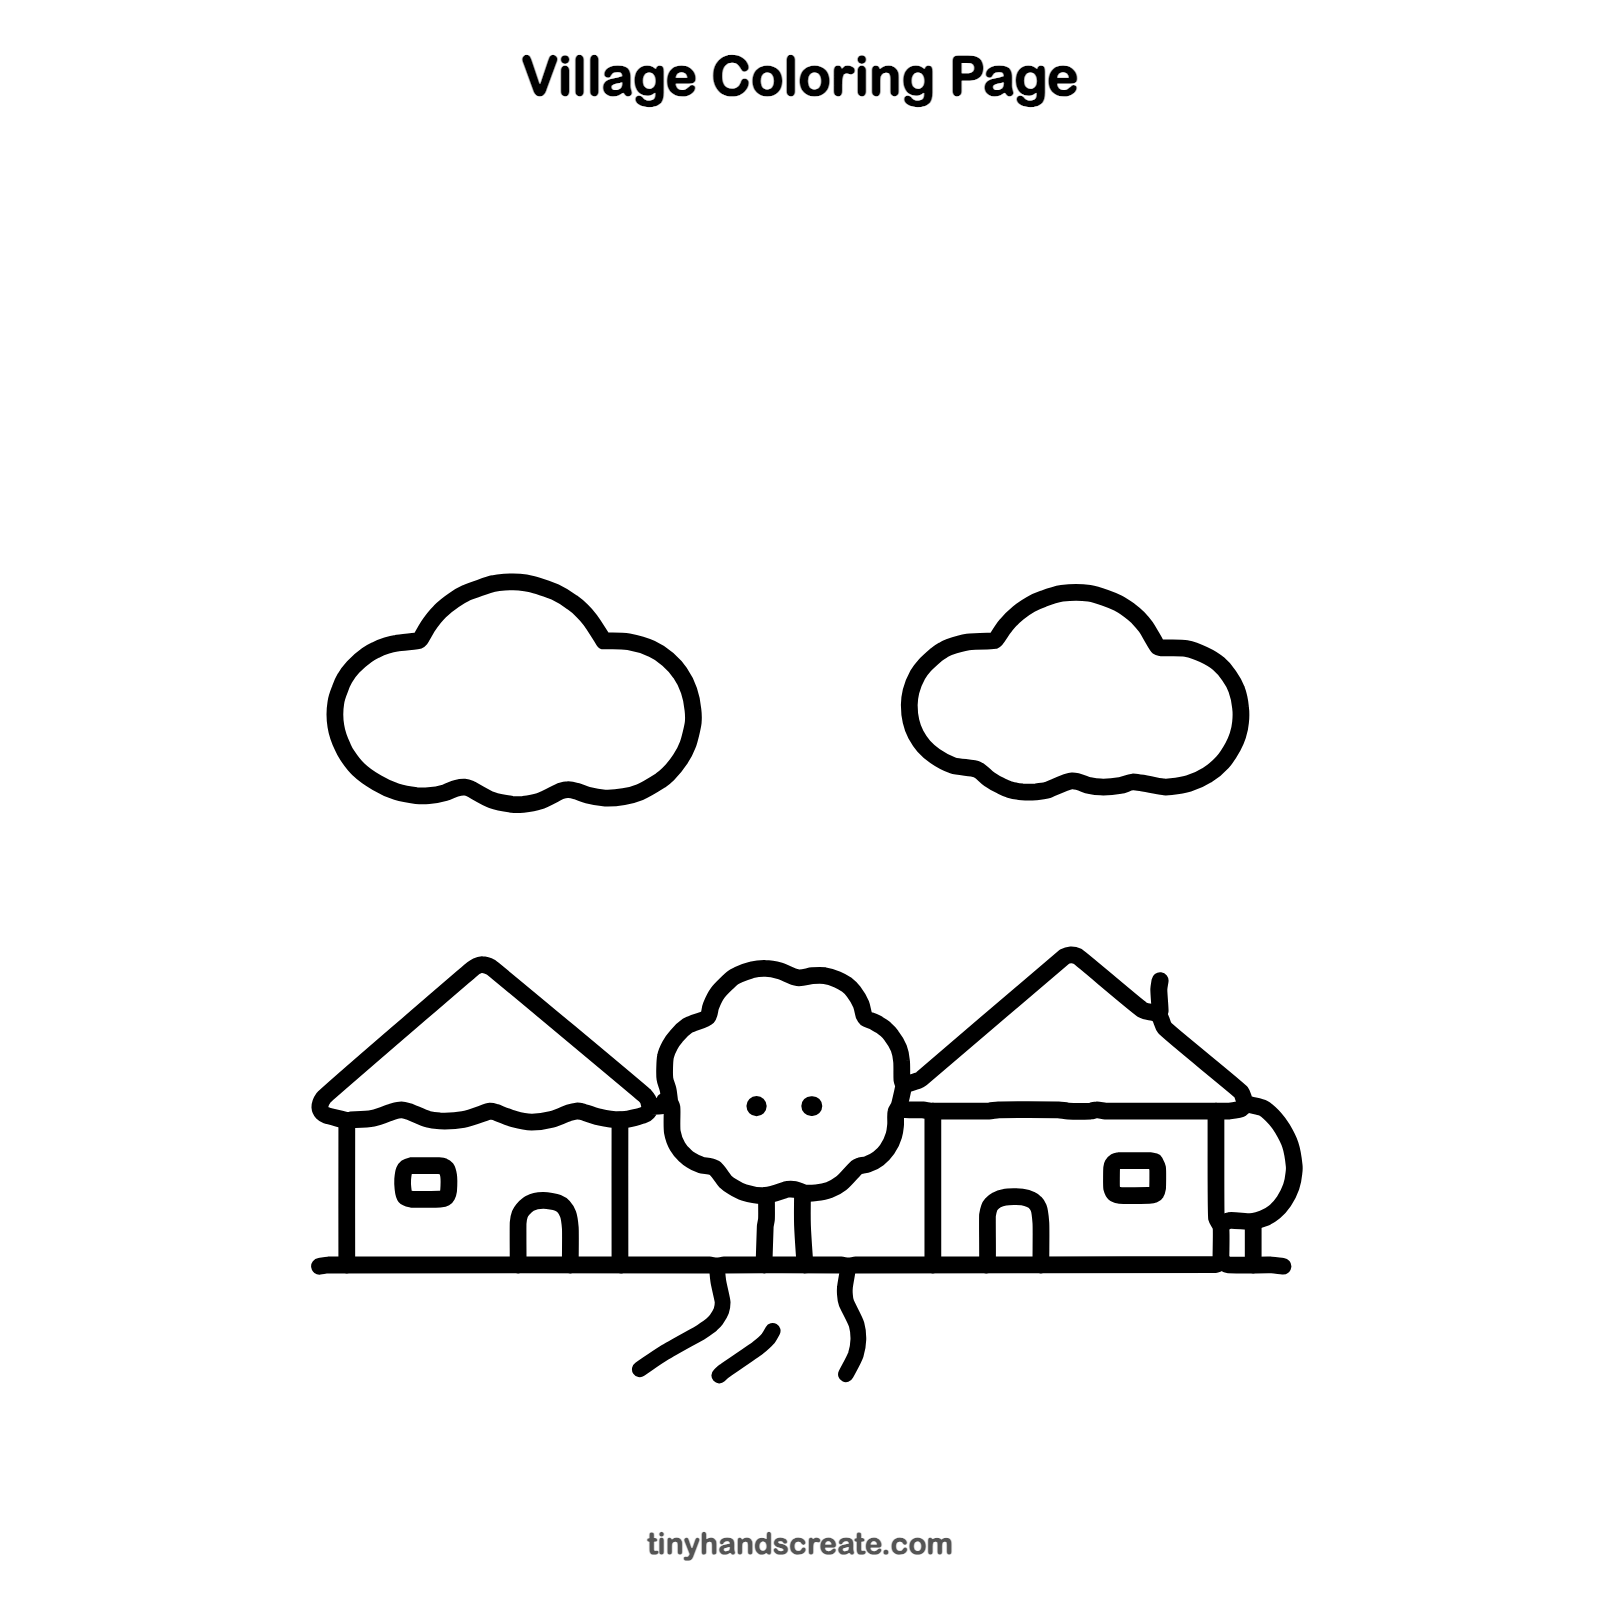
Want to go straight to coloring? Open this village coloring page at full size and print it. It is the same drawing you just learned, with clean lines ready for crayons or markers.
How to color your village drawing
Try red or orange roofs, blue windows, and a green tree with a brown trunk. For a creative twist, color the sky at sunset and add a few yellow windows.
Village fun fact for kids
A group of houses is called a village when it is small, usually much smaller than a town. Many villages around the world grew up beside a river or a well because people needed fresh water close to home.
Questions about drawing a village
What shapes do I need to draw a village?
You need straight lines for the walls, triangles for the roofs, and bumpy rounded shapes for the clouds and the tree. Small arches make the doors.
How do I make my village look cozy?
Add a chimney, a wiggly path, and a tree or bush near the houses. Little details like windows and doors make it feel lived in.
How do I draw a village with more houses?
Repeat the walls and the triangle roof, and make each house a little taller or wider. Overlap some of them so the street looks busy.