How to Draw a Baseball Cap (Easy Step by Step)
This post contains affiliate links. As an Amazon Associate I earn from qualifying purchases.
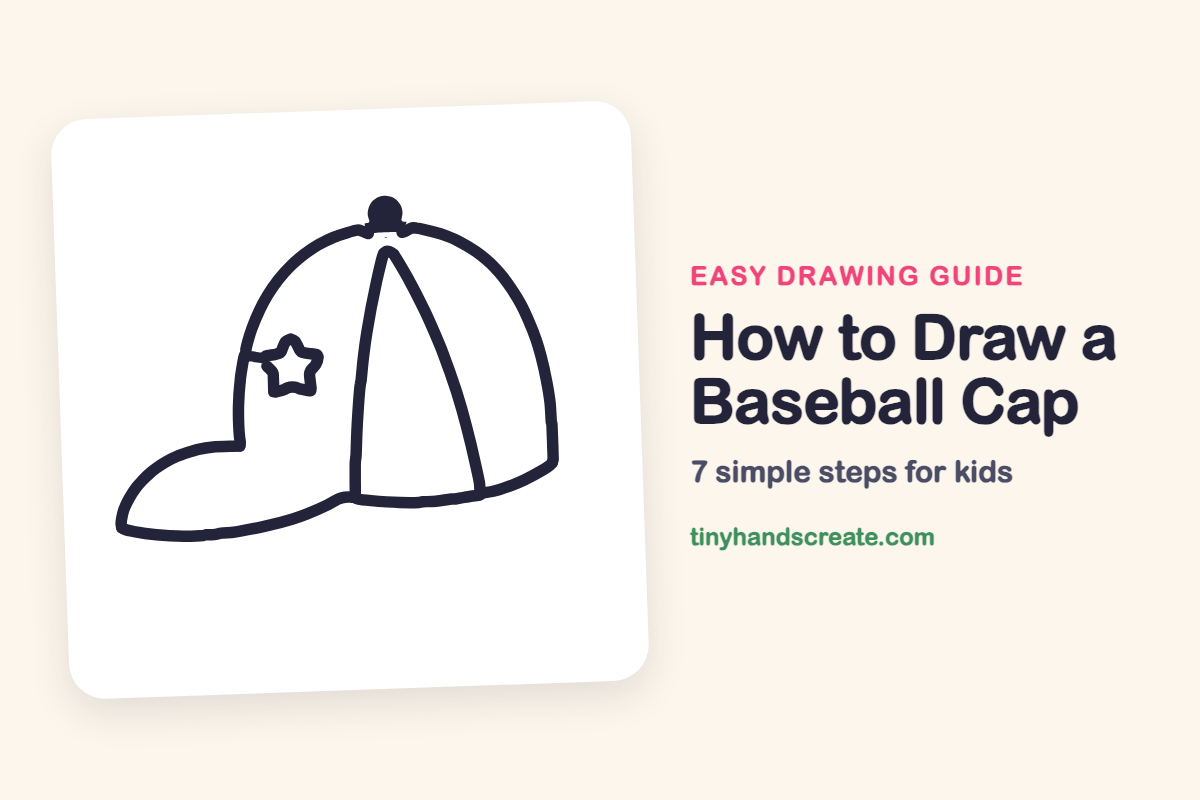
A baseball cap is a fun first drawing because it is mostly one big curved hill with a brim sticking out. You will use a half circle, a long curve, a small circle and a pointy triangle. Add a star at the end and it turns into your very own team cap.
- Easy
- 10 minutes
- 7 steps
You need: paper, a pencil, an eraser, and crayons or markers for coloring.
Start drawing
In this article (7 sections)
How to draw a baseball cap step by step
How to Draw a Baseball Cap · tinyhandscreate.com
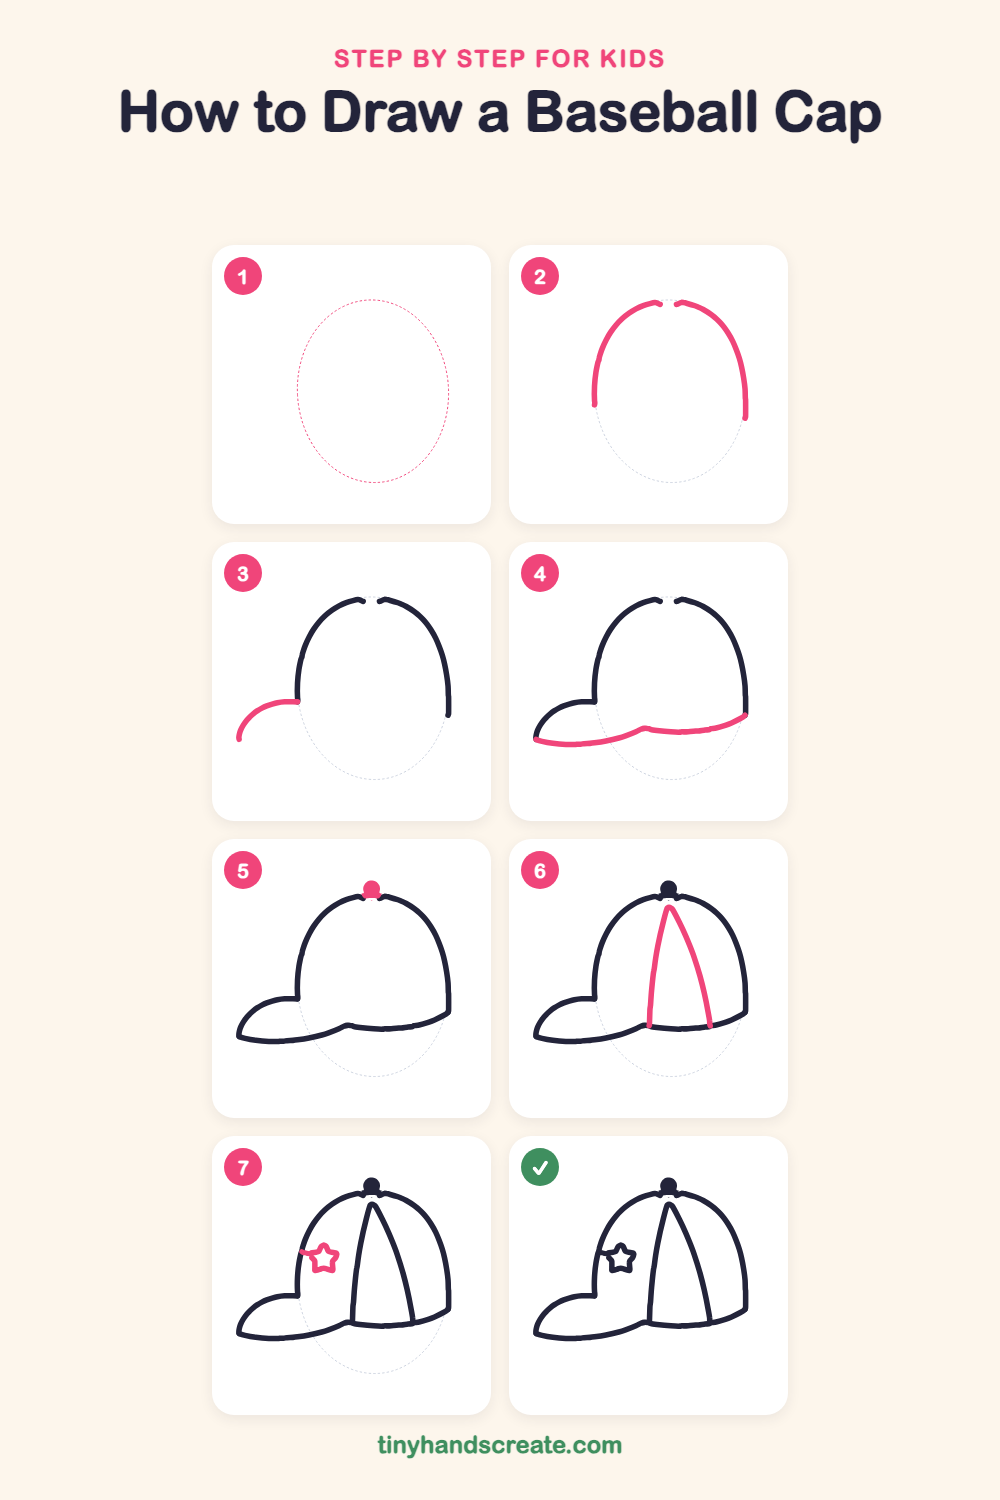
Step 1: Guide shapes
Lightly sketch this oval. It only shows where the big parts go, so press softly. You will erase it at the end.
Step 2: The round dome
Draw a big curved hill shape for the top of the cap. Start low on the left, sweep up and over the middle, then come down on the right side. Leave a little gap at the very top for the button.
Step 3: The brim top
Start where the left side of the dome comes down and draw a curve that goes out to the left and swoops down like a little slide. This is the top edge of the brim.
Step 4: The bottom edge
Draw a long, gently wavy line along the bottom. Start at the tip of the brim, curve it back toward the cap, and then keep going right until it meets the bottom of the dome.
Step 5: The top button
Draw a small circle sitting in the gap at the very top of the dome. Color it in so it looks like a round little button.
Step 6: The center panel
Start with a pointy tip near the button at the top of the cap. Draw one line curving down to the left and another curving down to the right, so they make a tall, skinny triangle that ends at the bottom edge.
Step 7: The star patch
On the left side of the cap, draw a small star with five points. Add a tiny short line that joins the star to the dome line on its left.
All done!
Erase the guide shapes, go over your lines, then color it in.
Finished your baseball cap? Keep the pencils out and learn how to draw a handbag or how to draw a necktie next.
Tips for drawing a baseball cap
- Draw the dome in one smooth swoop. If the line wobbles, lift your pencil and try again, because a rounder hill makes the cap look better.
- The brim is the trickiest part. Start its top curve right where the dome comes down, then draw the long bottom line from the brim tip all the way to the right side of the dome.
- Draw the center panel tall and pointy. Start at the top near the button and let both lines curve a little, like the sides of a leaf.
Free baseball cap coloring page
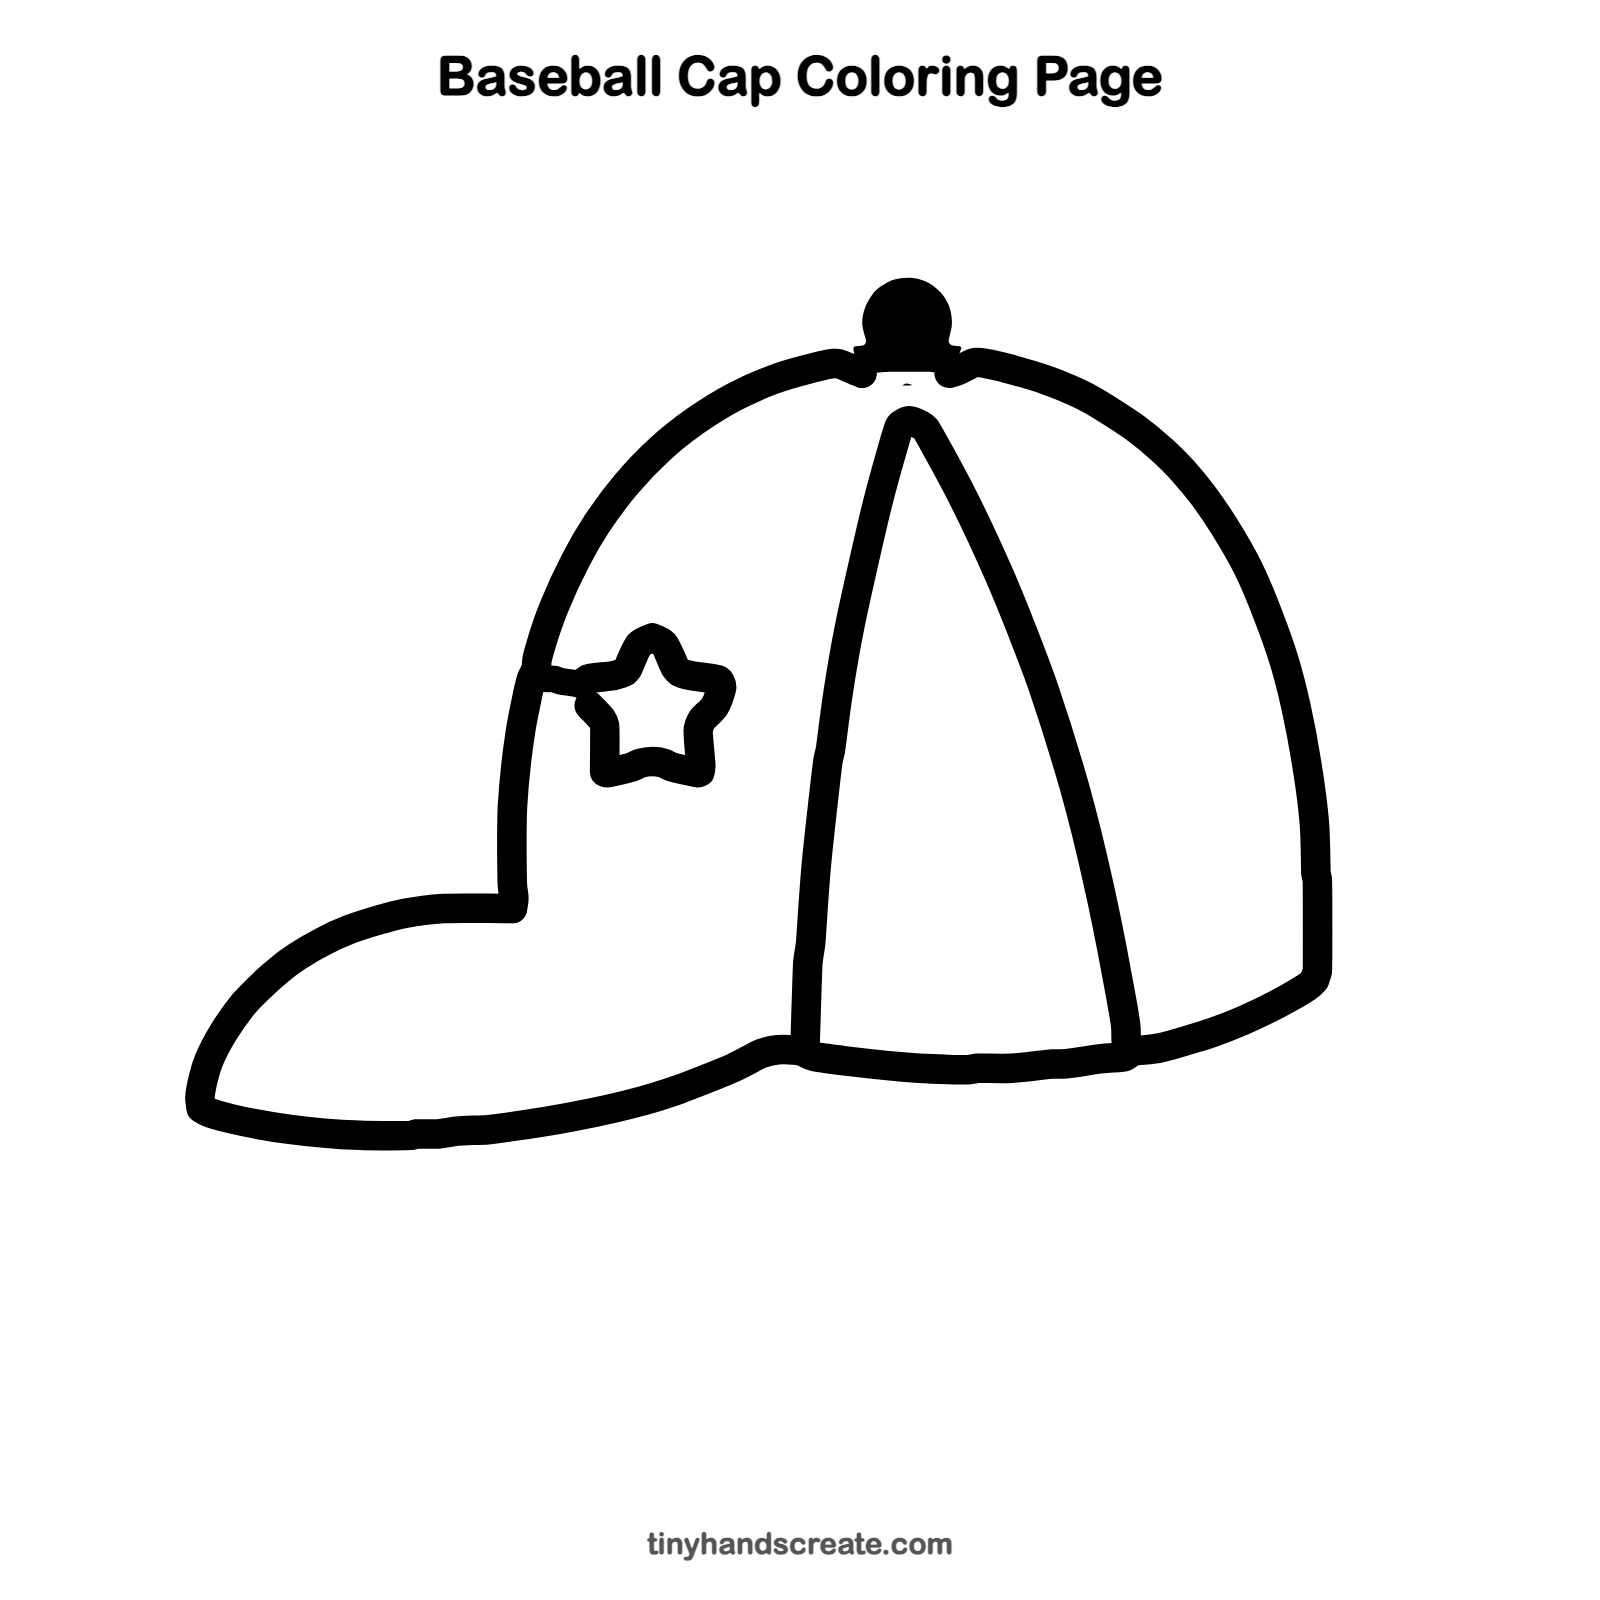
Want to go straight to coloring? Open this baseball cap coloring page at full size and print it. It is the same drawing you just learned, with clean lines ready for crayons or markers.
How to color your baseball cap drawing
Try a bright team color like red or blue for the dome, with a white star and a matching button. For a creative twist, color each section of the cap a different color to make a rainbow cap.
Baseball cap fun fact for kids
Baseball caps have a curved brim to shade the player's eyes from the sun. Many caps are made from six triangle-shaped pieces of cloth sewn together, and a little button sits on top where they all meet.
Questions about drawing a baseball cap
What shapes do I need to draw a baseball cap?
You need a big half circle for the dome, a curved shape for the brim, a small circle for the button and a tall skinny triangle for the center panel. A star is the last shape to add.
How do I make the brim look right?
Draw the top curve of the brim first, then add a long wavy line underneath that runs from the brim tip to the right side of the dome. Keep the brim flatter and wider than the dome so it looks like it sticks out.
How can I make my cap look more special?
Change the star into a heart, add stripes, or write your initial on the front. You can also color each section a different color for a cap no one else has.