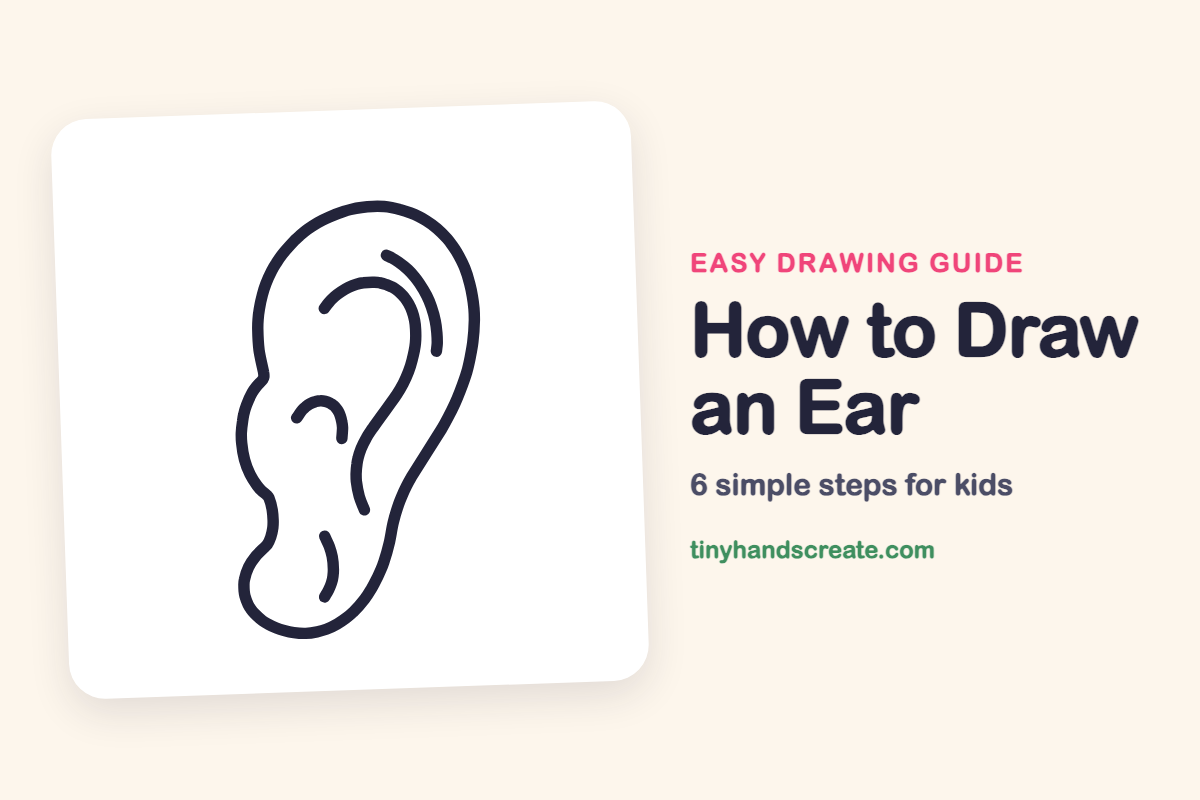
How to Draw an Ear (Easy Step by Step)
This post contains affiliate links. As an Amazon Associate I earn from qualifying purchases.
An ear is a great drawing for beginners because it is built from smooth, curvy lines instead of sharp corners. You will start with one tall bean shape, then add a few swooping curves inside. It is a fun way to practice drawing curves and noticing the shapes of your own body.
- Easy
- 10 minutes
- 6 steps
You need: paper, a pencil, an eraser, and crayons or markers for coloring.
Start drawing

In this article (7 sections)
How to draw an ear step by step
How to Draw an Ear · tinyhandscreate.com
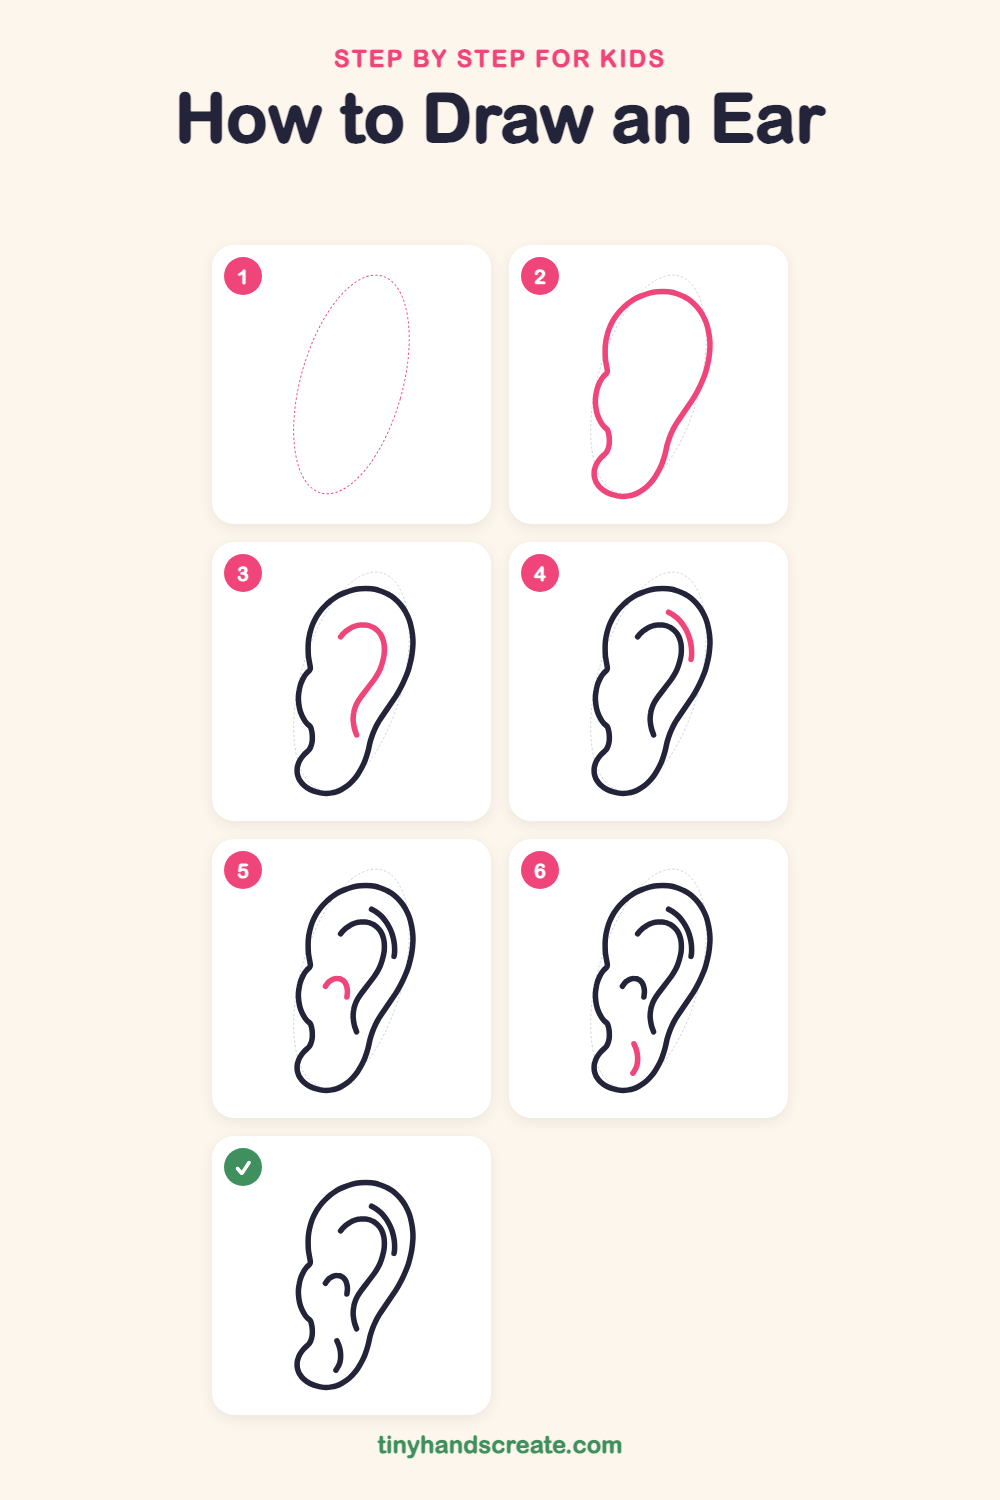
Step 1: Guide shapes
Lightly sketch this oval. It only shows where the big parts go, so press softly. You will erase it at the end.
Step 2: The ear outline
Start near the top and draw a tall, rounded bean shape. Give the left side two small bumps, then end with a round, soft lobe at the bottom and close the shape.
Step 3: The big inner curve
Inside the ear, start near the top left and draw a curve that arches over like a rainbow. Then bring it down the right side and let it wiggle in a gentle S toward the bottom.
Step 4: The outer rim line
Draw a short curved line in the top right, tucked between the big inner curve and the outline. Let it bend the same way, like a second thin rainbow.
Step 5: The ear hole curve
On the middle left of the ear, draw a small upside-down U that looks like a little hill. This shows where the ear opens to the inside.
Step 6: The earlobe curve
Near the bottom, draw a short curved line inside the round lobe. Let it bend a little like a tiny smile on its side.
All done!
Erase the guide shapes, go over your lines, then color it in.
Finished your ear? Keep the pencils out and learn how to draw a brain or how to draw a flexing arm next.
Tips for drawing an ear
- Draw the outline lightly first. The bumps on the left and the round lobe at the bottom are the trickiest parts, so go slowly and let the line curve.
- Keep the big inner curve smooth. Try drawing it in one steady motion from the top, rather than stopping and starting.
- Leave a little space between the inner curve and the outline so the thin rim line has room to fit.
Free ear coloring page
Want to go straight to coloring? Open this ear coloring page at full size and print it. It is the same drawing you just learned, with clean lines ready for crayons or markers.
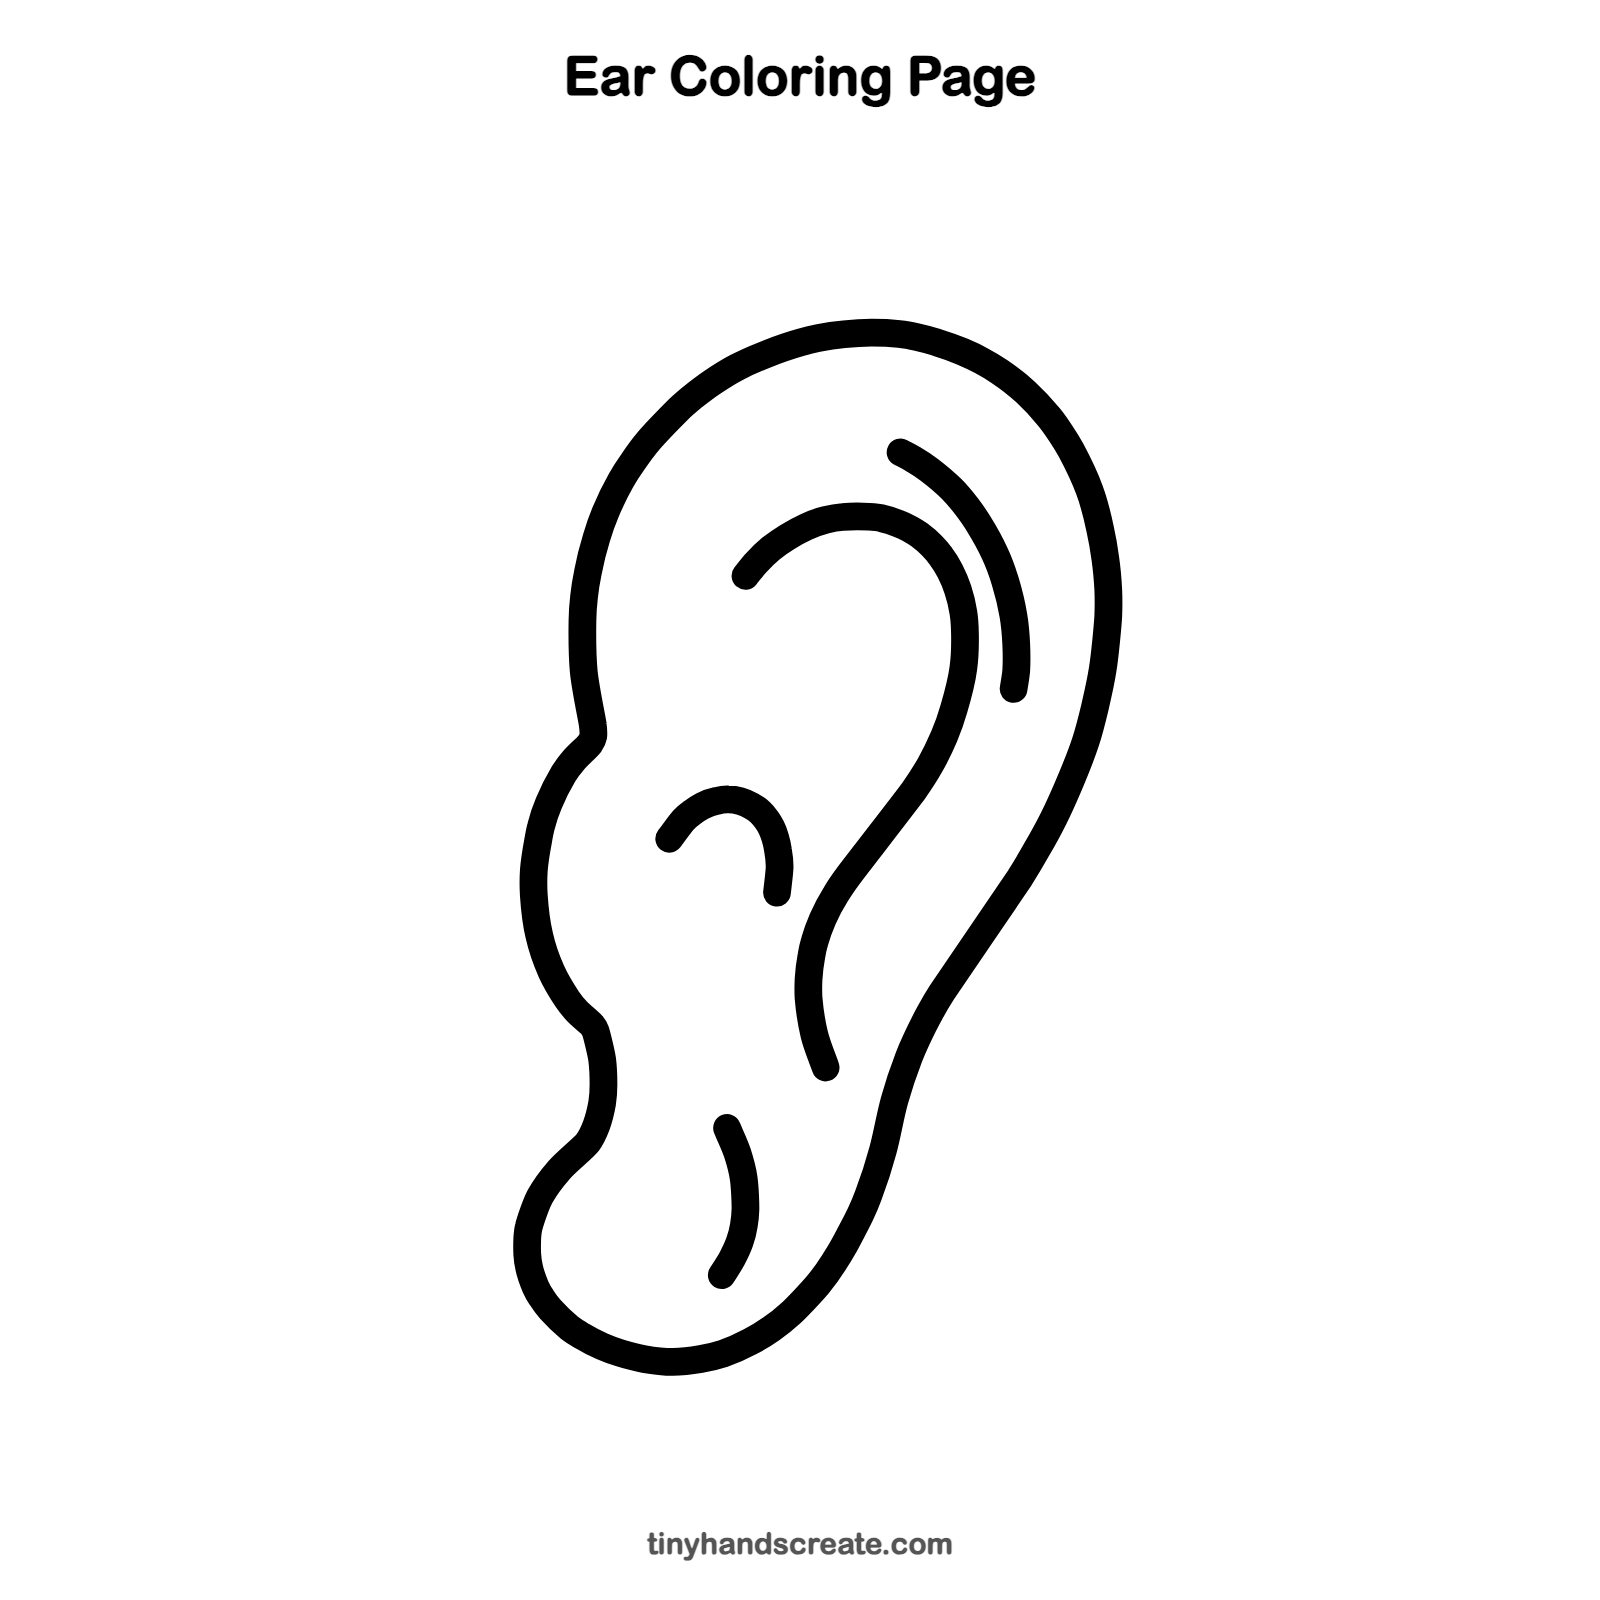
How to color your ear drawing
Try warm skin tones such as peach, tan or brown, and use a slightly darker shade inside the curves. For a creative twist, draw a tiny earring on the lobe or a colorful headphone band above the ear.
Ear fun fact for kids
The tiny bones inside your ear are the smallest bones in the human body. They are called the hammer, anvil and stirrup, and together they help you hear sounds.
Questions about drawing an ear
What shapes do I need to draw an ear?
Start with a tall bean shape for the outline. Then add curved lines, like rainbows and a small upside-down U, for the folds inside.
How do I make my ear drawing look more real?
Add the long inner curve and the small curve near the ear hole. These lines show the folds that make an ear look like an ear.
Why is the ear so hard to draw?
It has lots of curves and no straight lines. Draw lightly, take your time, and keep each curve smooth and rounded.