How to Draw a Pair of Jeans (Easy Step by Step)
This post contains affiliate links. As an Amazon Associate I earn from qualifying purchases.
Jeans are a fun thing to draw because they are built from simple shapes: rectangles, a small circle, and a few curved lines. The folded cuffs at the bottom and the little button make them look like real clothes. Once you can draw one pair, you can try shorts, overalls, and more.
- Easy
- 10 minutes
- 8 steps
You need: paper, a pencil, an eraser, and crayons or markers for coloring.
Start drawing
In this article (7 sections)
How to draw a pair of jeans step by step
How to Draw a Pair of Jeans · tinyhandscreate.com
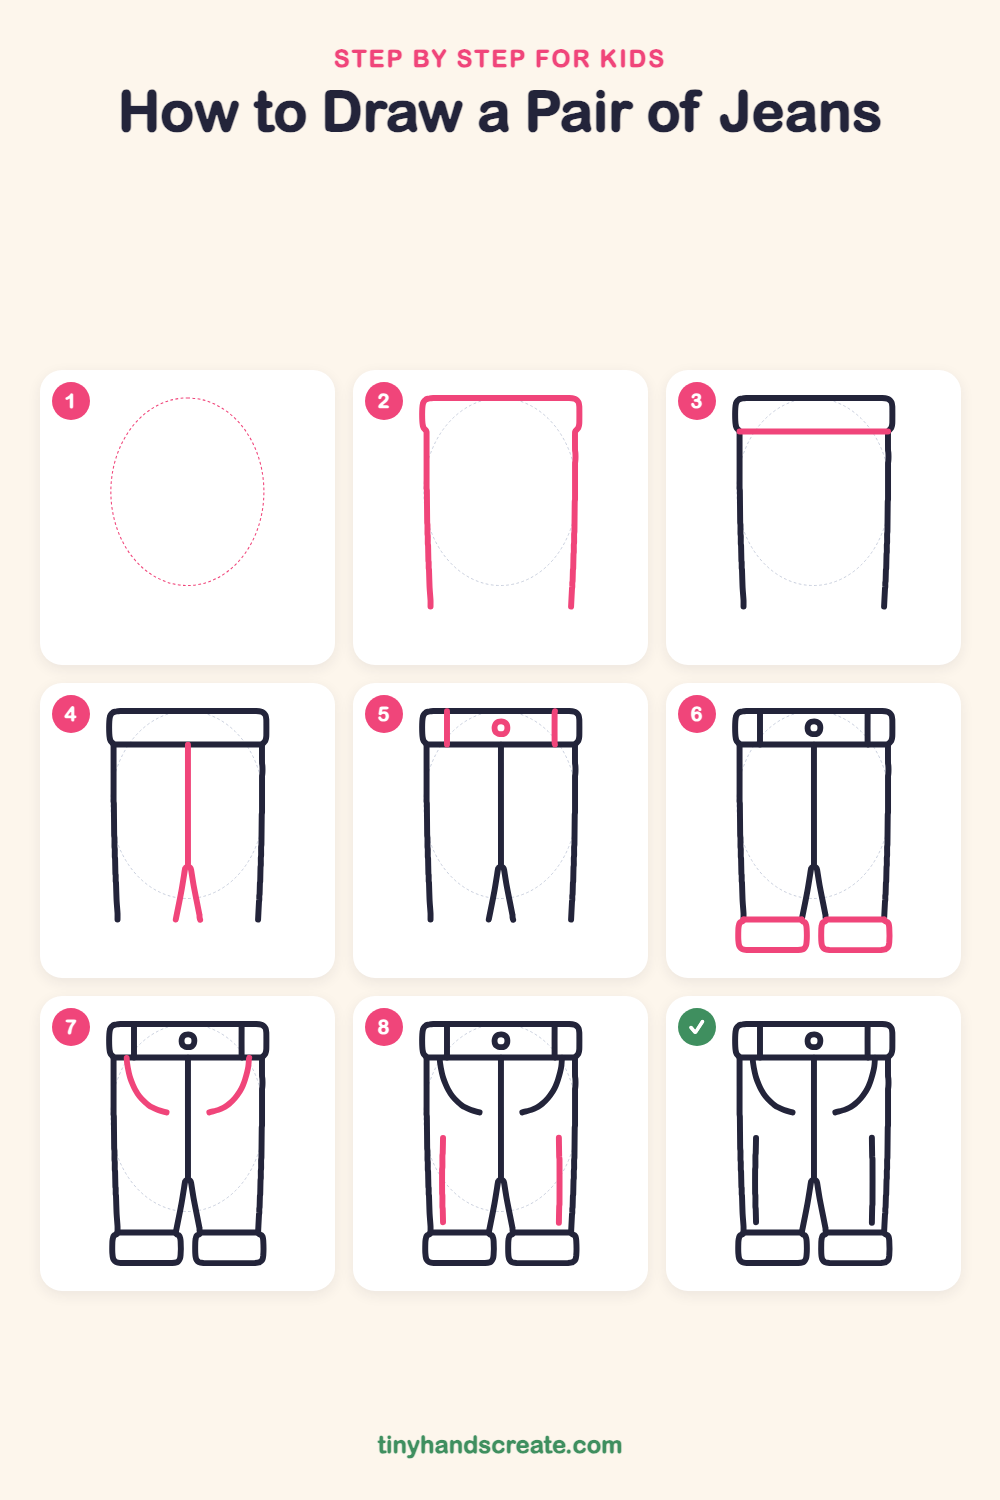
Step 1: Guide shapes
Lightly sketch this oval. It only shows where the big parts go, so press softly. You will erase it at the end.
Step 2: Waistband and sides
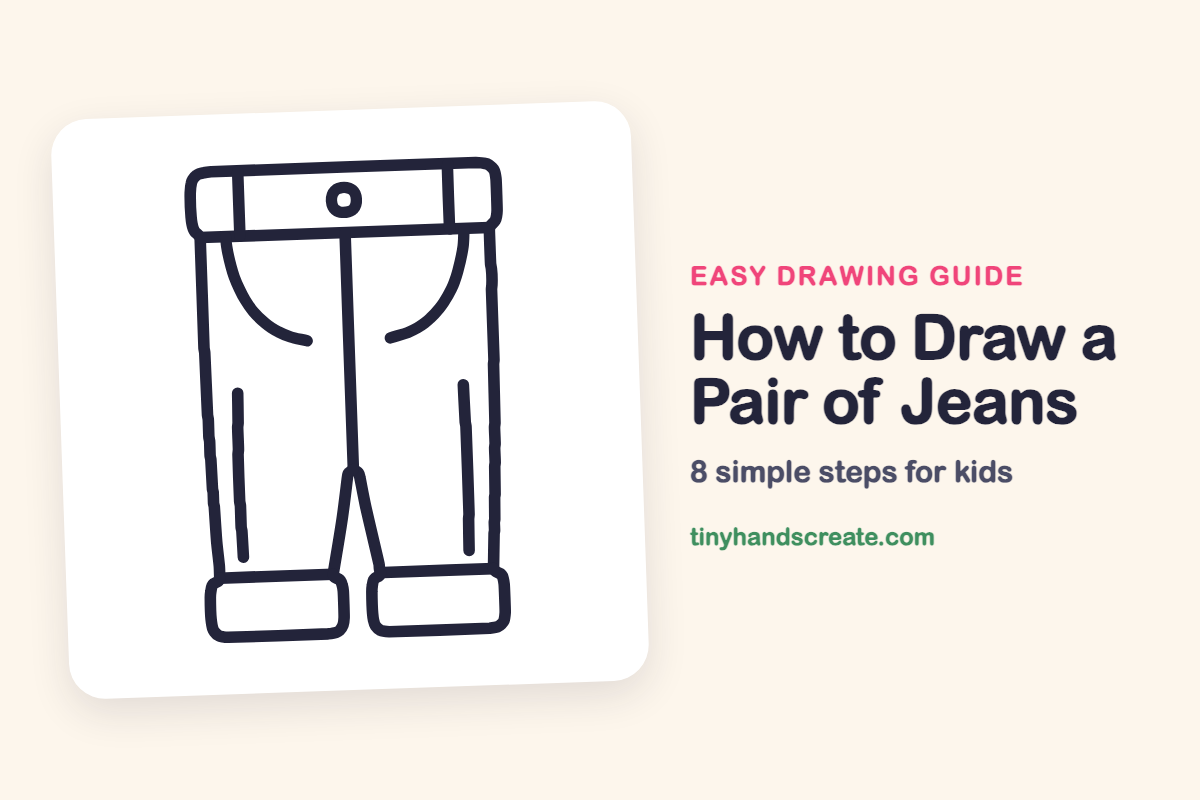
Draw a wide rounded shape across the top for the waistband, with no bottom line yet. Then draw two long lines going down from its left and right ends, leaning in just a little, to make the sides of the jeans.
Step 3: Waistband bottom line
Draw a straight line across from the left side to the right side, under the top shape. This closes the waistband and shows where the belt part ends and the legs begin.
Step 4: Center seam and legs
Start at the middle of the waistband bottom line and draw a straight line down the center. Near the bottom, split it into a narrow upside-down V, with one short line going toward each leg.
Step 5: Button and belt loops
Draw a small circle in the middle of the waistband for the button. Then draw one short straight line standing up and down on each side of the waistband for the belt loops.
Step 6: Cuffs at the bottom
At the bottom of each leg, draw a rounded box to make a folded cuff. Make both cuffs about the same size.
Step 7: Front pockets
Start near the waistband on each side and draw a curved line that swoops down and toward the middle, like a smile turned on its side. Make the two pockets match.
Step 8: Leg stitching lines
On each leg, draw one long, almost straight line going down, with rounded ends. These show the stitched seam of the jeans.
All done!
Erase the guide shapes, go over your lines, then color it in.
Finished your pair of jeans? Keep the pencils out and learn how to draw a baseball cap or how to draw a handbag next.
Tips for drawing a pair of jeans
- Draw the waistband first and make it wide, so the legs have a clear top to hang from.
- The narrow upside-down V at the bottom of the center line is the trickiest part. Start at the center line and split it into two short lines of the same length.
- Draw both cuffs and both pockets in matching pairs, and check that each side looks about the same.
Free pair of jeans coloring page
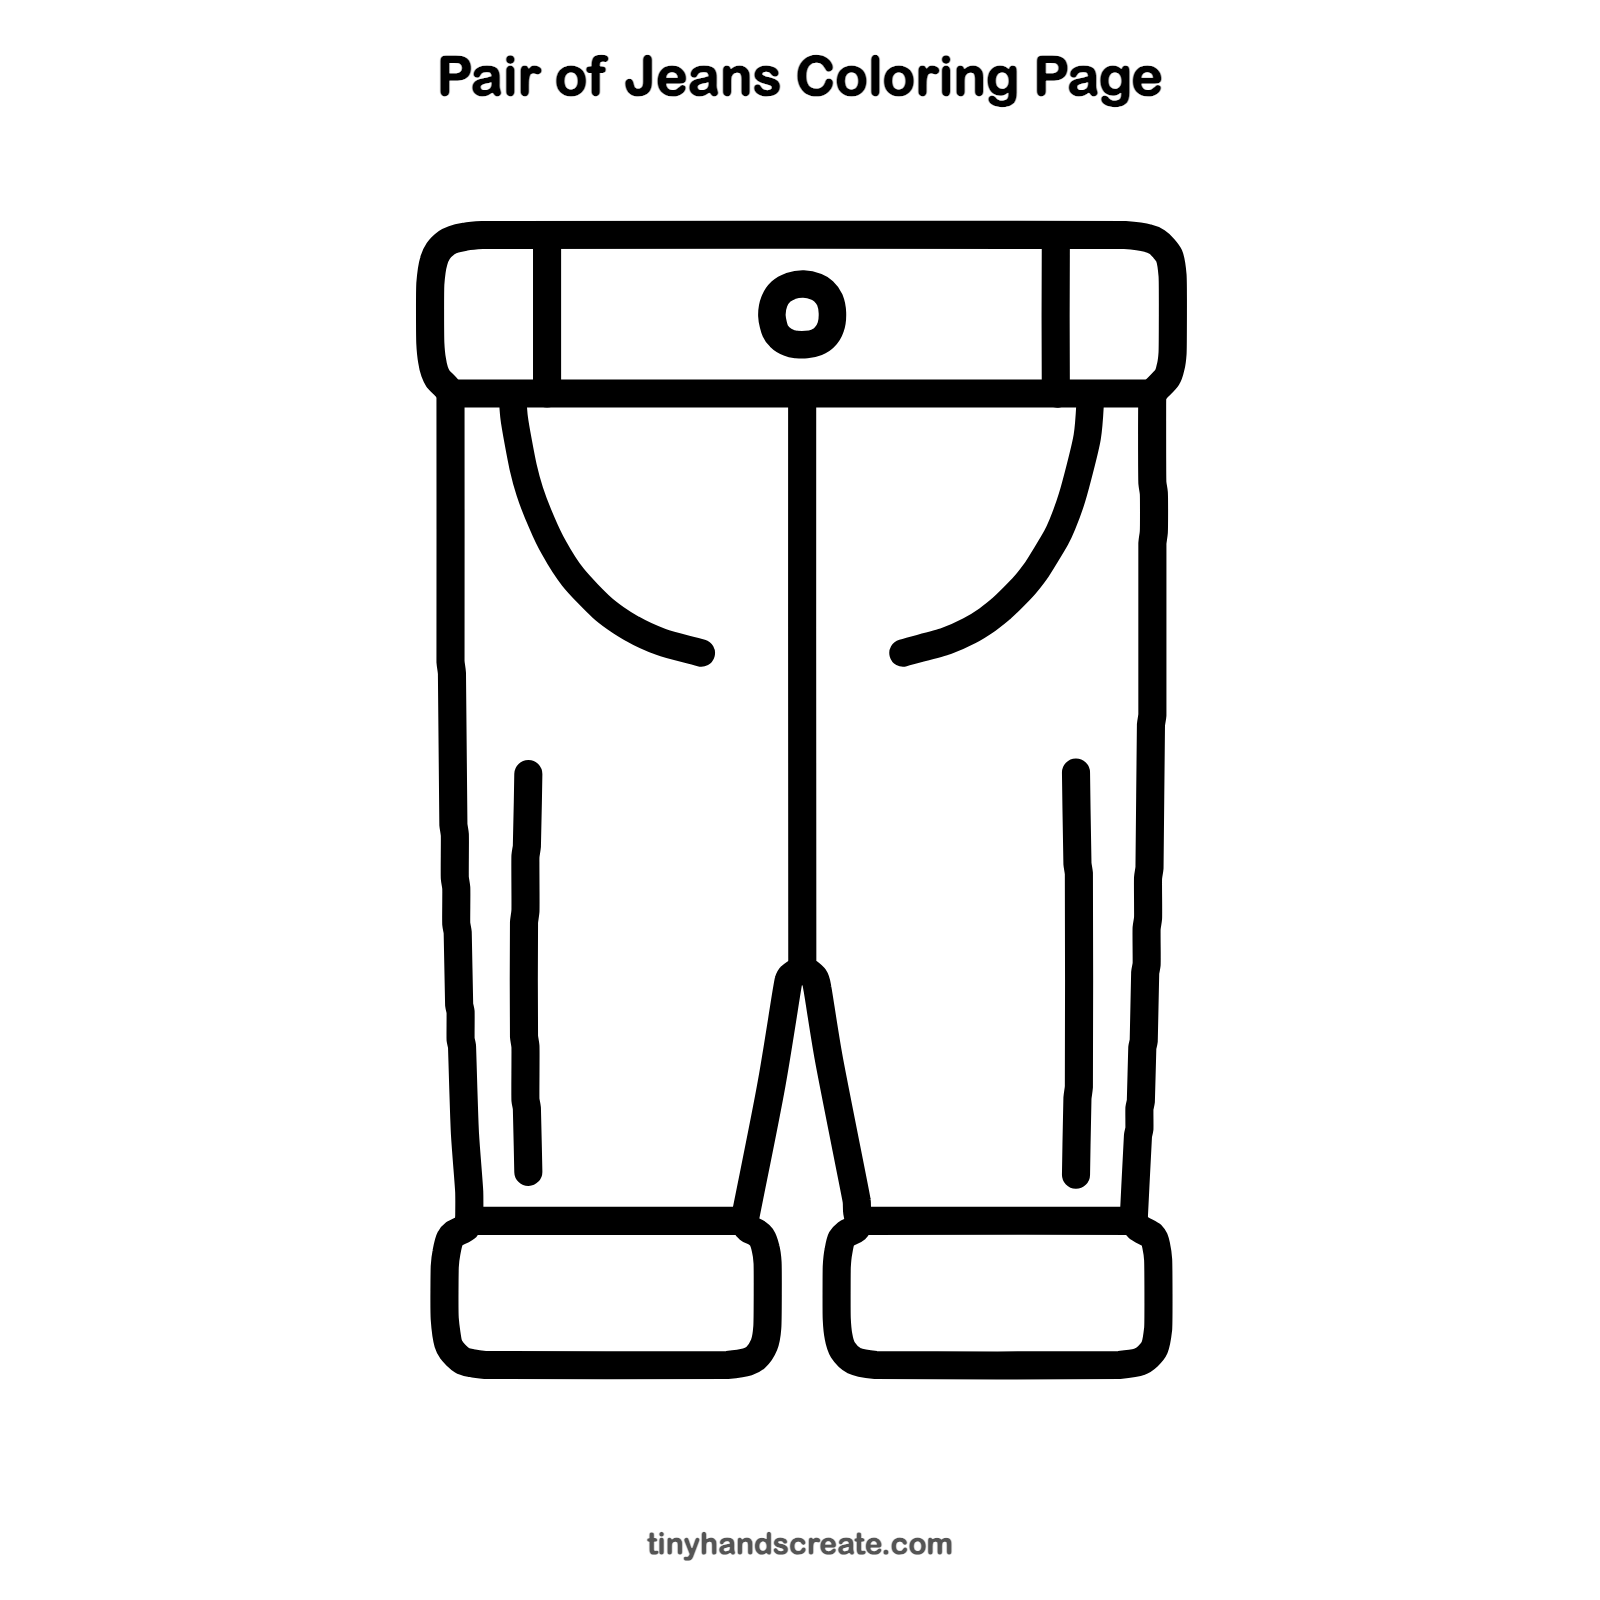
Want to go straight to coloring? Open this pair of jeans coloring page at full size and print it. It is the same drawing you just learned, with clean lines ready for crayons or markers.
How to color your pair of jeans drawing
Classic blue is a great choice, with a darker blue for the waistband and cuffs and yellow for the stitching lines. For a creative twist, color each leg a different pattern, like stripes on one side and polka dots on the other.
Pair of jeans fun fact for kids
In 1873, Levi Strauss and Jacob Davis received a patent for putting metal rivets on work pants to keep the pockets from ripping.
Questions about drawing a pair of jeans
What shapes do I need to draw jeans?
You need a wide rounded shape for the waistband, rounded boxes for the cuffs, a small circle for the button, and long straight and curved lines for the legs and pockets.
How do I make the legs look even?
Draw the two side lines first and make them lean in the same amount. Then look at both sides often to check that the cuffs, pockets, and stitching lines match.
How do I make my jeans look more real?
Add the stitching lines on the legs, the belt loops, and the little button on the waistband. Pockets and folded cuffs also make them look like real jeans.