How to Draw an Ice Cream Seller (Easy Step by Step)
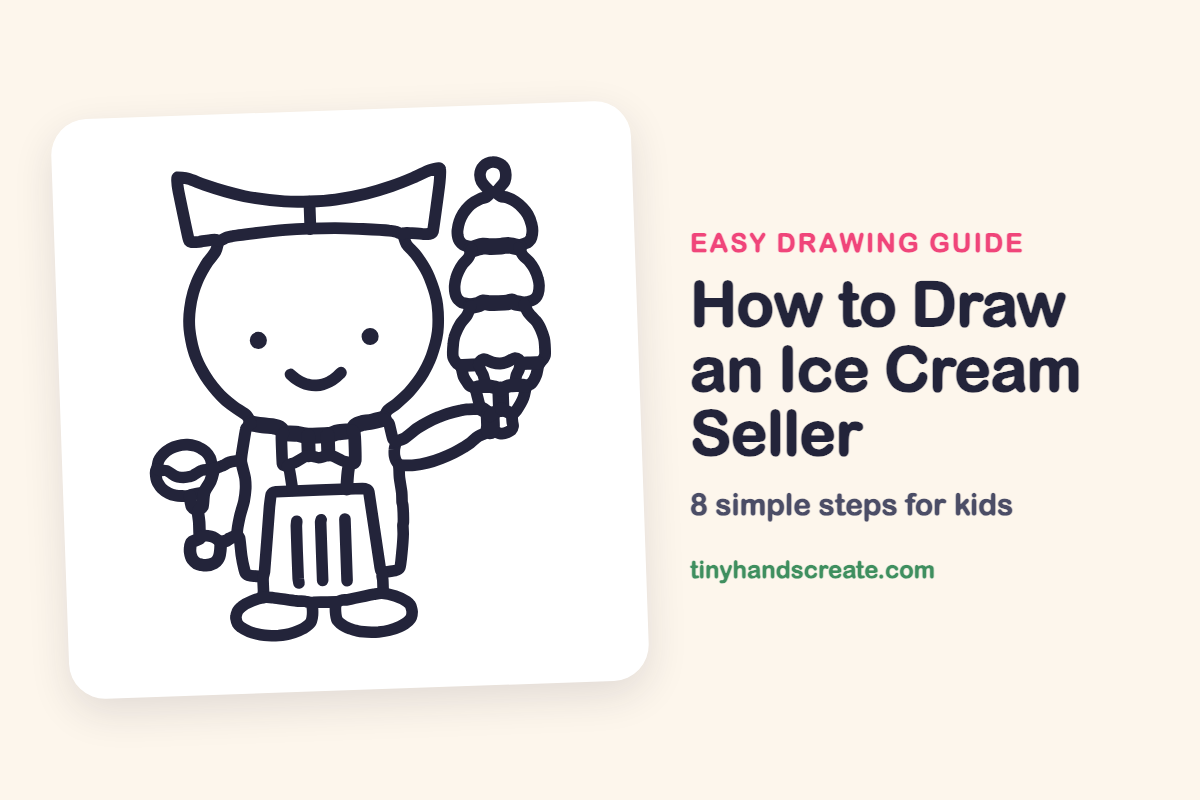
This ice cream seller has a big round head, a paper hat, and a tall tower of scoops held up high. The body is built from simple shapes, so it is a friendly drawing for beginners. The scoop tower is the fun part, and you can pile on as many scoops as you like.
- Medium
- 15 minutes
- 8 steps
You need: paper, a pencil, an eraser, and crayons or markers for coloring.
Start drawingIn this article (7 sections)
How to draw an ice cream seller step by step
How to Draw an Ice Cream Seller · tinyhandscreate.com
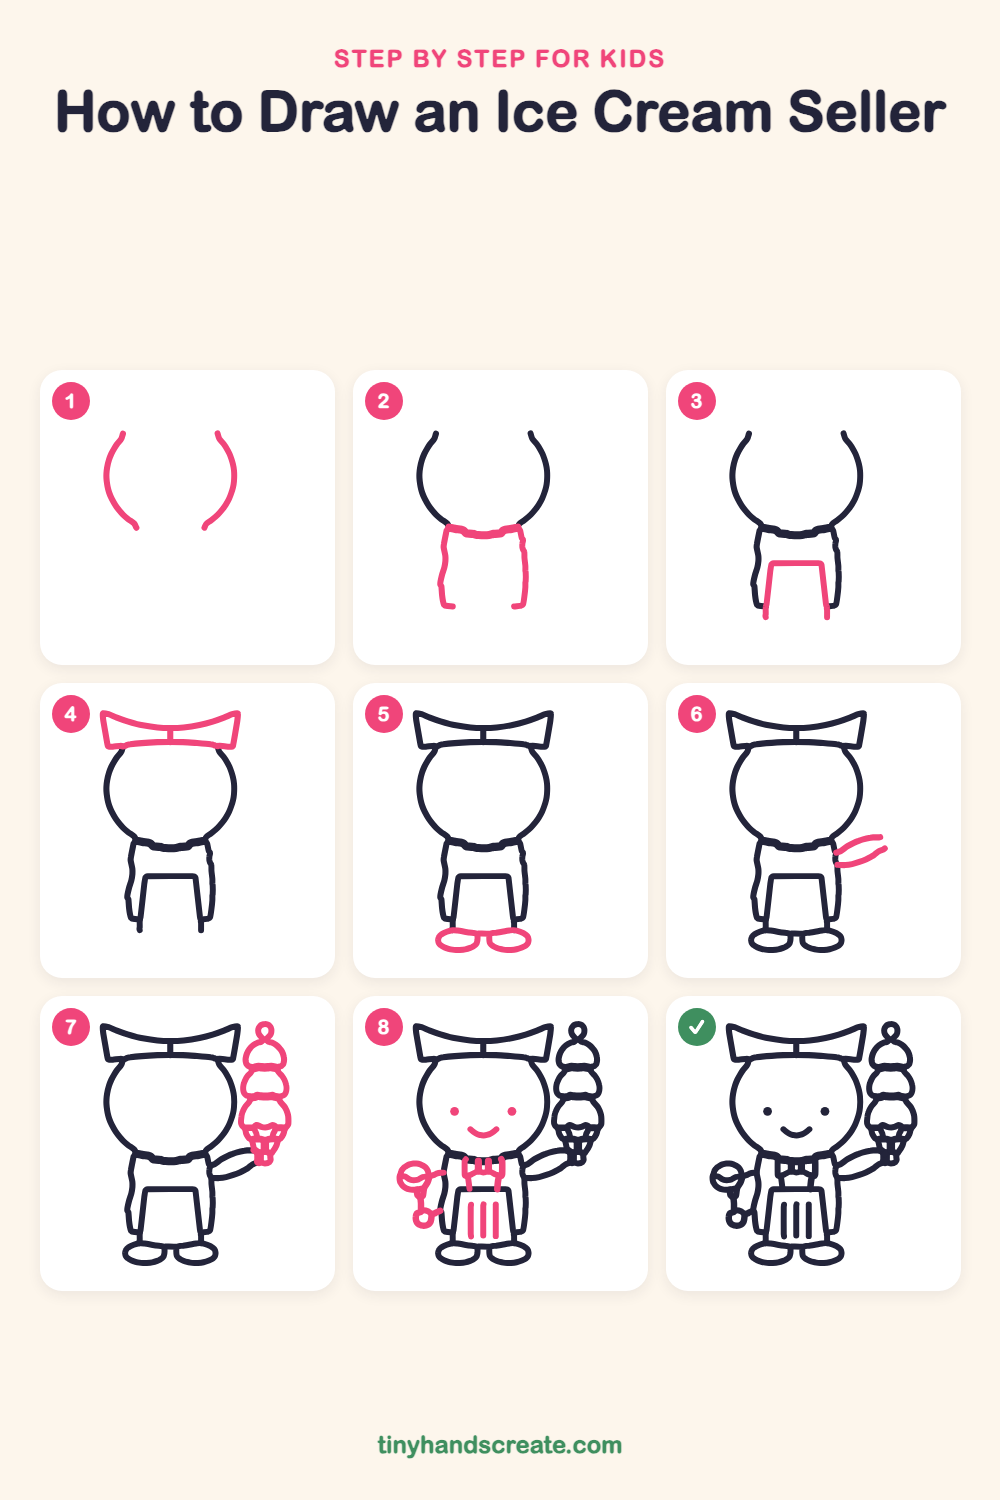
Step 1: Sides of the head
Draw two curved lines that bow outward, like a pair of parentheses. Leave a gap at the top and at the bottom, because they will be the left and right sides of a round head.
Step 2: Chin and body
Join the bottoms of the two curves with a gently curved line to finish the chin. Then, right under the chin, draw a wavy line across for the collar, and two slightly wiggly lines going down from its ends for the sides of the body. Leave the bottom open.
Step 3: The apron
Inside the body, draw a flat line for the top of the apron, with two straight lines going down from its ends and spreading a little wider. Let the lines reach just past the bottom of the body, and leave the bottom open.
Step 4: The paper hat
Above the head, draw a wide four-sided band with a curved dip along the top and a slight curve along the bottom. The sides tilt outward. Add one short straight line in the middle, joining the top edge to the bottom edge.
Step 5: Two round shoes
At the bottom of the body, draw two ovals side by side with a small gap between them. Let the tops of the ovals tuck under the apron and body.
Step 6: The raised arm
On the right side of the body, draw two curved lines that start close together at the body and sweep up and out to the right. Leave the far end open for now.
Step 7: The ice cream tower
Next to the arm, draw three bumpy scoops stacked on top of each other, with the smallest on top and the biggest at the bottom. Add a tiny ring above the top scoop. Under the bottom scoop, draw a short cone that points down and ends where the arm reaches it.
Step 8: Face and small details
Add two small dots for eyes and a little curved smile. Draw a small bow tie at the collar and a few tall stripes on the apron. On the left side, draw a small scoop tool: a little bowl with a thin handle that ends in a small ring.
All done!
Go over your lines with a marker, then color it in.
Finished your ice cream seller? Keep the pencils out and learn how to draw a whole pizza or how to draw a brownie next.
Tips for drawing an ice cream seller
- Draw the two sides of the head first and keep them big and round. The hat, collar, and face all line up with the head.
- The scoop tower is the trickiest part. Start with the bottom scoop, then stack smaller bumpy scoops on top of it, each a little narrower than the one below.
- Draw the apron stripes last and keep them the same height. A ruler or the edge of a card can help you keep them straight.
Free ice cream seller coloring page
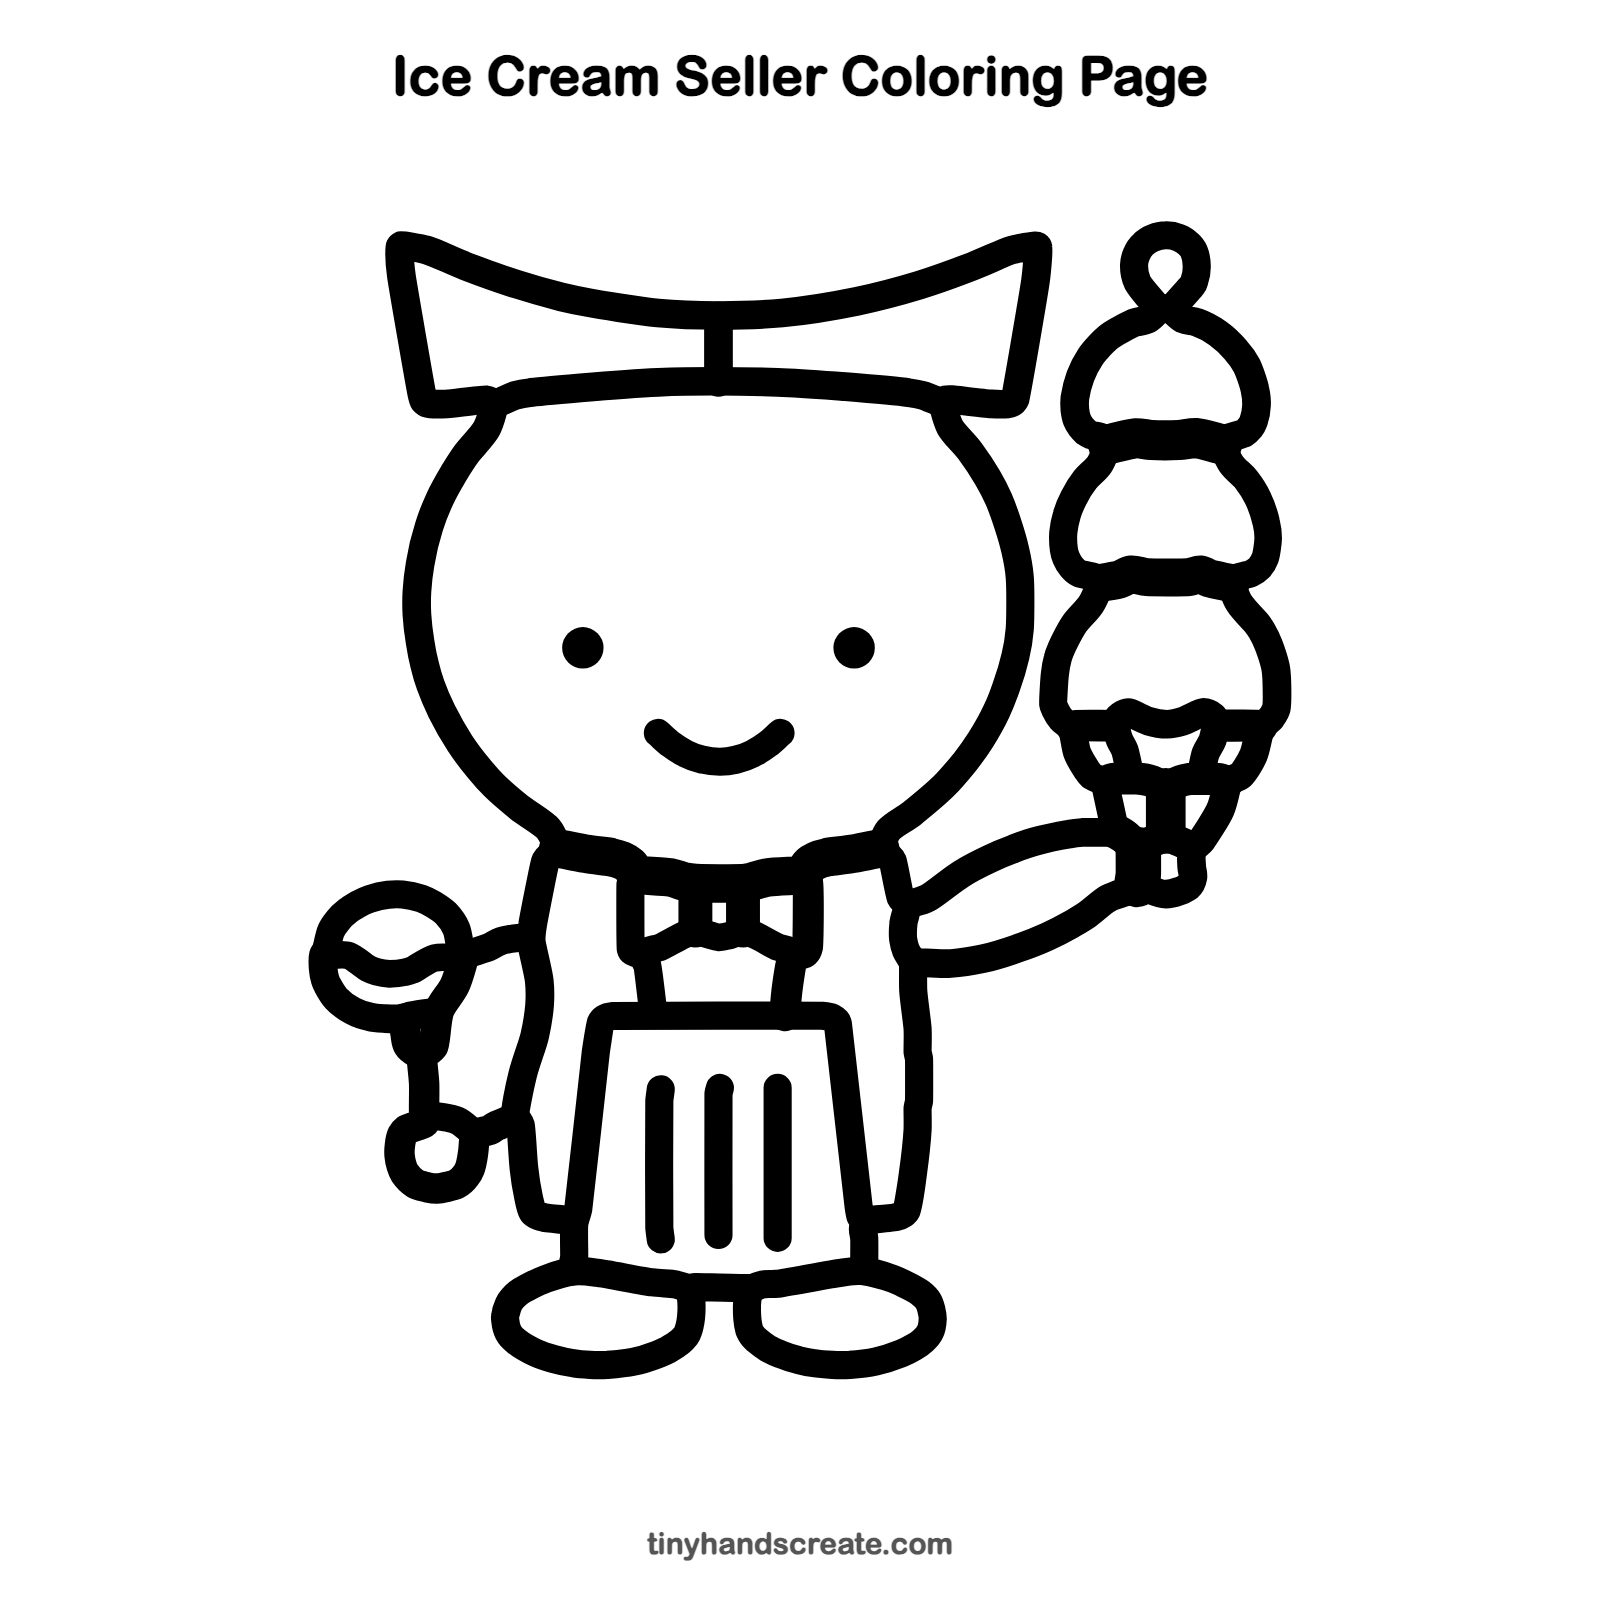
Want to go straight to coloring? Open this ice cream seller coloring page at full size and print it. It is the same drawing you just learned, with clean lines ready for crayons or markers.
How to color your ice cream seller drawing
Try pink, mint green, and pale yellow for the scoops, and a light blue apron with a bright white hat. For a creative twist, give each scoop a different flavor and add sprinkles on top.
Ice cream seller fun fact for kids
In the United States, July is National Ice Cream Month. President Ronald Reagan named it in 1984.
Questions about drawing an ice cream seller
What shapes do I need to draw an ice cream seller?
You need a big circle for the head, a rounded rectangle for the body, a trapezoid for the apron, and ovals for the shoes. The scoops are bumpy rounded shapes, and the cone is a short shape that points down.
How do I make my ice cream seller look cuter?
Keep the eyes as simple small dots and put them low on the face, with a little smile between them. A big head on a small body also makes the character look extra cute.
How do I draw the ice cream scoops so they look stacked?
Draw the bottom scoop first, then add a smaller scoop on top of it and a smaller one on top of that. Give each scoop a wavy edge along the bottom so it looks like it is dripping a little.