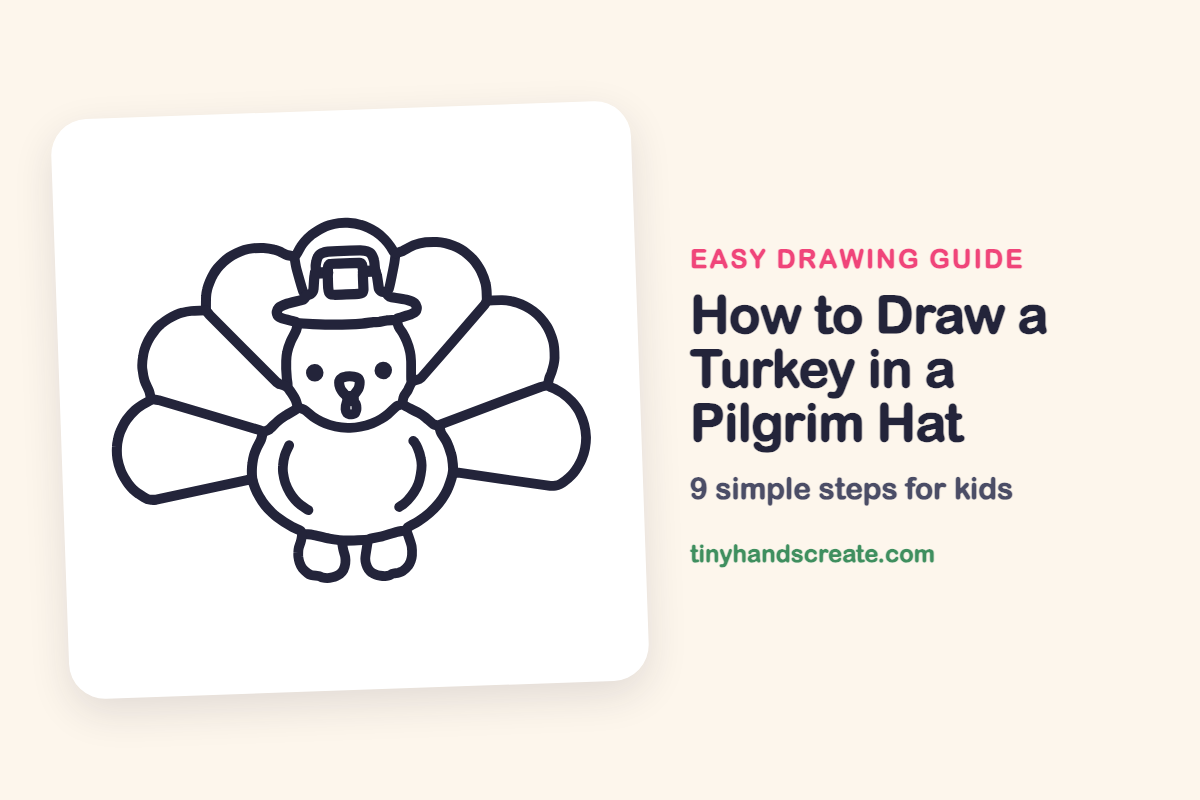
How to Draw a Turkey in a Pilgrim Hat (Easy Step by Step)
This turkey wears a pilgrim hat, which makes it a favorite for Thanksgiving. It is built from a round body, a small head, a flat hat brim and rounded fan feathers, so there is nothing tricky to learn. Once the head and hat are down, the feathers are just repeating the same curve.
- Easy
- 15 minutes
- 9 steps
You need: paper, a pencil, an eraser, and crayons or markers for coloring.
Start drawingIn this article (7 sections)
- How to draw a turkey in a pilgrim hat step by step
- Tips for drawing a turkey in a pilgrim hat
- Free turkey in a pilgrim hat coloring page
- How to color your turkey in a pilgrim hat drawing
- Turkey in a pilgrim hat fun fact for kids
- Questions about drawing a turkey in a pilgrim hat
- More easy Thanksgiving drawings
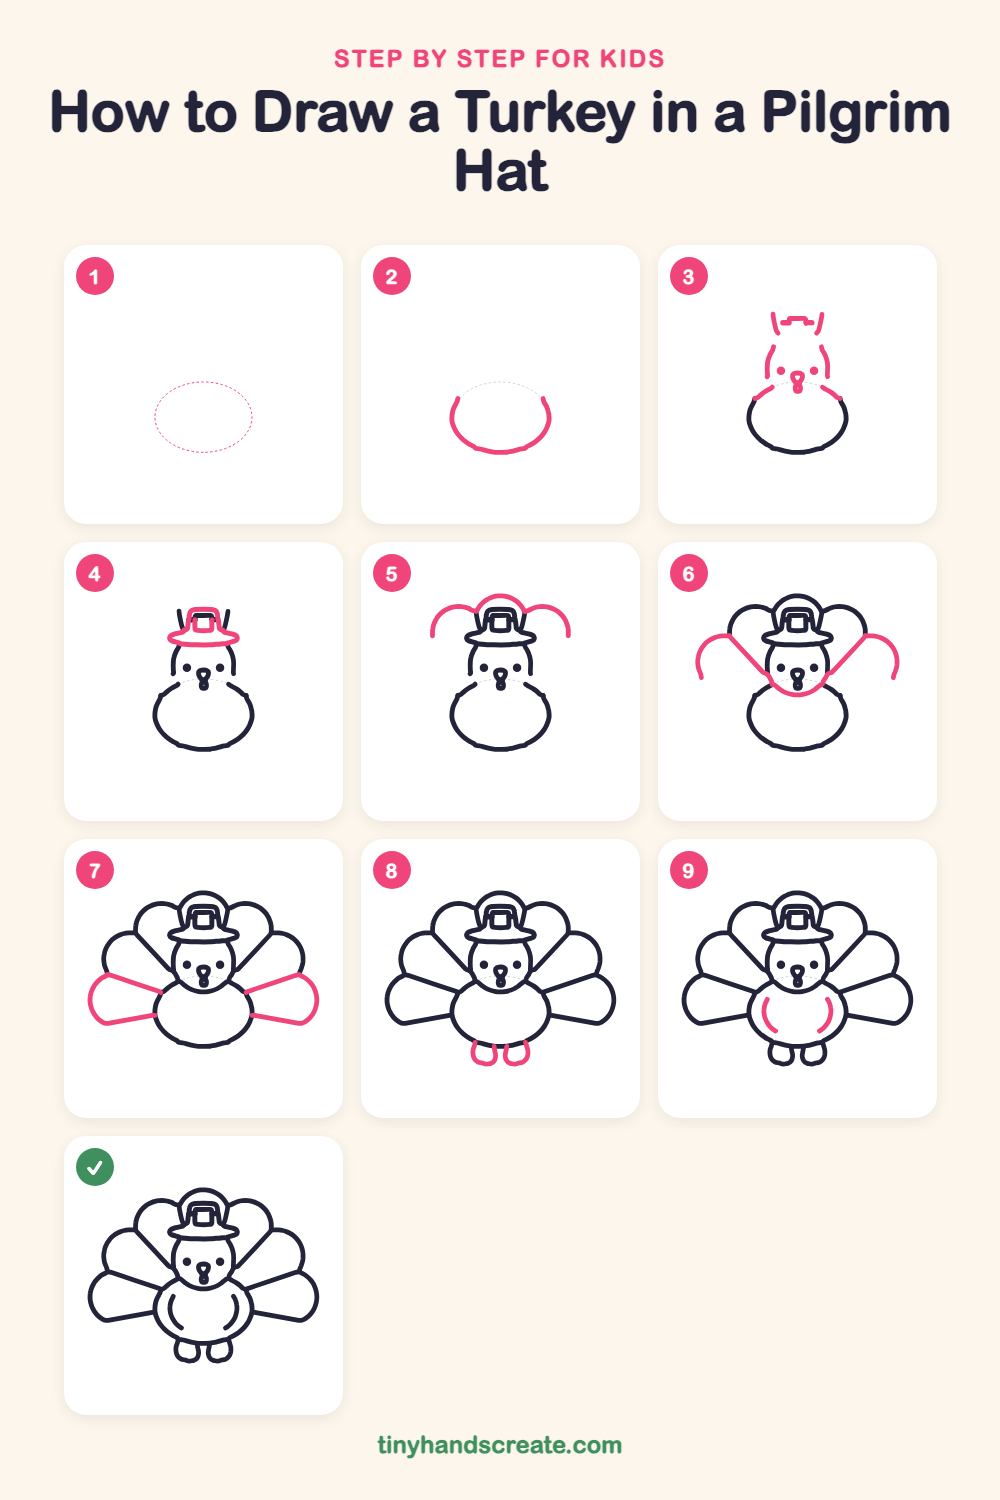
How to draw a turkey in a pilgrim hat step by step
How to Draw a Turkey in a Pilgrim Hat · tinyhandscreate.com
Step 1: Guide shapes
Lightly sketch this oval. It only shows where the big parts go, so press softly. You will erase it at the end.
Step 2: Body bottom
Draw a big U shape in the middle of your page, like the bottom half of an egg. This is the turkey's round body, so leave the top open for now.
Step 3: Head, eyes and beak
Above the body, draw two curved sides for the round head, two little dots for eyes, and a small beak with a wattle hanging below it. Add two short slanted lines above the head for the sides of the hat, and a small curve on each shoulder to join the head to the body.
Step 4: Hat brim and buckle
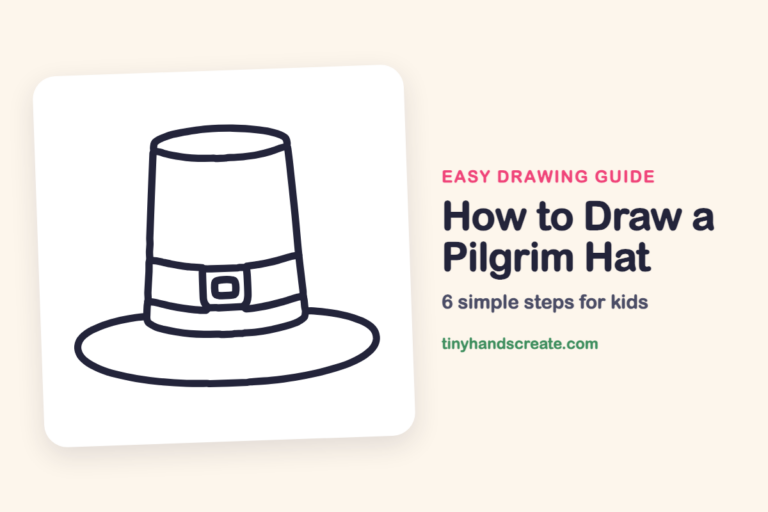
Draw a wide, flat oval across the hat where it meets the head, like a saucer, for the brim. Then draw a small square buckle on the front of the hat.
Step 5: Top feathers
Behind the hat, draw a big rounded arch for the top feather. Then draw a smaller arch on each side that starts near the hat and curves out and down.
Step 6: Second row feathers
On each side, draw a straight slanted line from the head down to the body, and join the two lines with a curve under the beak. Then add a rounded feather arch at the outer end of each line, curving down.
Step 7: Bottom feathers
Finish the fan with one big rounded feather on each side near the bottom. Draw a straight line out from the body, curve around the feather tip, and come back to the body with another straight line.
Step 8: Feet
At the bottom of the body, draw two little U-shaped feet side by side. Each one hangs down like a small loop.
Step 9: Wing lines
On the belly, draw one curved line on the left and one on the right. They look like two parentheses and make the turkey's wings.
All done!
Erase the guide shapes, go over your lines, then color it in.
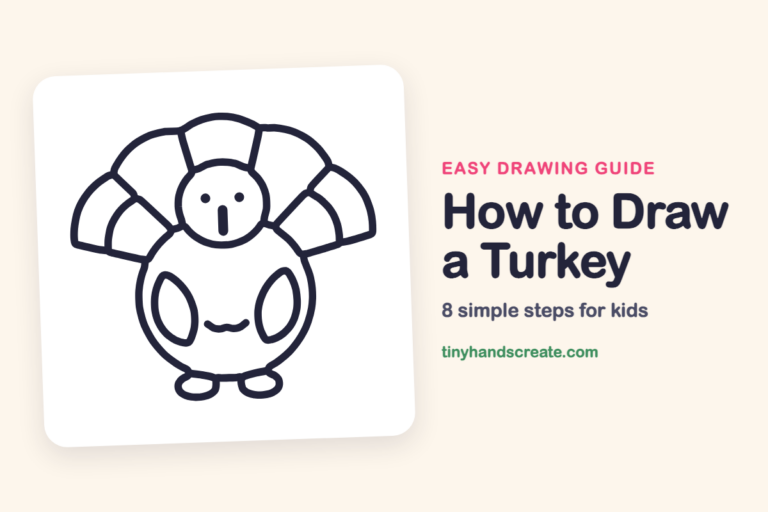
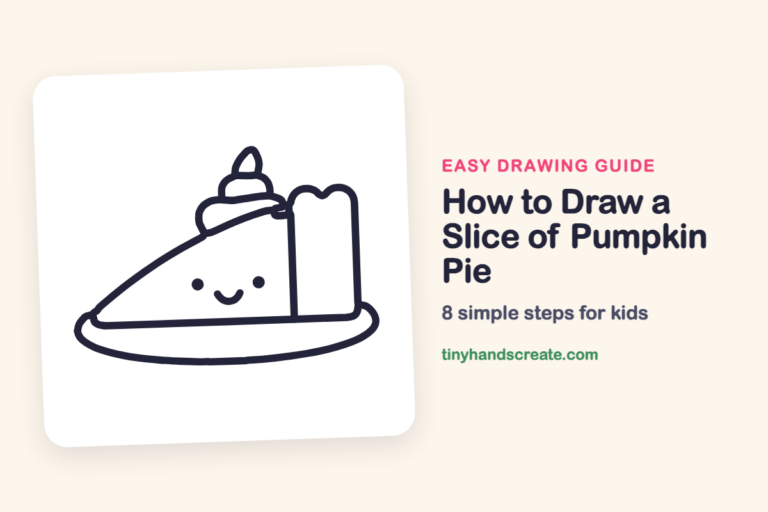
Finished your turkey in a pilgrim hat? Keep the pencils out and learn how to draw a turkey or how to draw a slice of pumpkin pie next.
Tips for drawing a turkey in a pilgrim hat
- Start the tail feathers with the top one behind the hat, then work down each side so they stay even.
- Draw the hat brim as a flat oval, then add the buckle above it, so the hat sits on the head instead of floating.
- Leave the top of the body open at first. The head and shoulder curves close it later.
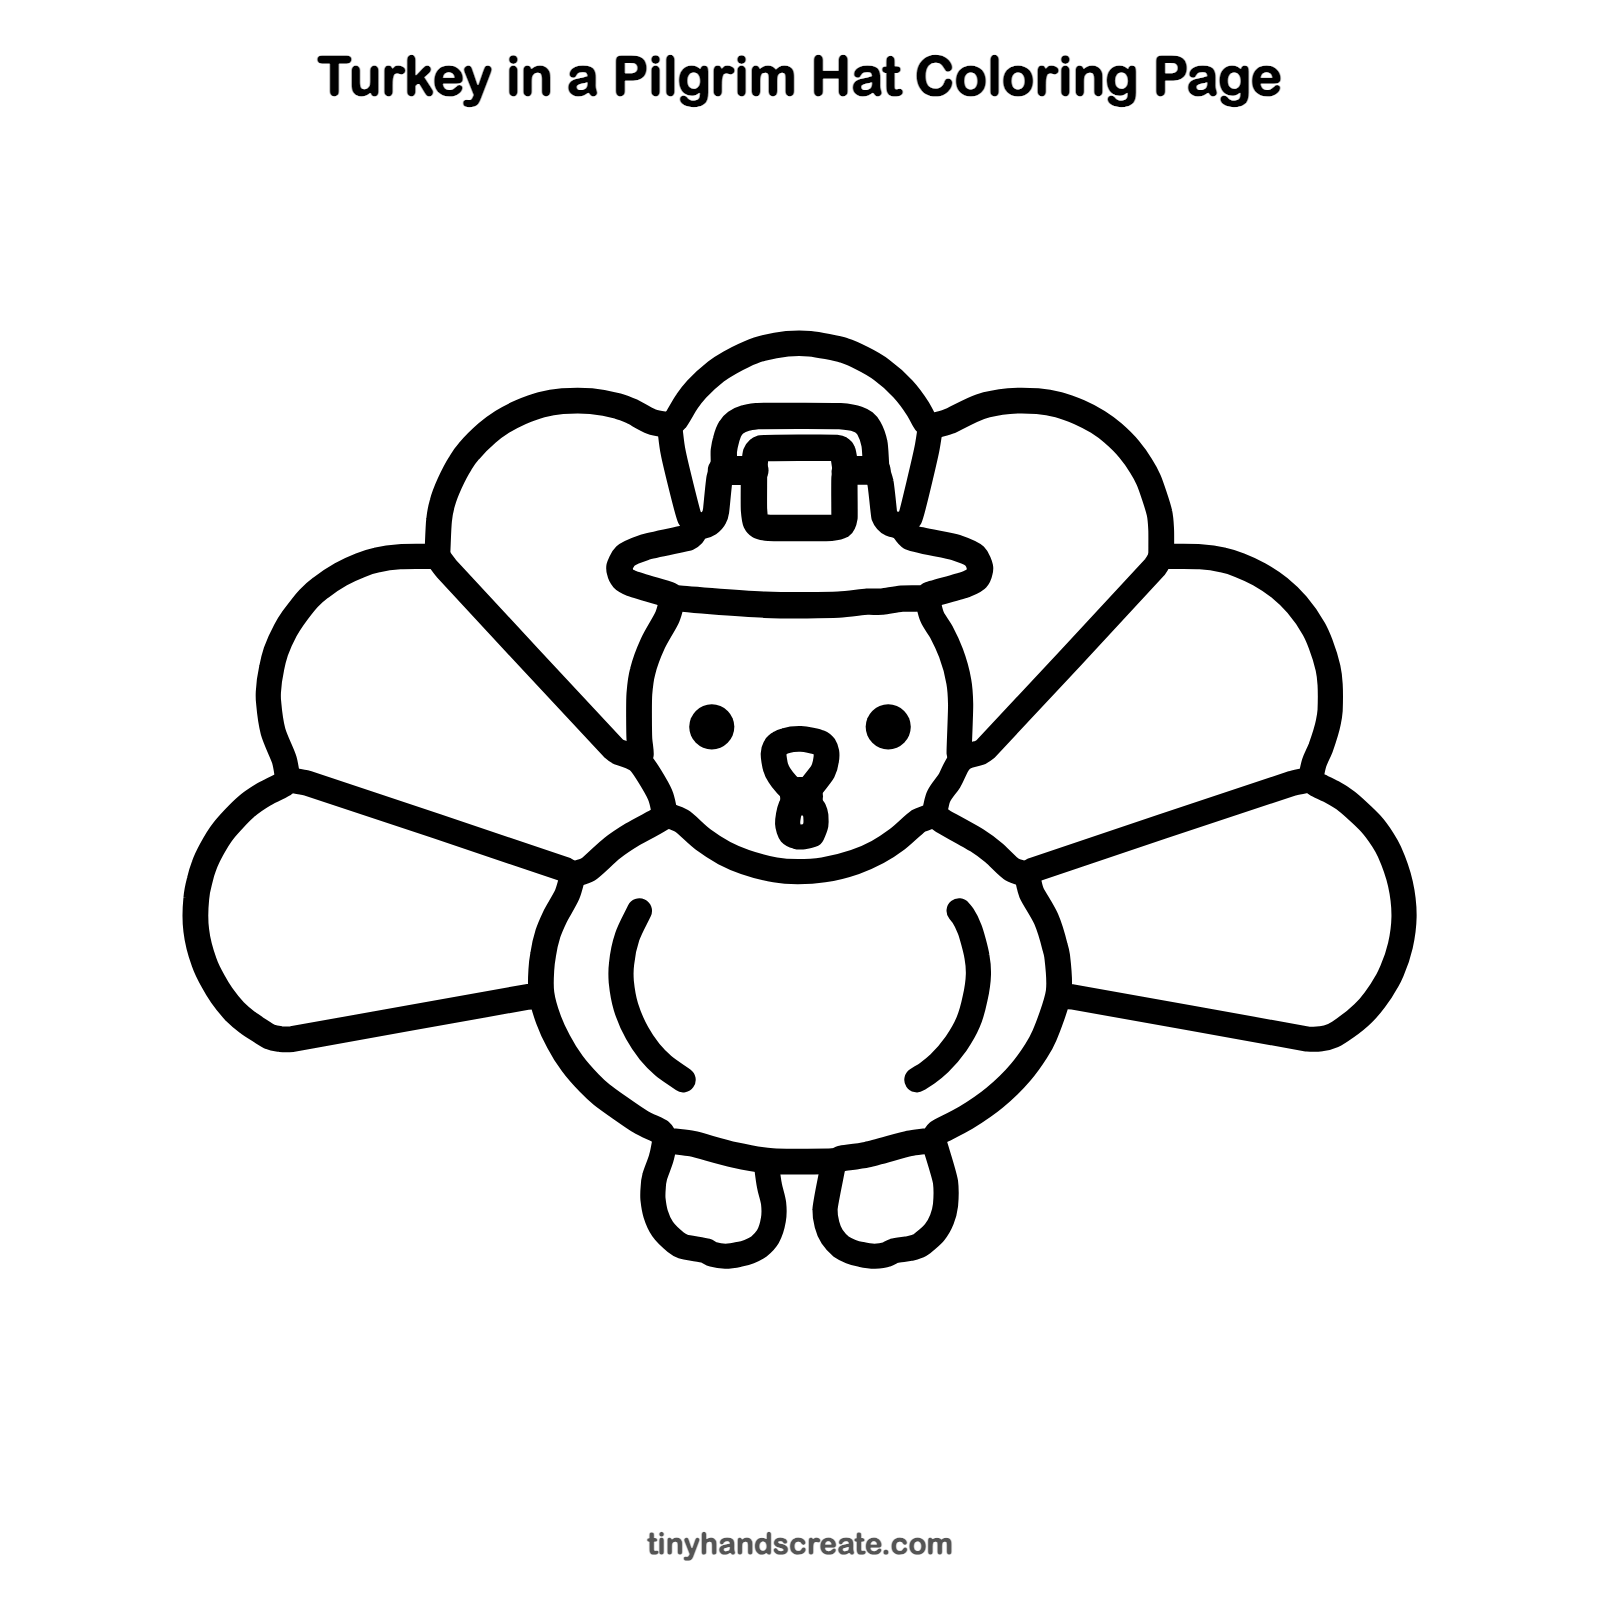
Free turkey in a pilgrim hat coloring page
Want to go straight to coloring? Open this turkey in a pilgrim hat coloring page at full size and print it. It is the same drawing you just learned, with clean lines ready for crayons or markers.
How to color your turkey in a pilgrim hat drawing
Try brown and orange for the body, with red, yellow and green on the feathers, and a black hat with a yellow buckle. For a twist, give each feather its own pattern, like stripes, dots or zigzags.
Turkey in a pilgrim hat fun fact for kids
A baby turkey is called a poult, and a male turkey is called a tom.
Questions about drawing a turkey in a pilgrim hat
What shapes do I need to draw a turkey in a pilgrim hat?
You need a U shape for the body, curved sides for the head, and rounded fan shapes for the feathers. The hat is a flat oval brim with a small square buckle.
How do I make my turkey look cuter?
Keep the head round and put the two dot eyes wide apart. Small U-shaped feet at the bottom make it look extra sweet.
How do I draw the tail feathers so they look even?
Draw the top arch first, then one arch on each side, then the lower feathers. Matching each side as you go keeps the fan balanced.