How to Draw a Christmas Pig (Easy Step by Step)
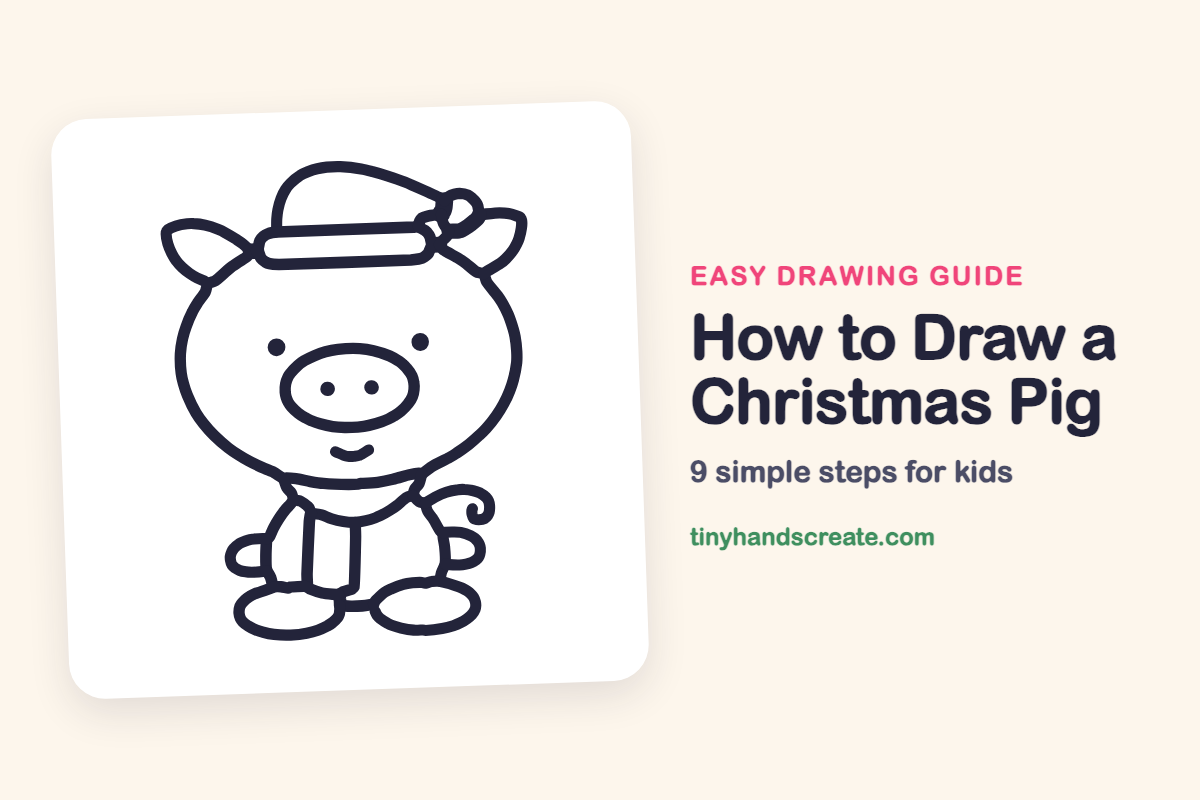
Learn to draw an easy Christmas pig using simple shapes like ovals and curves. This step-by-step guide is perfect for new artists, helping you create a festive holiday card design with a Santa hat, scarf, and curly tail.
- Draw your pig using simple ovals for the head and snout.
- Add festive details like a floppy Santa hat and a cozy scarf.
- Finish your drawing with a cute curly tail for a holiday touch.
- Follow easy steps, ideal for new artists learning to draw.
This post contains affiliate links. As an Amazon Associate I earn from qualifying purchases.
This Christmas pig is built from a big oval head, a round snout and a floppy Santa hat. Most of the drawing is ovals and simple curves, so it is a friendly pick for new artists. The scarf and little curly tail make it feel like a holiday card.
- Easy
- 15 minutes
- 9 steps
You need: paper, a pencil, an eraser, and crayons or markers for coloring.
Start drawing
In this article (7 sections)
How to draw a Christmas pig step by step
How to Draw a Christmas Pig · tinyhandscreate.com
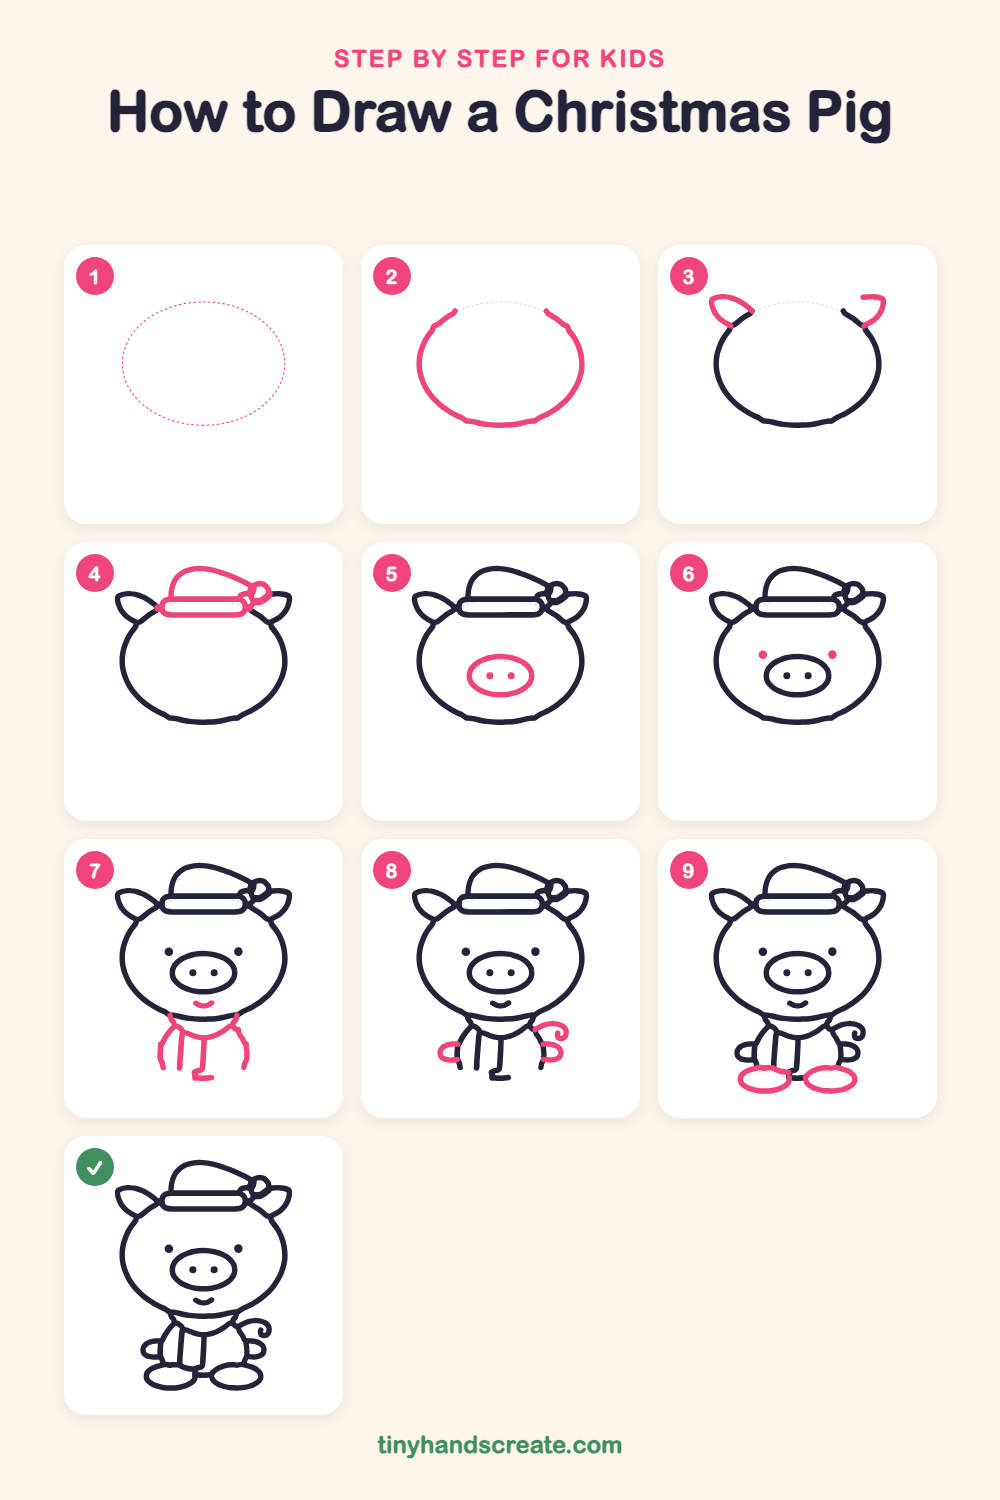
Step 1: Guide shapes
Lightly sketch this oval. It only shows where the big parts go, so press softly. You will erase it at the end.
Step 2: The big round head
Draw a big, wide oval for the pig's head, a little wider than it is tall. Leave a small gap at the top where the hat will sit.
Step 3: The pointy ears
Draw a pointy, leaf-shaped ear on each side of the top of the head. Start each ear where the head line stops, so the ears stick out and up.
Step 4: The Santa hat
Draw a long, rounded rectangle across the top of the head for the hat band. Add a tall curved cap on top that flops to one side, then a little loop at the tip for the pom-pom.
Step 5: The snout
Draw a medium oval in the middle of the face for the snout. Add two small dots inside it for nostrils.
Step 6: Two eyes
Draw a round dot on each side of the snout for the eyes. Keep them at the same height.
Step 7: Smile, scarf and body
Draw a tiny curved smile under the snout. Under the chin, draw a curved scarf line like a bowl, then add the sides of the body going down from each end of the scarf. Finish with two long straight lines hanging down the middle for the scarf end.
Step 8: Arms and curly tail
Draw a small rounded arm like a letter C on each side of the body. On the right, above the arm, add a tail that swirls into a little curl.
Step 9: Big oval feet
Draw a wide flat oval at the bottom of each side of the body for the feet. Let them touch the bottom of the body so the pig sits steady.
All done!
Erase the guide shapes, go over your lines, then color it in.
Finished your Christmas pig? Keep the pencils out and learn how to draw a Christmas cupcake or how to draw a Christmas donut next.
Tips for drawing a Christmas pig
- Draw the head oval first and leave a small gap at the top, so the hat band has a clear place to sit.
- The hat band is the trickiest part: draw two long parallel lines first, then round off the ends.
- Draw the tail as a loose spiral that starts as a curve and tucks inward, and go slowly so it stays round.
Free Christmas pig coloring page
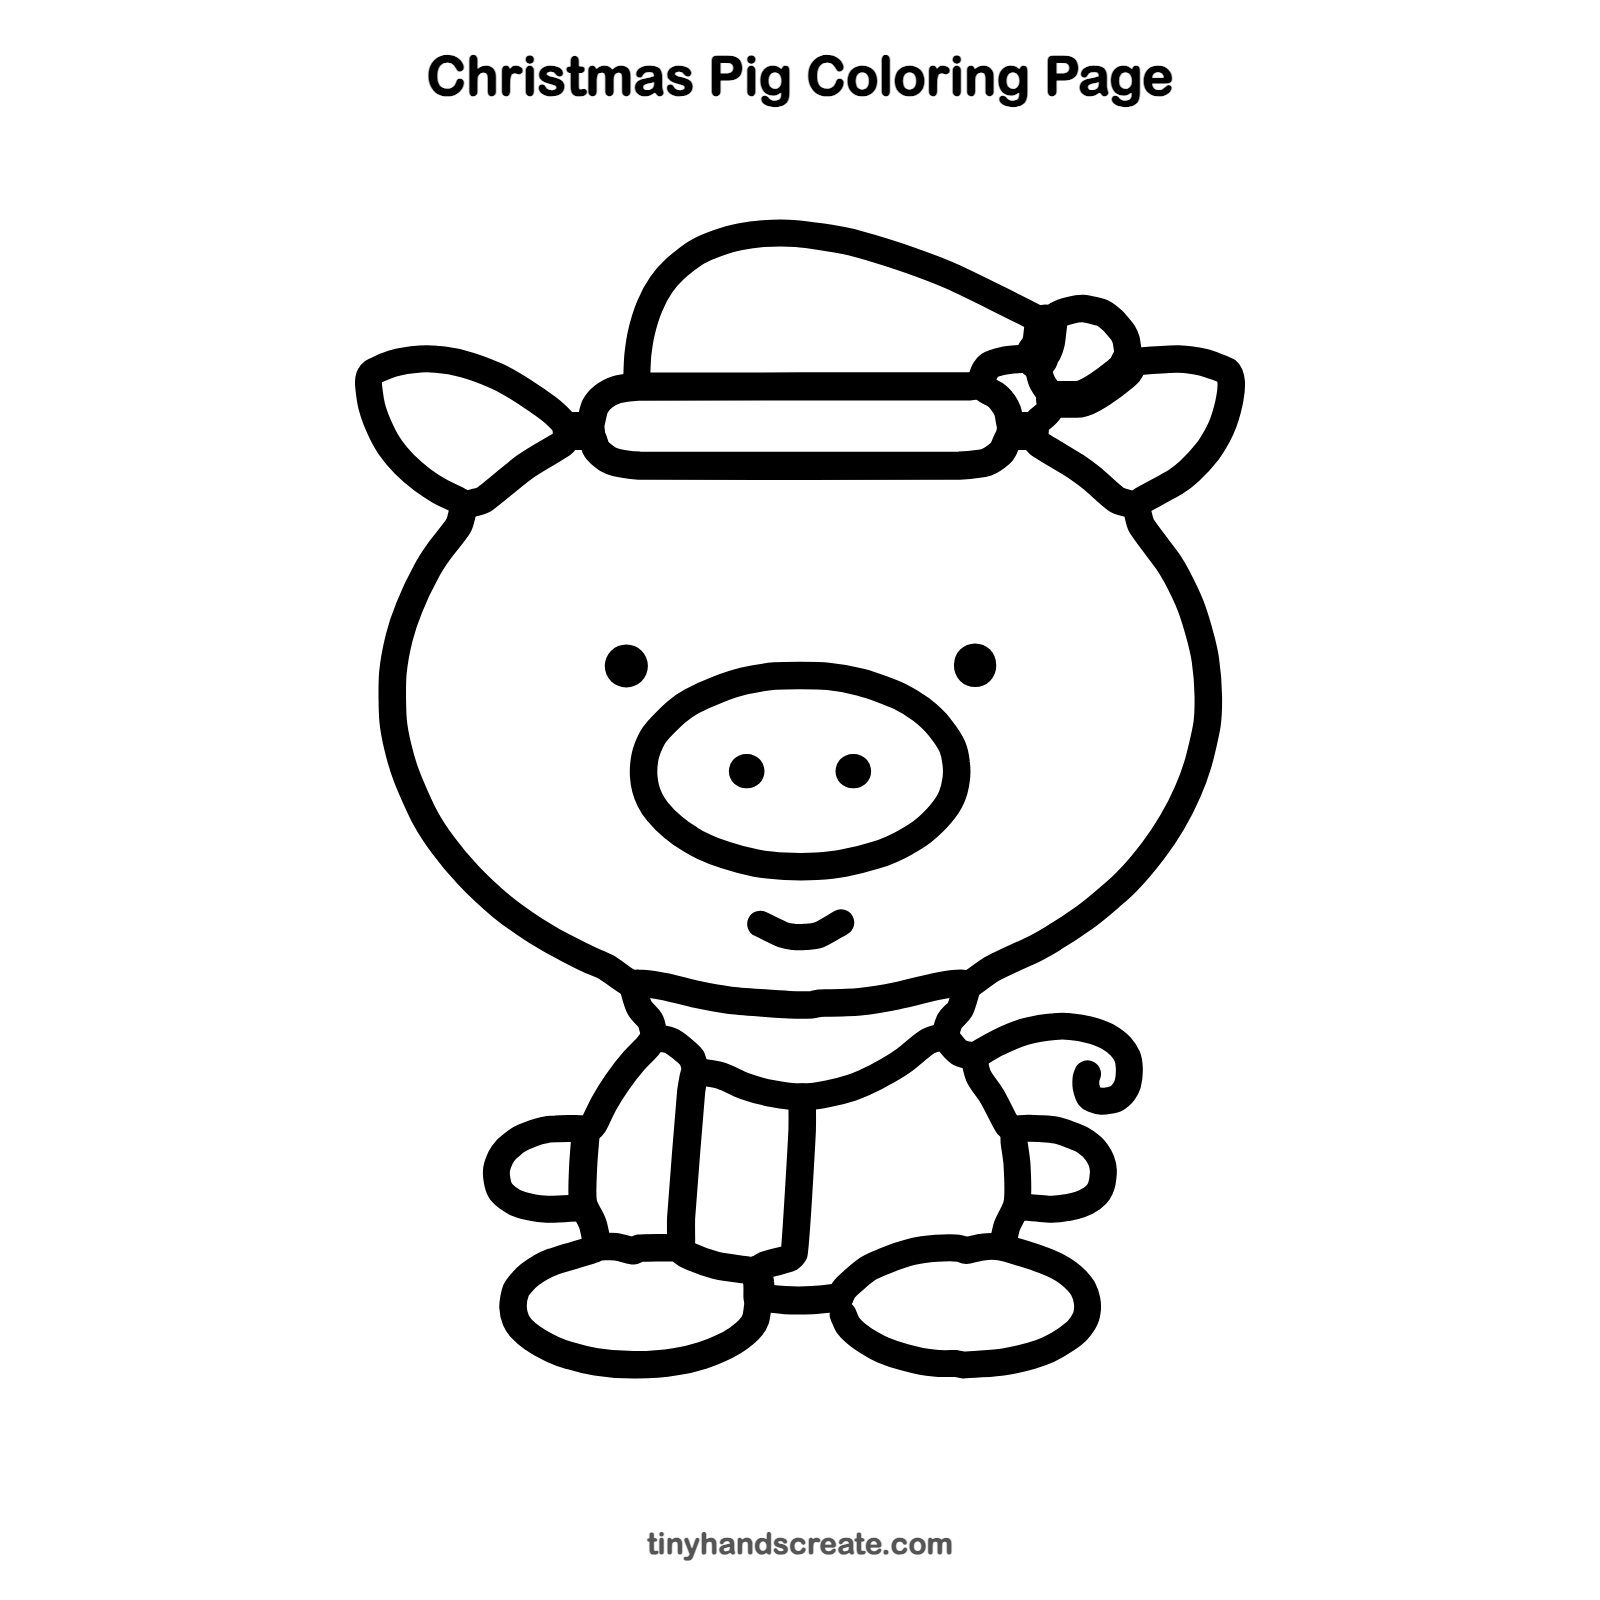
Want to go straight to coloring? Open this Christmas pig coloring page at full size and print it. It is the same drawing you just learned, with clean lines ready for crayons or markers.
How to color your Christmas pig drawing
Color the hat and scarf bright red and the pig soft pink, with a darker pink snout. For a twist, add polka dots or stripes to the scarf.
Christmas pig fun fact for kids
Pigs have an excellent sense of smell, and a pig uses its flat, strong snout to sniff out food hidden under the ground.
Questions about drawing a Christmas pig
What shapes do I need to draw a Christmas pig?
You need ovals for the head, snout and feet, a long rounded rectangle for the hat band, and small curves for the ears, arms and tail.
How do I make my pig look cuter?
Put the eyes on either side of the snout and keep the smile small. A big round head with wide, flat feet also adds to the cute look.
How do I draw the hat so it stays on the head?
Draw the band so it sits across the gap at the top of the head oval. Then the cap and pom-pom rest on top of the band.