How to Draw a Pencil Sharpener (Easy Step by Step)
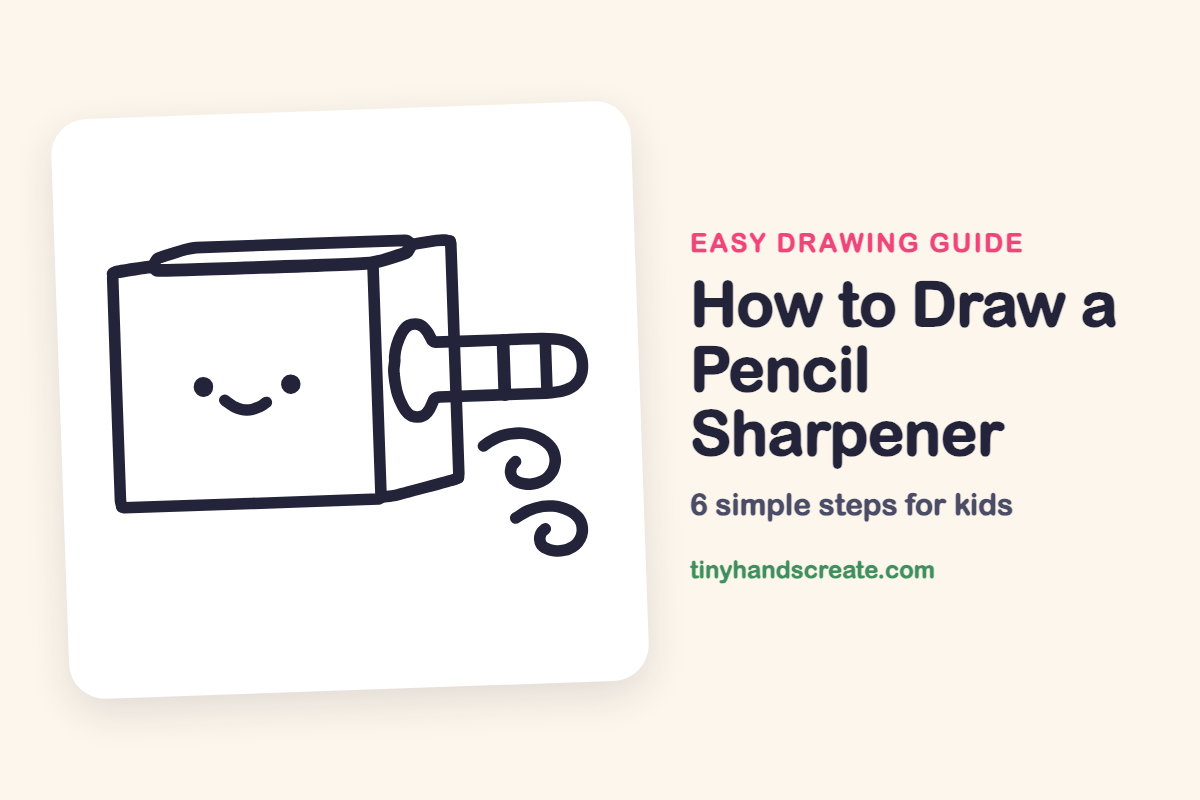
You'll learn how to easily draw a friendly pencil sharpener using basic shapes like a square, straight lines, and an oval. This step-by-step guide helps you create a simple character with just a few swirls and a smile.
- Start your drawing journey with a simple pencil sharpener.
- Use a square as the main body of your sharpener.
- Incorporate straight lines, an oval, and curly swirls.
- Add a tiny smile to make your sharpener a friendly character.
This post contains affiliate links. As an Amazon Associate I earn from qualifying purchases.
A pencil sharpener is a great first drawing because it is mostly a box with a pencil poking out. You will use a square, a few straight lines, an oval, and a couple of curly swirls. Adding a tiny smile turns it into a friendly little character.
- Easy
- 10 minutes
- 6 steps
You need: paper, a pencil, an eraser, and crayons or markers for coloring.
Start drawing
In this article (7 sections)
How to draw a pencil sharpener step by step
How to Draw a Pencil Sharpener · tinyhandscreate.com
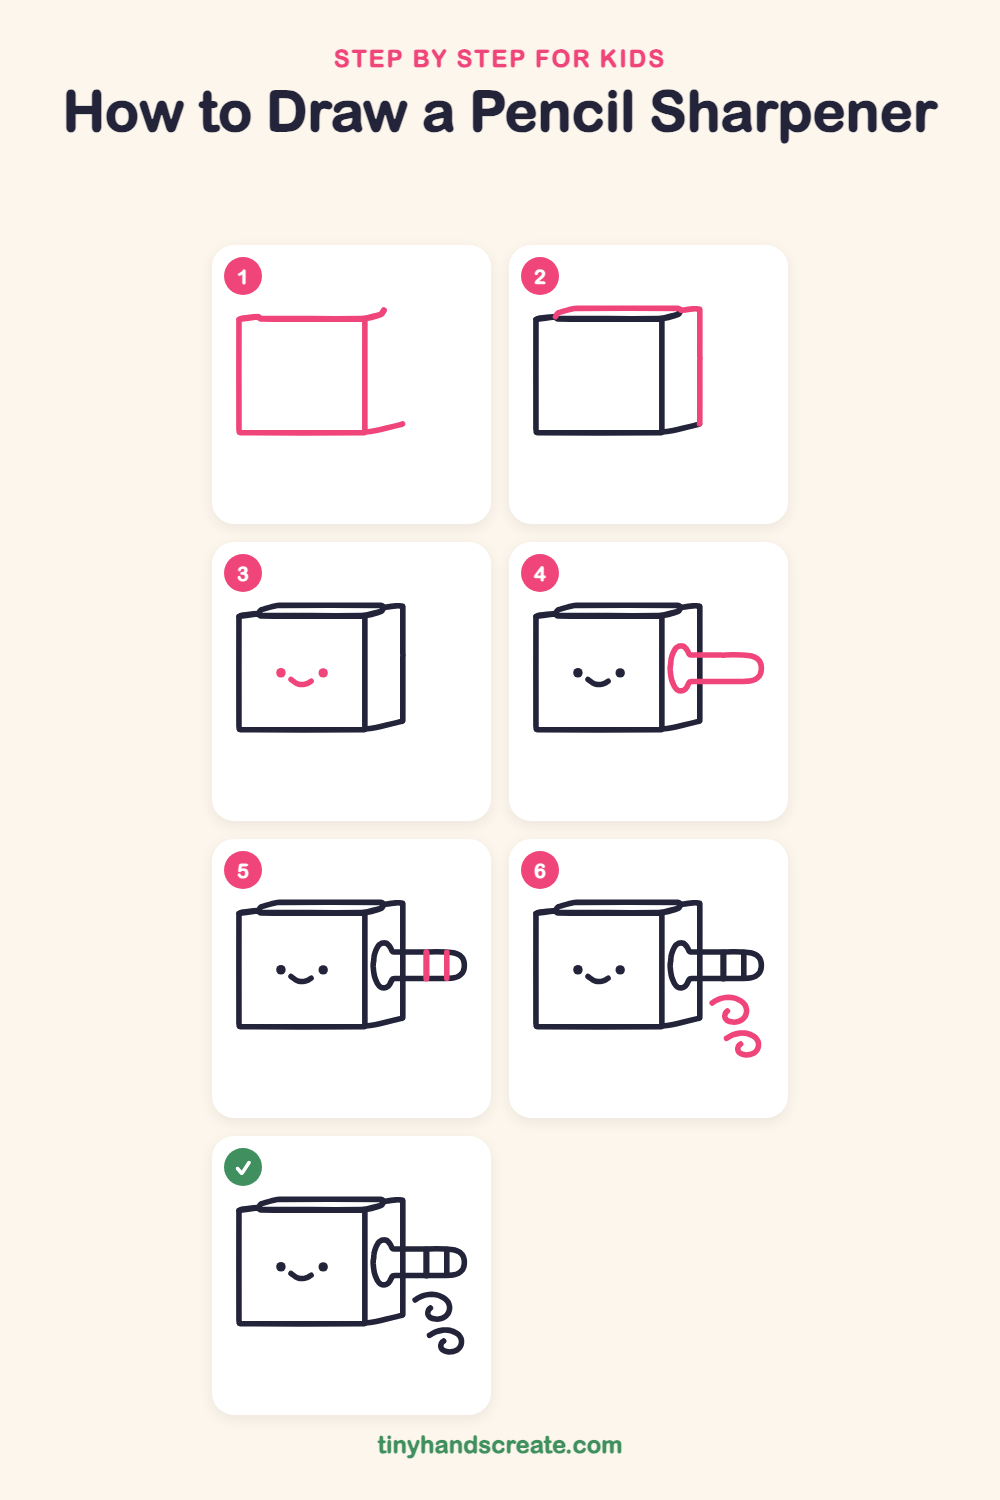
Step 1: The front square
Draw a big square with rounded corners. At the top right and bottom right corners, add a short line that sticks out to the right.
Step 2: The top and side
Draw a long line just above the top edge, starting at the left corner and running across to the right. Then draw a tall line down the right side, so the square looks like a box with a top and a side.
Step 3: The sweet face
Draw two small round dots for eyes in the middle of the front square. Add a little smile curve between and below them.
Step 4: The pencil
On the side of the box, draw a small tall oval for a hole. Then draw a long rounded shape sticking out to the right from the hole, with a round end like a bullet.
Step 5: Pencil stripes
Draw two short straight lines across the pencil, from the top edge to the bottom edge. Space them evenly.
Step 6: Pencil shavings
Below the pencil, draw two curly swirls, one above the other. Start each with a curve like a hook, then spiral the end into the middle.
All done!
Go over your lines with a marker, then color it in.
Finished your pencil sharpener? Keep the pencils out and learn how to draw a paper clip or how to draw a stapler next.
Tips for drawing a pencil sharpener
- Draw the front square first and take your time with the straight lines. If the sides look wobbly, try again lightly before pressing hard.
- The pencil goes through a hole in the side. Draw the oval hole first, then start the pencil lines from its edge so they connect neatly.
- For the swirls, begin with a hook shape and curl inward. Do not worry if they are different sizes, because real shavings are never the same.
Free pencil sharpener coloring page
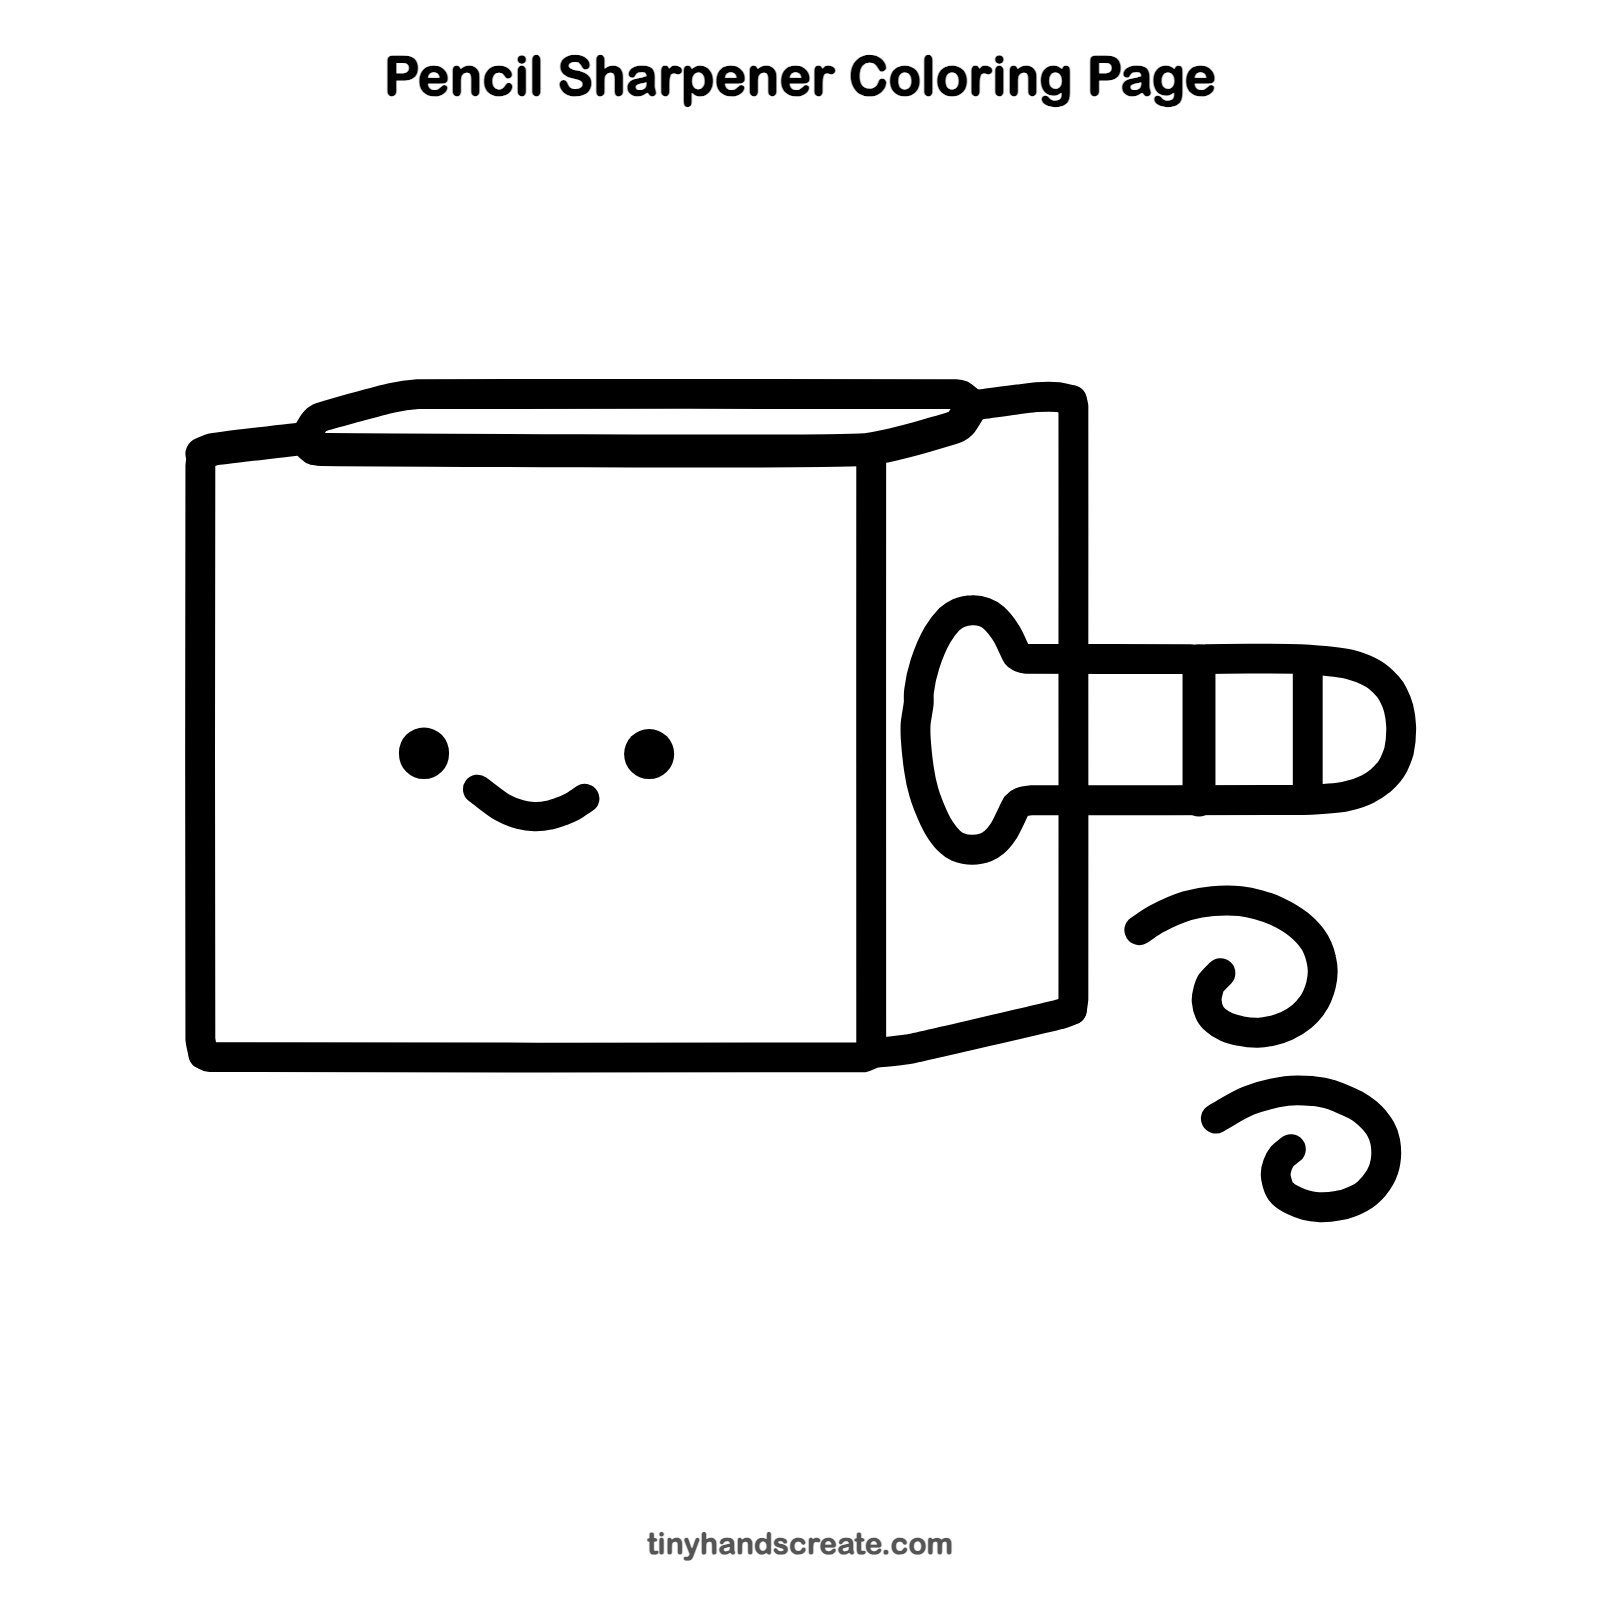
Want to go straight to coloring? Open this pencil sharpener coloring page at full size and print it. It is the same drawing you just learned, with clean lines ready for crayons or markers.
How to color your pencil sharpener drawing
Try a bright blue or red for the box, a yellow pencil, and light brown shavings. For a creative twist, color each shaving a different rainbow color.
Pencil sharpener fun fact for kids
Pencil shavings are thin curls of wood that a sharpener's blade peels off as you twist the pencil. Some people glue the curls onto paper to make flowers.
Questions about drawing a pencil sharpener
What shapes do I need to draw a pencil sharpener?
You need a square for the front, a long line across the top and a tall line down the side to make the box look 3D, an oval for the hole, and a long rounded shape for the pencil. The shavings are two swirls.
How do I make the box look 3D?
Draw a line above the top edge and another down the right side. These extra lines make the box seem to have a top and a side.
How do I make my pencil sharpener look cuter?
Give it a face with two round dot eyes and a small smile. Keeping the eyes small makes it look sweet.