How to Draw an Eraser (Easy Step by Step)
This post contains affiliate links. As an Amazon Associate I earn from qualifying purchases.
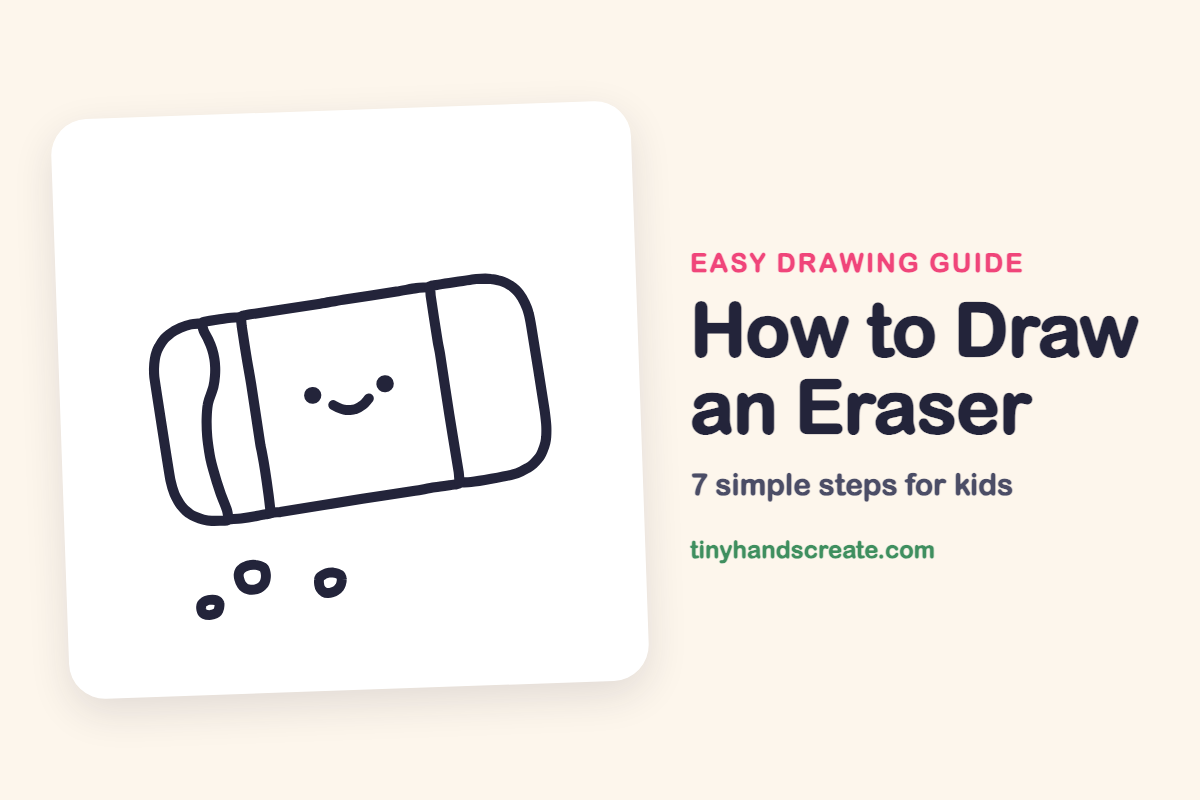
This little eraser has a sweet smiling face and a few crumbs that have just rubbed off. It is built from a rounded rectangle, two straight lines, a wavy line, two dots, a smile, and three small rings. It is a great first drawing because every part is a shape a young artist already knows.
- Easy
- 10 minutes
- 7 steps
You need: paper, a pencil, an eraser, and crayons or markers for coloring.
Start drawing
In this article (7 sections)
How to draw an eraser step by step
How to Draw an Eraser · tinyhandscreate.com
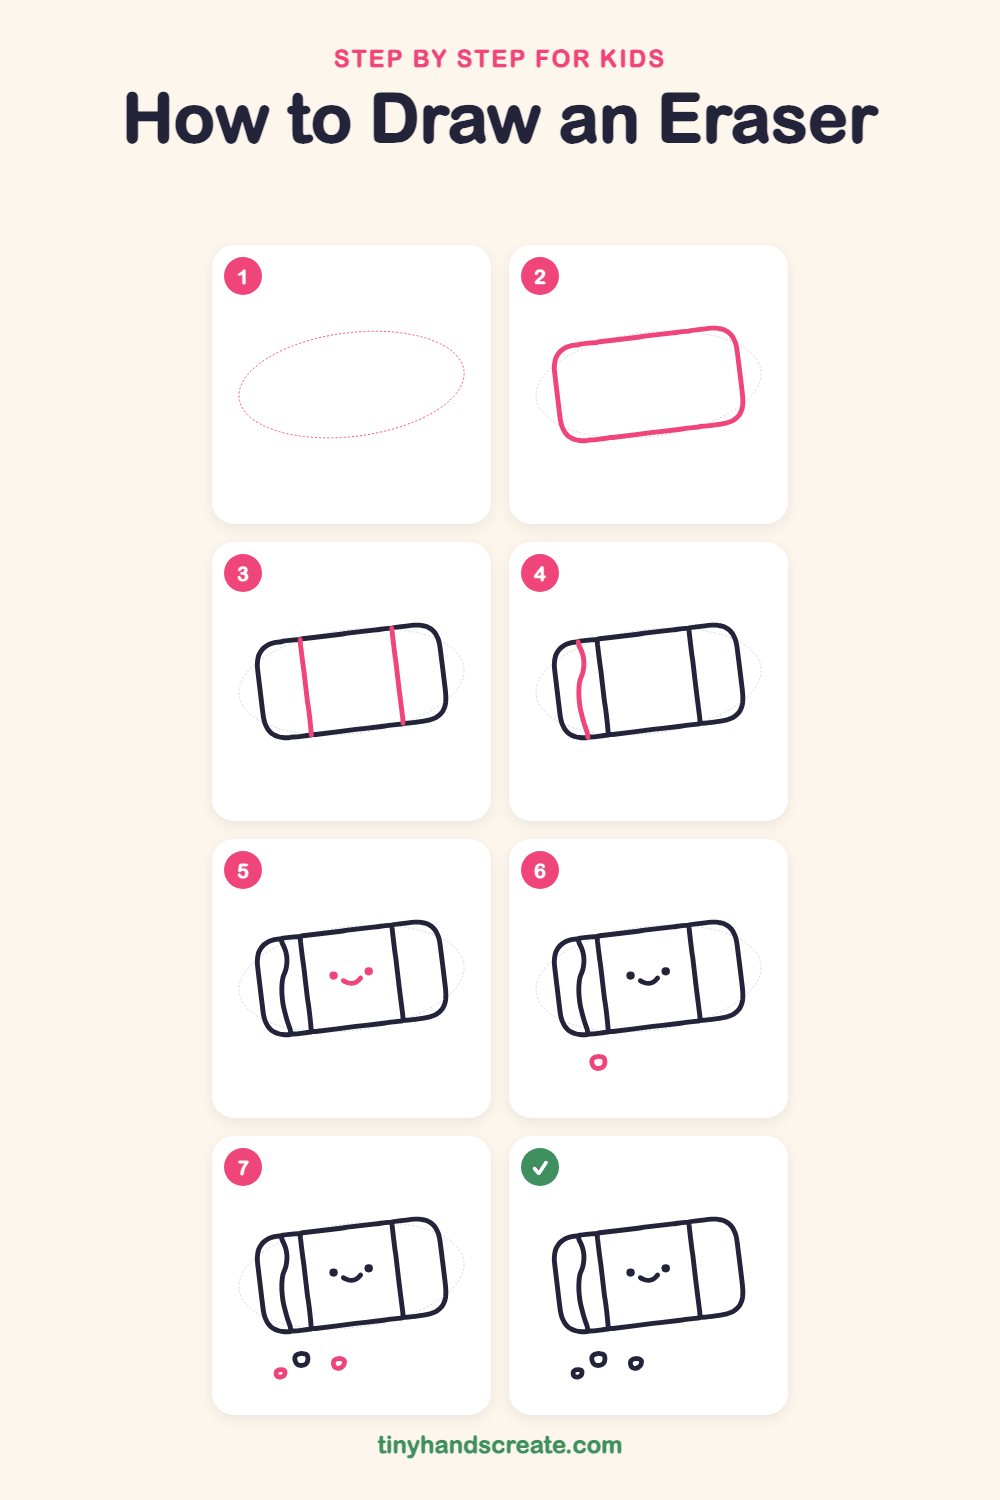
Step 1: Guide shapes
Lightly sketch this oval. It only shows where the big parts go, so press softly. You will erase it at the end.
Step 2: The eraser body
Draw a big rounded rectangle that tilts a little, like a fat bar of soap with soft corners. Make it wide and chunky, because everything else goes inside it.
Step 3: Two straight lines
Draw a long, slightly slanted line near the left end that runs from the top edge to the bottom edge. Then draw a matching line near the right end, so the eraser is split into three sections.
Step 4: The wavy line
On the left end, draw a wiggly line that starts at the top edge and curves down to the bottom edge. It sits between the left end of the eraser and the first straight line.
Step 5: The happy face
In the big middle section, draw two small round dots for eyes. Add a little curved smile underneath, between them.
Step 6: First crumb
Below the eraser, draw a small, rounded ring shape, like a tiny bean or a little oval. Leave the inside empty.
Step 7: Two more crumbs
Draw two more little ring-shaped crumbs near the first one, one on the left and one on the right. Make them different sizes so they look like they just fell off.
All done!
Erase the guide shapes, go over your lines, then color it in.
Finished your eraser? Keep the pencils out and learn how to draw a pencil sharpener or how to draw a paper clip next.
Tips for drawing an eraser
- Draw the big rectangle lightly first and round the corners last. A tilted shape looks more playful than a straight one.
- The two straight lines should slant the same way. Draw them from top to bottom, and stop right at the edge of the body.
- Keep the crumbs small and a little wobbly. They are not supposed to be perfect, and different sizes make them look natural.
Free eraser coloring page
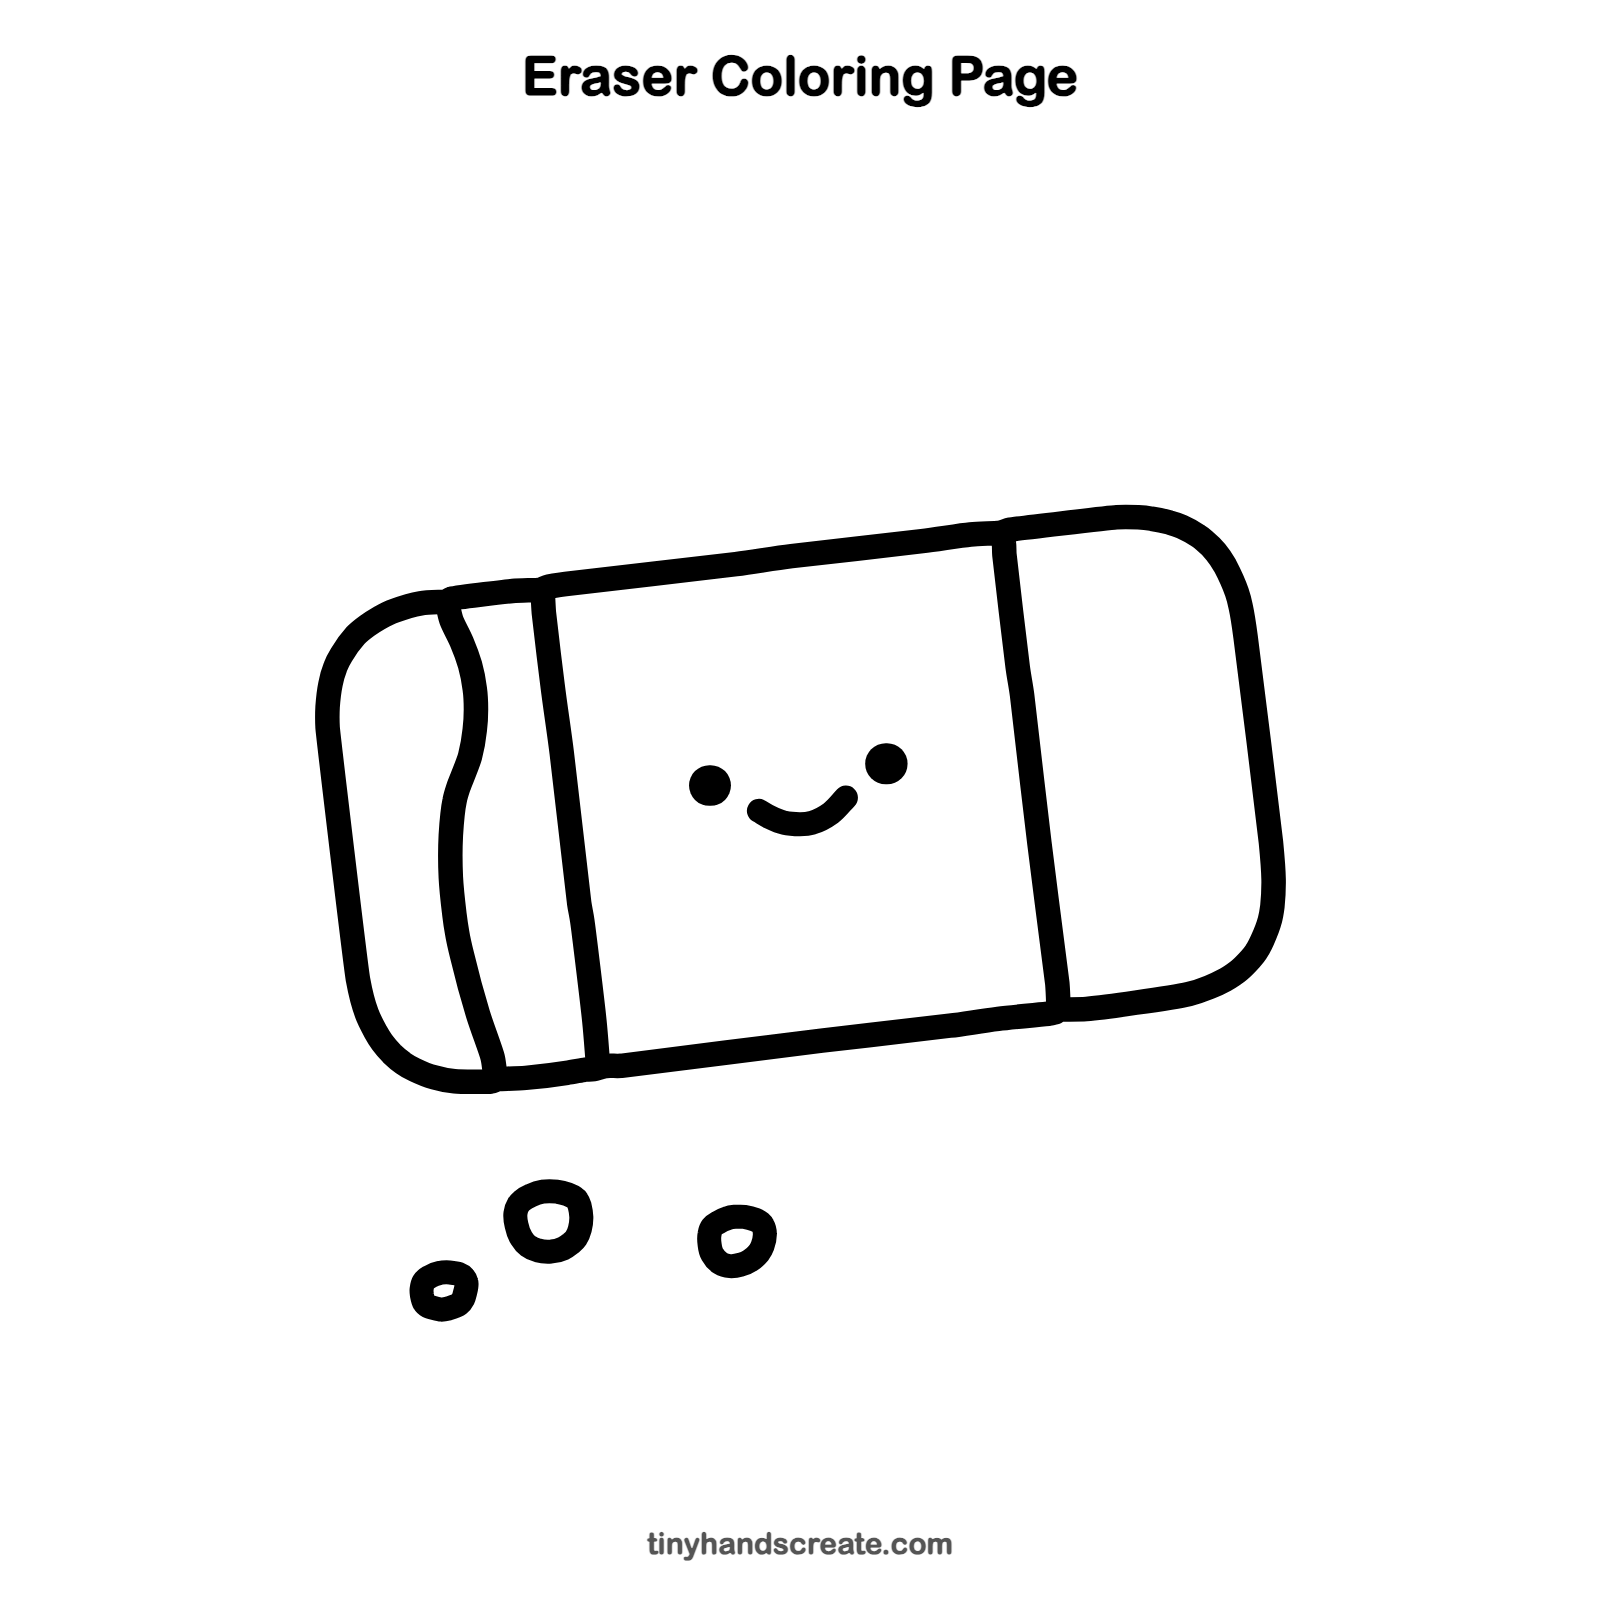
Want to go straight to coloring? Open this eraser coloring page at full size and print it. It is the same drawing you just learned, with clean lines ready for crayons or markers.
How to color your eraser drawing
Try a pink or blue eraser with a different color for the left end section. For a creative twist, color the crumbs the same shade as the eraser, or make them into tiny rainbow sprinkles.
Eraser fun fact for kids
Before rubber erasers, people rubbed out pencil marks with little balls of bread.
Questions about drawing an eraser
What shapes do I need to draw an eraser?
You need a rounded rectangle for the body, two straight lines and a wavy line to make the sections, two dots and a curve for the face, and three small rings for the crumbs.
How do I make my eraser look cuter?
Place the two eyes wide apart and put a small smile low between them. Tilting the whole eraser a little also gives it a lot of personality.
How do I draw the eraser crumbs?
Draw small rounded rings, like tiny beans or little ovals, below the eraser. Make each crumb a different size.