How to Draw a Pumpkin Carriage (Easy Step by Step)
This post contains affiliate links. As an Amazon Associate I earn from qualifying purchases.
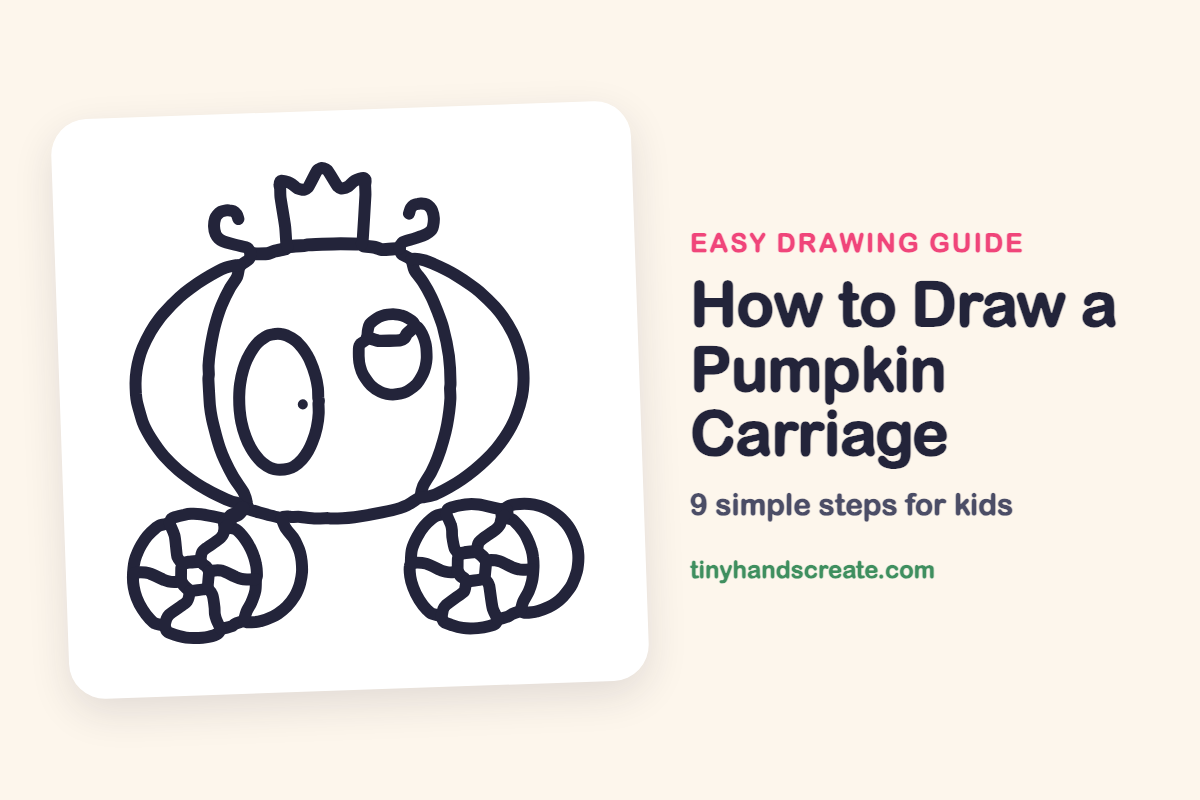
A pumpkin carriage is fun to draw because it is just a few big, friendly shapes put together. You will use a rounded pumpkin with curved ridges, ovals and circles for the door and window, a zigzag for the crown, and circles for the wheels. Once you can draw those, you can build a whole fairy tale ride.
- Medium
- 15 minutes
- 9 steps
You need: paper, a pencil, an eraser, and crayons or markers for coloring.
Start drawing
In this article (7 sections)
How to draw a pumpkin carriage step by step
How to Draw a Pumpkin Carriage · tinyhandscreate.com
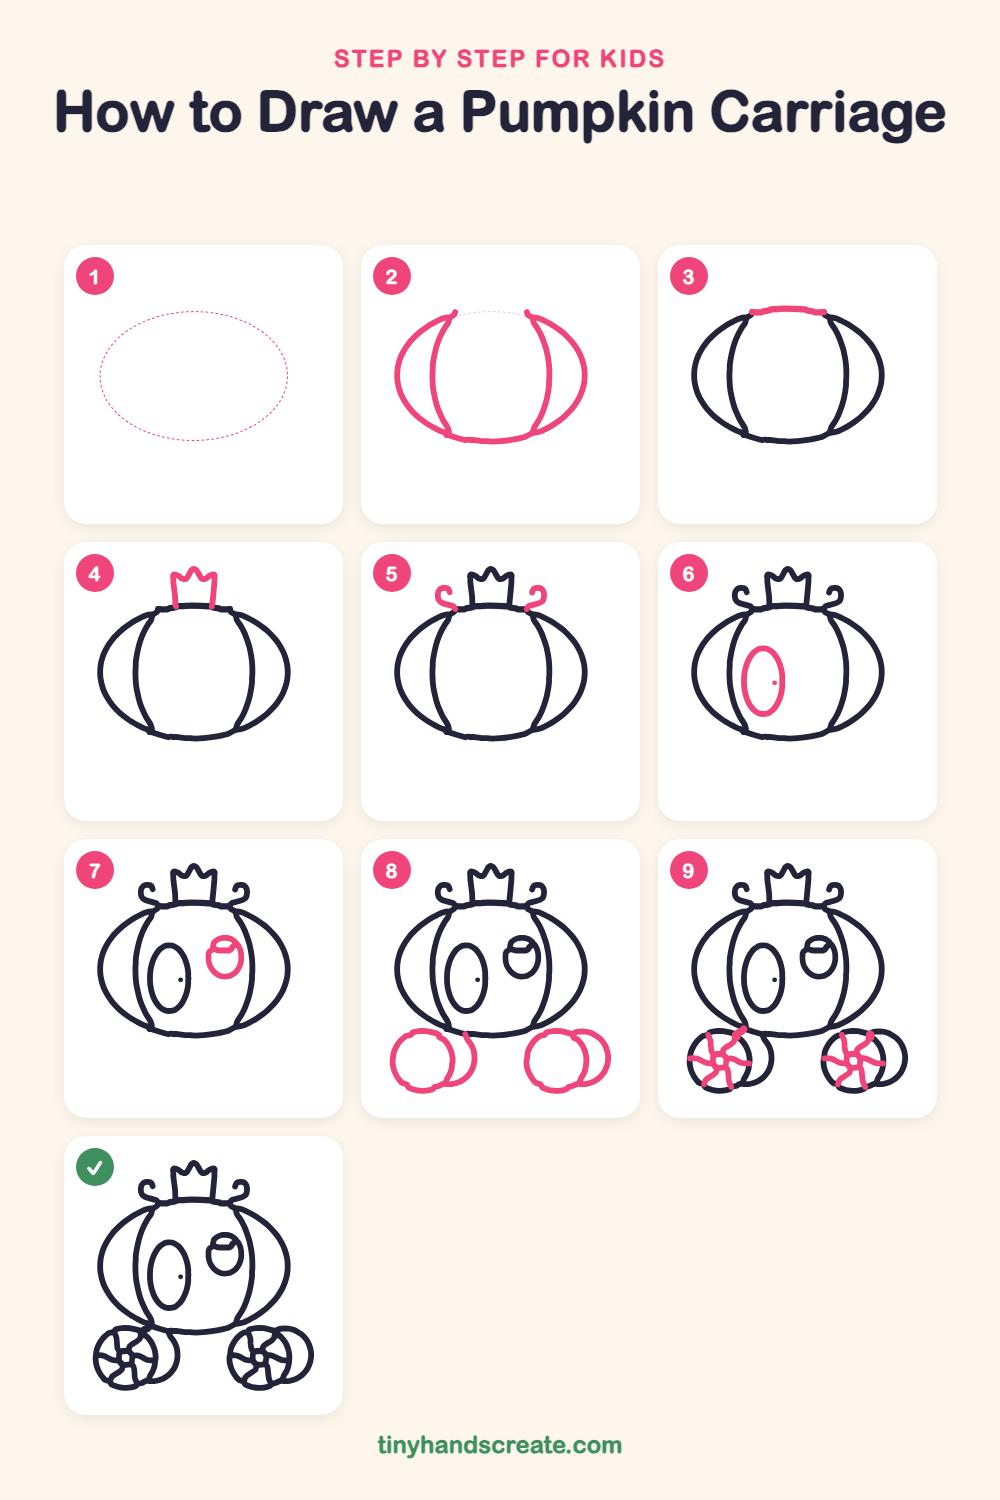
Step 1: Guide shapes
Lightly sketch this oval. It only shows where the big parts go, so press softly. You will erase it at the end.
Step 2: Pumpkin sides and ridges
Following the dotted oval, draw a curved line down the left side and another down the right side, leaving the top open. Then add a curved ridge line inside each side, running from the top to the bottom.
Step 3: The top band
Draw a short, gently curved line across the top to join the two ridges. This closes the top of the pumpkin and is where the crown will sit.
Step 4: The crown
On top of the pumpkin, draw a small box with a zigzag across the top, like a mountain with three little peaks.
Step 5: Curly vines
Draw a small curl on each side of the crown. Start each one at the top of the pumpkin and swirl up and around like a tiny snail shell.
Step 6: The door
Inside the pumpkin on the left, draw a tall oval for the door. Add a tiny dot on the right side for the doorknob.
Step 7: The round window
On the right side of the pumpkin, draw a small circle for the window. Add a short curved line across the top inside it for the curtain.
Step 8: The wheels
Under the pumpkin, draw a circle on the left and a circle on the right for the wheels. Next to each one, draw a curved line on the right side to make a second wheel peeking out behind it.
Step 9: The wheel spokes
Draw a tiny dot in the middle of each front wheel. Then draw curved lines from the dot out to the edge of the wheel, like a pinwheel.
All done!
Erase the guide shapes, go over your lines, then color it in.
Finished your pumpkin carriage? Keep the pencils out and learn how to draw Rapunzel's tower or how to draw the Princess and the Pea next.
Tips for drawing a pumpkin carriage
- Draw the two sides of the pumpkin first, then add the inside ridges so they bend the same way as the outer shape.
- The wheels are the trickiest part. Draw the front circle first, then add a curved line beside it so a second wheel peeks out behind.
- For the spokes, start at the center dot and curve each line out to the edge. They do not need to match, because slightly wobbly spokes look like a spinning wheel.
Free pumpkin carriage coloring page
Want to go straight to coloring? Open this pumpkin carriage coloring page at full size and print it. It is the same drawing you just learned, with clean lines ready for crayons or markers.
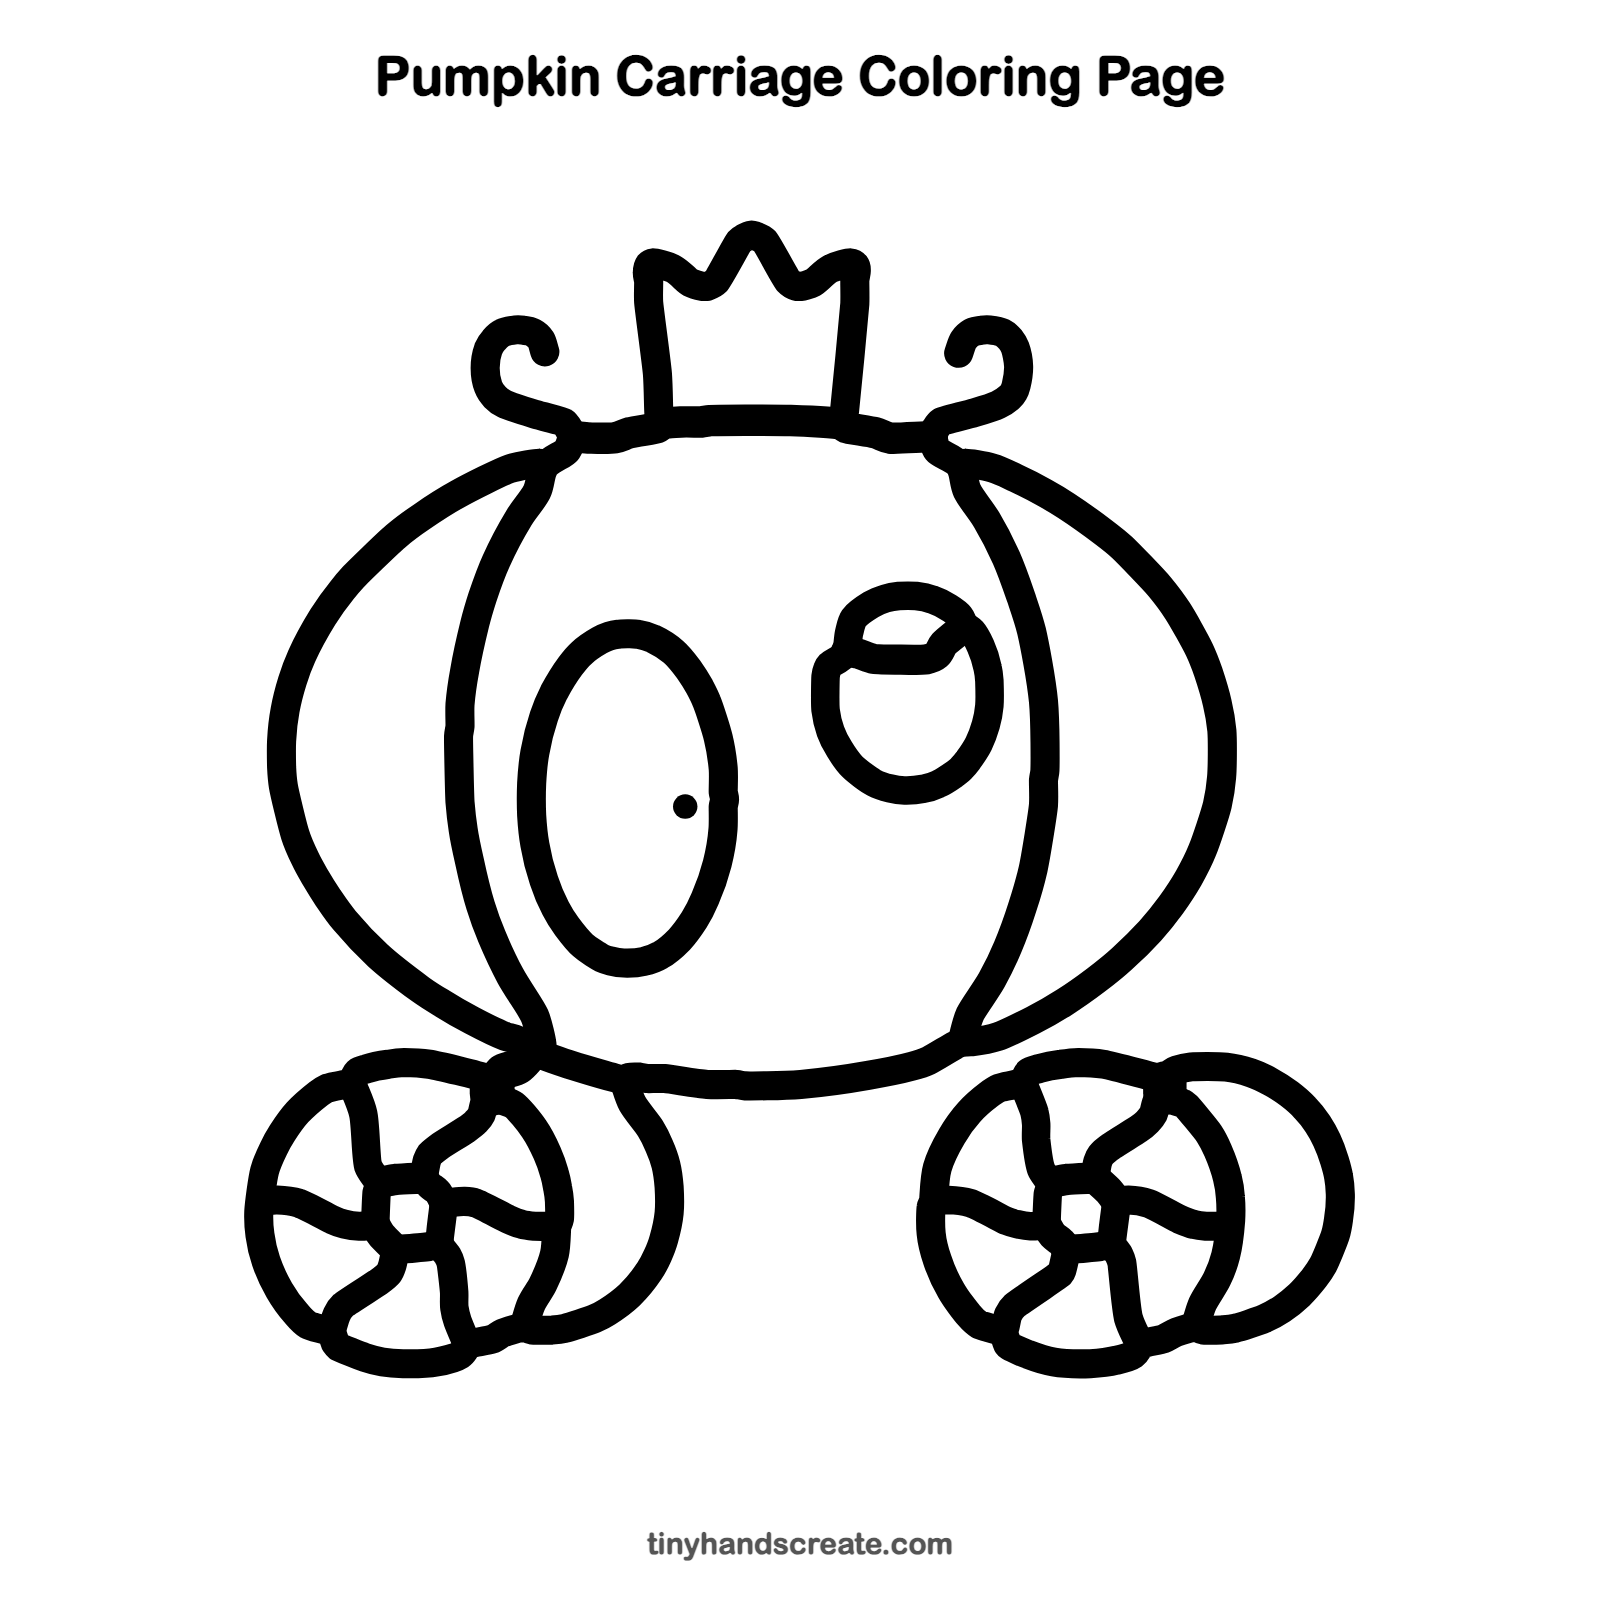
How to color your pumpkin carriage drawing
Color the pumpkin orange, with a lighter orange on the ridges, and the crown gold. Try a pale blue door and window, or make the whole carriage sparkle with glitter glue.
Pumpkin carriage fun fact for kids
The pumpkin coach comes from the Cinderella story told by Charles Perrault, a French writer who published it in 1697. In his version, the fairy godmother turns a pumpkin into a coach.
Questions about drawing a pumpkin carriage
What shapes do I need to draw a pumpkin carriage?
You need a rounded pumpkin shape with curved ridges, a tall oval for the door, a small circle for the window, and two circles for the wheels. The crown is a small box with a zigzag top.
How do I make the wheels look round?
Trace around a coin or a bottle cap on scrap paper to practice a neat circle, or draw a light circle first and go over it. Drawing slowly with your whole arm helps too.
How do I make my pumpkin carriage look more magical?
Add little stars around it and a sparkly trail behind the wheels. The curly vines and the crown already make it look like it belongs to a princess.