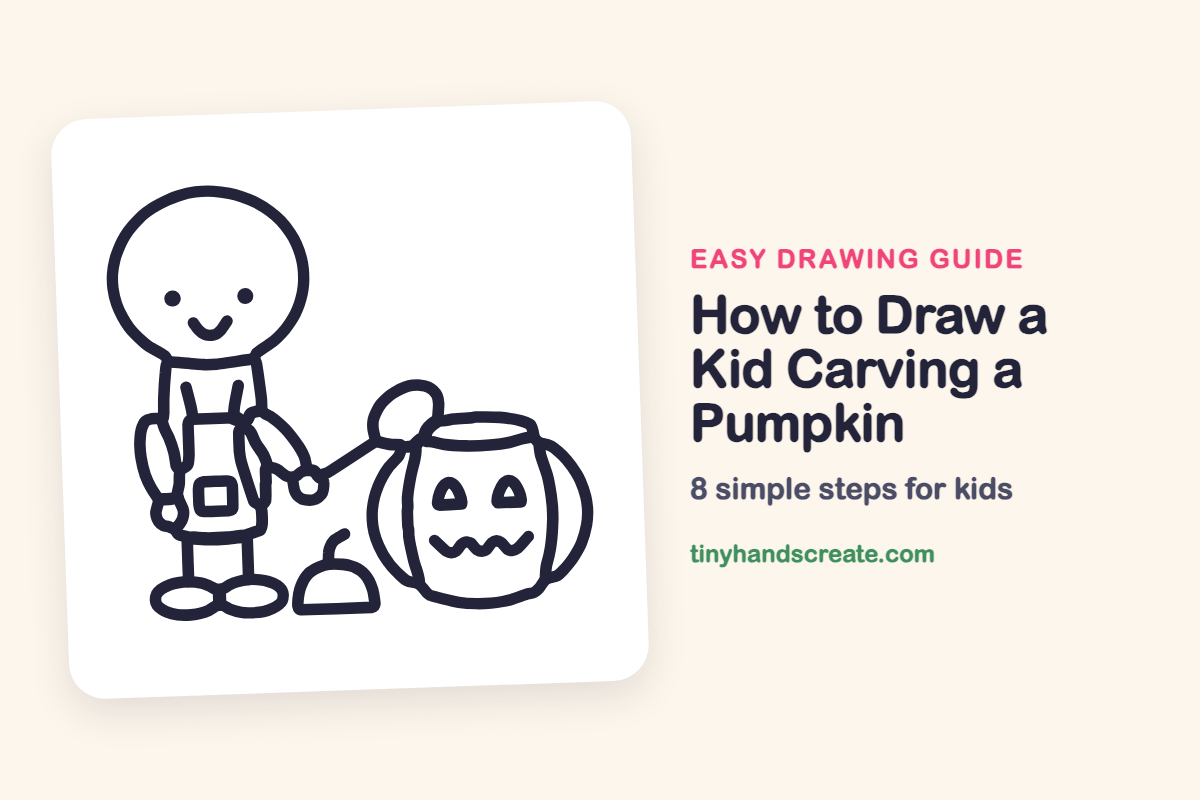
How to Draw a Kid Carving a Pumpkin (Easy Step by Step)
A kid carving a pumpkin is a cozy fall picture with a story in it. The kid is built from a round head, a simple body with an apron, and a few lines for the arms and legs. The pumpkin is a big round shape with a spooky face. It is a great way to practice drawing round shapes and putting two characters together on one page.
- Medium
- 15 minutes
- 8 steps
You need: paper, a pencil, an eraser, and crayons or markers for coloring.
Start drawingIn this article (7 sections)
How to draw a kid carving a pumpkin step by step
How to Draw a Kid Carving a Pumpkin · tinyhandscreate.com
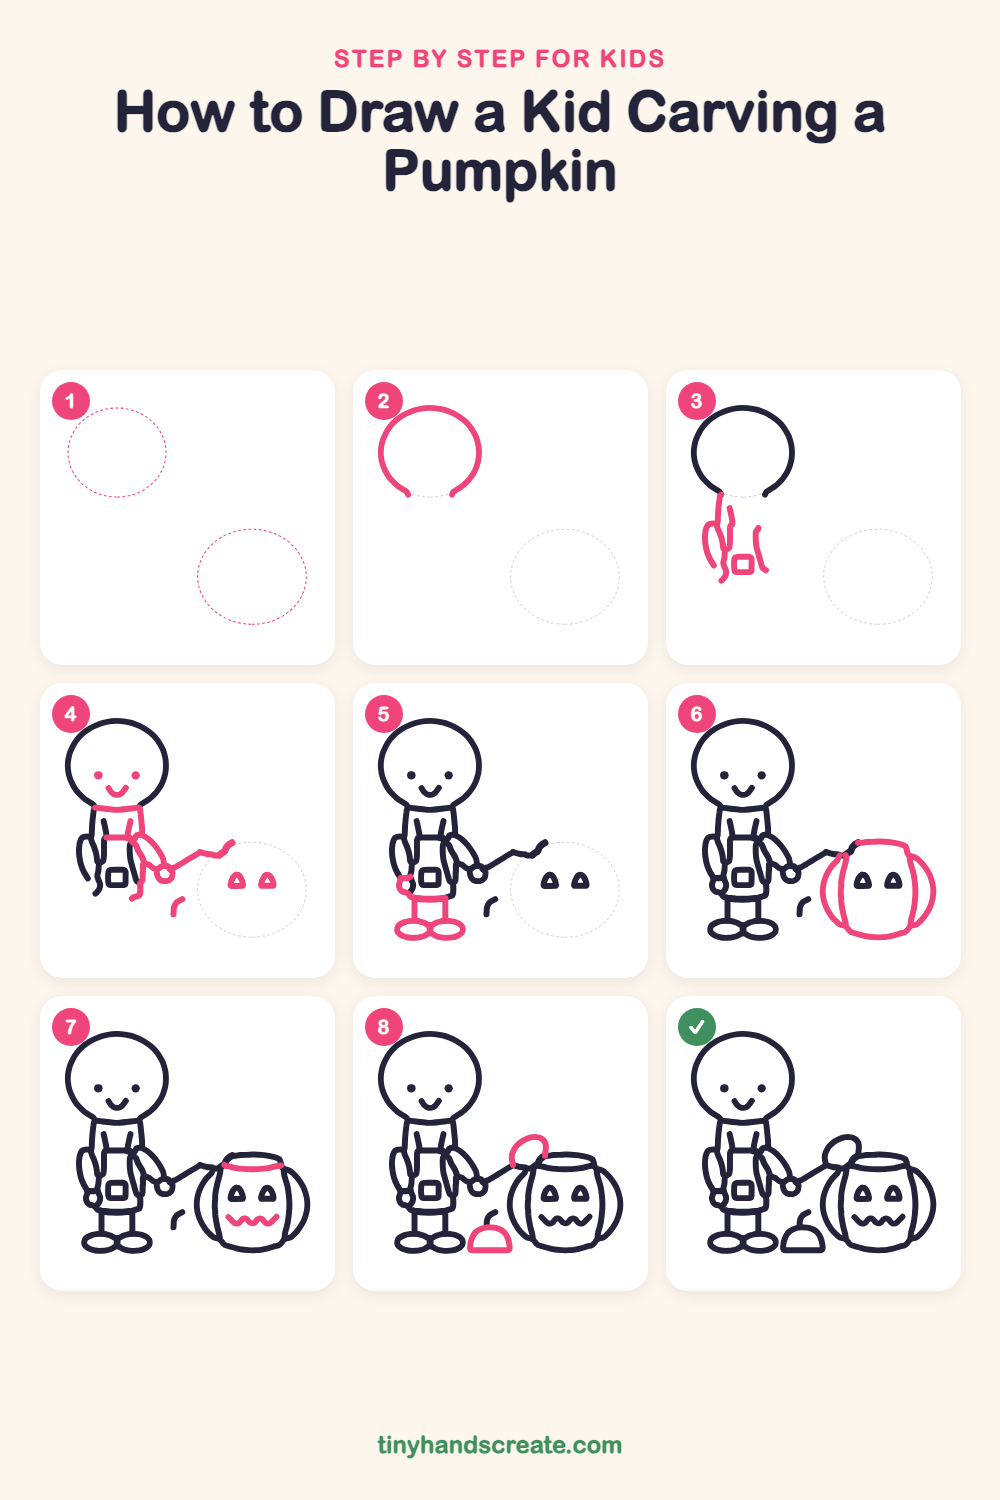
Step 1: Guide shapes
Lightly sketch these 2 ovals. They only show where the big parts go, so press softly. You will erase them at the end.
Step 2: The round head
Draw a big round curve for the head, like a circle with a small gap at the bottom. Leave the gap open, because the neck will join it next.
Step 3: Body and left arm
Start at the gap in the head and draw two long lines going down for the sides of the body. Add a small skinny oval on the left for the arm that hangs down, and a little rounded square in the middle for the apron pocket.
Step 4: Face, apron and right arm
Draw two small dots for eyes and a little smile on the head. Add a short line across the neck, then the apron top, and a bent arm that reaches toward the pumpkin and ends in a small circle for the hand. Draw a wiggly stick from that hand, then add two small triangle eyes in the pumpkin spot.
Step 5: Legs and shoes
Draw two short straight legs going down from the bottom of the body. Add two flat ovals at the bottom for shoes, touching in the middle, and a tiny loop on the left for the hanging hand.
Step 6: The pumpkin
Draw a big round pumpkin to the right of the kid, a little wider than it is tall. Add two curved lines inside, one near each side, to make the pumpkin ribs.
Step 7: Rim and zigzag mouth
Draw a flat curved line across the top of the pumpkin for the opening. Then add a zigzag line under the eyes for a spooky mouth.
Step 8: Lid and cut piece
Draw a small rounded loop above the pumpkin, near the end of the stick, for the lid. On the ground, draw a little half circle with a flat bottom and a tiny curl on top for the cut piece.
All done!
Erase the guide shapes, go over your lines, then color it in.
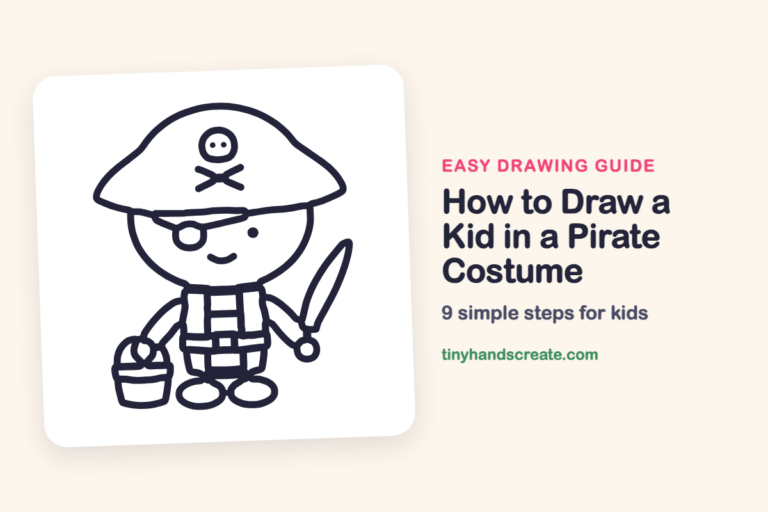
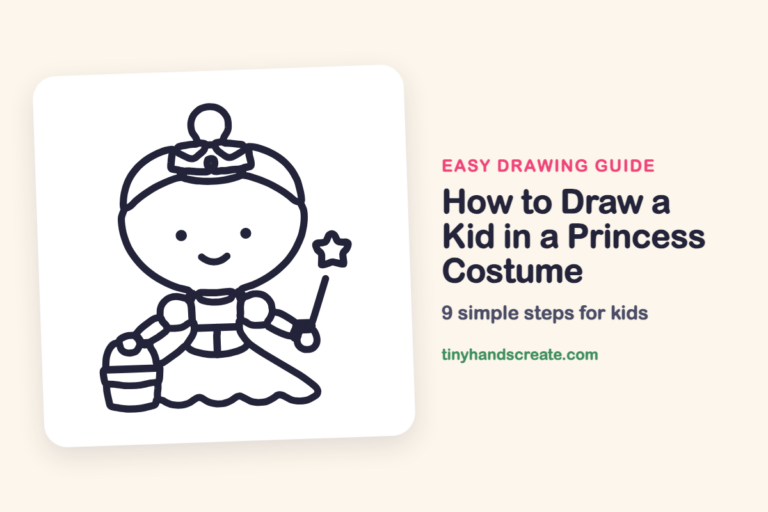
Finished your kid carving a pumpkin? Keep the pencils out and learn how to draw a kid in a pirate costume or how to draw a kid in a princess costume next.
Tips for drawing a kid carving a pumpkin
- Start by drawing the head and the pumpkin first, and leave room between them for the arm and stick.
- The right arm is the trickiest part. Draw it as a bent line toward the pumpkin, then add the small circle for the hand at the end.
- Make the two triangle eyes the same size by drawing one, then copying it next to the first.
Free kid carving a pumpkin coloring page
Want to go straight to coloring? Open this kid carving a pumpkin coloring page at full size and print it. It is the same drawing you just learned, with clean lines ready for crayons or markers.
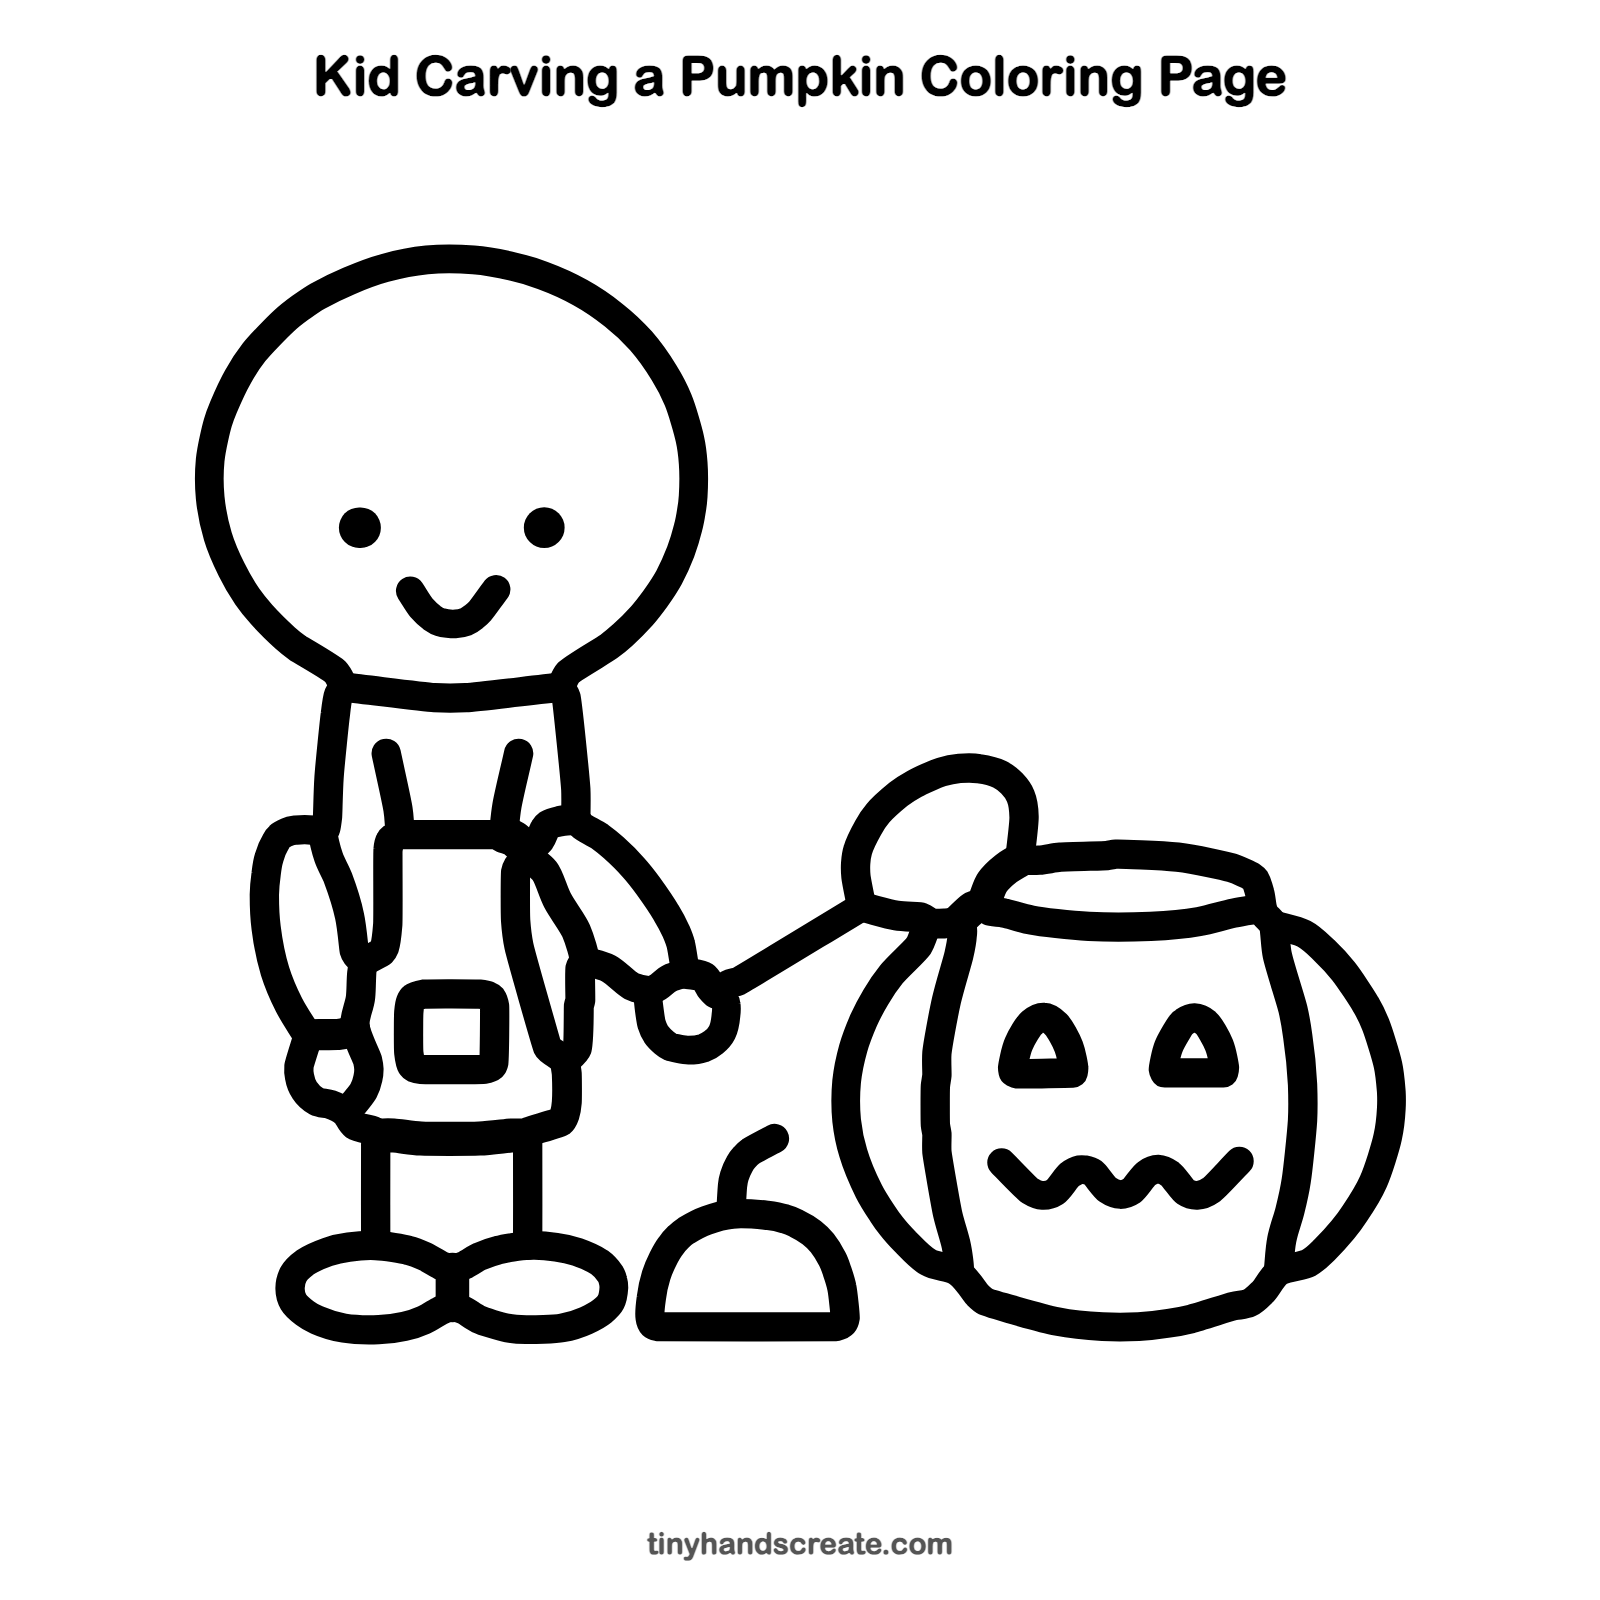
How to color your kid carving a pumpkin drawing
Try bright orange for the pumpkin, with a green stem on the lid and a colorful apron. Give the kid a cheerful shirt color and the shoes a different color.
Kid carving a pumpkin fun fact for kids
Long before people carved pumpkins, people in Ireland carved faces into turnips for Halloween. When Irish families moved to America, they started using pumpkins because they were bigger and easier to carve.
Questions about drawing a kid carving a pumpkin
What shapes do I need to draw a kid carving a pumpkin?
You need a big round curve for the head, a few straight lines for the body and legs, flat ovals for the shoes, and a wide round shape for the pumpkin. Small triangles and a zigzag make the face.
How do I make my pumpkin look spookier?
Make the eyes pointy triangles and draw the mouth as a wide zigzag with sharp corners.
How do I draw the kid holding something?
Draw the arm bending out toward the pumpkin and end it with a small circle for the hand. Then draw the wiggly stick starting right at that circle.