How to Draw a Wind Turbine (Easy Step by Step)
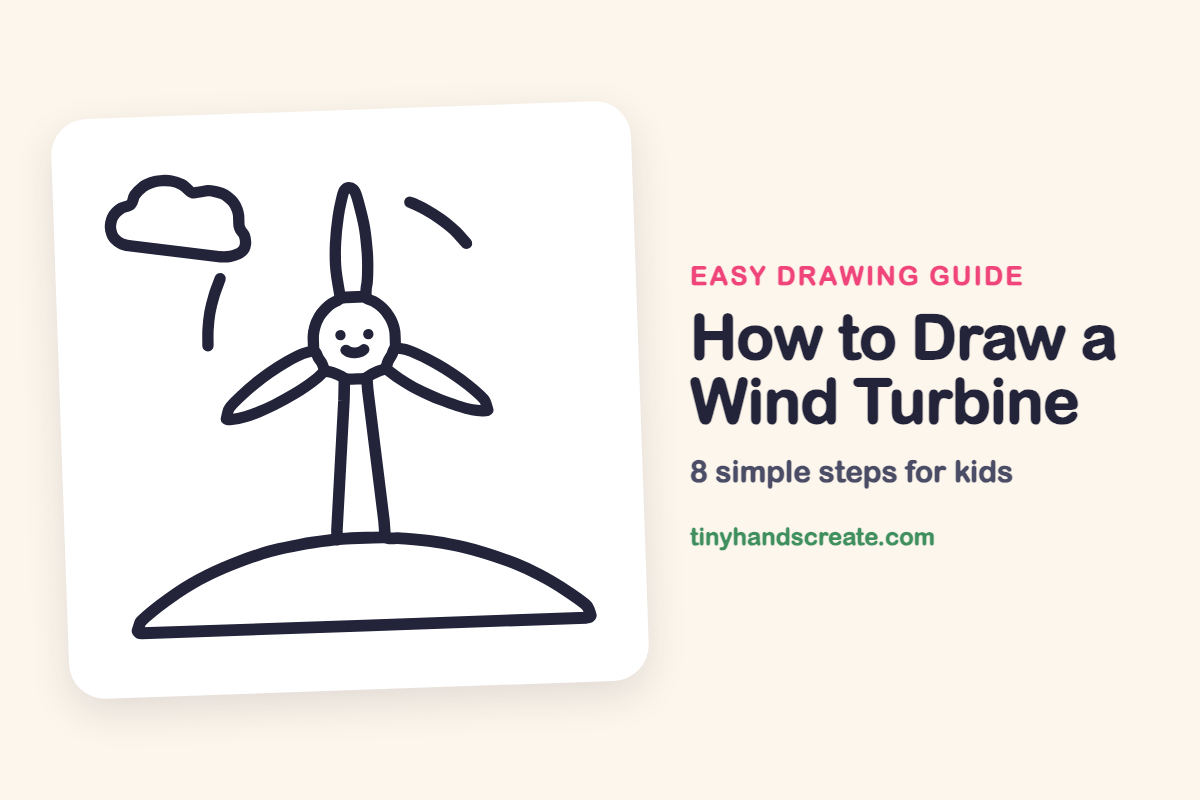
A wind turbine is a friendly drawing built from a circle, long leaf shapes and straight lines. This one has a smiling face on its hub, which makes it feel like a cheerful helper standing on a hill. Kids practice curves, symmetry and balance without needing anything tricky.
- Easy
- 10 minutes
- 8 steps
You need: paper, a pencil, an eraser, and crayons or markers for coloring.
Start drawingIn this article (7 sections)
How to draw a wind turbine step by step
How to Draw a Wind Turbine · tinyhandscreate.com
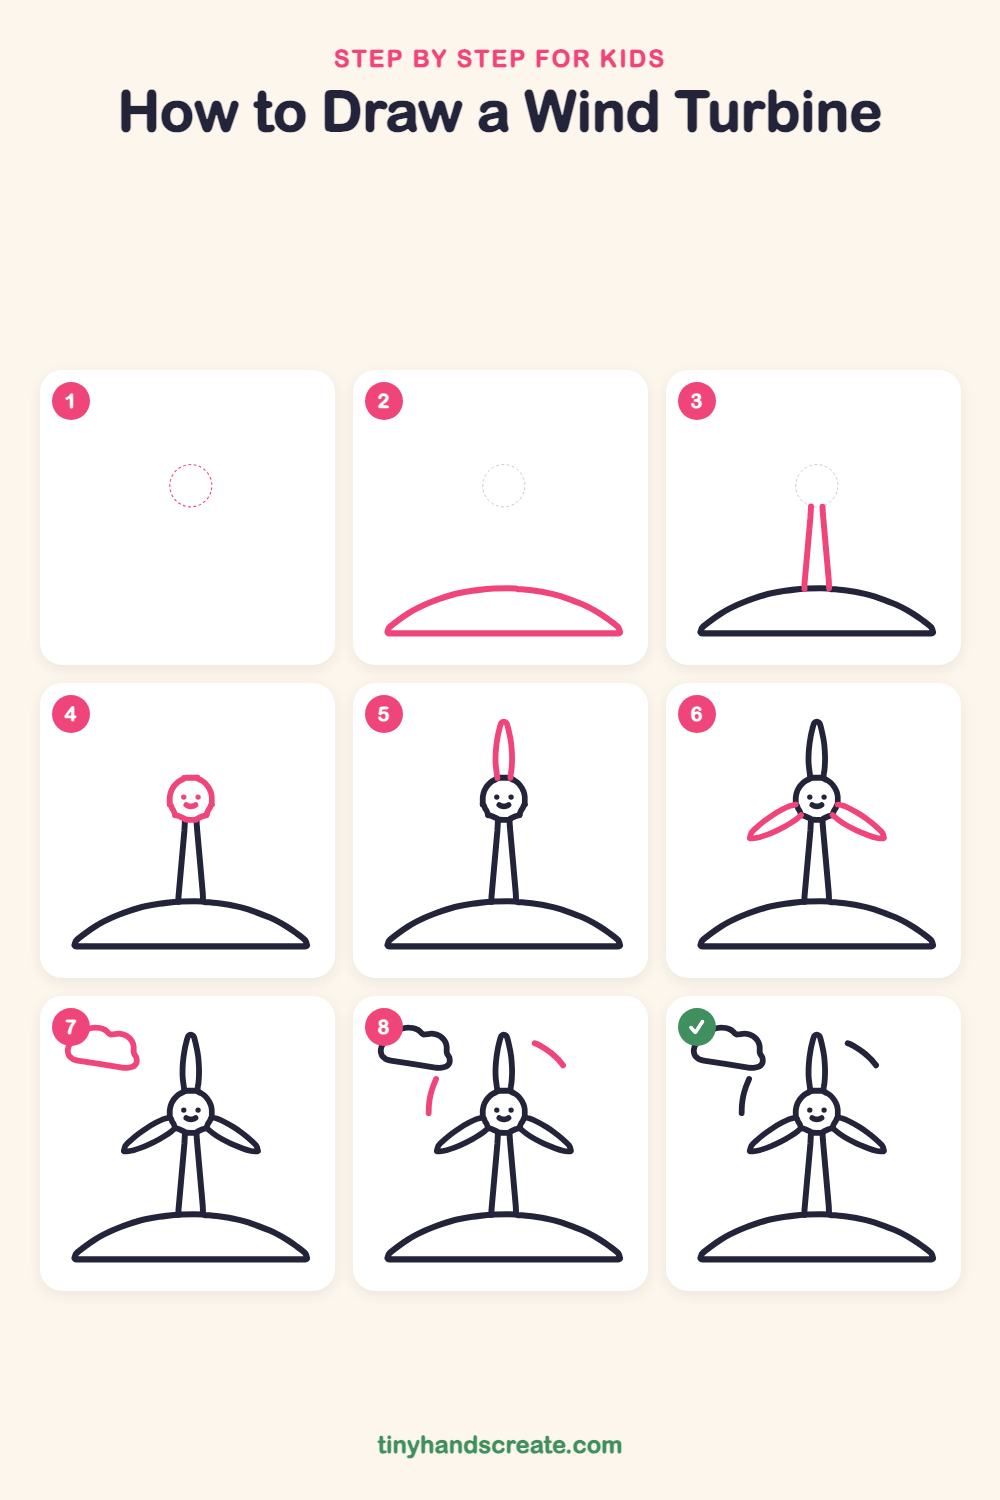
Step 1: Guide shapes
Lightly sketch this oval. It only shows where the big parts go, so press softly. You will erase it at the end.
Step 2: The hill
Draw a wide, gentle hill: a long flat line along the bottom, then a curved arch on top that starts and ends at the ends of that line.
Step 3: The tall tower
Starting in the middle of the hill, draw two long straight lines going up. Let them lean a tiny bit closer together as they rise, like a tall skinny cone.
Step 4: The smiling hub
At the top of the tower, draw a circle. Add two small dot eyes and a little curved smile inside it.
Step 5: The top blade
From the top of the circle, draw a long, thin leaf shape pointing straight up. Make both sides curve and meet in a point.
Step 6: The side blades
Draw two more leaf shapes that start at the circle and stretch down and out, one to the left and one to the right. Make them match like wings.
Step 7: The fluffy cloud
In the top left corner, draw a cloud with a flat bottom and two or three round bumps along the top.
Step 8: Wind swooshes
Draw two short curved lines in the sky: one up high on the right of the turbine and one lower on the left, below the cloud. They show the wind blowing.
All done!
Erase the guide shapes, go over your lines, then color it in.
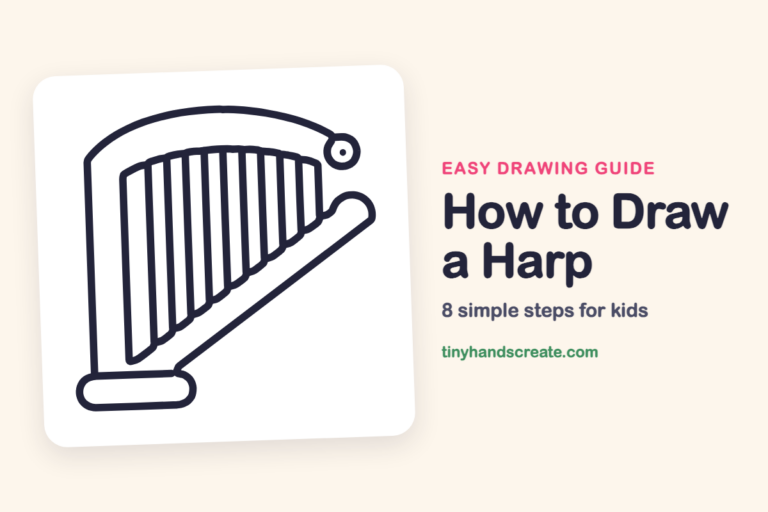
Finished your wind turbine? Keep the pencils out and learn how to draw a saxophone or how to draw a harp next.
Tips for drawing a wind turbine
- Draw the two tower lines first and check they lean in just a little at the top, so the tower looks tall and steady.
- Make the three blades about the same length. Draw the top one first, then match the left and right ones to it.
- Keep the smile and eyes small and close together in the middle of the circle, so the face stays cute.
Free wind turbine coloring page
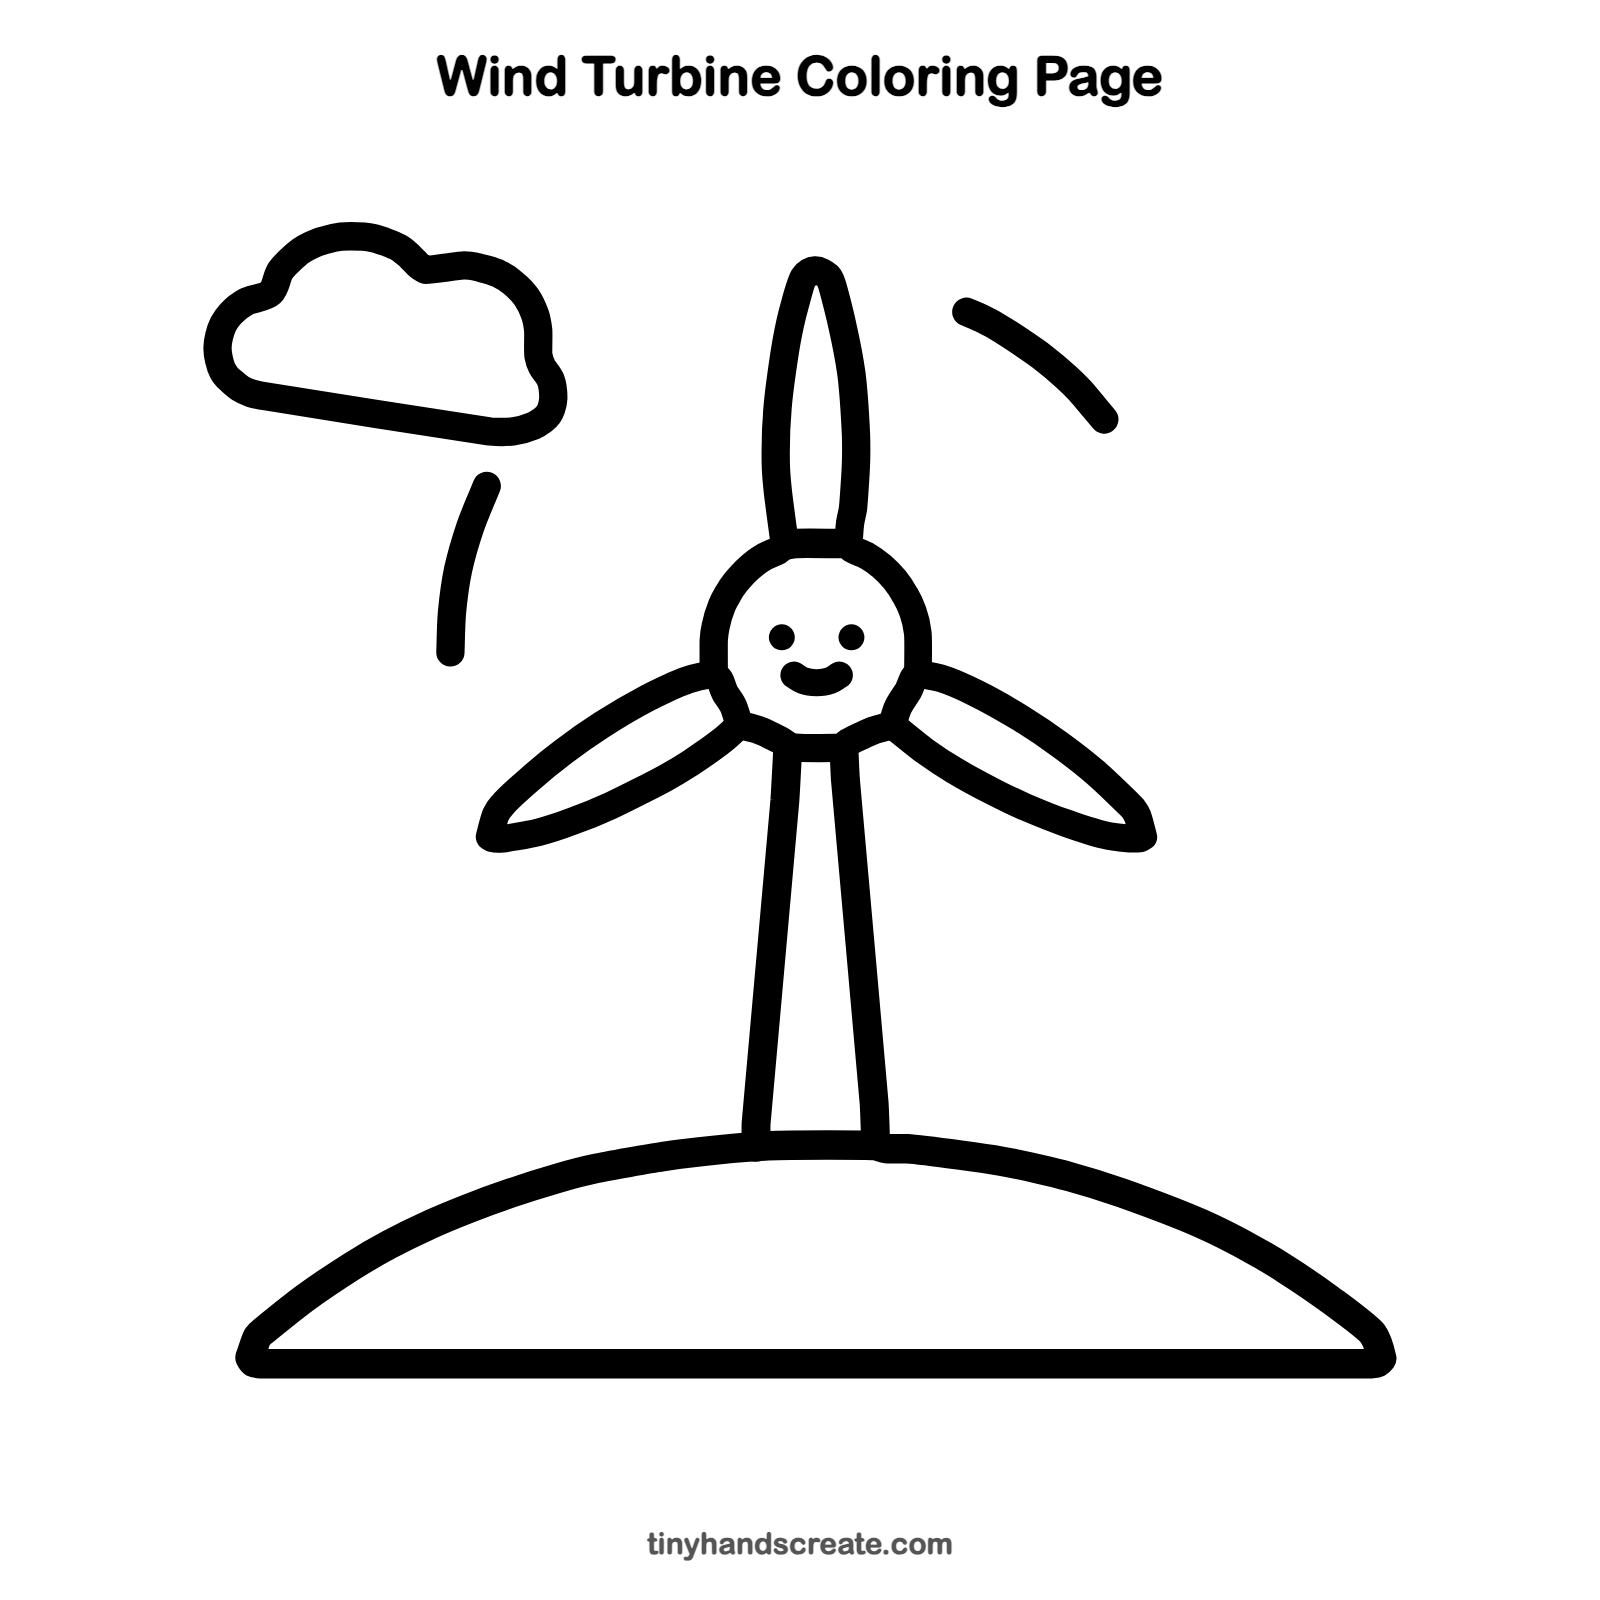
Want to go straight to coloring? Open this wind turbine coloring page at full size and print it. It is the same drawing you just learned, with clean lines ready for crayons or markers.
How to color your wind turbine drawing
Try a green hill, a blue sky, a white tower and bright blades in red, yellow or orange. For a creative twist, color each blade a different color so the turbine looks like a spinning rainbow.
Wind turbine fun fact for kids
People used windmills to grind grain and pump water long before wind turbines were invented. Modern wind turbines turn the energy of moving air into electricity.
Questions about drawing a wind turbine
What shapes do I need to draw a wind turbine?
You need a circle for the hub, three long pointed leaf shapes for the blades, two straight lines for the tower and a curved arch for the hill.
How do I make my wind turbine blades look even?
Draw the top blade first, then place the other two so they point down and out at the same angle on each side. Use the first blade as your size guide.
How do I make my wind turbine look cuter?
Give the hub a smiley face with two small dot eyes and a curved mouth. A few swooshy wind lines and a fluffy cloud help too.