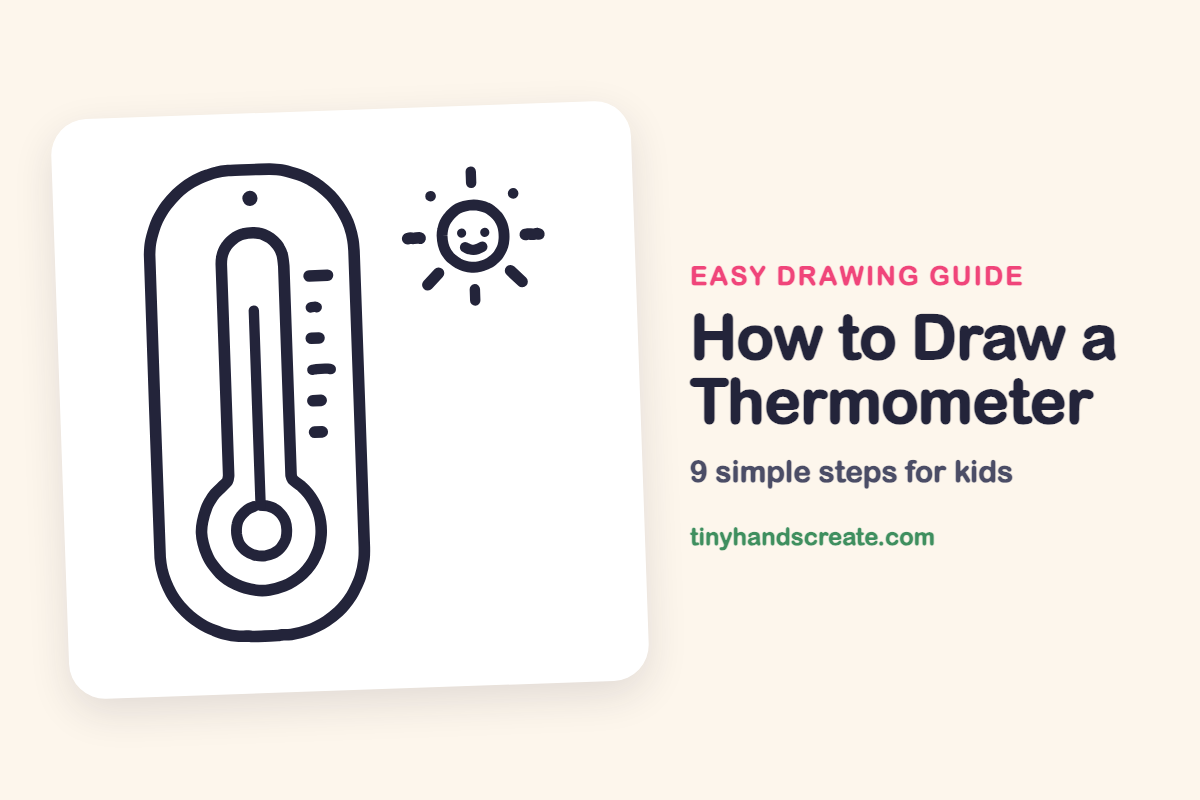
How to Draw a Thermometer (Easy Step by Step)
A thermometer is a fun drawing because it is built from just a few simple shapes: a tall pill, a skinny tube, and a round bulb. This one also has a happy little sun beside it, so your picture tells a story about a warm day. Once you can draw circles and straight lines, you can draw it.
- Easy
- 10 minutes
- 9 steps
You need: paper, a pencil, an eraser, and crayons or markers for coloring.
Start drawingIn this article (7 sections)
How to draw a thermometer step by step
How to Draw a Thermometer · tinyhandscreate.com
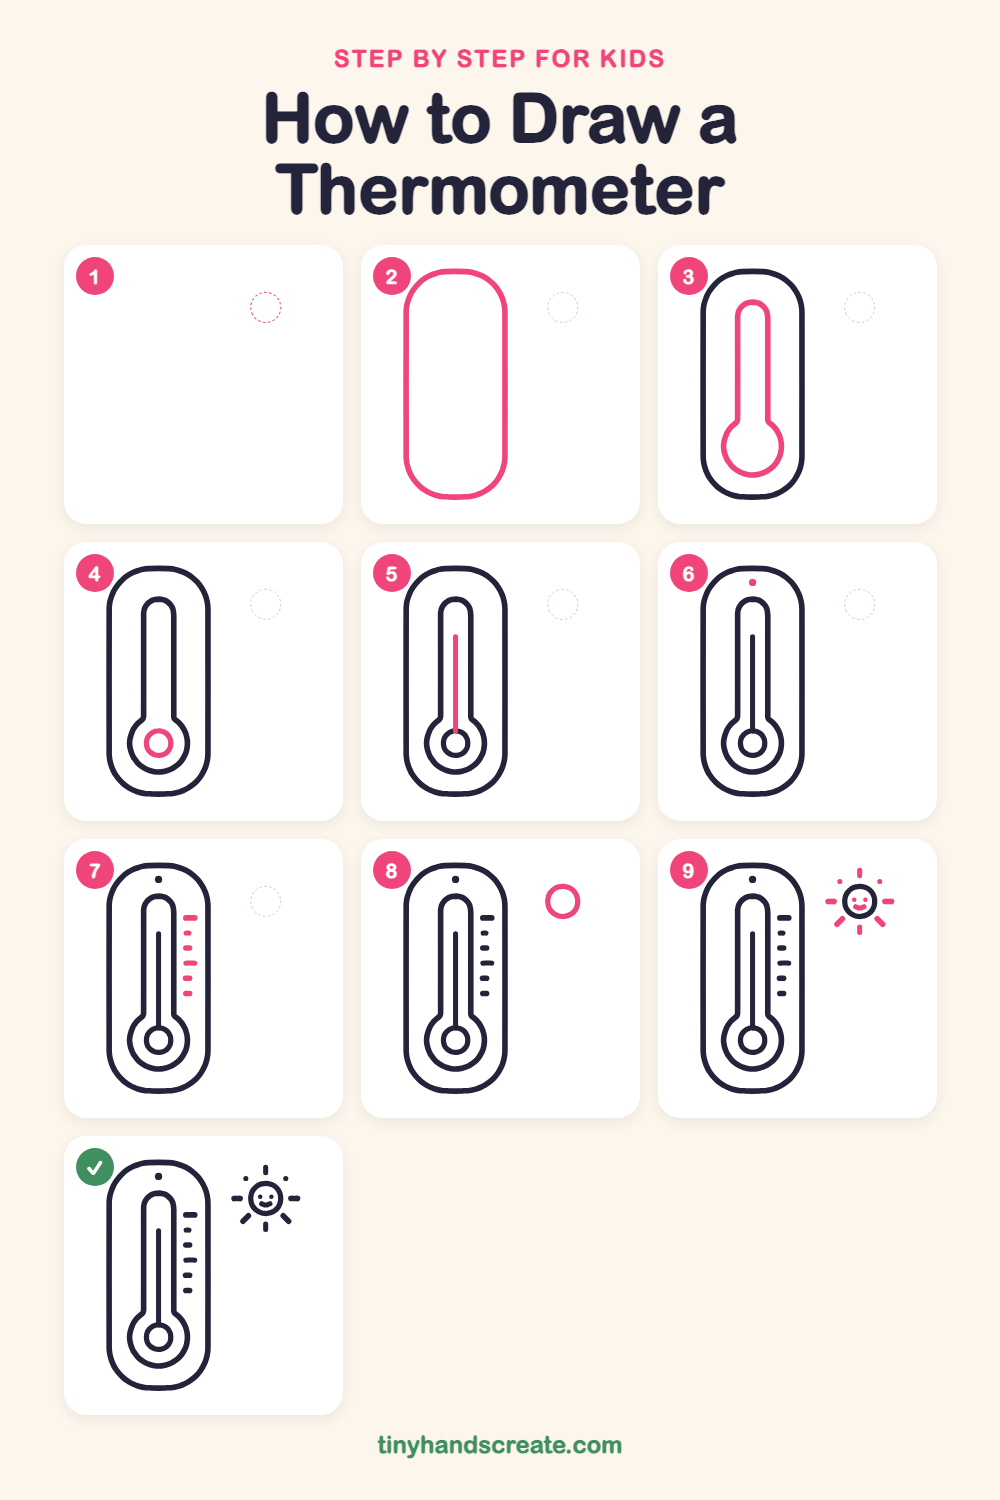
Step 1: Guide shapes
Lightly sketch this oval. It only shows where the big parts go, so press softly. You will erase it at the end.
Step 2: The outer case
Draw a tall, skinny pill shape with a rounded top and a rounded bottom. Make it nice and big, because the tube and bulb will go inside it.
Step 3: Tube and bulb
Inside the case, draw a long, narrow tube with a rounded top. At the bottom, let the tube flare out and curve around into a big circle for the bulb.
Step 4: The inner circle
Draw a small circle inside the big round bulb at the bottom. It sits right in the middle, like a bubble inside a bubble.
Step 5: The middle line
Draw one straight line going up from the little circle into the middle of the tube. Stop it a little before the top of the tube.
Step 6: Hanging dot
Add a small round dot near the top of the case, above the tube. This is where the thermometer would hang on a nail.
Step 7: Scale marks
On the right side of the tube, draw short dashes in a column, one under the other. Make them long, short, short, long, short, short so they look like a ruler.
Step 8: The sun circle
To the right of the thermometer, draw a circle for the sun. Keep it about as wide as the tube.
Step 9: Face and sun rays
Give the sun two tiny dot eyes and a curvy smile. Then draw short dashes all the way around the circle, like rays of light.
All done!
Erase the guide shapes, go over your lines, then color it in.
Finished your thermometer? Keep the pencils out and learn how to draw a wind turbine or how to draw a saxophone next.
Tips for drawing a thermometer
- Draw the outer pill shape first and keep it tall. If the top and bottom look uneven, fold your paper in half to check that both sides match.
- The tube and bulb are the trickiest part. Draw the long tube first, then curve each side outward to meet a big circle at the bottom.
- Use a ruler or the edge of a card for the middle line and the dashes. Make the long dashes longer than the short ones so they look like real scale marks.
Free thermometer coloring page
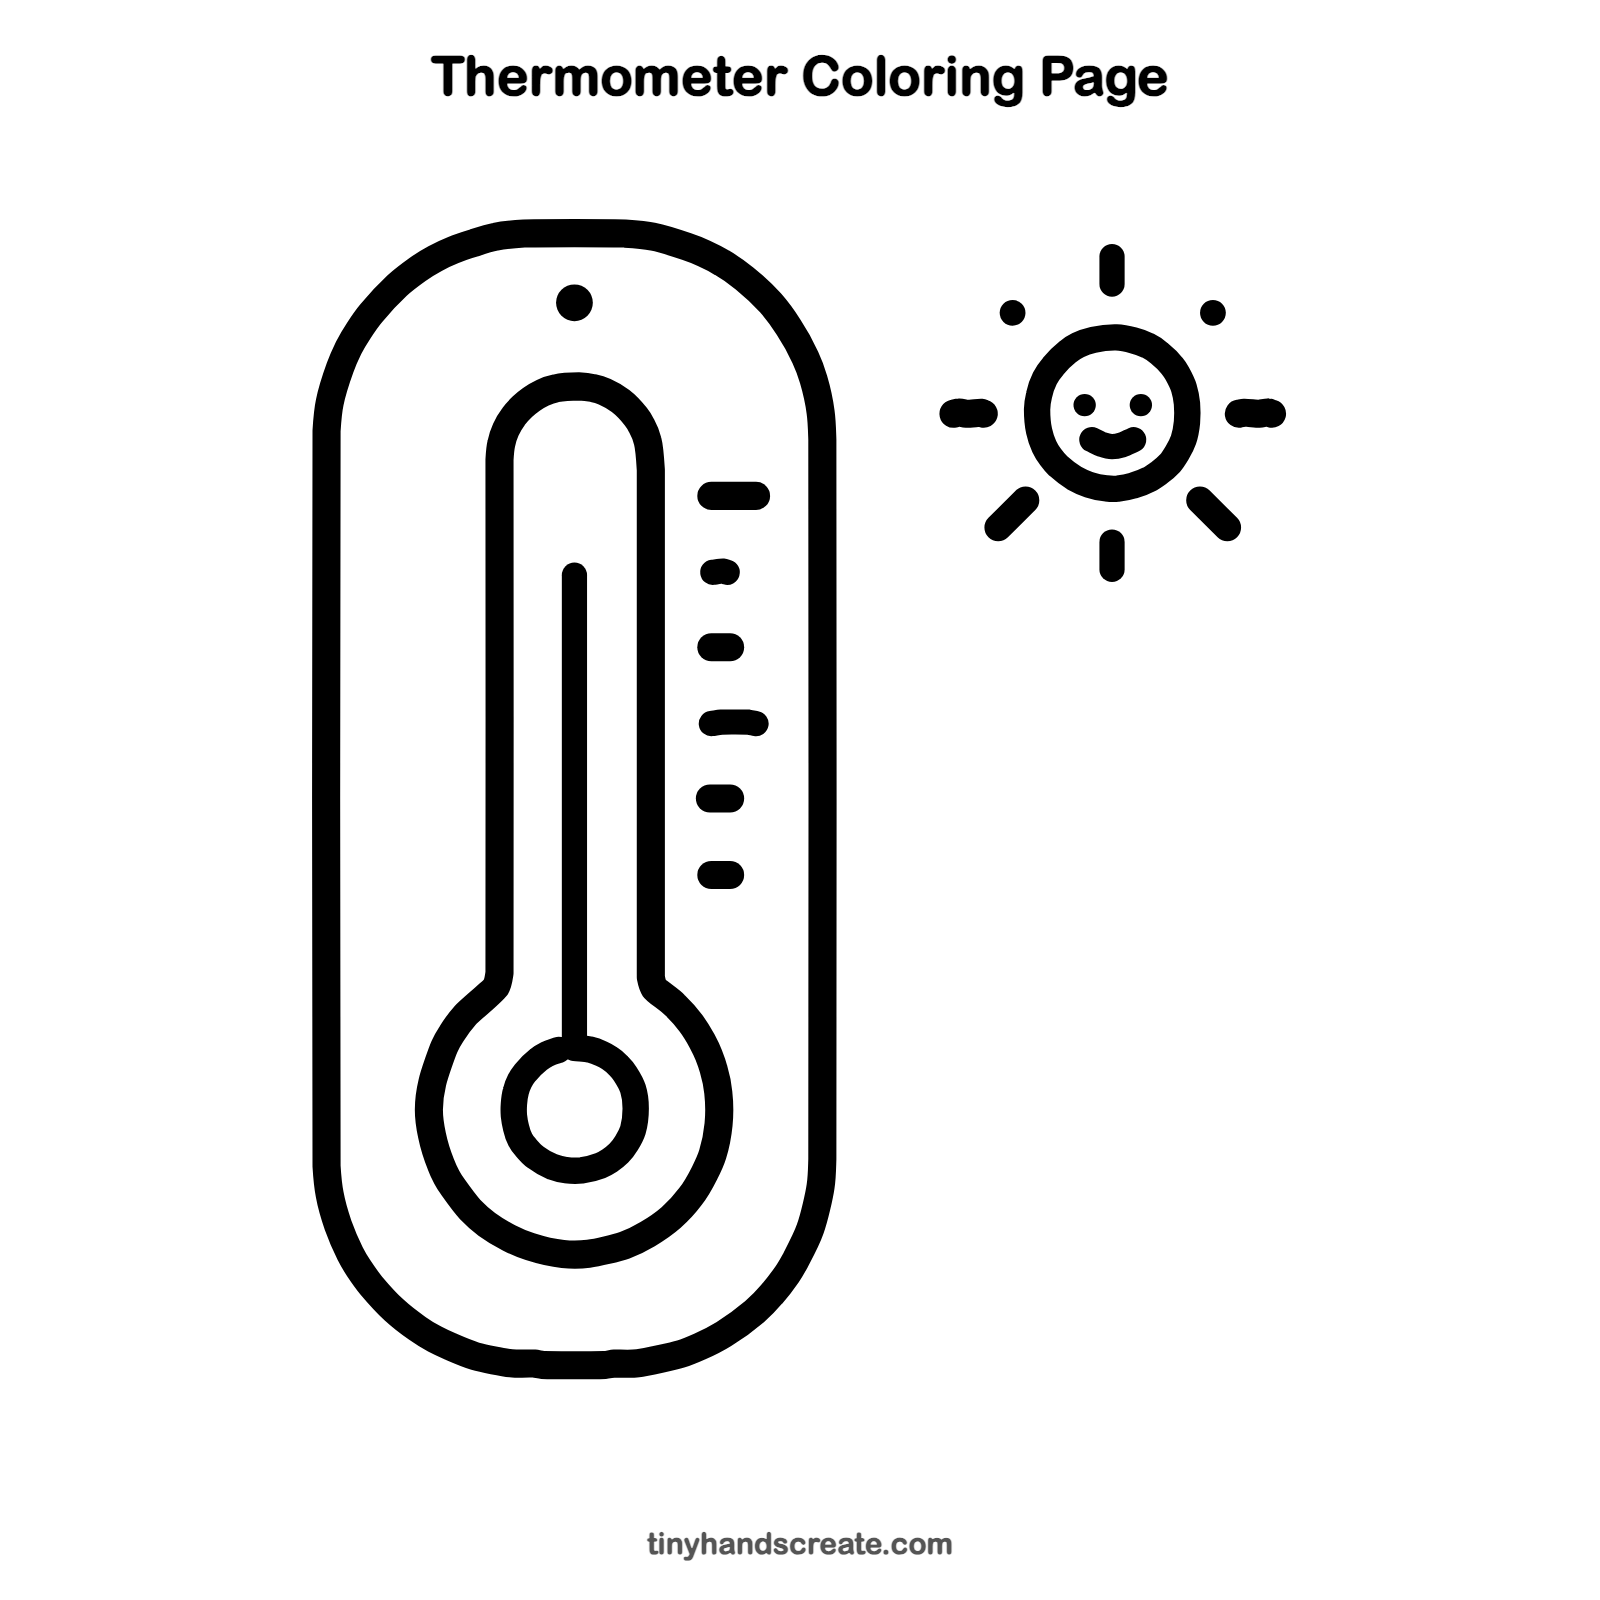
Want to go straight to coloring? Open this thermometer coloring page at full size and print it. It is the same drawing you just learned, with clean lines ready for crayons or markers.
How to color your thermometer drawing
Color the line in the tube bright red and the bulb red too, so it looks like a hot day. Try coloring the sun yellow and the dashes in a rainbow, or make a second thermometer filled with blue for a cold winter day.
Thermometer fun fact for kids
Water freezes at 32 degrees Fahrenheit (0 degrees Celsius) and boils at 212 degrees Fahrenheit (100 degrees Celsius) at sea level, and thermometers are made to measure temperatures like these.
Questions about drawing a thermometer
What shapes do I need to draw a thermometer?
You need a tall rounded rectangle for the case, a long narrow tube with a rounded top that opens into a big circle for the bulb, and a small circle inside the bulb. The dashes are just short straight lines.
How do I make my thermometer look like it is working?
Draw the line rising from the little circle partway up the tube, and add small dashes beside the tube as the scale marks. A line that stops in the middle of the tube shows a temperature.
How do I draw the sun's rays evenly?
Start with four rays at the top, bottom, left, and right, like a plus sign. Then add one ray between each pair, so you have eight rays all the way around.