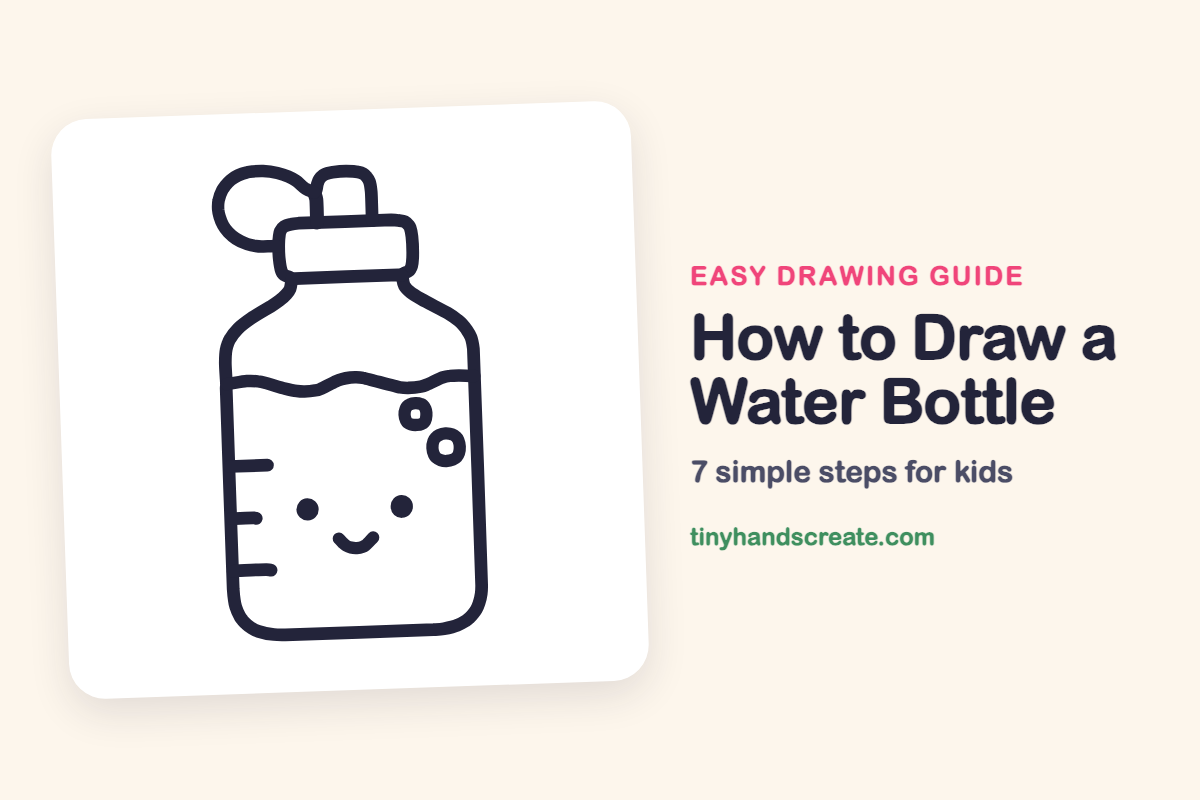
How to Draw a Water Bottle (Easy Step by Step)
A water bottle is a friendly thing to draw because it is made from simple shapes you already know: rounded boxes, circles, and one wavy line. A smiling face turns it into a little character. By the end you will have a bottle with a strap, water, bubbles, and a happy face.
- Easy
- 10 minutes
- 7 steps
You need: paper, a pencil, an eraser, and crayons or markers for coloring.
Start drawingIn this article (7 sections)
How to draw a water bottle step by step
How to Draw a Water Bottle · tinyhandscreate.com
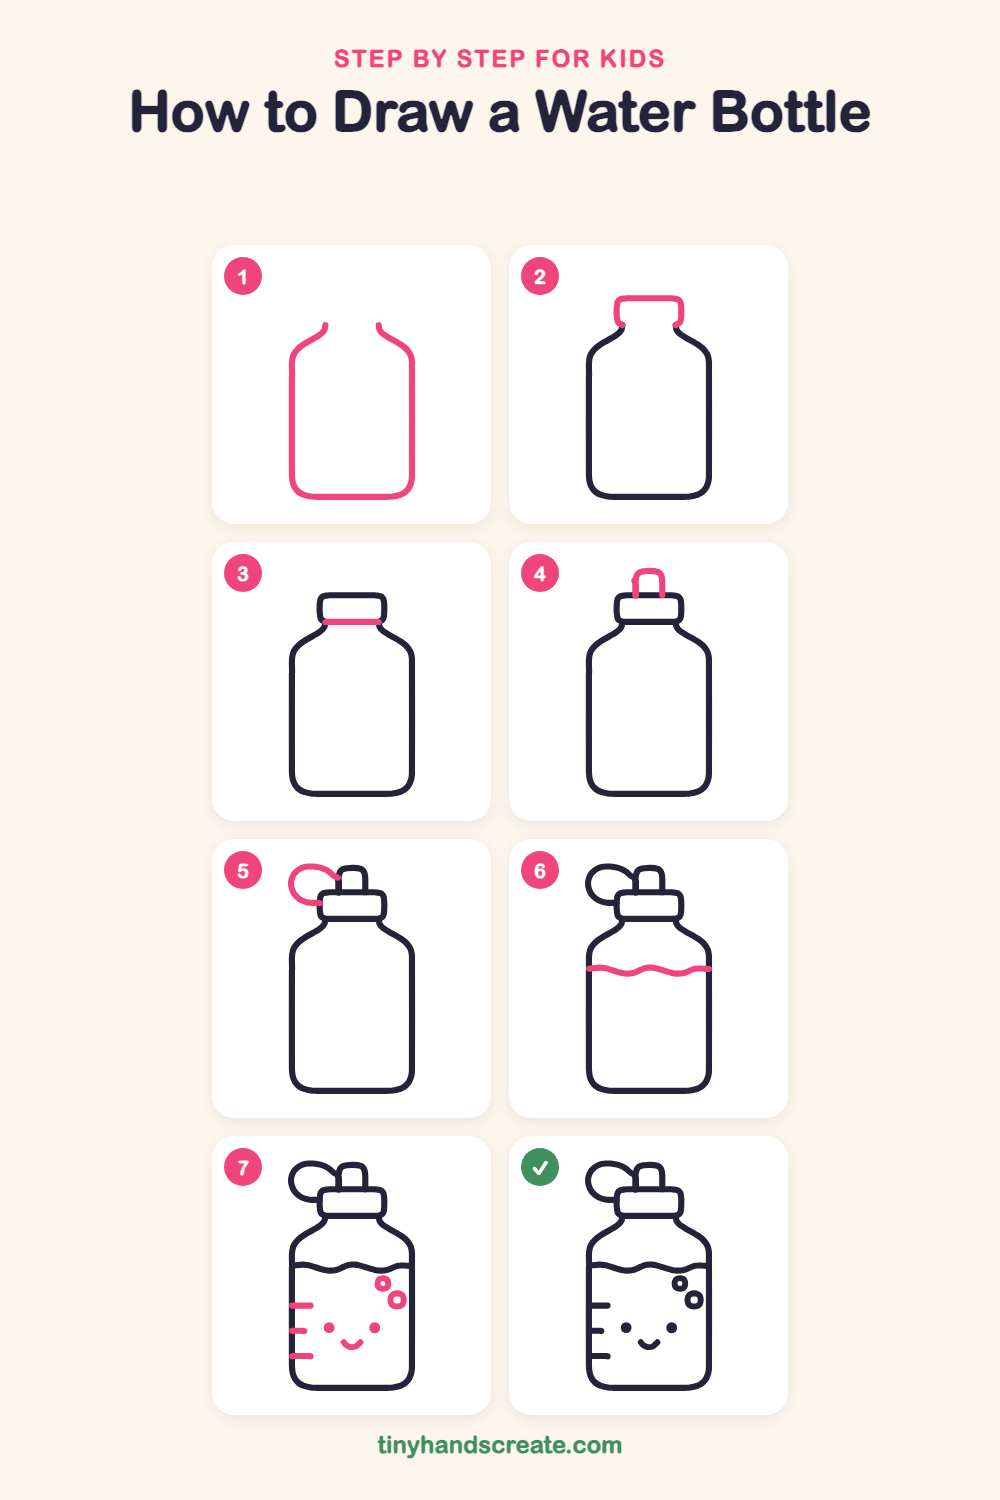
Step 1: The bottle body
Draw a tall rounded shape with straight sides and soft rounded corners at the bottom. At the top, curve both sides inward like shoulders, and stop them with a small gap in the middle for the neck.
Step 2: The cap
Draw a short, wide box with rounded top corners that sits in the gap between the shoulders. Start the sides at the ends of the shoulder lines and join them across the top.
Step 3: The cap's bottom line
Draw one straight line across the bottom of the cap, from one shoulder line to the other. This closes the cap so it looks snapped onto the bottle.
Step 4: The spout
On top of the cap, draw a small upside-down U shape. Its two short legs start on the cap's top line and the rounded top sticks up like a little spout.
Step 5: The loop strap
Start at the top left of the spout and draw a round loop that swings out to the left and down. End it at the left side of the cap, like a little handle.
Step 6: The water wave
Draw a wavy line across the bottle from one side to the other, a little below the shoulders. Make gentle ups and downs, like a calm ripple.
Step 7: Face, bubbles and marks
Draw two dots for eyes and a small smile curve below them. Add two small circles in the water near the top right for bubbles, then three short lines on the left side for measuring marks.
All done!
Go over your lines with a marker, then color it in.
Finished your water bottle? Keep the pencils out and learn how to draw a first aid kit or how to draw a bandage next.
Tips for drawing a water bottle
- Draw the body first and keep the sides straight. If the bottle looks wobbly, try drawing it very lightly in pencil and then going over it.
- The wavy water line is the trickiest part. Think of two or three gentle hills and let your hand glide from one side to the other without stopping.
- Place the face in the lower middle of the bottle. Make the eyes the same size and keep them level, and the smile will look happy.
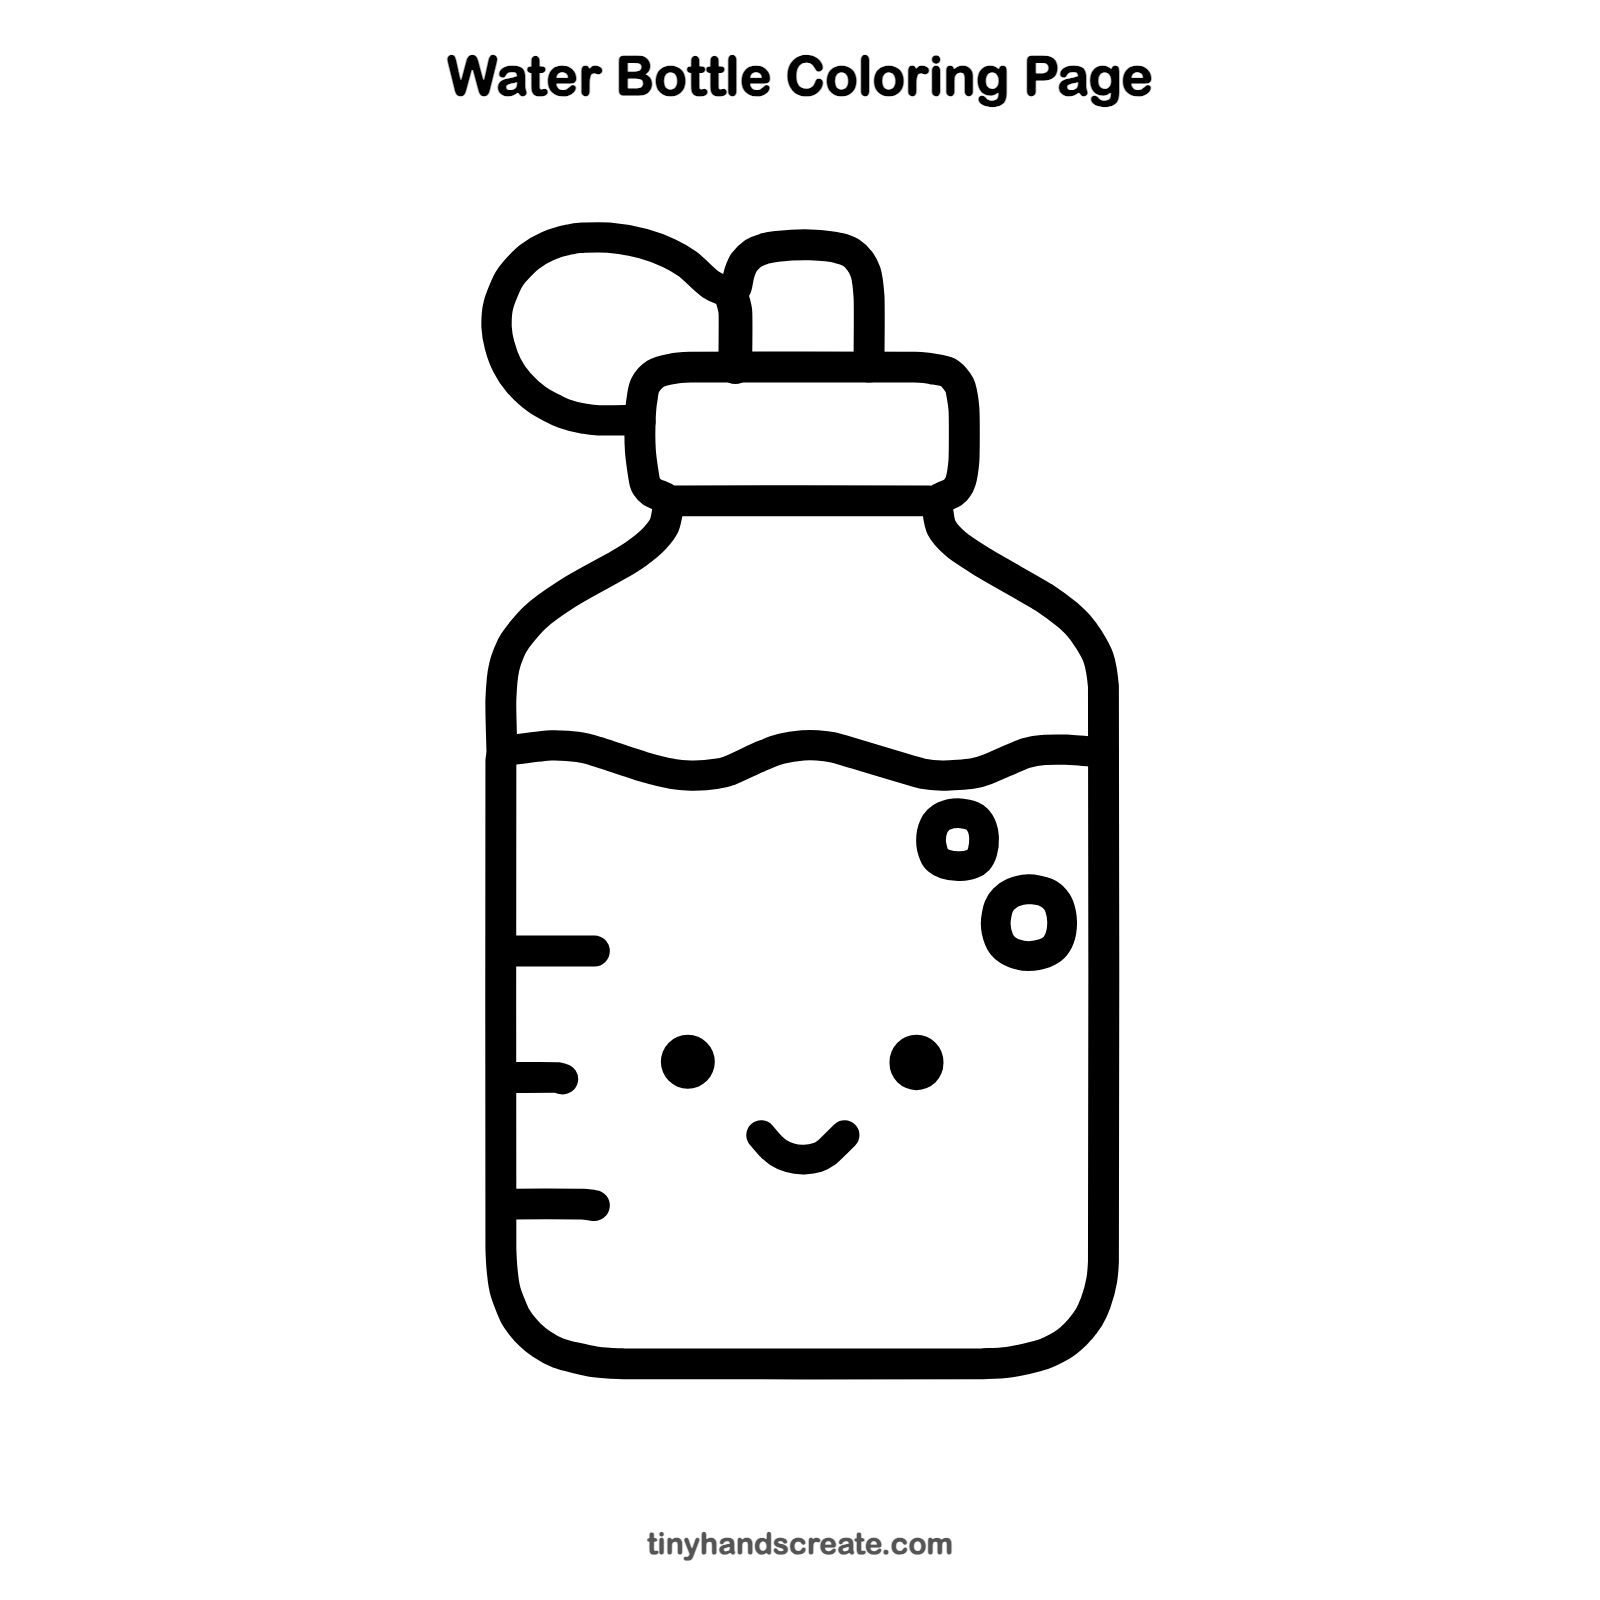
Free water bottle coloring page
Want to go straight to coloring? Open this water bottle coloring page at full size and print it. It is the same drawing you just learned, with clean lines ready for crayons or markers.
How to color your water bottle drawing
Color the water light blue and the cap and strap a bright color like red or green. For a creative twist, add stickers, stars, or a rainbow stripe on the bottle.
Water bottle fun fact for kids
About 60 percent of an adult human body is water, which is one reason people need to drink water every day.
Questions about drawing a water bottle
What shapes do I need to draw a water bottle?
You need a tall rounded shape for the body, a short box for the cap, a small upside-down U for the spout, and a round loop for the strap. Add a wavy line, two small circles, and a few short lines for the details.
How do I make my water bottle look cuter?
Give it a face with two round eyes and a small smile. Bubbles floating in the water also make it look playful.
How do I draw the water inside the bottle?
Draw a wavy line across the bottle below the shoulders, from one side to the other. Then color everything under the line blue.