How to Draw a Thermos (Easy Step by Step)
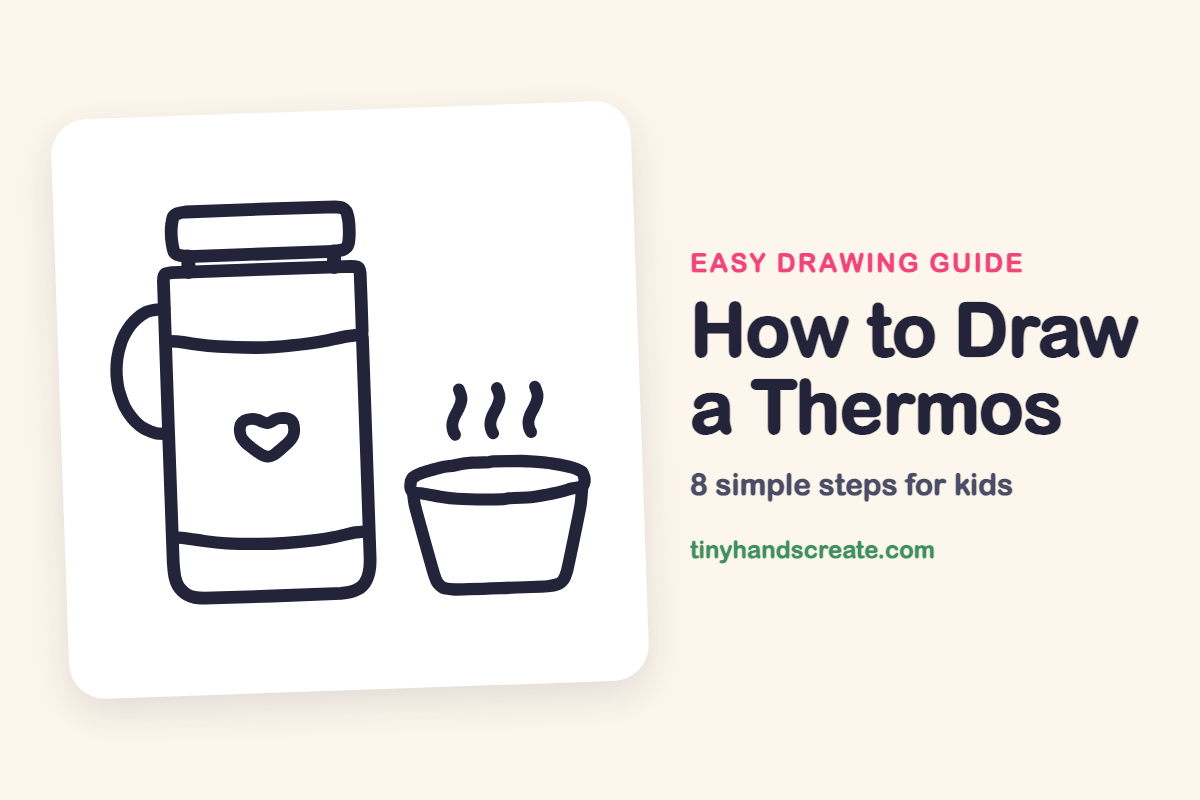
A thermos keeps soup and cocoa warm, and this one comes with a little cup and a heart on the front. It is built from rectangles, curves, and wavy lines, so it is a great first drawing of an everyday object.
- Easy
- 12 minutes
- 8 steps
You need: paper, a pencil, an eraser, and crayons or markers for coloring.
Start drawingIn this article (7 sections)
How to draw a thermos step by step
How to Draw a Thermos · tinyhandscreate.com
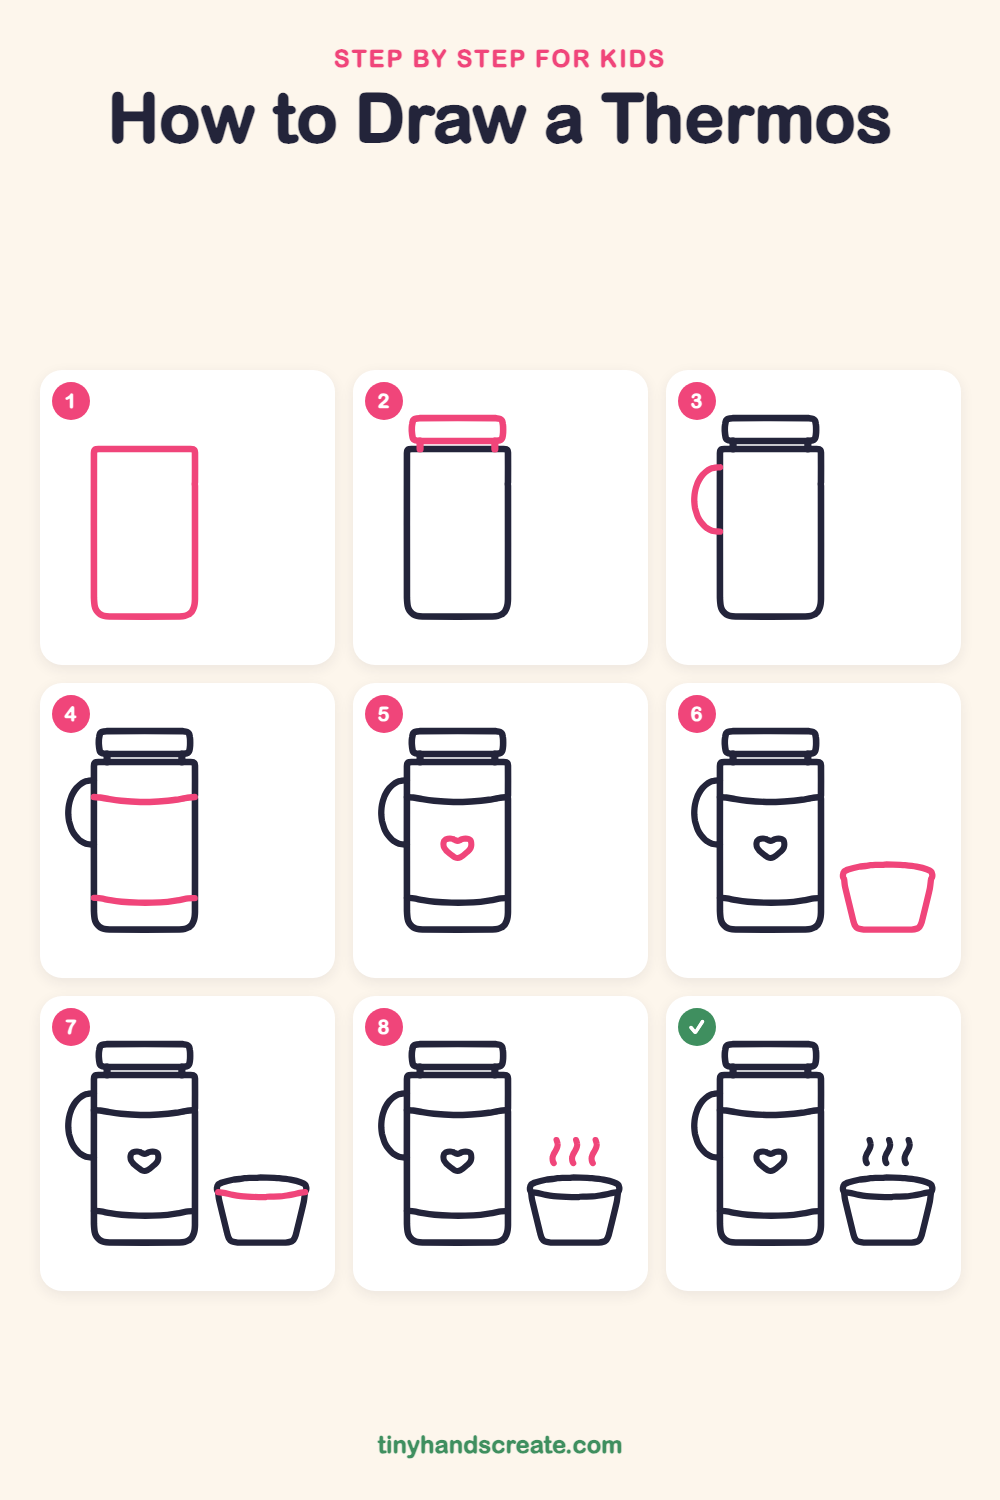
Step 1: The tall bottle
Draw a tall rectangle with straight sides and rounded bottom corners. Make it a little taller than it is wide.
Step 2: The lid
On top of the bottle, draw a wide rounded rectangle for the lid. Add two tiny posts that join the bottom of the lid to the top of the bottle.
Step 3: The handle
On the left side, draw a big curved C shape. Start and end the curve on the bottle's edge, like a handle you could hold.
Step 4: Two stripes
Draw one gently curved line across the upper part of the bottle and another near the bottom. Start and end each on the side edges.
Step 5: The heart
In the middle of the bottle, draw a small heart. Start with two bumps on top and bring the lines down to a point.
Step 6: The cup
To the right of the bottle, draw a cup shaped like a bowl. Start with a slightly curved line across the top, draw two sides slanting inward, and join them with a rounded bottom.
Step 7: The cup's opening
Inside the top of the cup, draw a curved line that dips a little in the middle. Start and end it on the cup's top edge to show the opening.
Step 8: Wavy steam
Above the cup, draw three short wavy lines that float upward. Make them about the same height with space between them.
All done!
Go over your lines with a marker, then color it in.
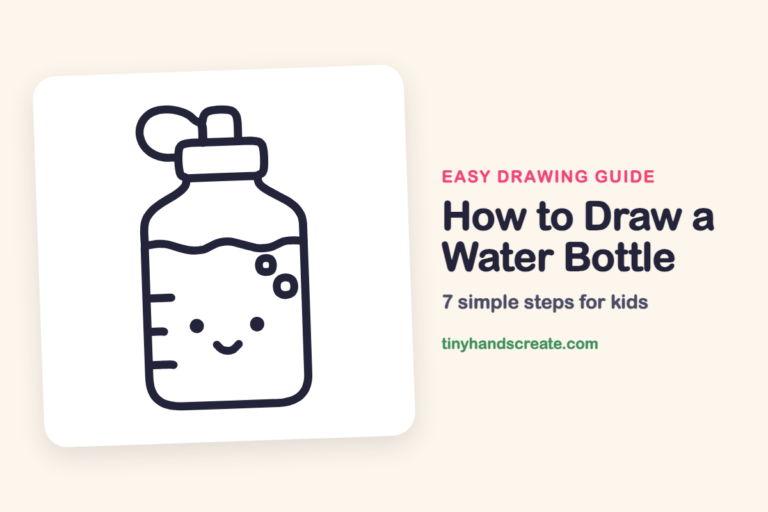
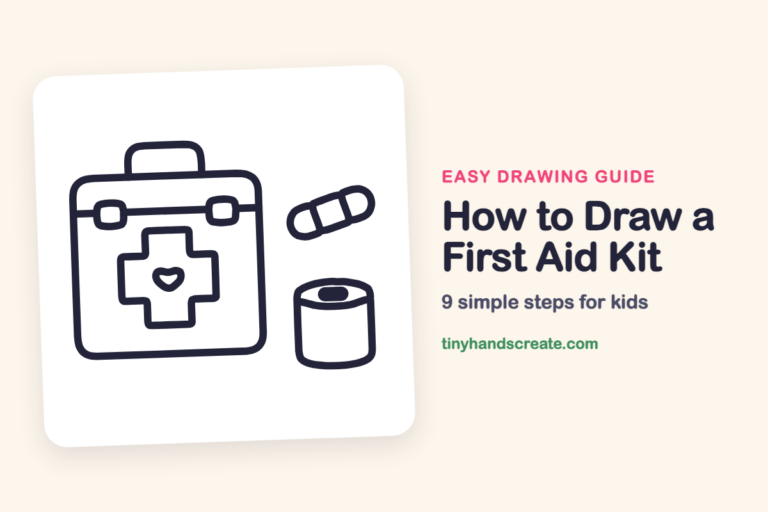
Finished your thermos? Keep the pencils out and learn how to draw a water bottle or how to draw a first aid kit next.
Tips for drawing a thermos
- Draw the bottle sides with a ruler or the edge of a book first, then trace freehand if you want straight lines.
- The two stripes should bend the same way. Curve both gently downward so the bottle looks round, not flat.
- For the steam, draw one wiggle first and copy its height for the other two so they look like a matching set.
Free thermos coloring page
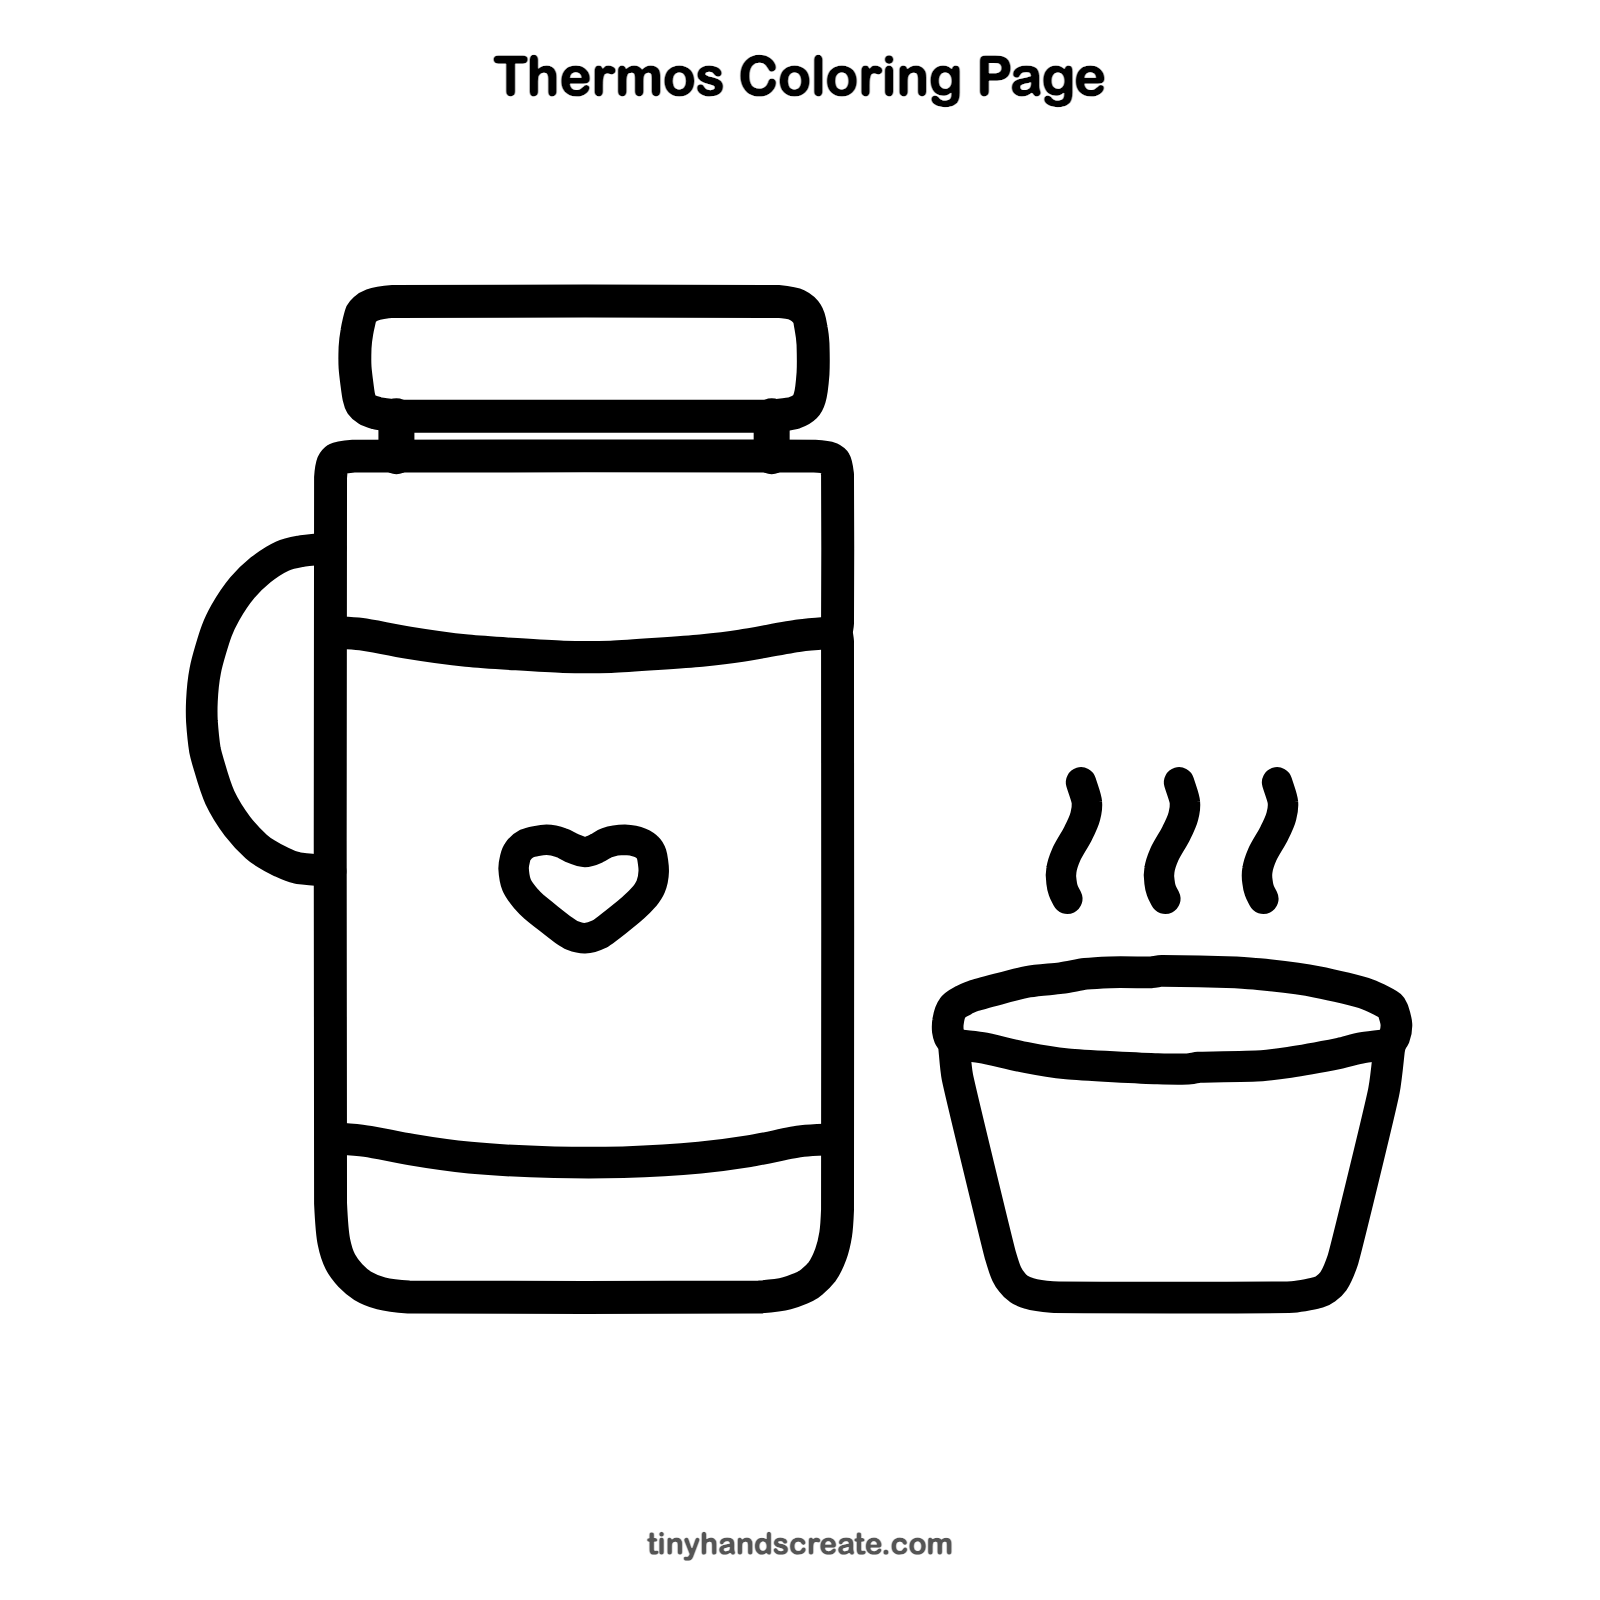
Want to go straight to coloring? Open this thermos coloring page at full size and print it. It is the same drawing you just learned, with clean lines ready for crayons or markers.
How to color your thermos drawing
Try a bright red or teal bottle with a yellow stripe, and a cup in a matching color. For a creative twist, color the steam in rainbow colors, as if the cocoa is magical.
Thermos fun fact for kids
A thermos keeps drinks hot or cold using two walls with almost no air between them. Heat has a hard time traveling through that empty space, so the drink stays warm or cool for hours.
Questions about drawing a thermos
What shapes do I need to draw a thermos?
You need a tall rectangle for the bottle, a smaller rounded rectangle for the lid, and a C curve for the handle. The cup is a bowl shape with a curved line across the top.
How do I make my thermos look round and not flat?
Draw the stripes as gentle curves that dip in the middle instead of straight lines. That small bend makes the bottle look like it wraps around.
How do I draw steam that looks good?
Use short wavy lines that start above the cup and float up. Keep them about the same height, with a little space between each one.