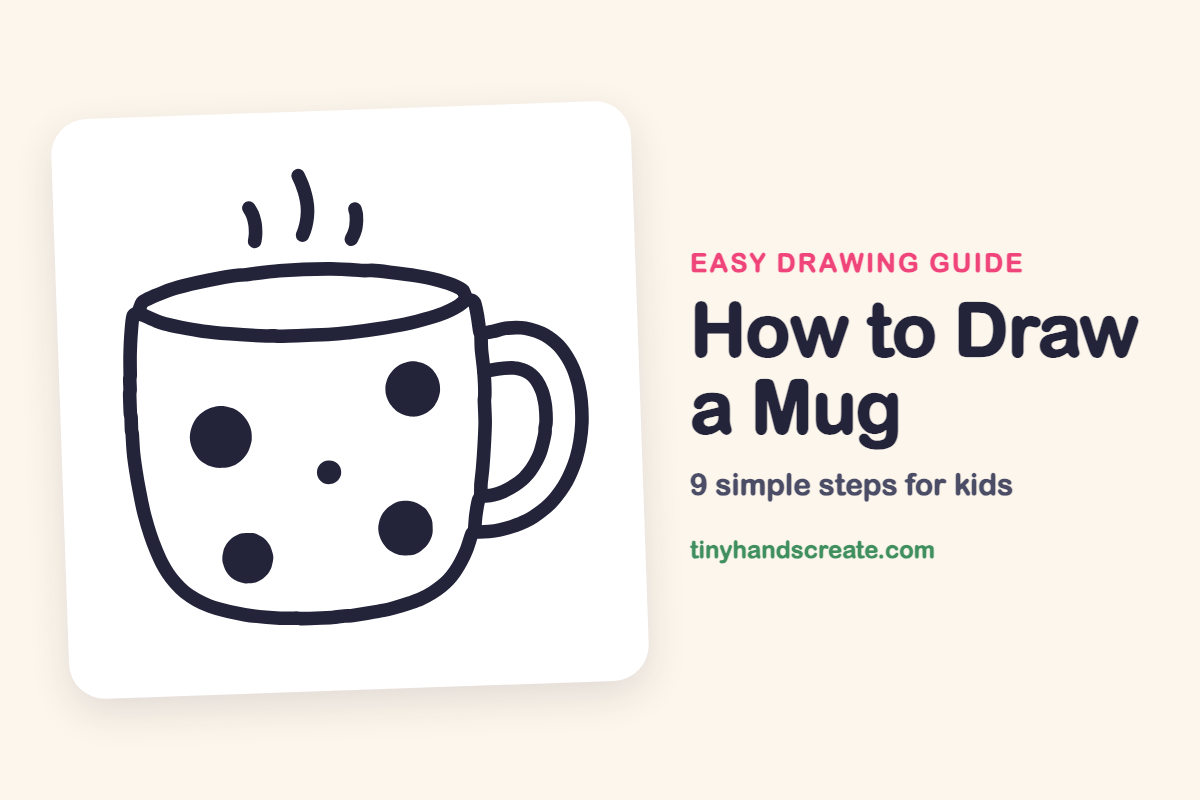
How to Draw a Mug (Easy Step by Step)
Learn to draw a cozy mug using simple shapes like a rounded box for the body, a curved line for the rim, and a backward C for the handle. You'll also discover how to add creative details like polka dots and steam lines.
- Begin your mug drawing with a rounded box for the main body.
- Add a curved line to form the rim and a backward C for the handle.
- Personalize your mug with creative details such as polka dots and steam lines.
This post contains affiliate links. As an Amazon Associate I earn from qualifying purchases.
A mug is a great first drawing because it is made from just a few simple shapes: a rounded box, a curved line for the rim, and a handle shaped like a backward C. The polka dots and steam lines make it feel cozy and give you lots of room to be creative.
- Easy
- 10 minutes
- 9 steps
You need: paper, a pencil, an eraser, and crayons or markers for coloring.
Start drawing


In this article (7 sections)
How to draw a mug step by step
How to Draw a Mug · tinyhandscreate.com
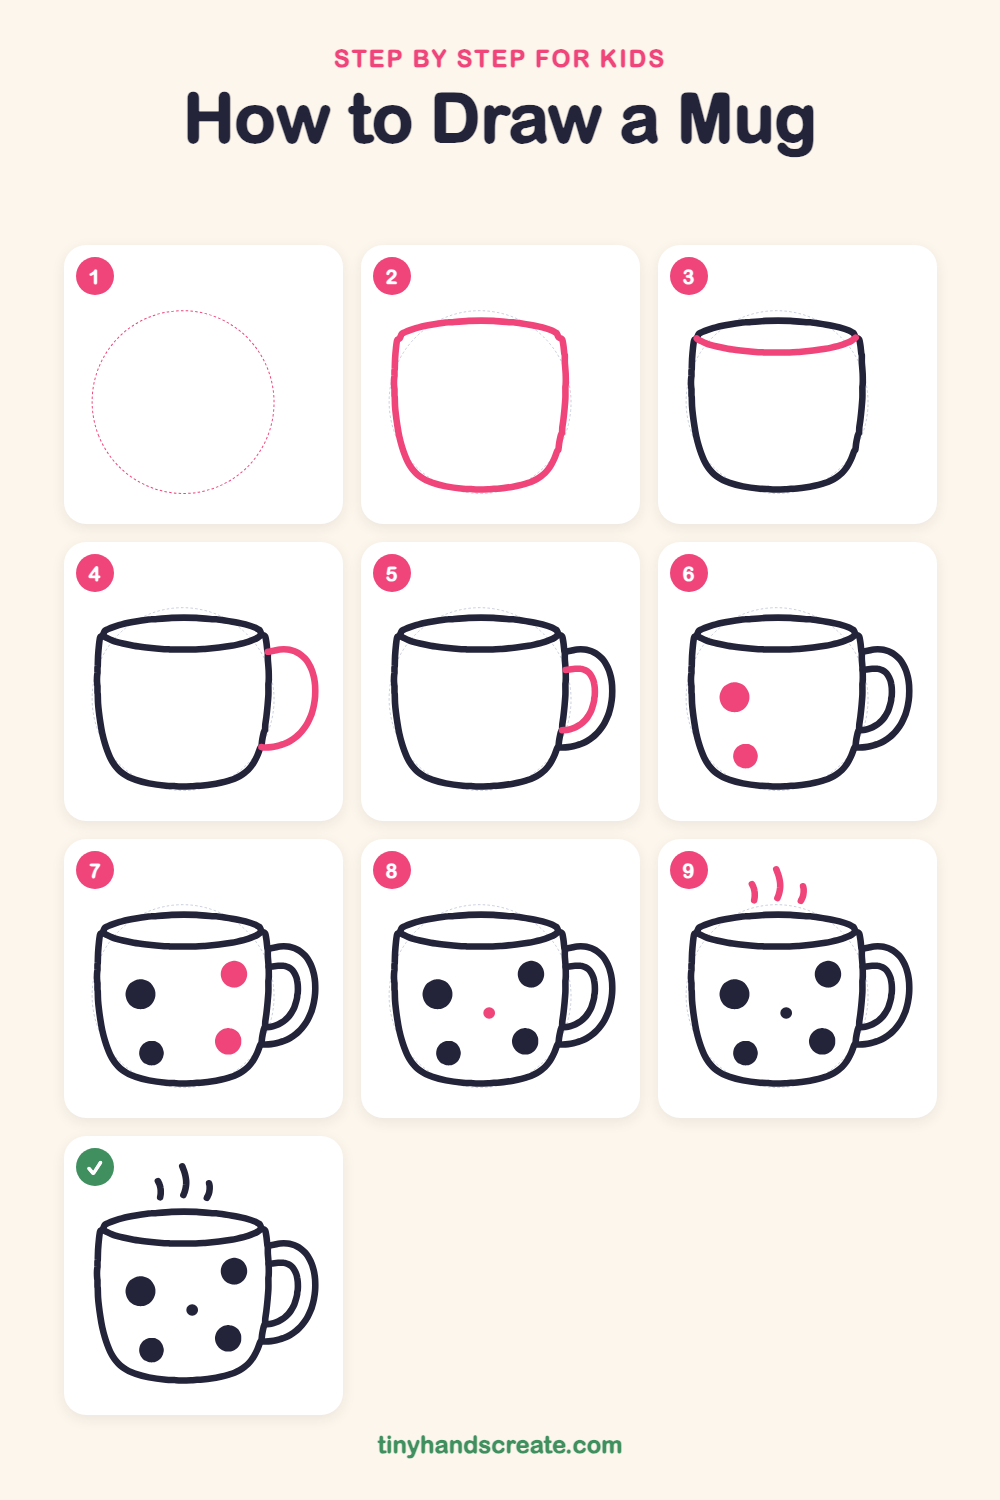
Step 1: Guide shapes
Lightly sketch this oval. It only shows where the big parts go, so press softly. You will erase it at the end.
Step 2: Mug body
Draw a wide, rounded shape like a soft box with a flat top, slightly curved sides and a rounded bottom.
Step 3: The rim
Near the top, draw a long curved line from one top corner to the other, bending down like a smile. This makes the opening of the mug.
Step 4: The outer handle
On the right side, draw a big letter C turned backward. Start near the top of the mug and end near the bottom.
Step 5: The inner handle
Inside the big handle, draw a smaller backward C that follows the same shape. Start and end it on the side of the mug so the handle looks thick.
Step 6: Two big dots
Draw two filled circles on the left side of the mug, a bigger one higher up and a smaller one lower down.
Step 7: Two more dots
Draw two more filled circles on the right side of the mug, one higher and one lower.
Step 8: The tiny dot
Add one very small filled dot in the middle of the mug, in the space between the big dots.
Step 9: Steam lines
Above the mug, draw three short curved lines side by side. Make the middle one the tallest to show the hot drink.
All done!
Erase the guide shapes, go over your lines, then color it in.
Finished your mug? Keep the pencils out and learn how to draw a rocket or how to draw a shooting star next.
Tips for drawing a mug
- Start the mug body light and wide, and check that the top is about as wide as the bottom before you make the lines dark.
- For the handle, draw the big outer curve first. Then copy its shape smaller on the inside so the two lines stay about the same distance apart.
- Draw the dots as round circles and make them different sizes. Space them out so none of them touch the edges of the mug.
Free mug coloring page
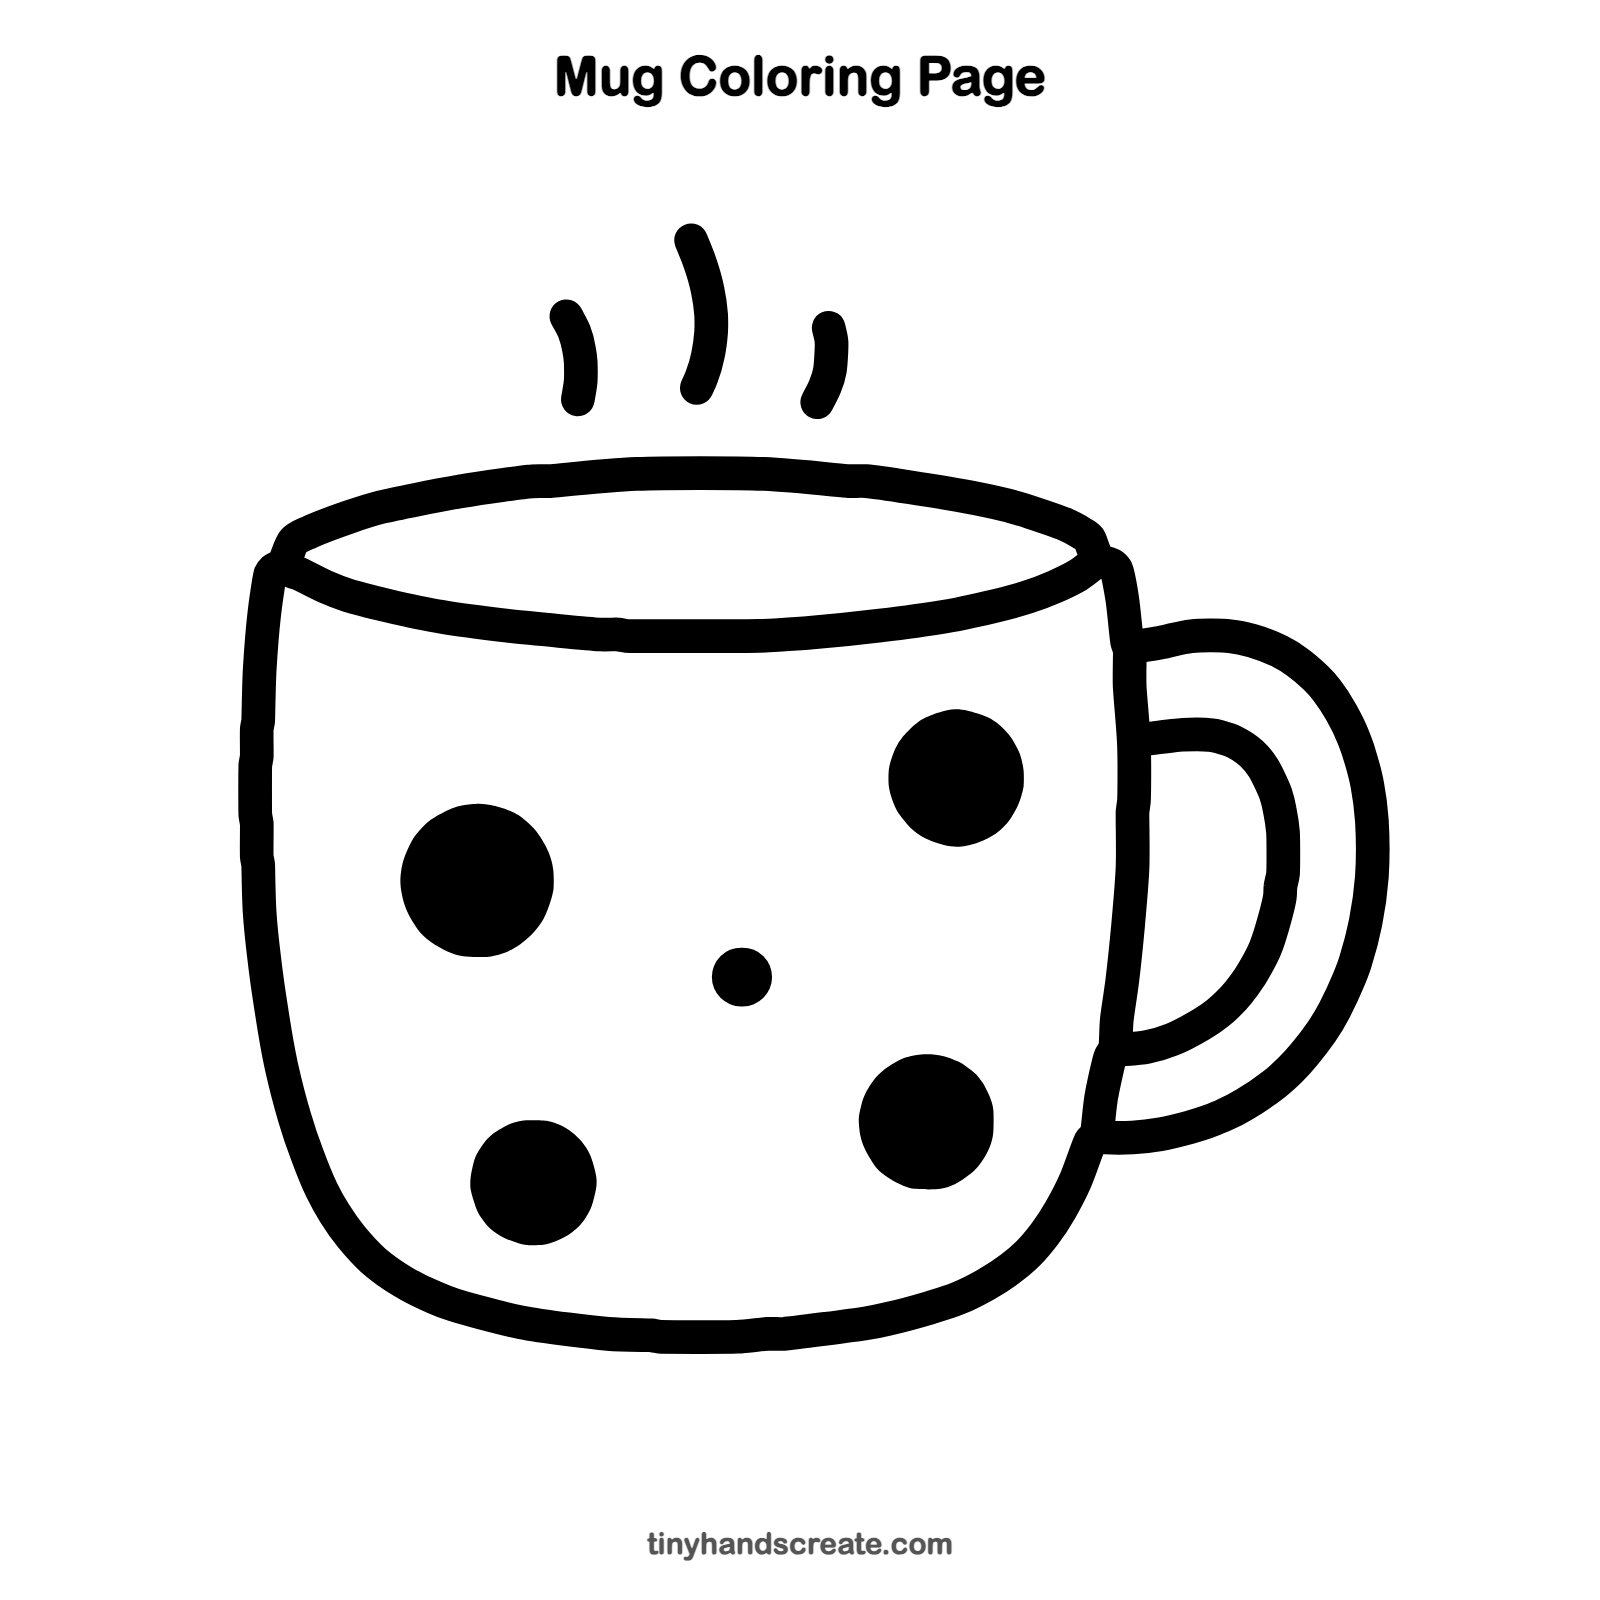
Want to go straight to coloring? Open this mug coloring page at full size and print it. It is the same drawing you just learned, with clean lines ready for crayons or markers.
How to color your mug drawing
Try a bright color for the mug, like sky blue or sunny yellow, and use a different color for each dot. For a creative twist, color the handle a different color from the body.
Mug fun fact for kids
People have been making cups and bowls from clay for thousands of years. Potters often shaped them on a spinning wheel, which is why so many mugs are perfectly round.
Questions about drawing a mug
What shapes do I need to draw a mug?
You need a rounded box for the body, a curved line for the rim, and a backward C shape for the handle. Circles make the polka dots.
How do I make my mug handle look right?
Draw a big backward C on the side first, then add a smaller curve inside it. Make sure both ends touch the mug so the handle looks attached.
How do I make my mug look cuter?
Add polka dots in different sizes and some curved steam lines above it. You can also color each dot a different color.