How to Draw a Snowman Cupcake (Easy Step by Step)
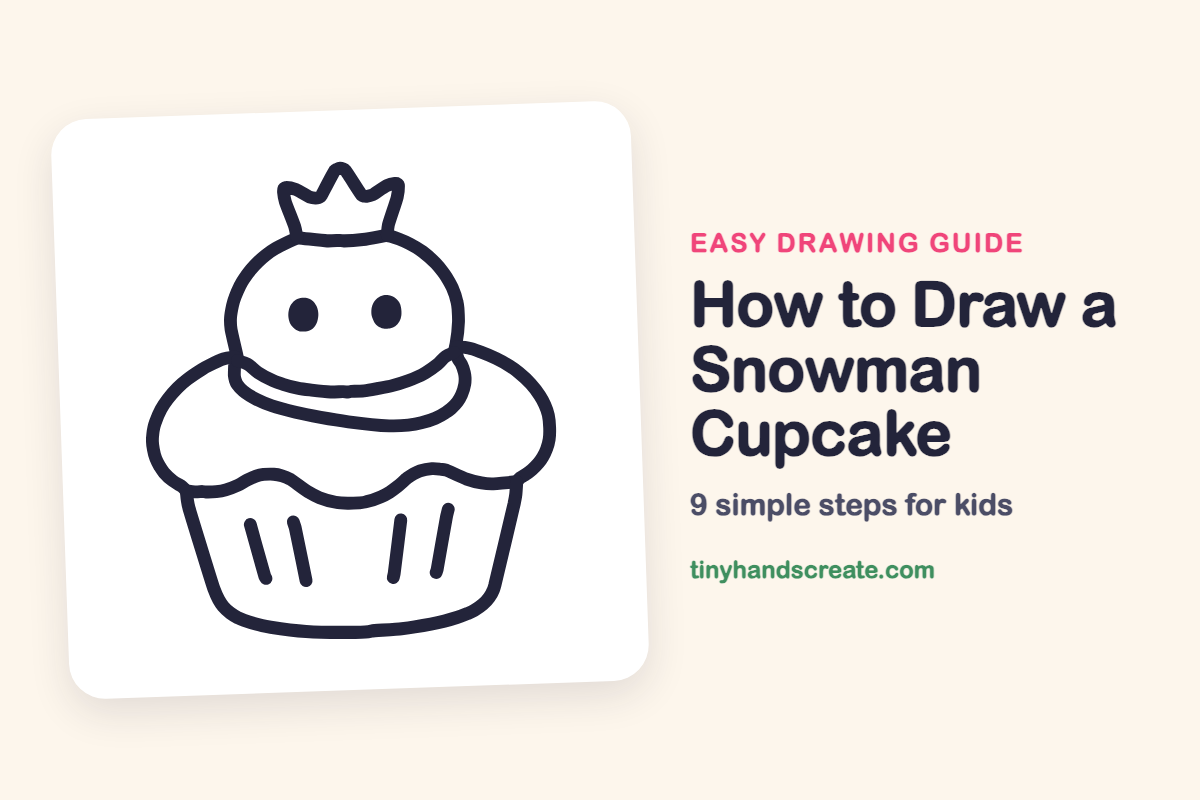
This guide teaches you how to draw a festive snowman cupcake using simple shapes like a round dome for the head, curved sides for frosting, and a bowl for the wrapper. You'll learn easy step-by-step instructions to create this sweet winter friend, complete with a special tiny crown.
- Learn to draw a snowman cupcake with easy step-by-step instructions.
- Build your drawing using simple shapes: a dome, curved sides, and a bowl.
- Add a tiny crown to your snowman cupcake for an extra special touch.
This post contains affiliate links. As an Amazon Associate I earn from qualifying purchases.
A snowman cupcake is a treat that looks like a winter friend sitting on a puffy cloud of frosting. It is built from simple shapes: a round dome for the head, curved sides for the frosting, and a bowl shape for the wrapper. A tiny crown on top makes it extra special.
- Easy
- 12 minutes
- 9 steps
You need: paper, a pencil, an eraser, and crayons or markers for coloring.
Start drawing
In this article (7 sections)
How to draw a snowman cupcake step by step
How to Draw a Snowman Cupcake · tinyhandscreate.com
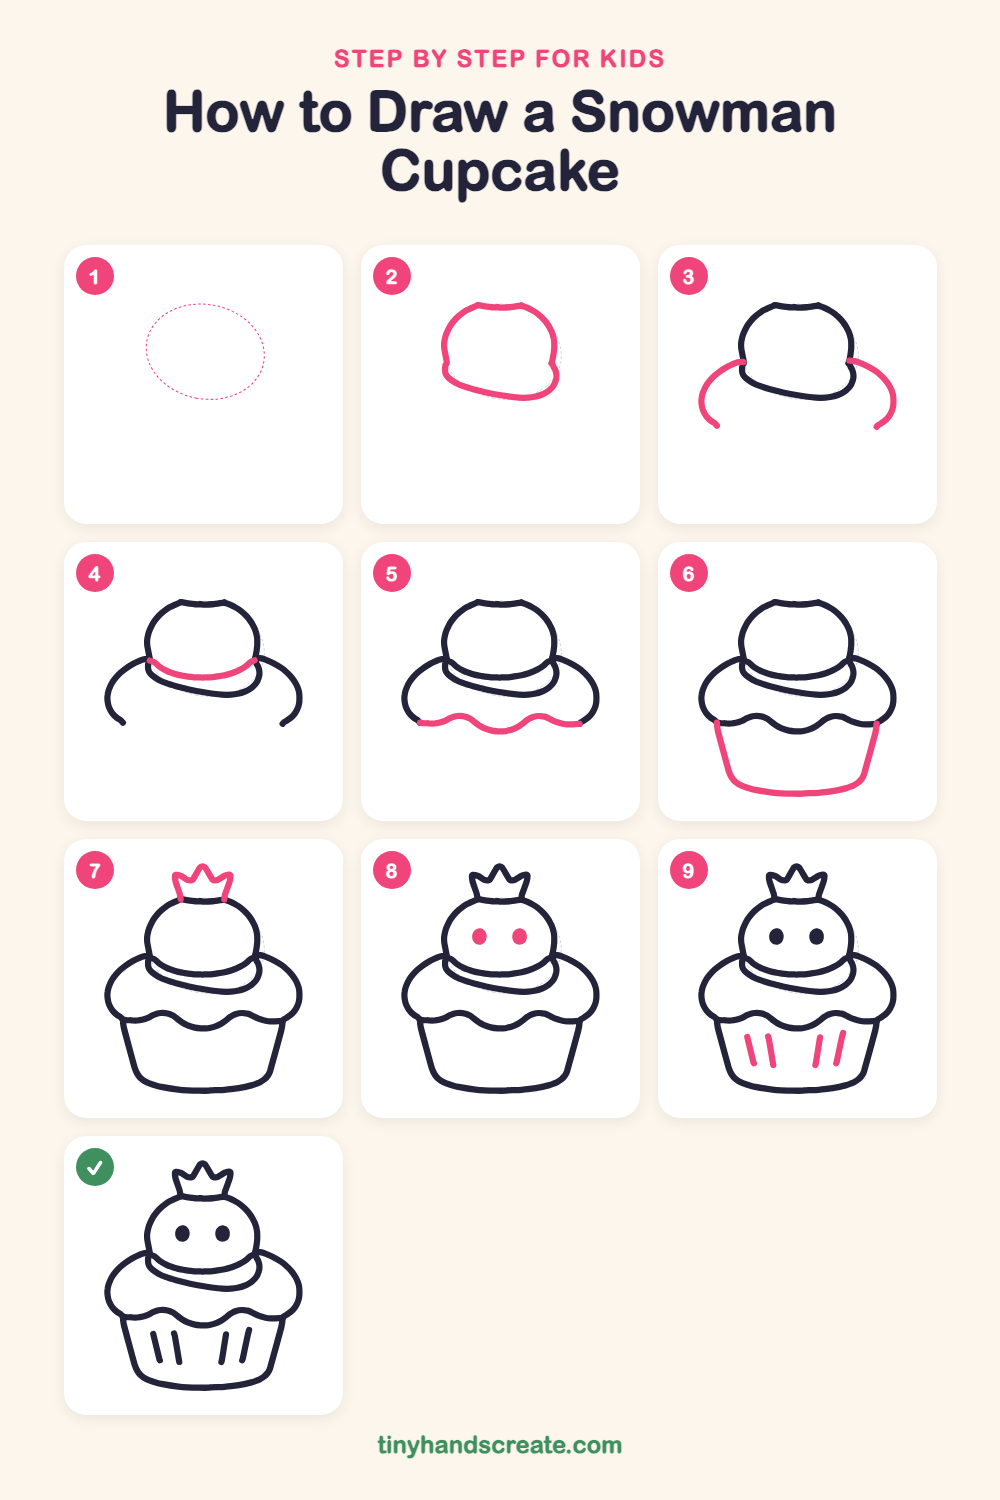
Step 1: Guide shapes
Lightly sketch this oval. It only shows where the big parts go, so press softly. You will erase it at the end.
Step 2: The snowman head
Draw a big rounded dome in the middle of your page, a little wider than it is tall. Make the top a short flat spot where a crown can sit, and round the bottom into a soft curve.
Step 3: Frosting side curves
Start at the left side of the head and draw a curve that bows out and down, like the side of a puffy cloud. Do the same on the right side so the two curves match.
Step 4: The frosting swirl
Draw one curved smile line across the bottom of the head, from the left side to the right side. It looks like a scarf of frosting.
Step 5: The wavy frosting edge
Draw a long wavy line near the bottom of the frosting, going up and down like gentle ocean waves. Connect each end to the bottom of a side curve.
Step 6: The cupcake wrapper
From each end of the wavy line, draw a straight line slanting down and inward. Join them at the bottom with a gently curved line, like a bowl.
Step 7: The tiny crown
On top of the head, draw a zigzag crown with three pointy tips. Start at the left of the flat spot, go up and down, and finish on the right.
Step 8: The two eyes
Draw two small solid dots in the middle of the face, side by side, with a space between them.
Step 9: Wrapper stripes
Draw four short slanted lines on the wrapper, two on the left and two on the right. Leave a gap in the middle.
All done!
Erase the guide shapes, go over your lines, then color it in.
Finished your snowman cupcake? Keep the pencils out and learn how to draw a menorah or how to draw a dreidel next.
Tips for drawing a snowman cupcake
- Draw the head light and a bit wide, so the crown has a flat spot to sit on.
- The wavy edge is the trickiest part. Practice a gentle up-and-down line on scrap paper first, then draw it slowly in one go.
- Make the two eyes the same size and keep space between them so the face looks friendly.
Free snowman cupcake coloring page
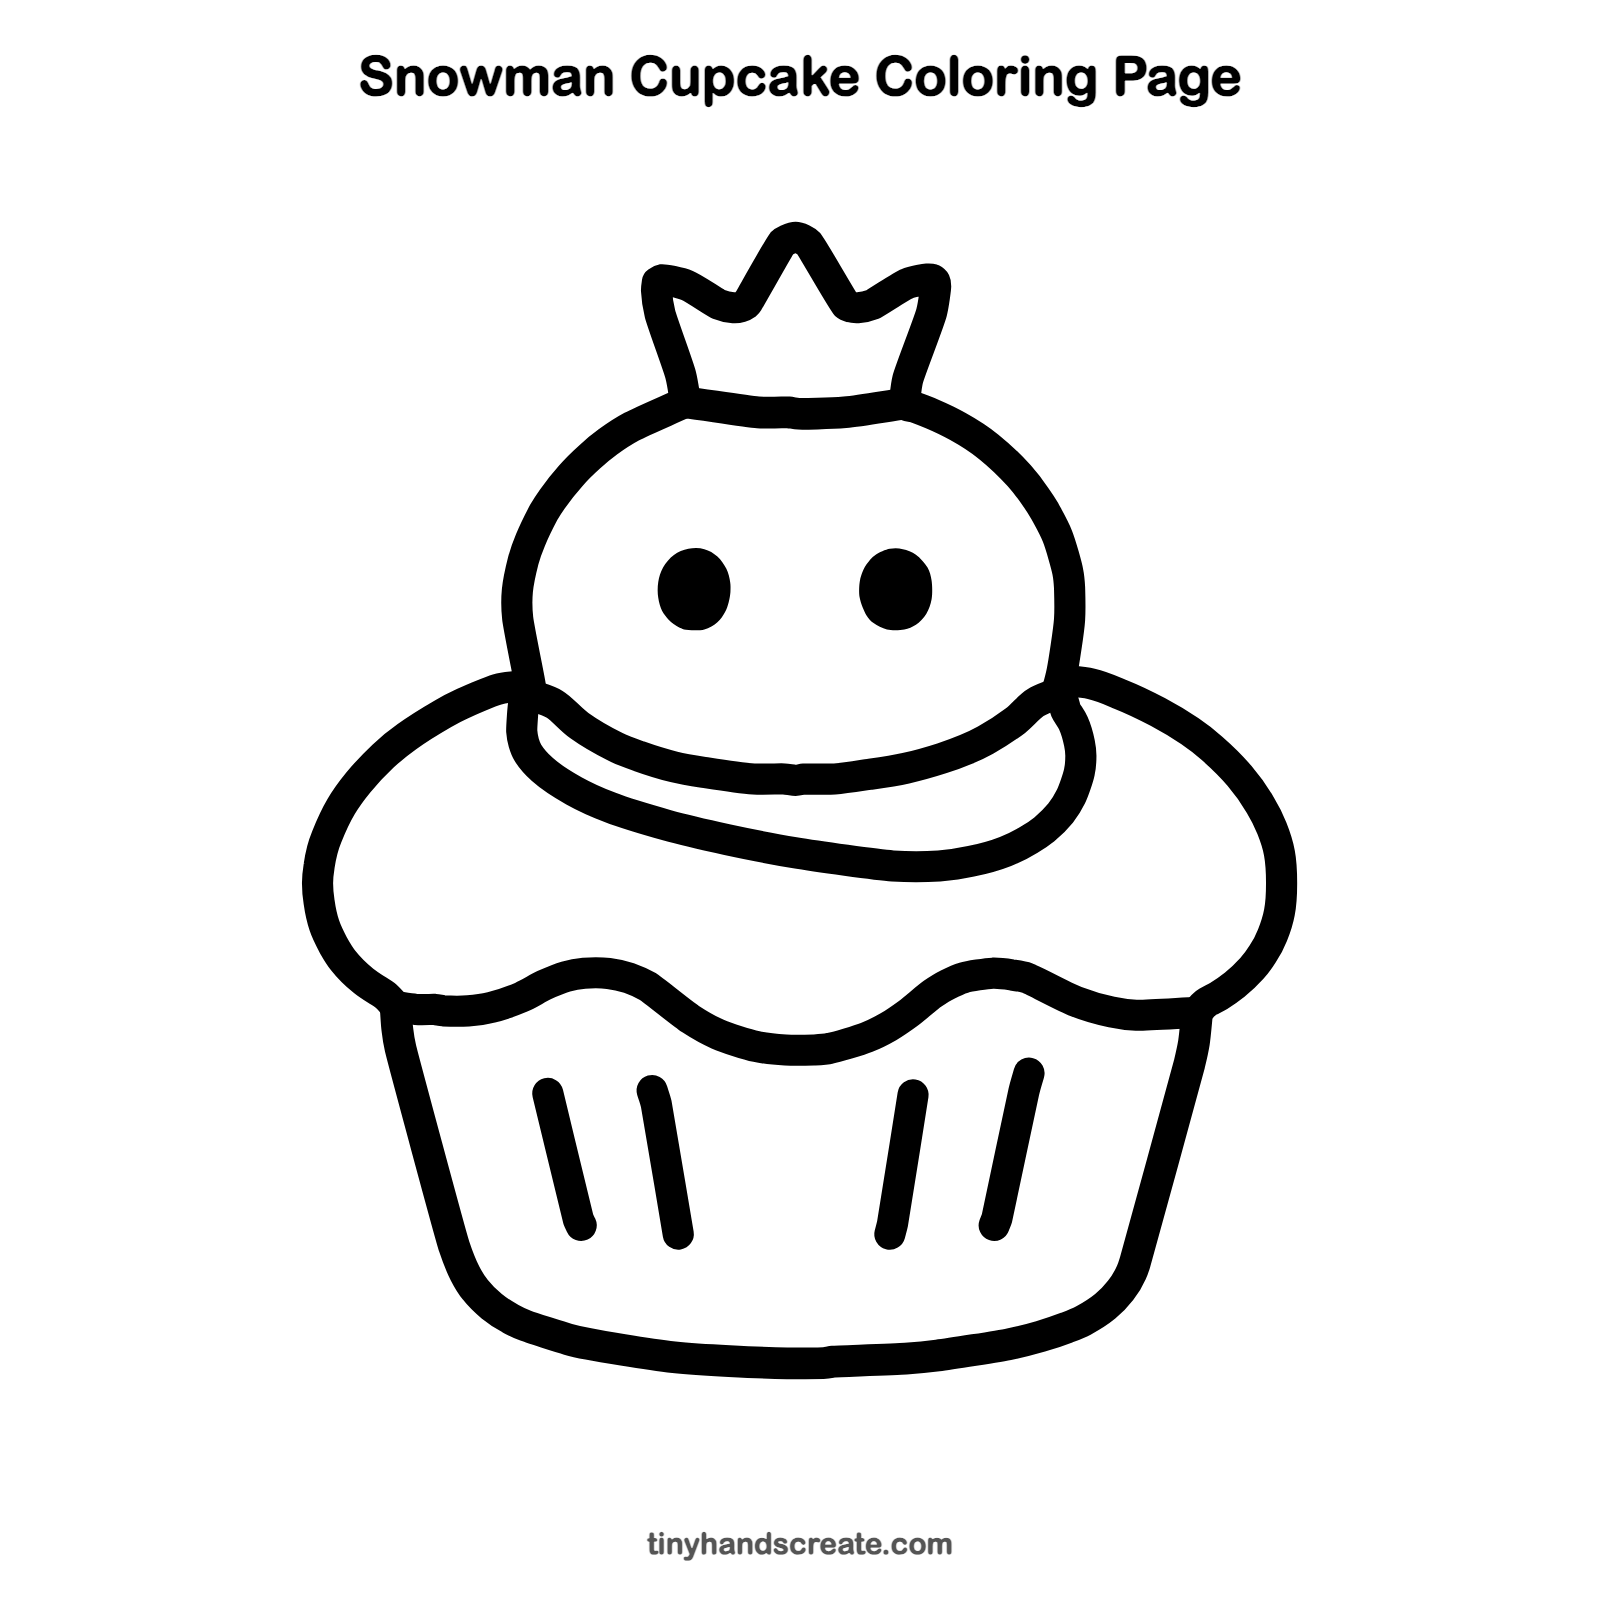
Want to go straight to coloring? Open this snowman cupcake coloring page at full size and print it. It is the same drawing you just learned, with clean lines ready for crayons or markers.
How to color your snowman cupcake drawing
Try a white snowman head with pale blue shading, a pink or chocolate frosting, and a golden crown. For a creative twist, add sprinkles or little snowflakes on the frosting.
Snowman cupcake fun fact for kids
The word cupcake first appeared in print in 1796, in an American cookbook by Amelia Simmons. It described a light cake baked in small cups.
Questions about drawing a snowman cupcake
What shapes do I need to draw a snowman cupcake?
You need a wide rounded dome for the head, two curved sides and a swirl line for the frosting, and a bowl shape for the wrapper. Add a zigzag crown, two small dot eyes, and a few slanted lines.
How do I make my snowman cupcake look cuter?
Keep the two eyes the same size with a good space between them, and make the dots nice and dark. A neat crown and even stripes on the wrapper help too.
How do I draw the wavy edge of the frosting?
Think of a gentle ocean wave. Draw a long line that rises and dips a few times, moving your whole arm slowly instead of just your fingers.