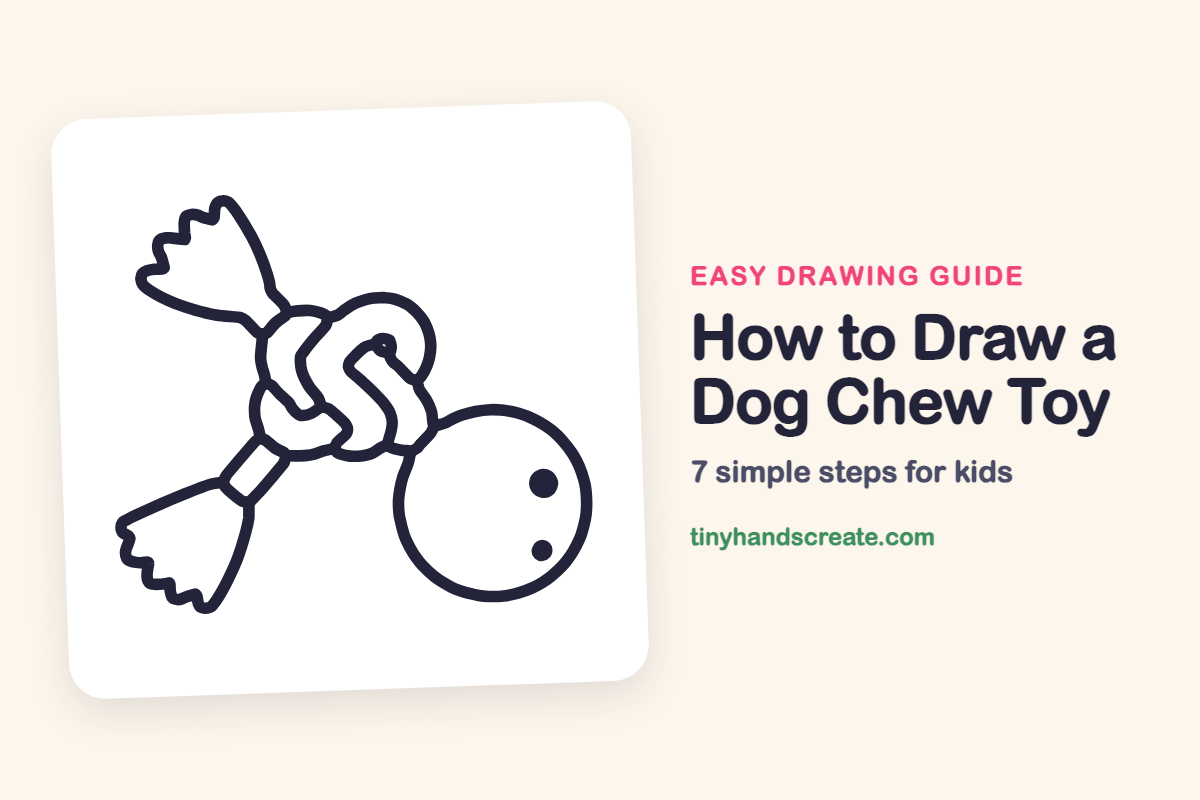
How to Draw a Dog Chew Toy (Easy Step by Step)
Learn how to draw a dog chew toy using simple shapes. You'll create a ball, a chunky knot made of loops, and fuzzy rope ends, making it an easy and fun drawing project, especially if you love pets.
- You will draw a dog chew toy using simple shapes.
- Start by drawing a big circle for the toy's ball.
- Form a chunky knot made of loops for the middle.
- Add two fuzzy rope ends to complete your drawing.
This post contains affiliate links. As an Amazon Associate I earn from qualifying purchases.
A dog chew toy is a fun drawing because it is just a few simple shapes put together. You will draw a big circle for the ball, a chunky knot made of loops, and two fuzzy rope ends. It is a great first object to draw if you like pets.
- Medium
- 15 minutes
- 7 steps
You need: paper, a pencil, an eraser, and crayons or markers for coloring.
Start drawing


In this article (7 sections)
How to draw a dog chew toy step by step
How to Draw a Dog Chew Toy · tinyhandscreate.com
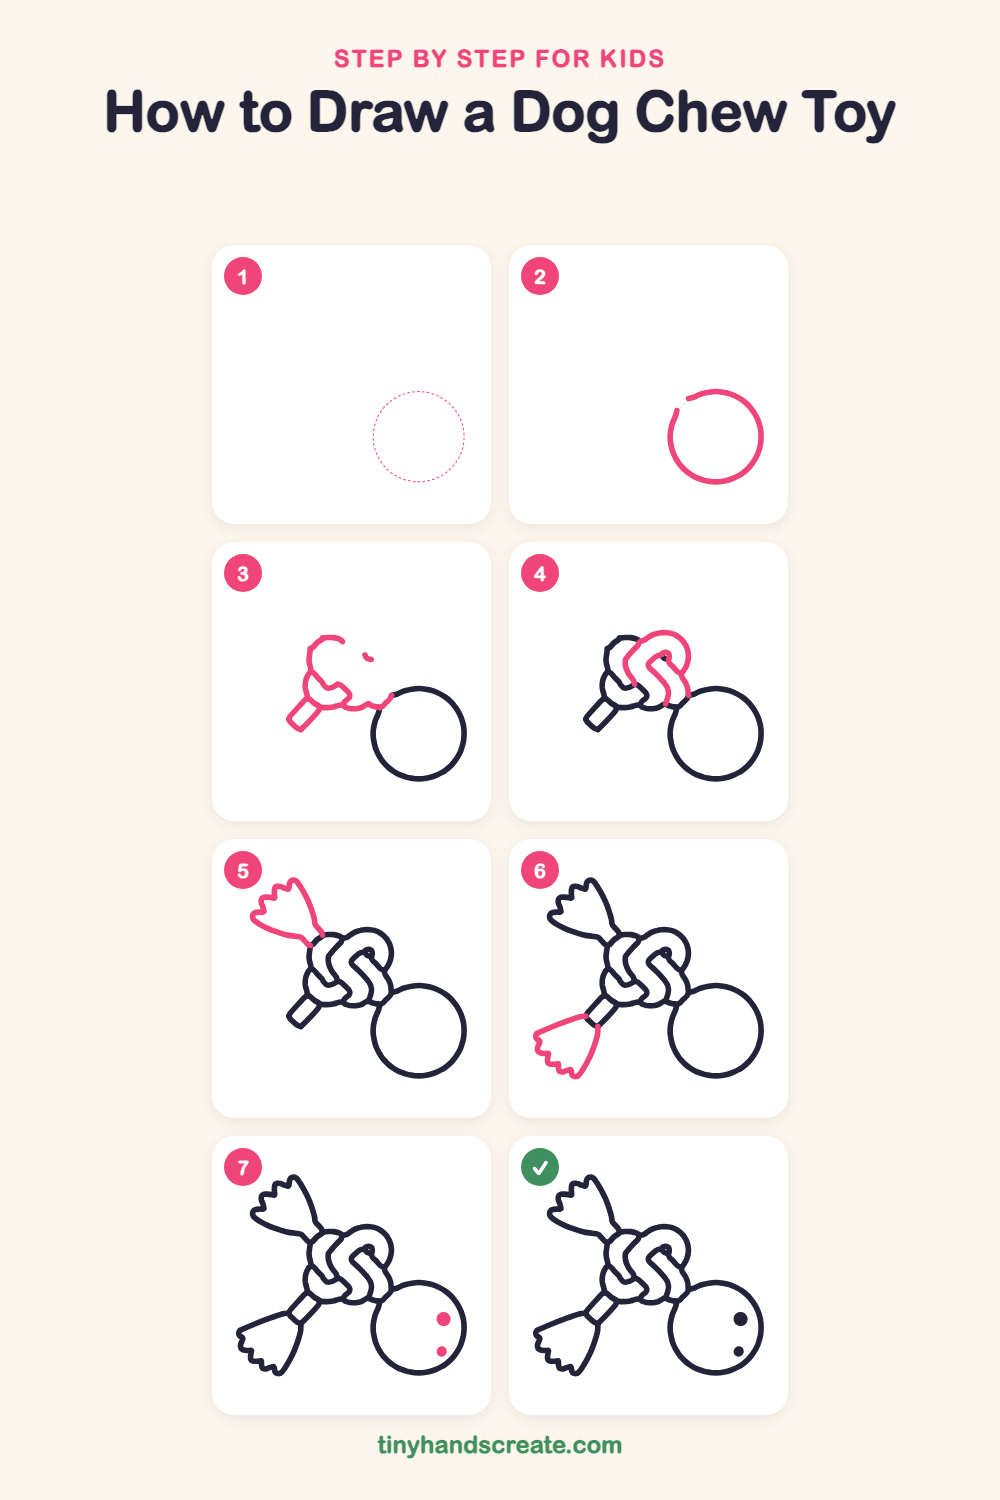
Step 1: Guide shapes
Lightly sketch this oval. It only shows where the big parts go, so press softly. You will erase it at the end.
Step 2: The round ball
Draw a big circle on the right side of your paper. Leave a tiny gap near the top left, where the rope will join.
Step 3: The knot base
To the left of the ball, draw a rounded loop that curls like the start of a knot. Add a short rope piece slanting down to the lower left, drawn as two parallel lines with a little cap at the end. Then draw a bumpy line along the bottom of the knot over to the ball.
Step 4: The knot twists
Inside the knot, draw a curvy S shape that weaves through the loops. Add a rounded arch over the top so the rope looks twisted together.
Step 5: The top rope end
From the top of the knot, draw two lines that spread apart like a fan opening up. Finish the end with a wiggly, bumpy edge to show the frayed rope.
Step 6: The bottom rope end
At the bottom left, draw the second frayed end the same way. Start with two lines that spread out from the short rope piece, then make a zigzag of bumps along the end.
Step 7: The ball dots
Inside the ball, near the lower right, add two little filled dots, one above the other.
All done!
Erase the guide shapes, go over your lines, then color it in.
Finished your dog chew toy? Keep the pencils out and learn how to draw a rocket or how to draw a shooting star next.
Tips for drawing a dog chew toy
- Draw the knot loops slowly and keep each one rounded. They do not need to match, because a real rope knot looks a little lumpy.
- The S shape in the middle is the trickiest part. Start at the top, curve down, then swing back up, and it is okay if it overlaps the loops.
- For the frayed ends, make the bumps different sizes with short wiggly lines. Uneven bumps look more like real rope strands.
Free dog chew toy coloring page
Want to go straight to coloring? Open this dog chew toy coloring page at full size and print it. It is the same drawing you just learned, with clean lines ready for crayons or markers.
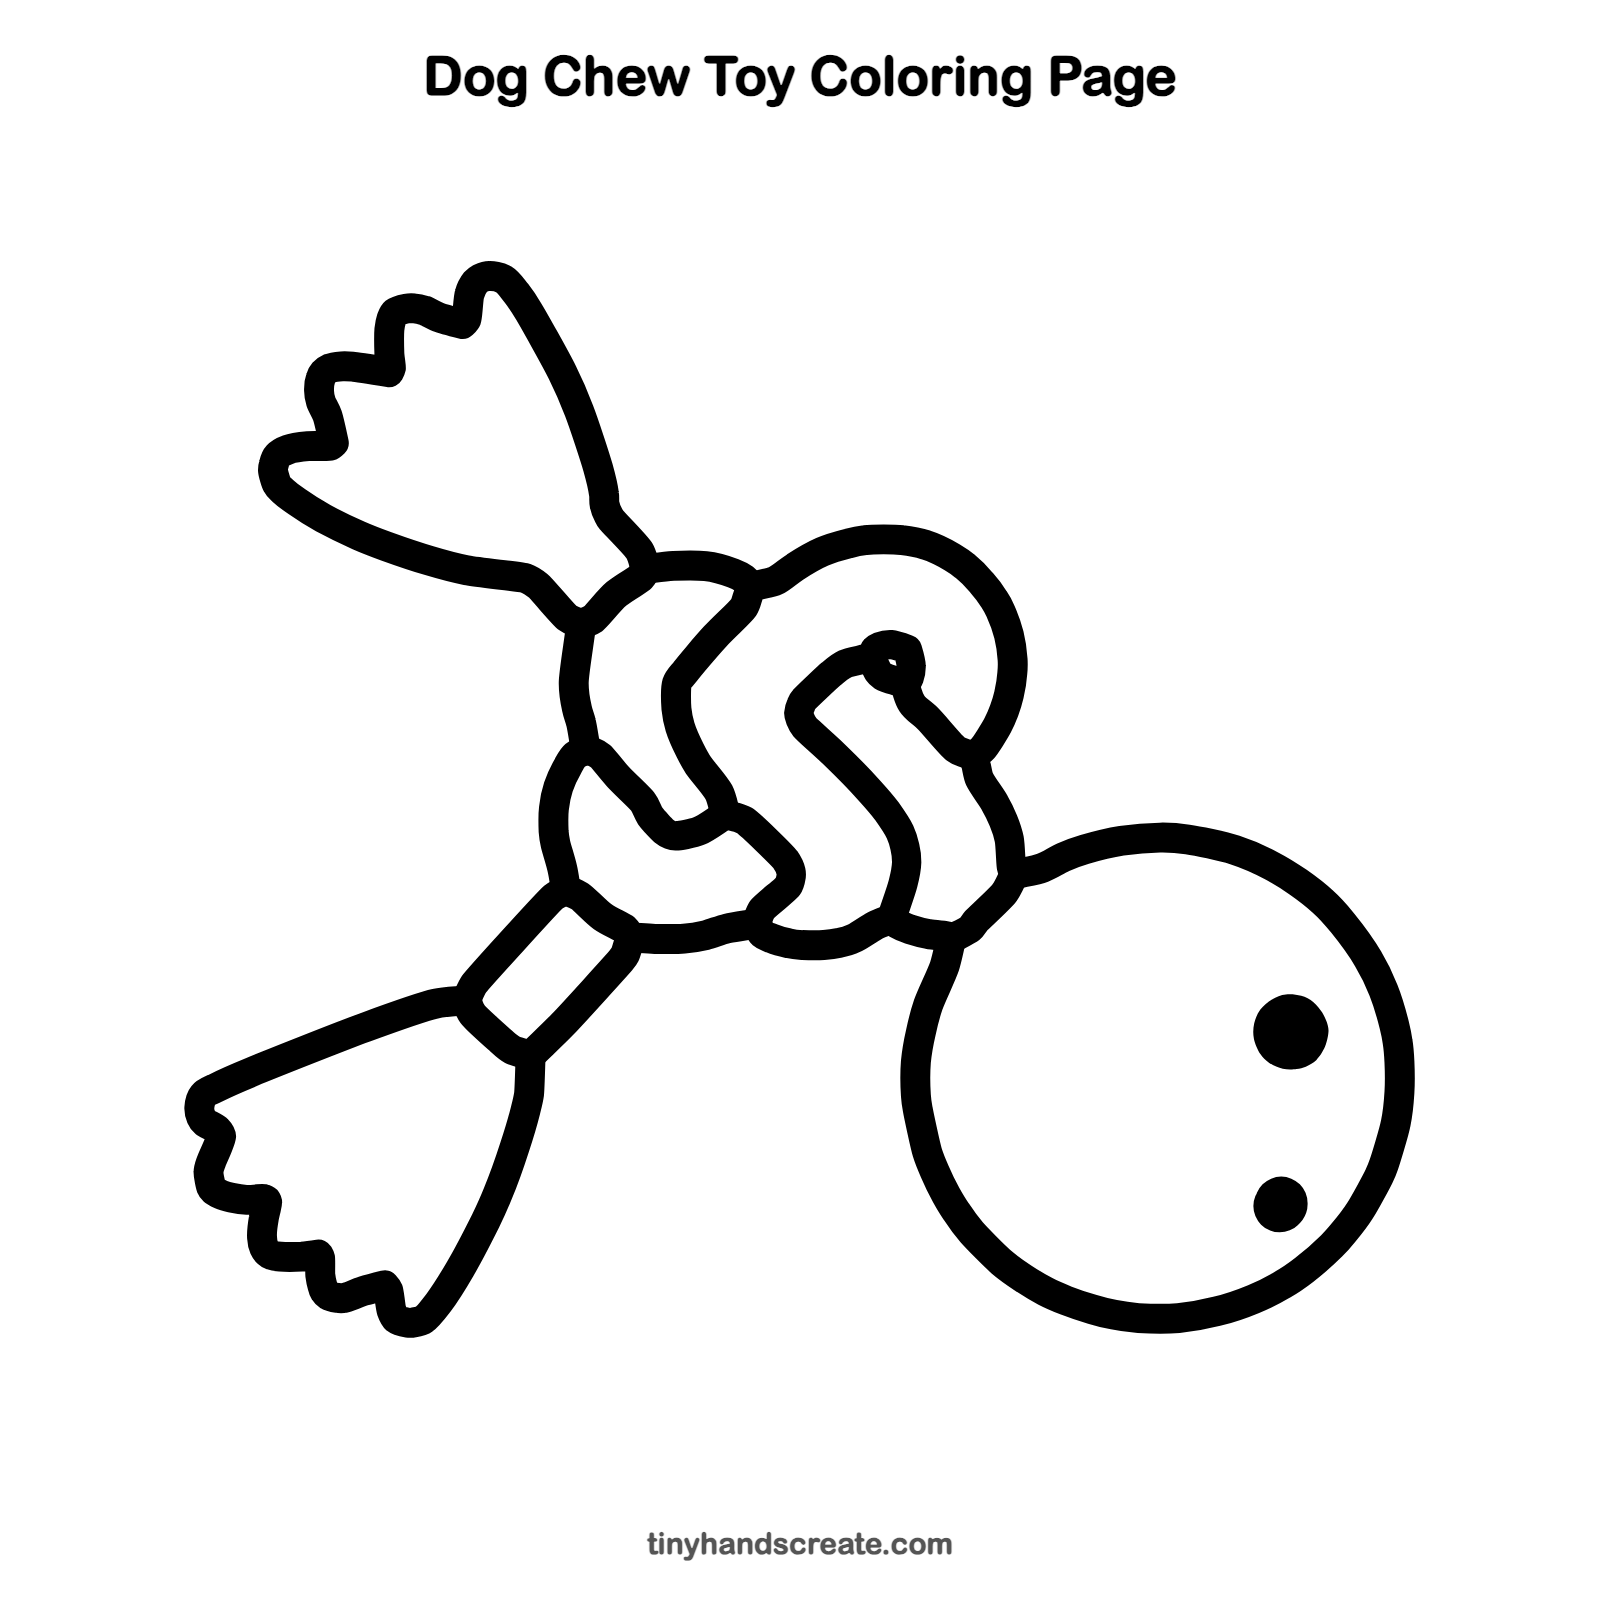
How to color your dog chew toy drawing
Try a red ball with a tan or cream rope. For a creative twist, color the knot and each rope end a different bright color, like a rainbow toy.
Dog chew toy fun fact for kids
Puppies have 28 baby teeth, and adult dogs have 42 teeth. Chew toys give a dog something safe to bite on instead of shoes.
Questions about drawing a dog chew toy
What shapes do I need to draw a dog chew toy?
You need a circle for the ball, rounded loops for the knot, and two fan shapes with bumpy edges for the rope ends. Two small dots finish the ball.
How do I make my chew toy look more like rope?
Make the loops thick and curvy, and give the ends a wiggly, uneven edge. Uneven bumps on the frayed ends look like loose rope strands.
How do I make the knot look tied together?
Let the lines cross over each other and stop where another line passes in front. That small gap makes one part look like it goes under the other.