How to Draw a City At Night (Easy Step by Step)
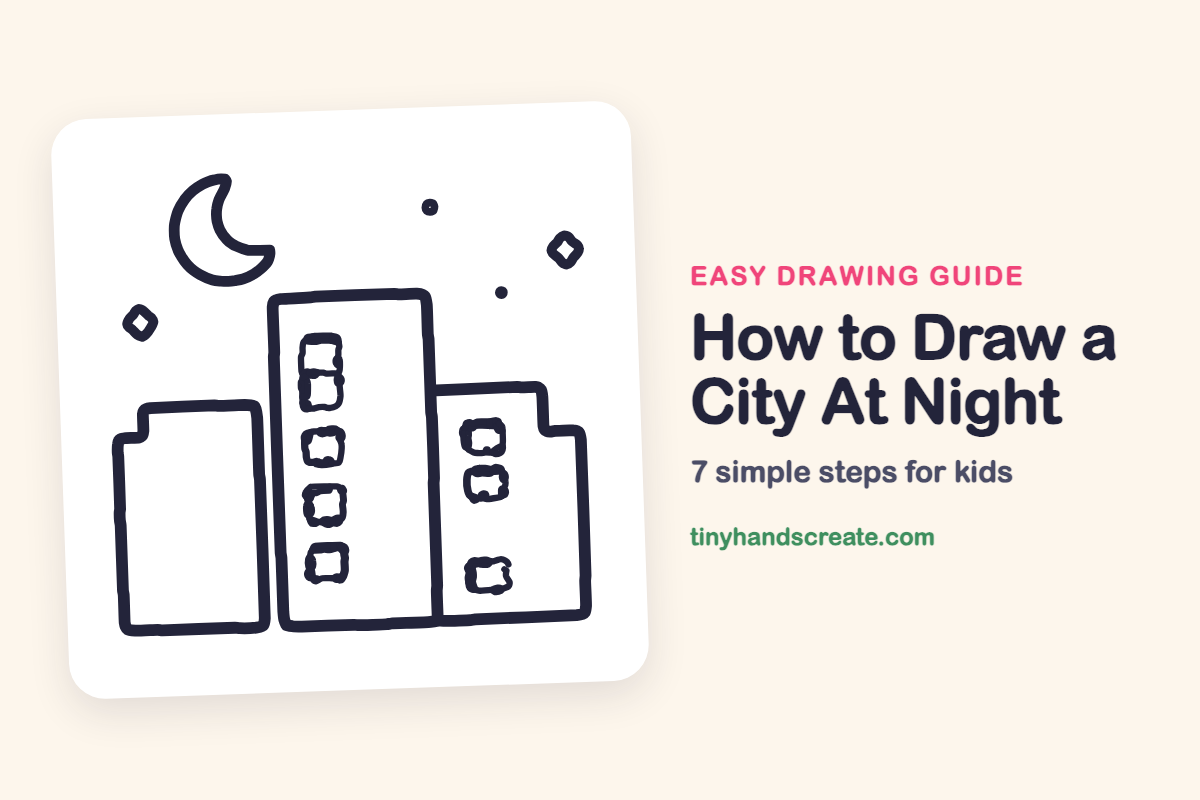
You will learn how to easily draw a city at night using simple shapes like rectangles, squares, and curves. This step-by-step guide helps you create a calm skyline with buildings, windows, a moon, and stars.
- Learn to draw a city at night using basic shapes.
- Focus on rectangles, squares, and curves for buildings and windows.
- Add a crescent moon and tiny stars to complete your calm skyline.
- Master straight lines for an easy, cozy night scene.
This post contains affiliate links. As an Amazon Associate I earn from qualifying purchases.
A city at night is a great first scene because it is made almost entirely of rectangles, squares, and a few curves. Tall buildings, windows, a crescent moon, and tiny stars come together into a calm, cozy skyline. You only need straight lines and a steady hand to make it.
- Easy
- 10 minutes
- 7 steps
You need: paper, a pencil, an eraser, and crayons or markers for coloring.
Start drawing


In this article (7 sections)
How to draw a city at night step by step
How to Draw a City At Night · tinyhandscreate.com
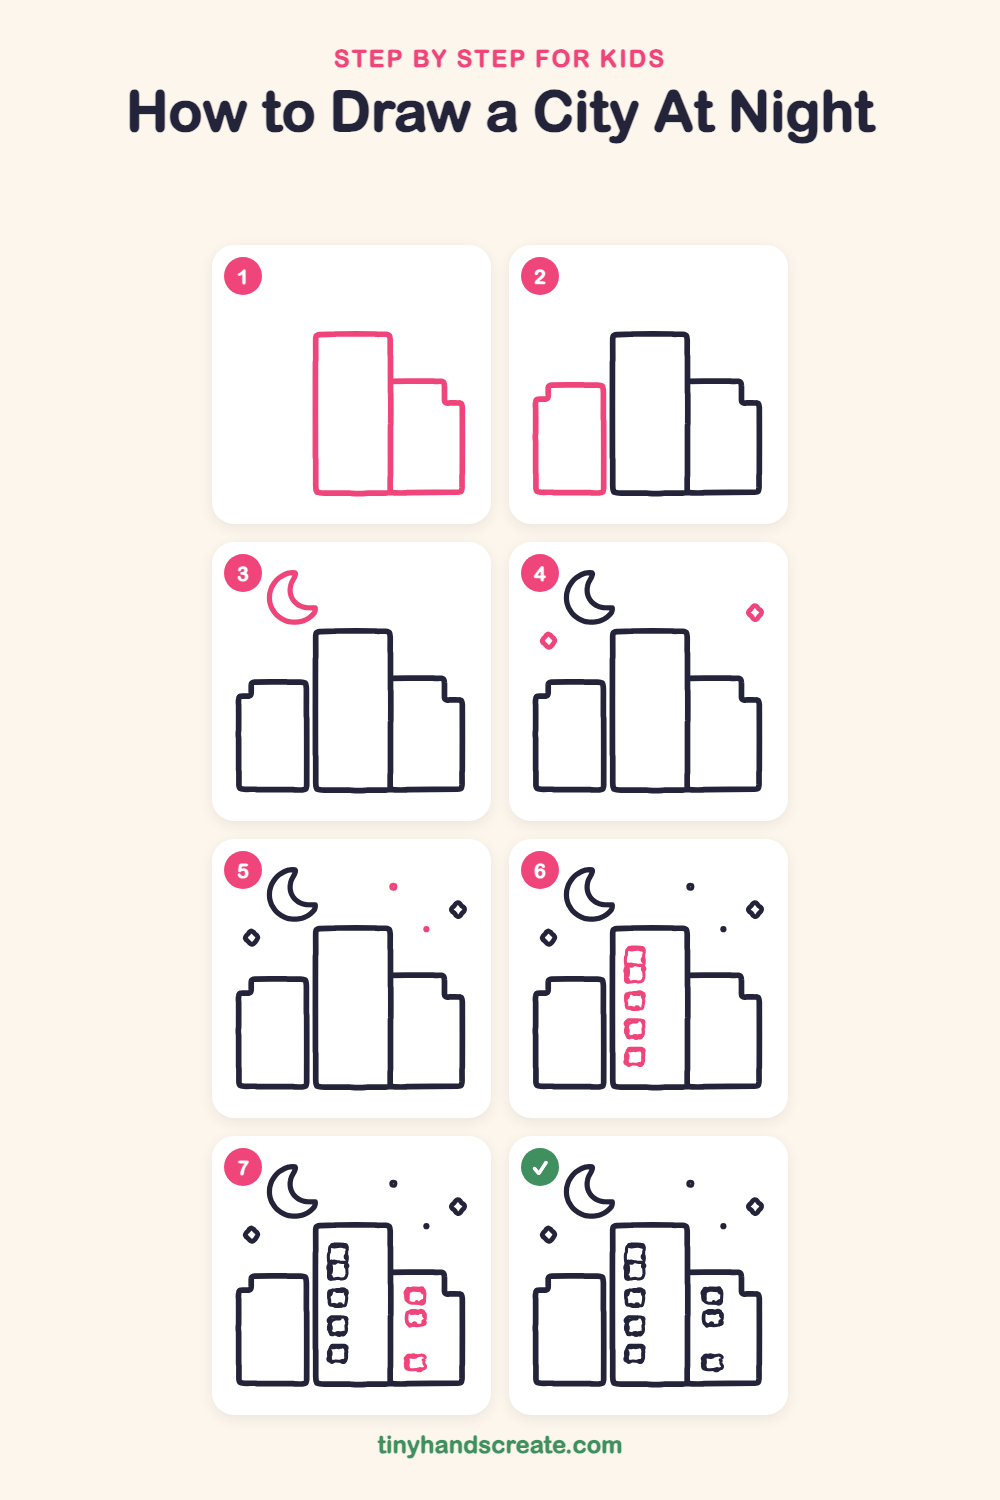
Step 1: Tall and low buildings
Draw a tall rectangle in the middle. Then draw a shorter building tucked against its right side, with a little step in the roof on the right.
Step 2: The left building
Next to the tall rectangle on the left, draw another shorter rectangle. Give it a small step in the top left corner.
Step 3: The crescent moon
Up in the sky, draw a big curve like the letter C. Then draw a second curve inside it that meets the first at two points to make a crescent.
Step 4: Diamond stars
Draw two small diamonds in the sky, one on the left and one on the right. Make each one by drawing a tiny square turned on its corner, with a smaller diamond inside it.
Step 5: Tiny dot stars
Fill in the sky with two little round dots. Place one up high and one lower down on the right.
Step 6: Tall building windows
Draw five small squares in a column inside the tall building. Make the top two touch, then space the other three evenly below.
Step 7: Windows on the right
On the shorter building at the right, draw two squares close together near the top. Add one more square lower down, near the bottom.
All done!
Go over your lines with a marker, then color it in.
Finished your city at night? Keep the pencils out and learn how to draw a rocket or how to draw a shooting star next.
Tips for drawing a city at night
- Draw the tall middle building first and let the shorter buildings sit against it. That way the sides line up neatly.
- The step in the roof of the left and right buildings is the trickiest part. Go across, turn down a little, then go across again, like a tiny stair.
- For the crescent moon, draw the big outer curve first, then bring the inner curve back to meet it at the points. Stars are easiest as small tilted squares with a smaller diamond inside.
Free city at night coloring page
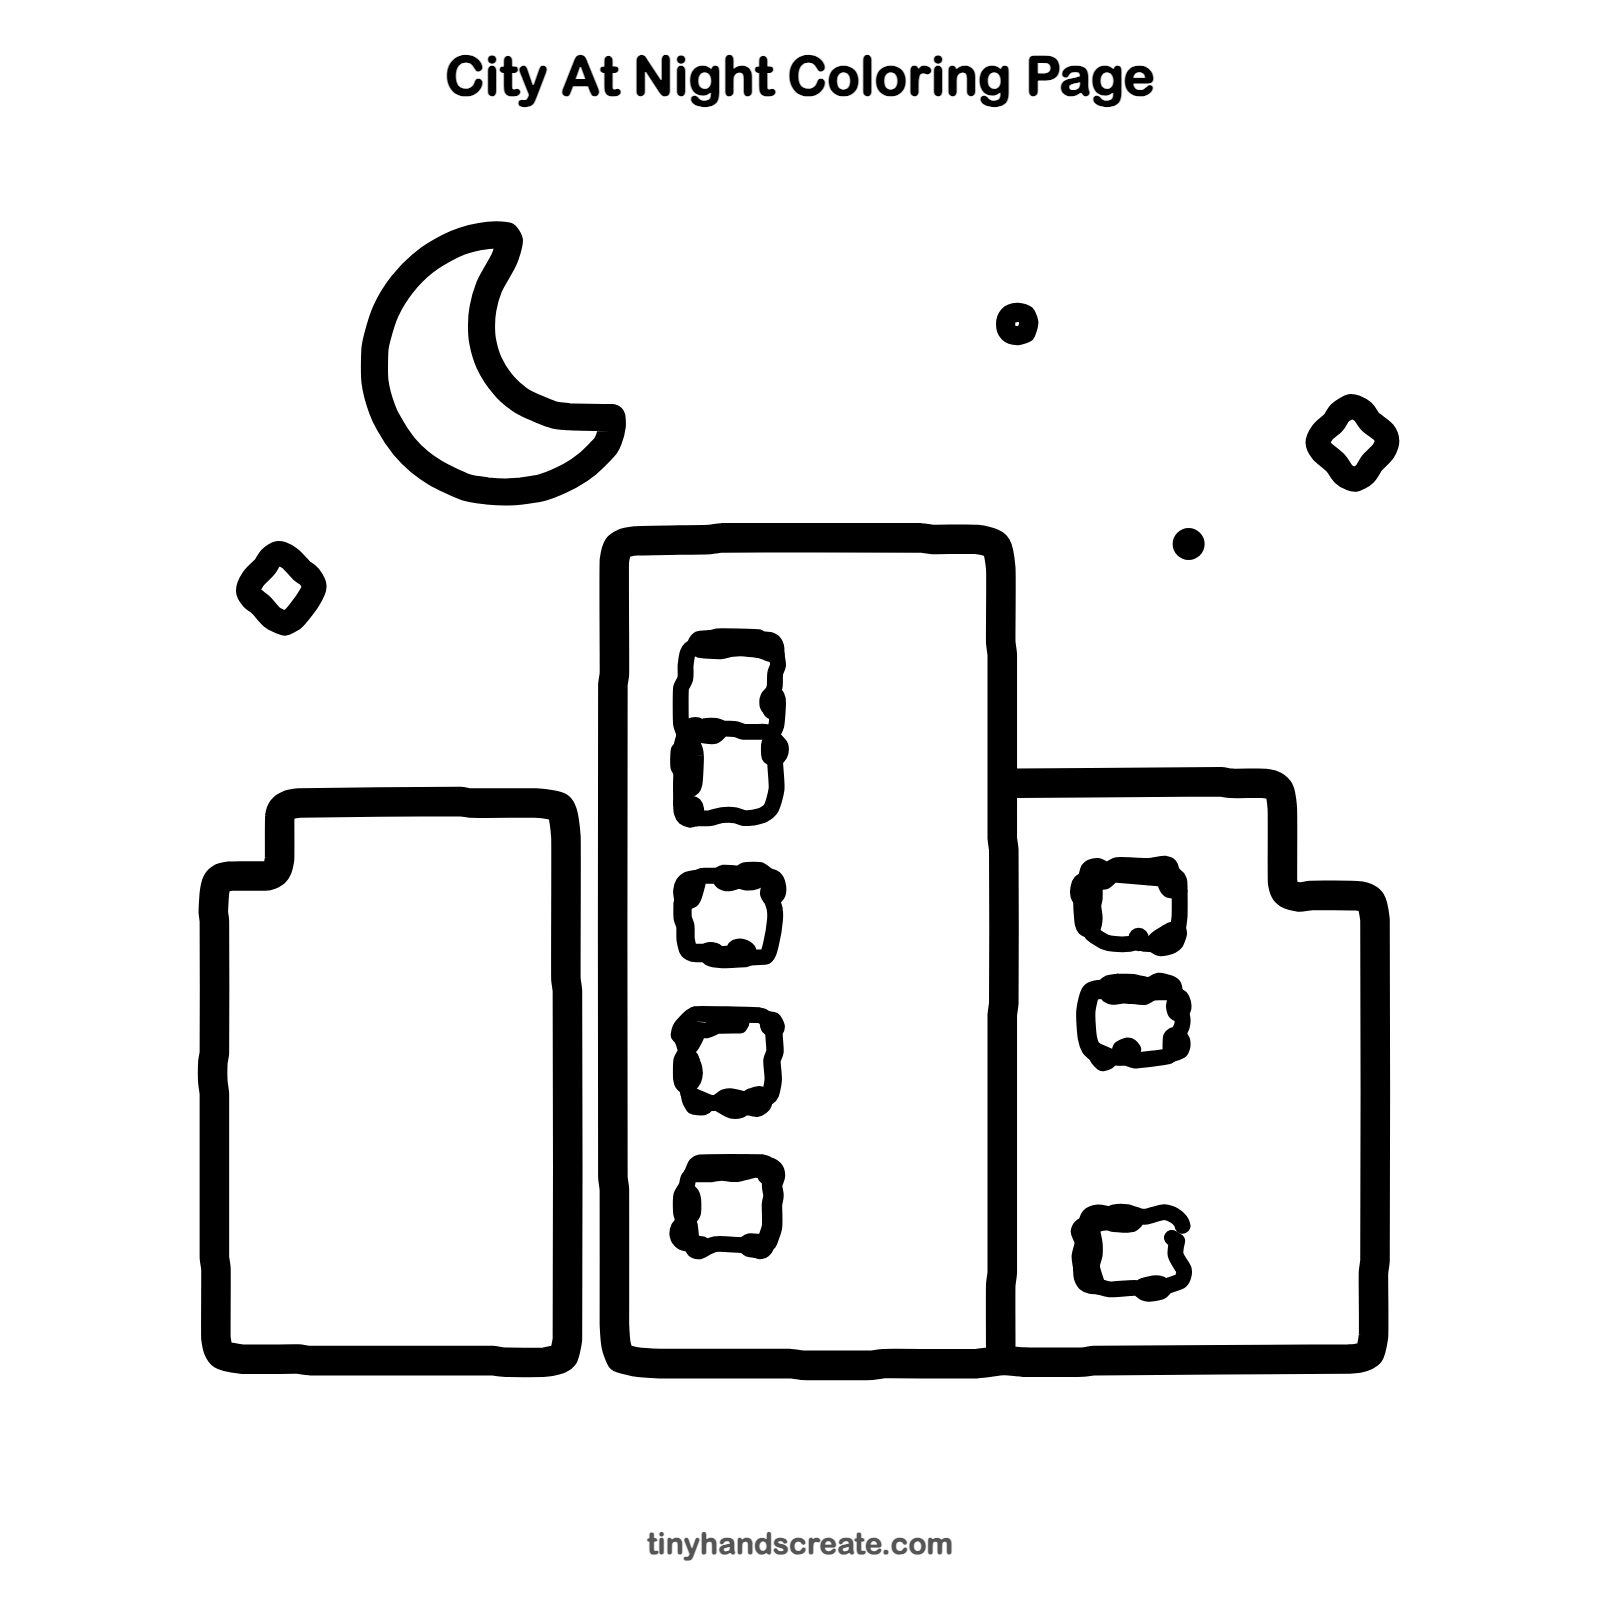
Want to go straight to coloring? Open this city at night coloring page at full size and print it. It is the same drawing you just learned, with clean lines ready for crayons or markers.
How to color your city at night drawing
Color the sky deep blue or purple and leave the moon and stars pale yellow so they glow. For a creative twist, make each window a different warm color, like orange, yellow, or pink.
City at night fun fact for kids
The moon does not make its own light. It shines because it reflects sunlight, and the crescent shape you see is just the part of the sunlit half that faces Earth.
Questions about drawing a city at night
What shapes do I need to draw a city at night?
Mostly rectangles for the buildings and squares for the windows. You also need a curved crescent for the moon and small diamonds and dots for the stars.
How do I make my city skyline look more interesting?
Make the buildings different heights and add a step or two to the rooftops. Put windows in different spots so each building looks lived in.
How do I draw a crescent moon?
Draw a big C shape, then draw a second curve inside it that joins the first at the top and bottom points. The space between the two curves is your crescent.