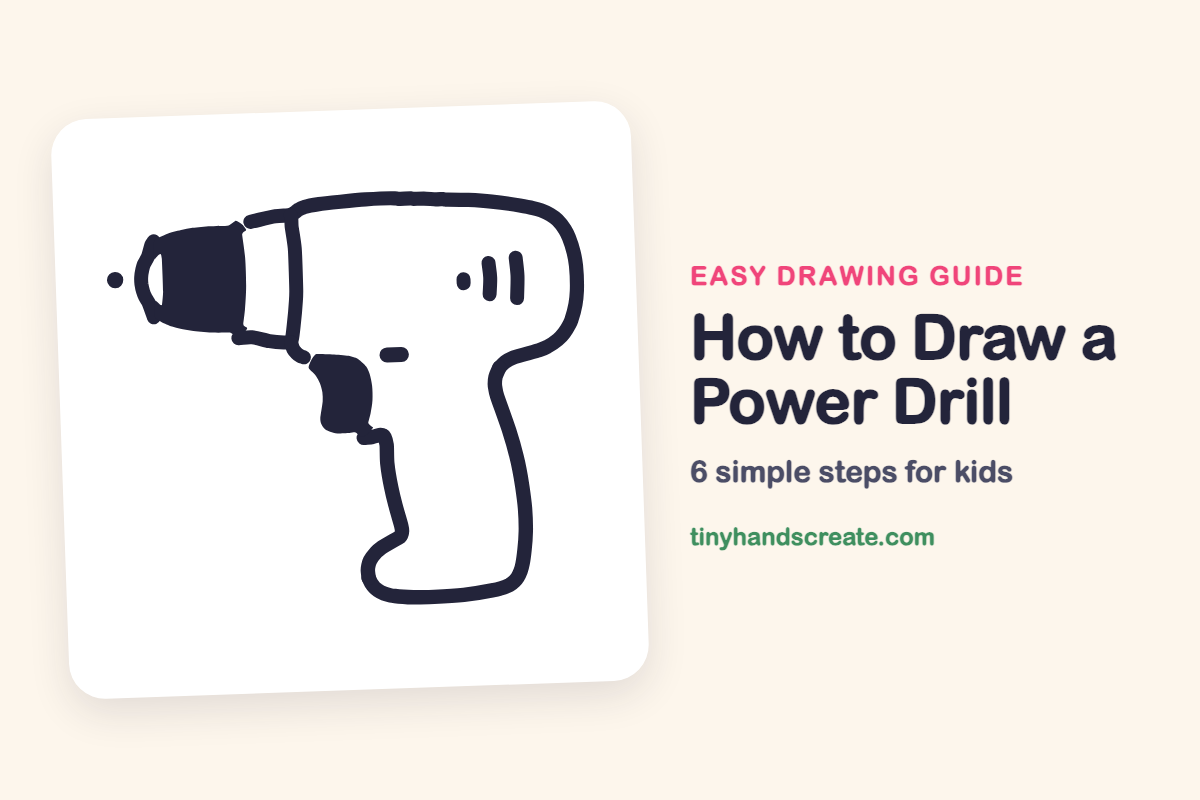
How to Draw a Power Drill (Easy Step by Step)
Learn how to draw a power drill easily by combining simple shapes. You'll start with the body and handle outline, add a chunky barrel, and finish with a trigger and small details, making it simple to trace.
- Outline the body and handle of your power drill first.
- Add a chunky barrel to the front of the drill.
- Draw the trigger and other small details to complete your drawing.
- Use thick, bold lines to make your drawing easy to trace with markers or crayons.
This post contains affiliate links. As an Amazon Associate I earn from qualifying purchases.
A power drill is a fun thing to draw because it is really just a few friendly shapes stuck together. You start with the outline of the body and handle, add a chunky barrel on the front, and finish with a trigger and some small details. The thick, bold lines make it easy to trace with a marker or crayon.
- Medium
- 12 minutes
- 6 steps
You need: paper, a pencil, an eraser, and crayons or markers for coloring.
Start drawing


In this article (7 sections)
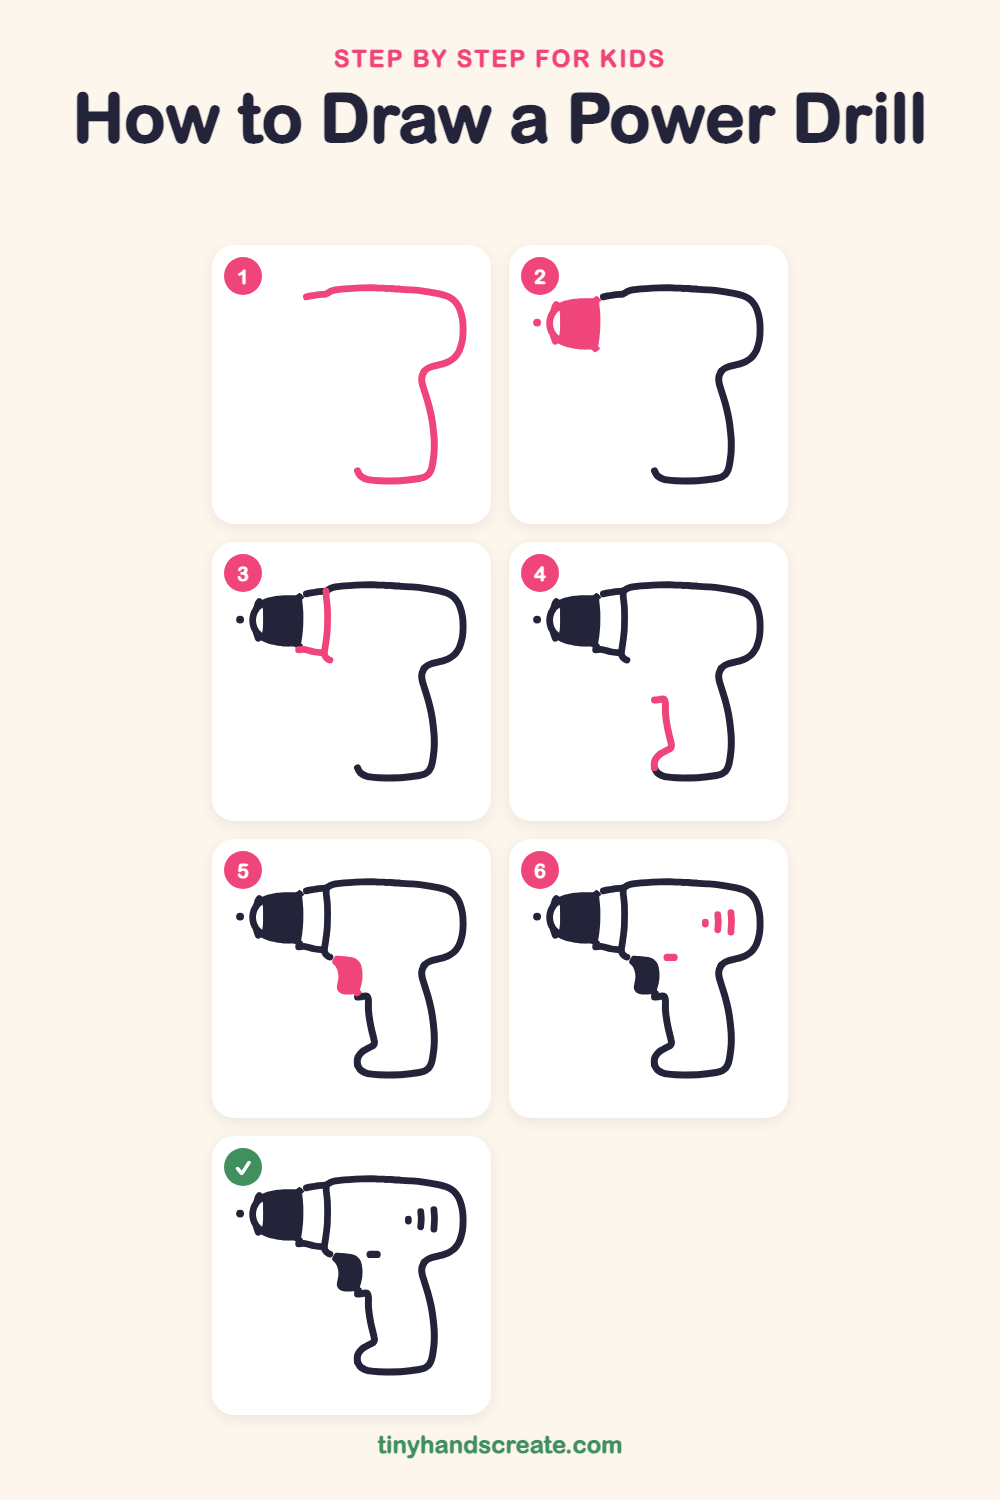
How to draw a power drill step by step
How to Draw a Power Drill · tinyhandscreate.com
Step 1: Top and handle outline
Start near the middle of the top and draw a line going right, then curve it down the back of the drill. Keep going down into a long handle and finish with a rounded curl at the bottom.
Step 2: The chuck
On the left, draw a short, wide block like a little barrel and fill it in. Give its left end a curved cap, and add a small dot just in front of it.
Step 3: Collar ring
Draw a tall, straight line just to the right of the chuck to make a ring. Then draw a short line from the bottom of the chuck over to the bottom of that ring.
Step 4: Front of the handle
Inside the handle, draw a short line that drops down from the middle of the handle. Let it curve to the left at the bottom to meet the rounded end.
Step 5: The trigger
Under the body, just left of the handle, draw a rounded shape like a bean or a thumb and fill it in. Tuck it into the corner where the handle meets the body.
Step 6: Switch and vents
Next to the trigger, draw a tiny, short pill shape for the switch. Near the back of the body, draw one small dot and two tall, straight lines for the air vents.
All done!
Go over your lines with a marker, then color it in.
Finished your power drill? Keep the pencils out and learn how to draw a rocket or how to draw a shooting star next.
Tips for drawing a power drill
- Draw the top and handle as one smooth line first, so the handle lines up neatly with the body.
- The trigger is the trickiest part. Think of it as a bean tucked into the corner where the handle meets the body.
- Keep the chuck wide and squat. If it is too thin, the drill looks like it is missing its front.
Free power drill coloring page
Want to go straight to coloring? Open this power drill coloring page at full size and print it. It is the same drawing you just learned, with clean lines ready for crayons or markers.
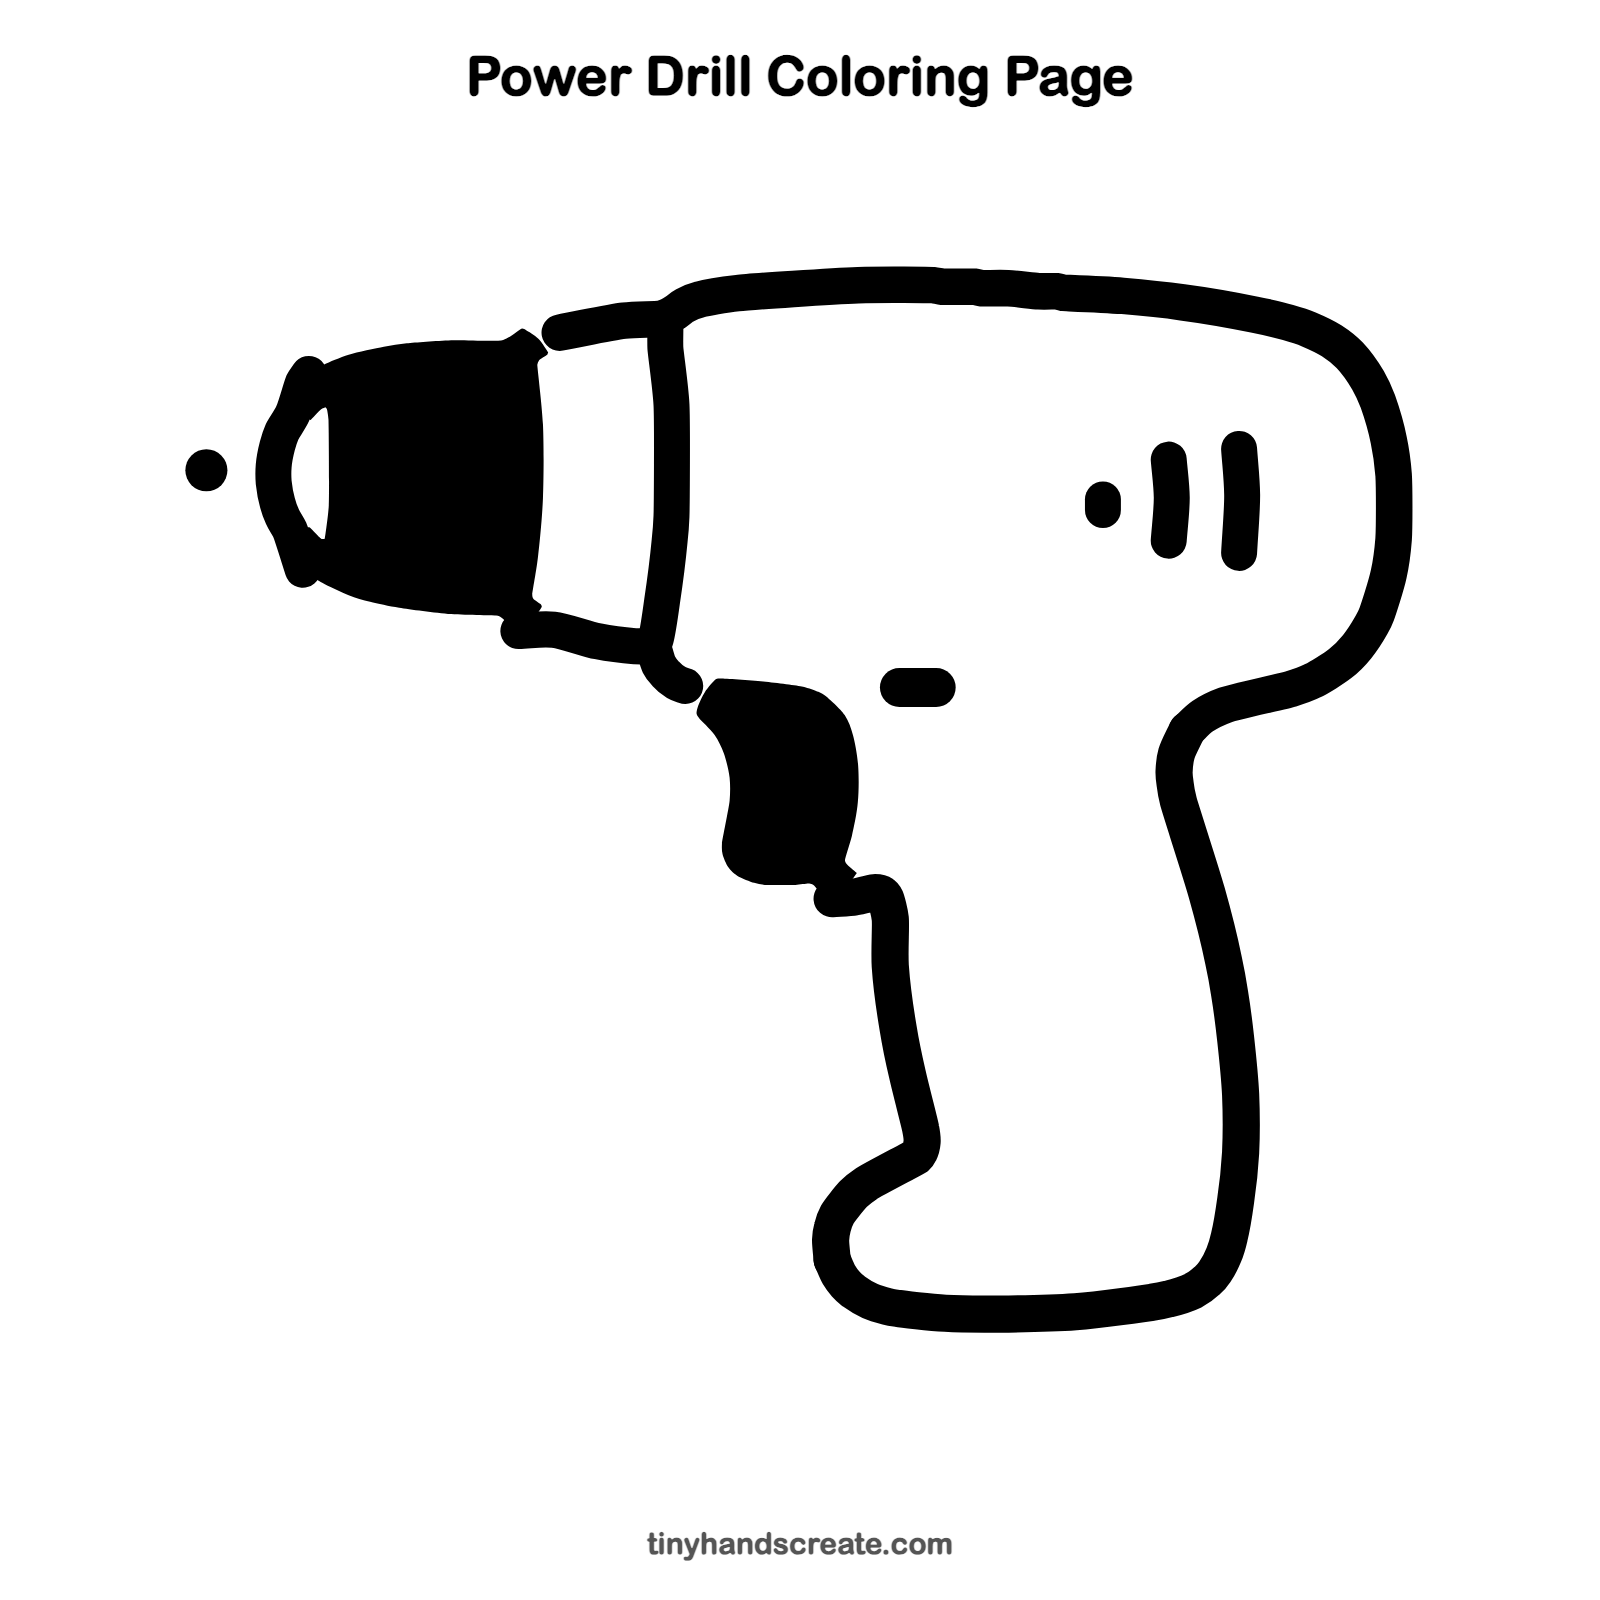
How to color your power drill drawing
Try a bright red or orange body with a dark gray chuck and trigger, like a real drill. For a fun twist, color the little switch a different bright color so it stands out.
Power drill fun fact for kids
The chuck is the part at the front of a drill that holds the drill bit. When you twist it, the jaws inside close tightly around the bit so it stays in place.
Questions about drawing a power drill
What shapes do I need to draw a power drill?
You need a long curved line for the top and handle, a short barrel shape for the chuck, and a tall ring behind it. A small bean shape makes the trigger.
How do I draw the handle so it looks right?
Draw the top line of the body and let it curve down the back into the handle in one smooth stroke. Then add the front line of the handle so both sides are about the same width.
How can I make my power drill look more real?
Add the little details, like the two tall vent lines, the small switch, and the ring behind the chuck. Color the chuck and trigger darker than the body.