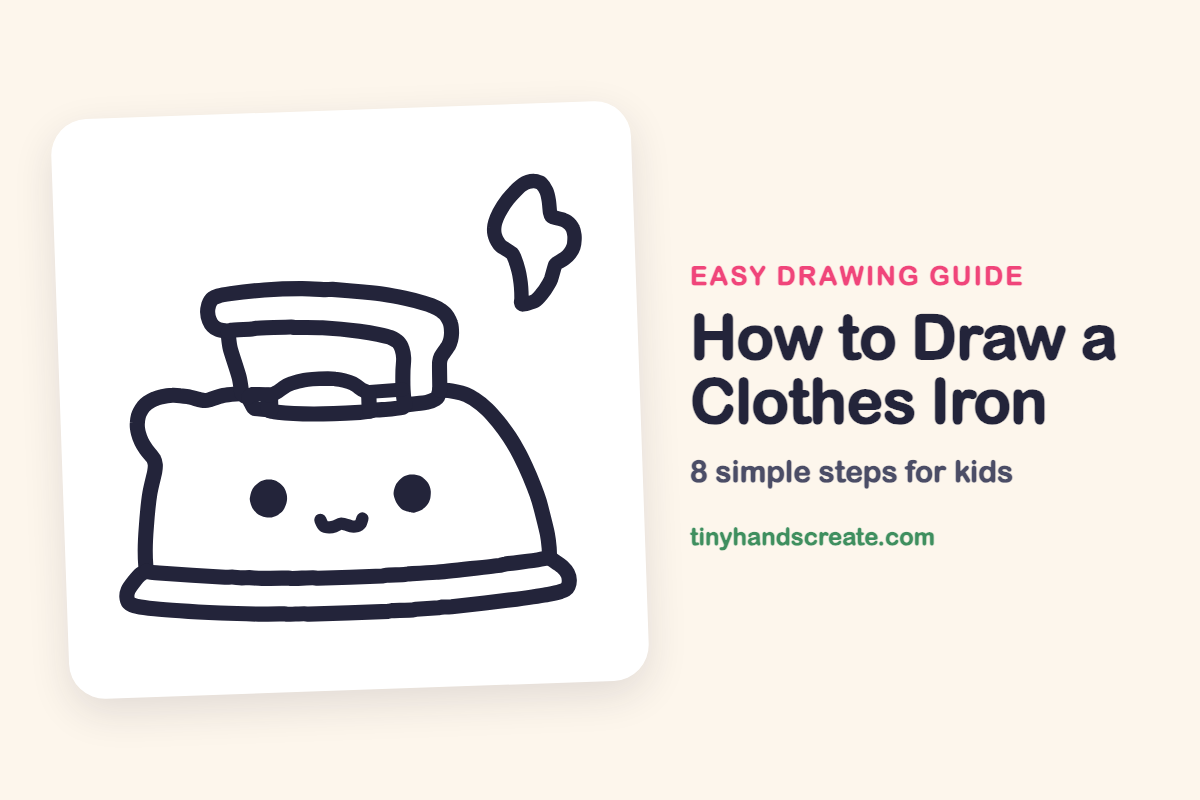
How to Draw a Clothes Iron (Easy Step by Step)
You'll learn how to draw a cute clothes iron step-by-step using simple shapes like a dome, curved sides, and a handle. Discover how to easily build the iron by adding one piece at a time, starting with the main body.
- Learn to draw a cute clothes iron with a face and steam.
- Build your iron using simple shapes like curved sides and a tilted arch.
- Start by drawing the main dome body, then add other parts easily.
- Add details like a big handle, flat plate, and wobbly steam cloud.
This post contains affiliate links. As an Amazon Associate I earn from qualifying purchases.
This little iron has a cute face, a round dome body, a big handle, and a puff of steam floating up. It is built from simple shapes: curved sides, a flat plate, a tilted arch, two dots, and a wobbly cloud. Once you can draw the dome, the rest is easy to add one piece at a time.
- Medium
- 15 minutes
- 8 steps
You need: paper, a pencil, an eraser, and crayons or markers for coloring.
Start drawing


In this article (7 sections)
How to draw a clothes iron step by step
How to Draw a Clothes Iron · tinyhandscreate.com
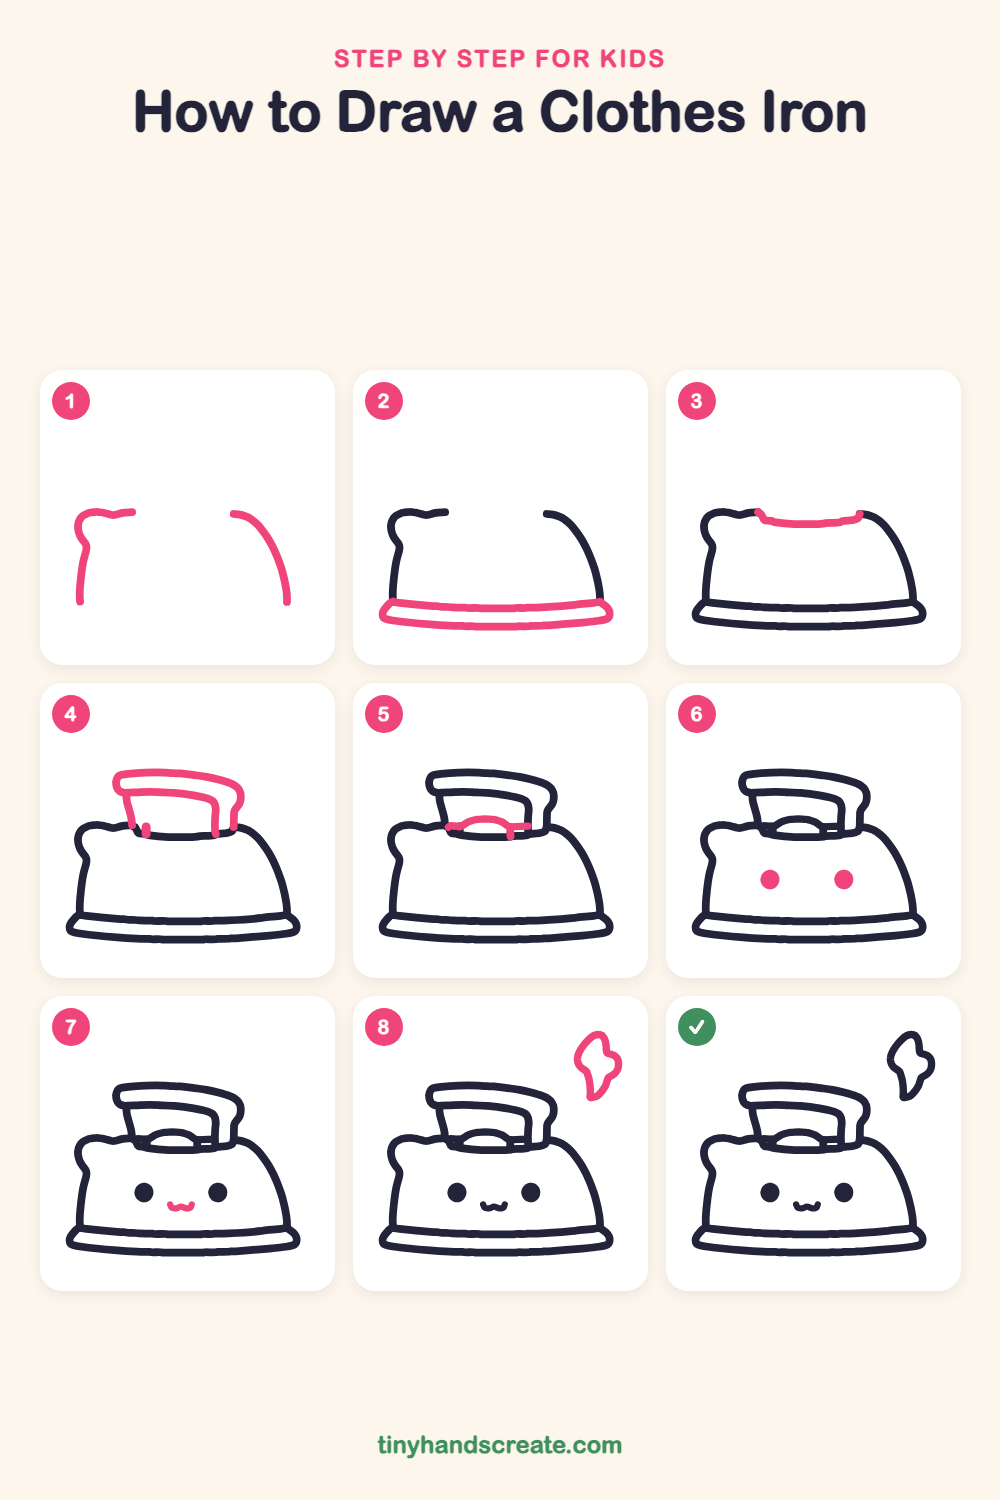
Step 1: Left and right sides
Start on the left and draw a curved line that goes up from the bottom, with a little bump at the top and a short line sticking out to the right. Then, on the right, draw a smooth curve that slopes down from the top and ends near the bottom. Leave the middle open.
Step 2: The flat base
Near the bottom, draw a long, flat, thin shape like a rounded rectangle, stretching from the left side line to the right side line. This is the metal plate the iron slides on.
Step 3: The top line
Join the two top ends with a long, shallow curve that dips a little in the middle, like a gentle smile. This closes the dome.
Step 4: The big handle
Above the top line, draw a wide handle shaped like a tilted arch with a flat top. Start with two slanted legs that rise from the dome, then add a second line inside to make the handle look thick.
Step 5: The dial
Under the handle, draw a small curved arch like a tiny hill for the dial. Add a short flat line across it and a little tick on the right.
Step 6: The eyes
Halfway down the dome, draw two round dots, one on the left and one on the right. Color them in completely.
Step 7: The smile
Between the eyes, a little lower, draw a tiny wavy smile. Make it like a small w with its corners curling up.
Step 8: The puff of steam
In the top right corner, draw a small wobbly cloud shape with a bumpy top that narrows to a point at the bottom. It looks like steam floating away.
All done!
Go over your lines with a marker, then color it in.
Finished your clothes iron? Keep the pencils out and learn how to draw a rocket or how to draw a shooting star next.
Tips for drawing a clothes iron
- Draw the two side lines first and keep the little bump on the left small. A bump that is too big will make the iron look lopsided.
- The handle is the trickiest part. Draw the outer arch first, then add the inner line below it, keeping both lines the same distance apart.
- Draw the two eyes at the same height and the smile right in the middle between them. That is what makes the face look sweet.
Free clothes iron coloring page
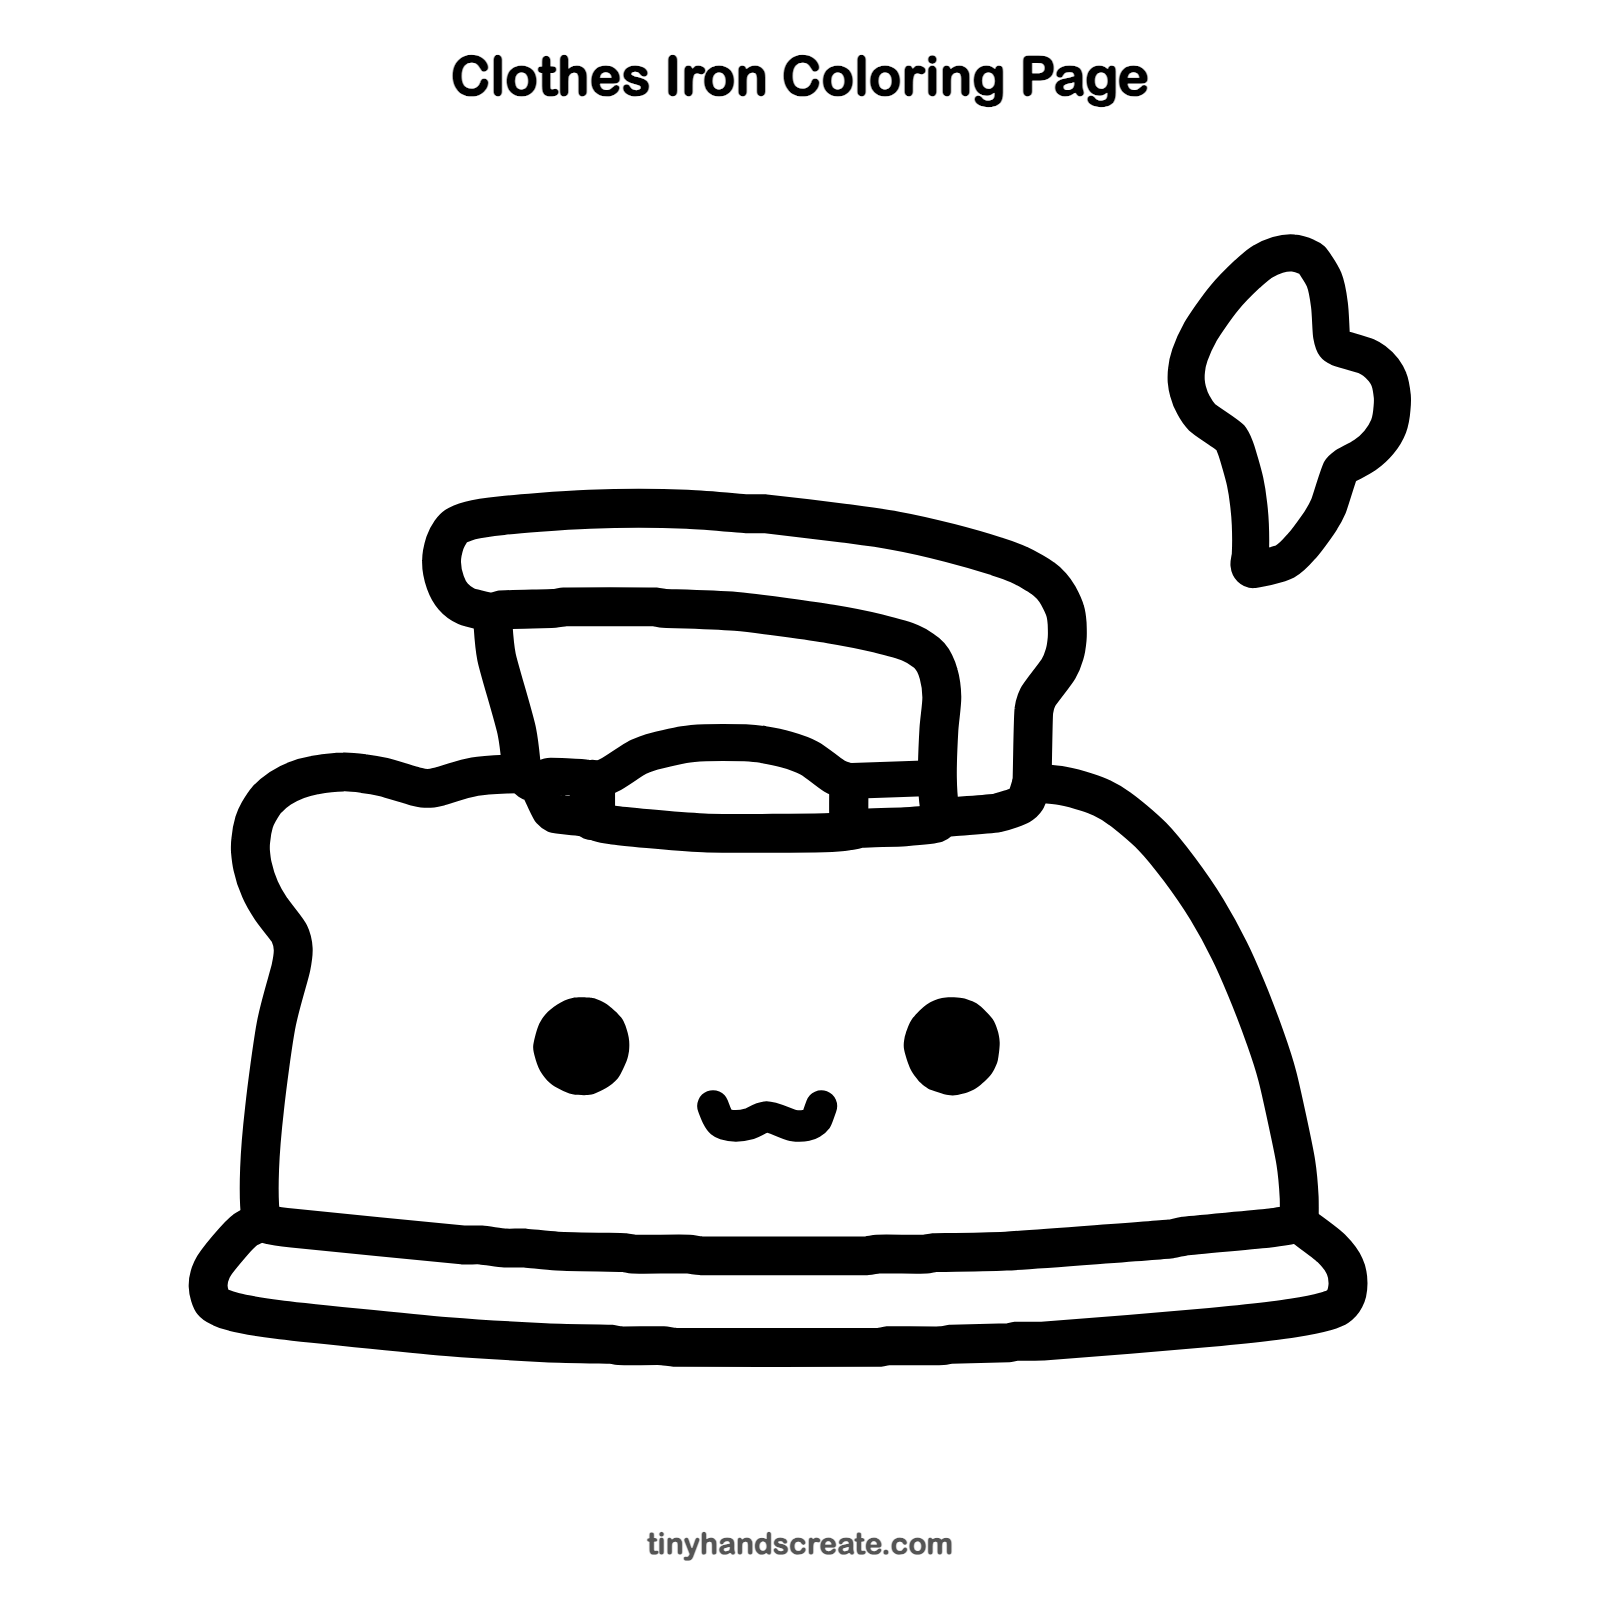
Want to go straight to coloring? Open this clothes iron coloring page at full size and print it. It is the same drawing you just learned, with clean lines ready for crayons or markers.
How to color your clothes iron drawing
Pale blue, soft pink, or mint green all look lovely for the body, with a gray base and a white cloud of steam. For a creative twist, make the handle a bright color that stands out.
Clothes iron fun fact for kids
Before electricity, irons were solid chunks of metal heated on a stove or fire, which is why people called them sad irons. An American inventor named Henry Seely patented an electric iron in 1882.
Questions about drawing a clothes iron
What shapes do I need to draw a clothes iron?
You need two curved sides for the dome, a long flat shape for the base, and a tilted arch for the handle. The eyes are two dots and the steam is a small wobbly cloud.
How do I make my iron look cuter?
Place the eyes wide apart on the dome, and add a small smile in the middle, a little lower. Keep the eyes the same size so the face looks friendly.
Why is my iron handle crooked?
Try drawing a light box first, then round off the corners to make the handle. Drawing the outer shape before the inner line also helps keep both sides even.